2015 VAUXHALL INSIGNIA audio
[x] Cancel search: audioPage 114 of 143

114Basic operation
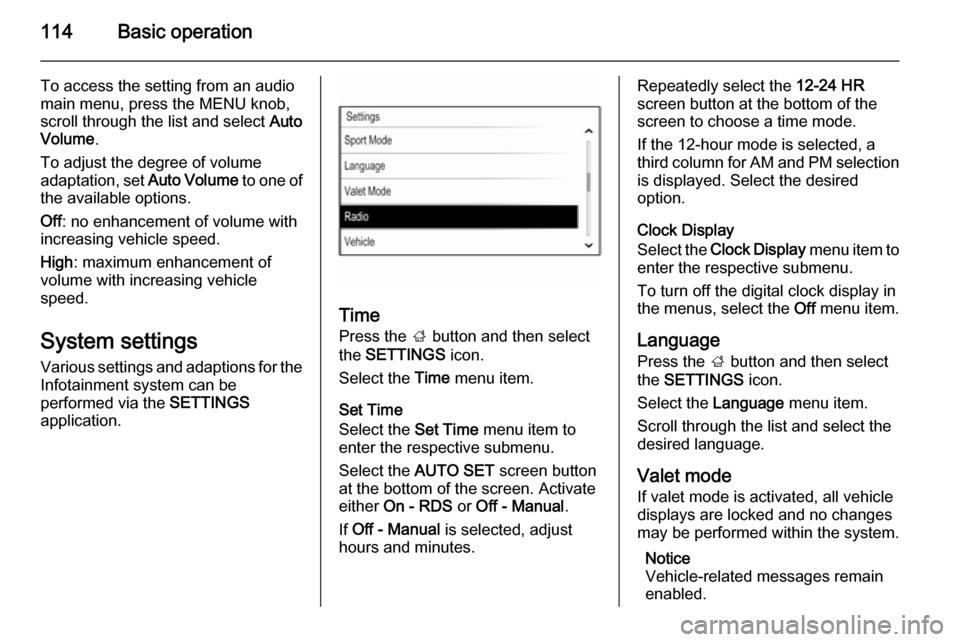
To access the setting from an audio
main menu, press the MENU knob,
scroll through the list and select Auto
Volume .
To adjust the degree of volume
adaptation, set Auto Volume to one of
the available options.
Off : no enhancement of volume with
increasing vehicle speed.
High : maximum enhancement of
volume with increasing vehicle
speed.
System settings
Various settings and adaptions for the Infotainment system can be
performed via the SETTINGS
application.
Time
Press the ; button and then select
the SETTINGS icon.
Select the Time menu item.
Set Time
Select the Set Time menu item to
enter the respective submenu.
Select the AUTO SET screen button
at the bottom of the screen. Activate
either On - RDS or Off - Manual .
If Off - Manual is selected, adjust
hours and minutes.
Repeatedly select the 12-24 HR
screen button at the bottom of the
screen to choose a time mode.
If the 12-hour mode is selected, a
third column for AM and PM selection
is displayed. Select the desired
option.
Clock Display
Select the Clock Display menu item to
enter the respective submenu.
To turn off the digital clock display in
the menus, select the Off menu item.
Language Press the ; button and then select
the SETTINGS icon.
Select the Language menu item.
Scroll through the list and select the
desired language.
Valet mode
If valet mode is activated, all vehicle displays are locked and no changes
may be performed within the system.
Notice
Vehicle-related messages remain enabled.
Page 117 of 143

Radio117RadioUsage........................................ 117
Station search ............................ 117
Favourite lists ............................. 118
Radio data system (RDS) ..........120
Digital audio broadcasting .........121Usage
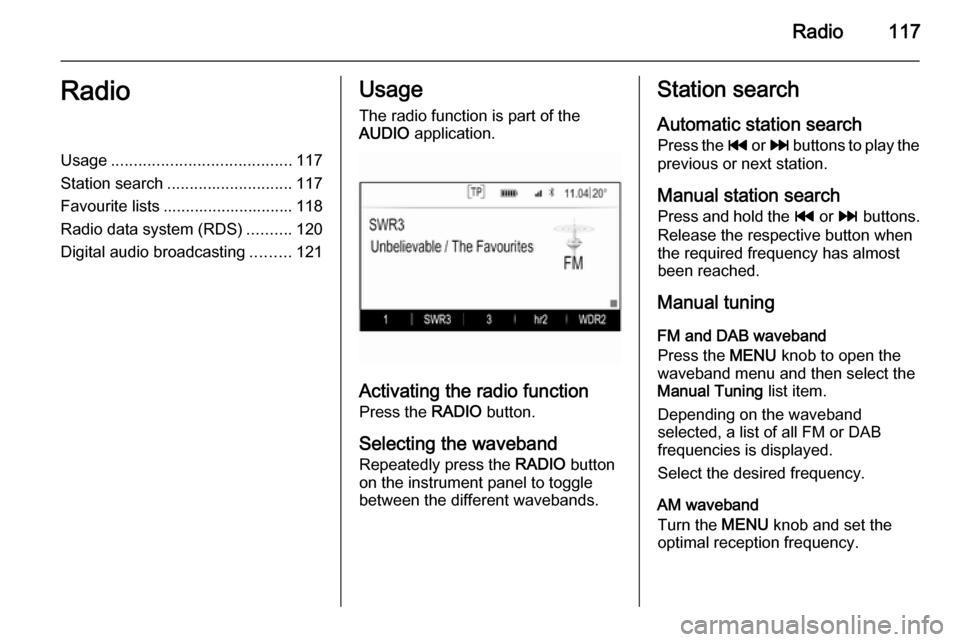
The radio function is part of the
AUDIO application.
Activating the radio function
Press the RADIO button.
Selecting the waveband
Repeatedly press the RADIO button
on the instrument panel to toggle between the different wavebands.
Station search
Automatic station search
Press the t or v buttons to play the
previous or next station.
Manual station search Press and hold the t or v buttons.
Release the respective button when
the required frequency has almost
been reached.
Manual tuning
FM and DAB waveband
Press the MENU knob to open the
waveband menu and then select the Manual Tuning list item.
Depending on the waveband
selected, a list of all FM or DAB
frequencies is displayed.
Select the desired frequency.
AM waveband
Turn the MENU knob and set the
optimal reception frequency.
Page 119 of 143

Radio119
In the waveband main menus, a
favourites page is displayed at the
bottom of the screen by default.
To display the favourites list in all
other menus, select one of the
softkeys.
If a favourite location is occupied, the
favourite screen button displays the
label text of the respective favourite. If a favourite location is empty, the
position number of the favourite
location (1 to 25) is indicated.
Storing a station Set the station to be stored.
Press and hold the respective
favourite screen button until a
beeping sound is given out and the
station name is displayed on the
respective screen button.
The station is stored as a favourite.
Retrieving a station If necessary, press the N or O buttons
to scroll to the respective favourites page.Select the desired favourite screen
button. The respective radio station is
played.
Notice
The active favourite is highlighted.
Using the right-hand steering wheel
control
Repeatedly press the k or l buttons
to select the desired station.
Alternatively, using the five-way
controller: Press the i button to
display the cluster menu for
application selection. Select the
AUDIO list item and then Favorites.
Select the desired favourite.
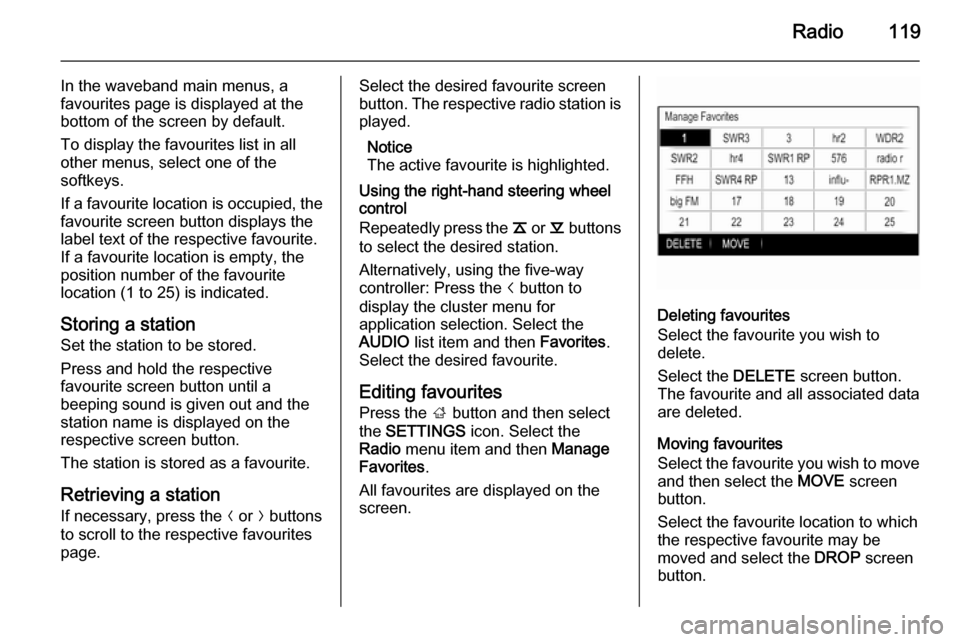
Editing favourites
Press the ; button and then select
the SETTINGS icon. Select the
Radio menu item and then Manage
Favorites .
All favourites are displayed on the screen.
Deleting favourites
Select the favourite you wish to
delete.
Select the DELETE screen button.
The favourite and all associated data
are deleted.
Moving favourites
Select the favourite you wish to move
and then select the MOVE screen
button.
Select the favourite location to which
the respective favourite may be
moved and select the DROP screen
button.
Page 121 of 143
![VAUXHALL INSIGNIA 2015 Infotainment system Radio121
radio traffic service station. As soon
as a radio traffic service station is
found, [TP] is highlighted. If no radio
traffic service station is found, [ ]
remains on the screen.
If a traffi VAUXHALL INSIGNIA 2015 Infotainment system Radio121
radio traffic service station. As soon
as a radio traffic service station is
found, [TP] is highlighted. If no radio
traffic service station is found, [ ]
remains on the screen.
If a traffi](/manual-img/38/19477/w960_19477-120.png)
Radio121
radio traffic service station. As soon
as a radio traffic service station is
found, [TP] is highlighted. If no radio
traffic service station is found, [ ]
remains on the screen.
If a traffic announcement is
broadcasted on the respective radio
traffic service station, a message is
displayed.
To interrupt the announcement and
return to the function previously
activated, dismiss the alert.
Region
Sometimes RDS stations broadcast
regionally different programmes on
different frequencies.
Set Region to On or Off.
If regionalisation is switched on,
alternative frequencies with the same regional programmes are selected
where necessary.
If regionalisation is switched off,
alternative frequencies of the stations
are selected without regard to
regional programmes.Digital audio broadcasting
Digital audio broadcasting (DAB) is
an innovative and universal
broadcasting system.
Advantages of DAB ■ DAB stations are indicated by the programme name instead of the
broadcasting frequency.
■ With DAB, several radio programmes (services) can bebroadcasted on a single frequency(ensemble).
■ Besides high-quality digital audio services, DAB is also able to
transmit programme-associated
data and a multitude of other data
services including travel and traffic
information.
■ As long as a given DAB receiver can pick up the signal sent out by a
broadcasting station (even if the signal is very weak), sound
reproduction is ensured.
■ There is no fading (weakening of the sound that is typical of AM orFM reception). The DAB signal is
reproduced at a constant volume.
If the DAB signal is too weak to be
picked up by the receiver, reception is interrupted completely. This canbe avoided by activating DAB to
DAB Linking and/or DAB to FM
Linking in the DAB option menu
(see below).
■ Interference caused by stations that are on nearby frequencies (aphenomenon that is typical of AM
and FM reception) does not occur with DAB.
■ If the DAB signal is reflected by natural obstacles or buildings, the
reception quality of DAB is
improved, whereas AM or FM
reception is considerably impaired in such cases.
■ When DAB reception is enabled, the FM tuner of the Infotainment
system remains active in the
background and continually
searches for the best receivable FM stations. If TP 3 120 is activated,
traffic announcements of the FM station which is currently best
Page 123 of 143

CD Player123CD PlayerGeneral information...................123
Usage ........................................ 124General information
The Infotainment system's CD player
can replay audio CDs and MP3/WMA CDs.Caution
Under no circumstances place
DVDs, single-CDs with a diameter
of 8 cm or shaped CDs in the audio
player.
You must not put any stickers on
CDs. These discs can get jammed
in the CD drive and ruin the drive.
An expensive replacement of the
device will then be necessary.
Important information about
audio CDs and MP3/WMA CDs ■ The following CD formats can be used:
CD, CD-R and CD-RW.
■ The following file formats can be used:
ISO9660 Level 1, Level 2, (Romeo,
Joliet).
MP3 and WMA files written in any
format other than listed above may
not play correctly, and their file names and folder names may not
be displayed correctly.
■ Audio CDs with copy protection, which are not in compliance with
the audio CD standard, may not
play correctly or not at all.
■ Self-recorded CD-Rs and CD-RWs
are more vulnerable to mishandling than prerecorded CDs. Correct
handling, especially in the case of
self-recorded CD-Rs and CD-RWs,
must be ensured.
■ Self-recorded CD-Rs and CD-RWs
may not play correctly or not at all.
■ On mixed mode CDs (combinations
of audio and data, e.g. MP3), only
the audio tracks will be detected and played.
■ Avoid leaving fingerprints when you
change CDs.
■ Put CDs back in their sleeves immediately after removing them
from the audio player in order to
protect them from damage and dirt.
Page 124 of 143

124CD Player
■ Dirt and liquids on CDs can smearthe lens of the audio player inside
the device and cause faults.
■ Protect CDs from heat and direct sunlight.
■ The following restrictions apply for the data stored on an MP3/WMA
CD:
Maximum file/song number: 800.
Folders in depth hierarchy: 8.
WMA files with Digital Rights
Management (DRM) from online
music shops cannot be played.
WMA files can only be played
safely if they were created with
Windows Media Player version 9 or later.
Applicable playlist
extensions: .m3u, .pls.
Playlist entries must be in the form
of relative paths.
■ This chapter deals only with playing
MP3 files since the operation for
MP3 and WMA files is identical.
When a CD with WMA files is
loaded MP3 related menus are displayed.Usage
Starting CD playbackPush an audio or MP3 CD with the
labelled side upwards into the CD slot
until it is pulled in.
Repeatedly press the MEDIA button
to activate the CD function.
Removing a CD
Press the R button. The CD is
pushed out of the CD slot.
If the CD is not removed after
ejection, it will be drawn back in after
a few seconds.
Function buttons
Pausing CD playback
Select the / screen button to pause
playback.
Select the 6 screen button to resume
playback.
Skipping to previous or next track
Select the d or c buttons to play the
previous or next track.
Alternatively, turn the MENU knob to
skip to the previous or next track.
Fast forwarding or rewinding
Tap and hold the d or c buttons to
rewind or fast forward.
Playback order
To play the songs on the CD in
random order, select the 9 screen
button.
Notice
If the shuffle function is activated, 9 is highlighted in red.
To deactivate the shuffle function,
select the 9 screen button again.
Page 126 of 143

126External devicesExternal devicesGeneral information...................126
Playing audio ............................. 128General information
An AUX, USB and SD card socket for
the connection of external devices is
located underneath the armrest in the centre console. Find a detailed
description on lifting the armrest in the
Owner's manual.
Notice
The sockets must always be kept
clean and dry.
AUX input It is possible to connect e.g. an iPod,
a Smartphone or another auxiliary
device to the AUX input.
When connected to the AUX input, the audio signal of the auxiliary device
is transmitted via the speakers of the
Infotainment system.
The volume and the tone settings can be adjusted via the Infotainment
system. All other control functions
need to be operated via the auxiliary
device.
Connecting/disconnecting a device
To connect the auxiliary device to the
AUX input socket of the Infotainment
system, use the following cable:
3-pole for audio source.
To disconnect the AUX device, select
another function and then remove the AUX device.
AUX audio function
The Infotainment system can play
music files contained in auxiliary
devices, e.g. iPod or Smartphone.
USB port
An MP3 player, USB drive, iPod or
Smartphone can be connected to the USB port.
Page 127 of 143

External devices127
When connected to the USB port, thedevices mentioned above can be
operated via the controls and menus
of the Infotainment system.
Notice
Not all MP3 player, USB drive, iPod
models or Smartphones are
supported by the Infotainment
system.
Connecting/disconnecting a device
Connect the USB device or iPod to
the USB port. For the iPod, use the
appropriate connection cable. The
music function starts automatically.
Notice
If a non-readable USB device or
iPod is connected, a corresponding
error message will appear and the
Infotainment system will
automatically switch to the previous
function.
To disconnect the USB device or
iPod, select another function and then
remove the USB storage device.Caution
Avoid disconnecting the device
during playback. This may
damage the device or the
Infotainment system.
USB audio function
The Infotainment system can play music files contained in USB storage
devices or iPod/iPhone products.
SD card
An SD card may be inserted in the SD
card slot.
When inserted, the SD card can be
operated via the controls and menus
of the Infotainment system.
Notice
Not all SD card types are supported
by the Infotainment system.
Inserting/removing an SD cardCaution
Never attempt to use an SD card
that has been cracked, deformed
or repaired using adhesive tape.
Doing so may damage the
equipment.
Insert the SD card in the SD card slot
as shown below. The music function
starts automatically.