Page 111 of 143
Basic operation111Basic operationBasic operation.......................... 111
Tone settings ............................. 112
Volume settings .........................113
System settings ......................... 114Basic operation
Instrument panel
MENU knob
The MENU knob is one of the central
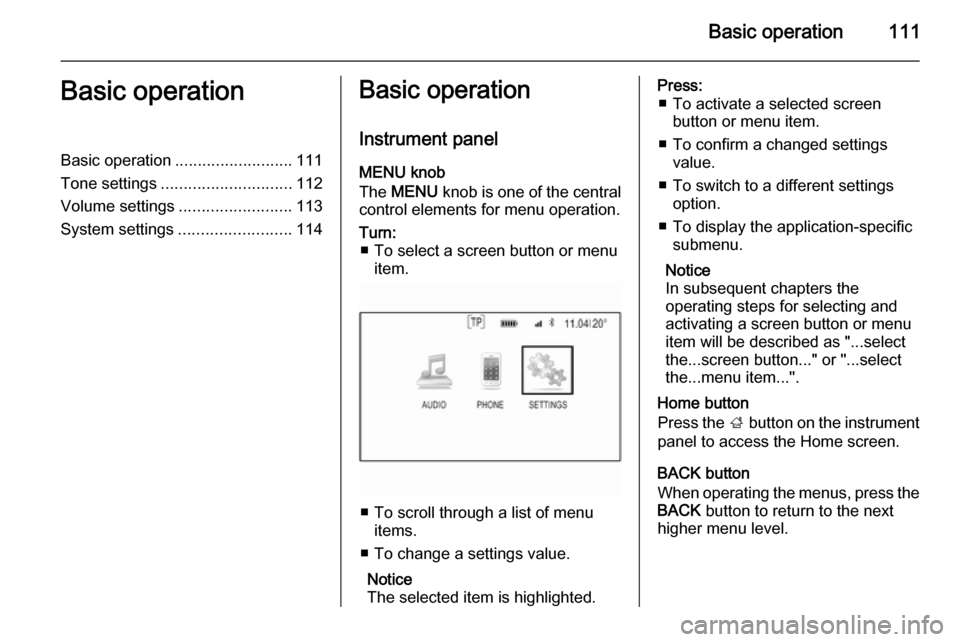
control elements for menu operation.Turn: ■ To select a screen button or menu item.
■ To scroll through a list of menu items.
■ To change a settings value.
Notice
The selected item is highlighted.
Press: ■ To activate a selected screen button or menu item.
■ To confirm a changed settings value.
■ To switch to a different settings option.
■ To display the application-specific submenu.
Notice
In subsequent chapters the
operating steps for selecting and
activating a screen button or menu
item will be described as "...select
the...screen button..." or "...select
the...menu item...".
Home button
Press the ; button on the instrument
panel to access the Home screen.
BACK button
When operating the menus, press the BACK button to return to the next
higher menu level.
Page 112 of 143
112Basic operation
Softkeys
Press one of the softkeys to activate
the favourite or function screen button displayed immediately above the
respective softkey.
Notice
In subsequent chapters the
operating steps for selecting and
activating a screen button or menu
item will be described as "...select
the...screen button..." or "...select
the...menu item...".
Steering wheel controls For an overview of all relevant
steering wheel controls, refer to
"Control elements overview" 3 106.
Five-way controller
The five-way controller is used to
operate the menus in the Driver
Information Centre.
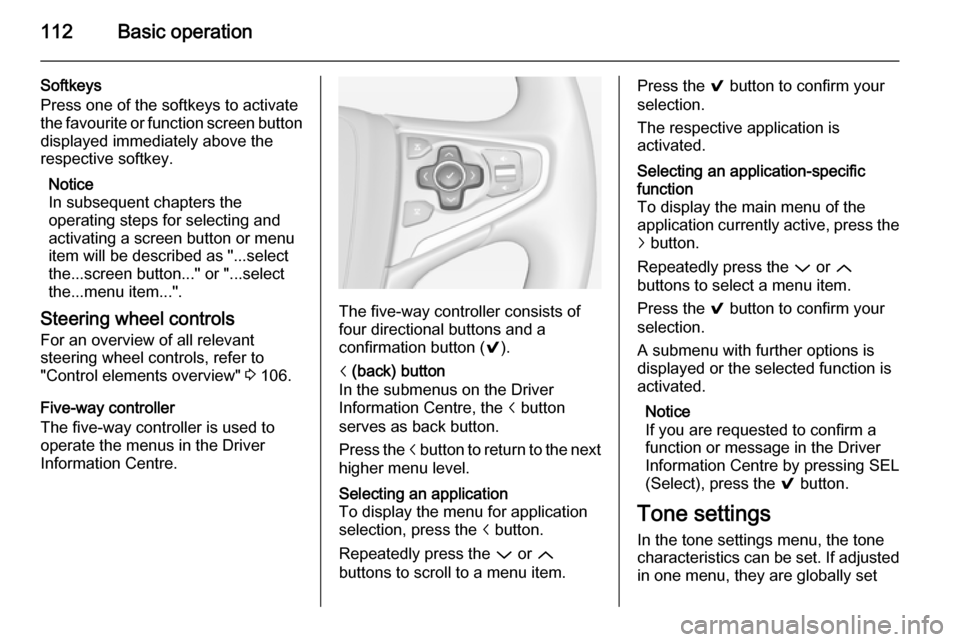
The five-way controller consists of
four directional buttons and a
confirmation button ( 9).
i (back) button
In the submenus on the Driver
Information Centre, the i button
serves as back button.
Press the i button to return to the next
higher menu level.Selecting an application
To display the menu for application
selection, press the i button.
Repeatedly press the P or Q
buttons to scroll to a menu item.Press the 9 button to confirm your
selection.
The respective application is
activated.Selecting an application-specific
function
To display the main menu of the
application currently active, press the j button.
Repeatedly press the P or Q
buttons to select a menu item.
Press the 9 button to confirm your
selection.
A submenu with further options is
displayed or the selected function is
activated.
Notice
If you are requested to confirm a
function or message in the Driver
Information Centre by pressing SEL
(Select), press the 9 button.
Tone settings
In the tone settings menu, the tone
characteristics can be set. If adjusted in one menu, they are globally set
Page 114 of 143
114Basic operation
To access the setting from an audio
main menu, press the MENU knob,
scroll through the list and select Auto
Volume .
To adjust the degree of volume
adaptation, set Auto Volume to one of
the available options.
Off : no enhancement of volume with
increasing vehicle speed.
High : maximum enhancement of
volume with increasing vehicle
speed.
System settings
Various settings and adaptions for the Infotainment system can be
performed via the SETTINGS
application.
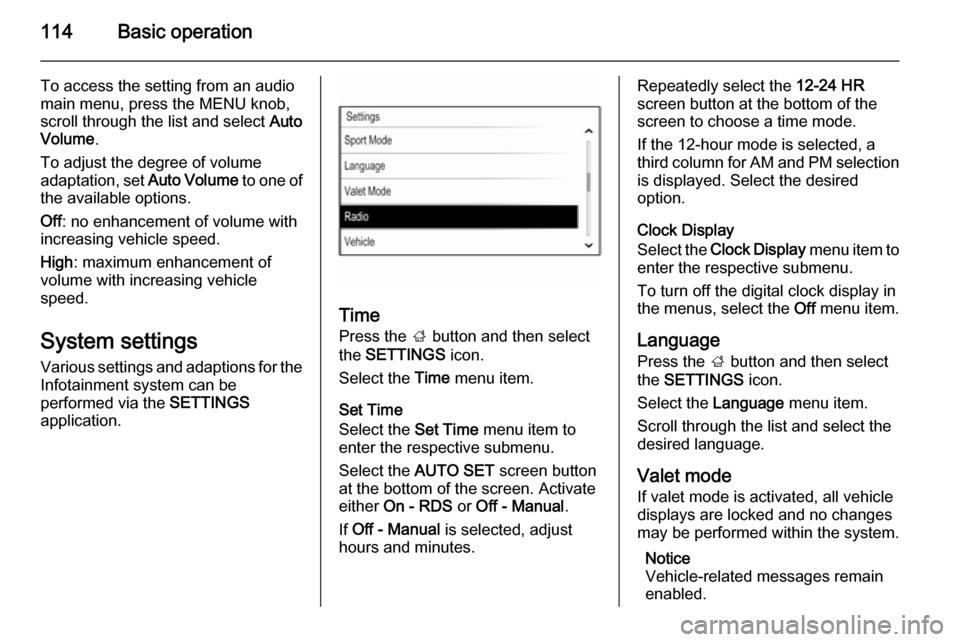
Time
Press the ; button and then select
the SETTINGS icon.
Select the Time menu item.
Set Time
Select the Set Time menu item to
enter the respective submenu.
Select the AUTO SET screen button
at the bottom of the screen. Activate
either On - RDS or Off - Manual .
If Off - Manual is selected, adjust
hours and minutes.
Repeatedly select the 12-24 HR
screen button at the bottom of the
screen to choose a time mode.
If the 12-hour mode is selected, a
third column for AM and PM selection
is displayed. Select the desired
option.
Clock Display
Select the Clock Display menu item to
enter the respective submenu.
To turn off the digital clock display in
the menus, select the Off menu item.
Language Press the ; button and then select
the SETTINGS icon.
Select the Language menu item.
Scroll through the list and select the
desired language.
Valet mode
If valet mode is activated, all vehicle displays are locked and no changes
may be performed within the system.
Notice
Vehicle-related messages remain enabled.
Page 115 of 143
Basic operation115
Locking the system
Press the ; button and then select
the SETTINGS icon.
Scroll through the list and select the
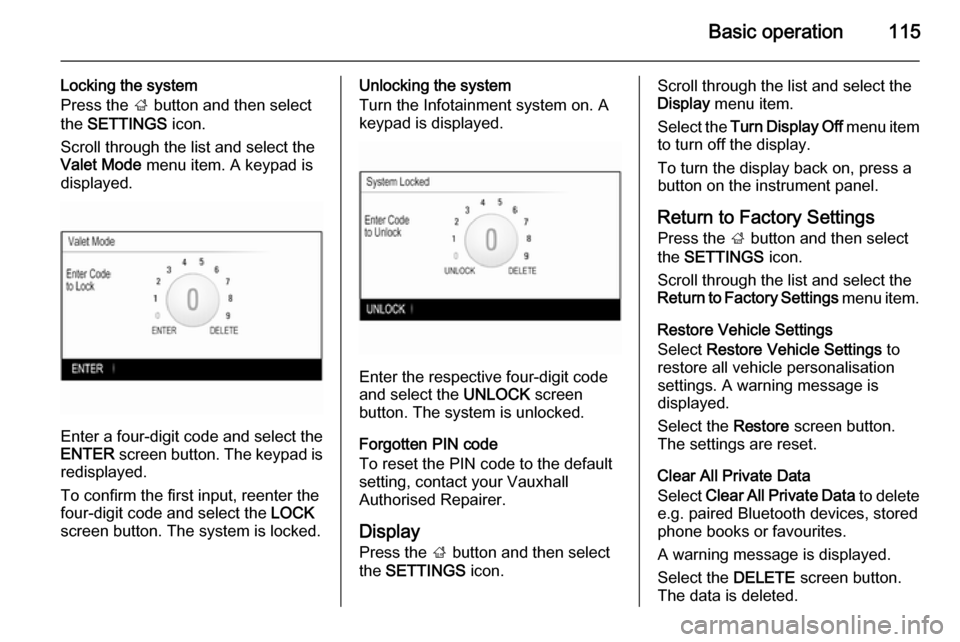
Valet Mode menu item. A keypad is
displayed.
Enter a four-digit code and select the
ENTER screen button. The keypad is
redisplayed.
To confirm the first input, reenter the
four-digit code and select the LOCK
screen button. The system is locked.
Unlocking the system
Turn the Infotainment system on. A
keypad is displayed.
Enter the respective four-digit code
and select the UNLOCK screen
button. The system is unlocked.
Forgotten PIN code
To reset the PIN code to the default
setting, contact your Vauxhall
Authorised Repairer.
Display Press the ; button and then select
the SETTINGS icon.
Scroll through the list and select the
Display menu item.
Select the Turn Display Off menu item
to turn off the display.
To turn the display back on, press a
button on the instrument panel.
Return to Factory Settings
Press the ; button and then select
the SETTINGS icon.
Scroll through the list and select the
Return to Factory Settings menu item.
Restore Vehicle Settings
Select Restore Vehicle Settings to
restore all vehicle personalisation
settings. A warning message is
displayed.
Select the Restore screen button.
The settings are reset.
Clear All Private Data
Select Clear All Private Data to delete
e.g. paired Bluetooth devices, stored
phone books or favourites.
A warning message is displayed.
Select the DELETE screen button.
The data is deleted.
Page 116 of 143
116Basic operation
Restore Radio Settings
Select Restore Radio Settings to
reset Infotainment settings, e.g. tone
settings.
A warning message is displayed.
Select the Restore screen button.
The settings are reset.
Software Information
Press the ; button and select the
SETTINGS icon.
Scroll through the list and select the
Software Information menu item.
This menu contains specific
information on the software.
Page 117 of 143
Radio117RadioUsage........................................ 117
Station search ............................ 117
Favourite lists ............................. 118
Radio data system (RDS) ..........120
Digital audio broadcasting .........121Usage
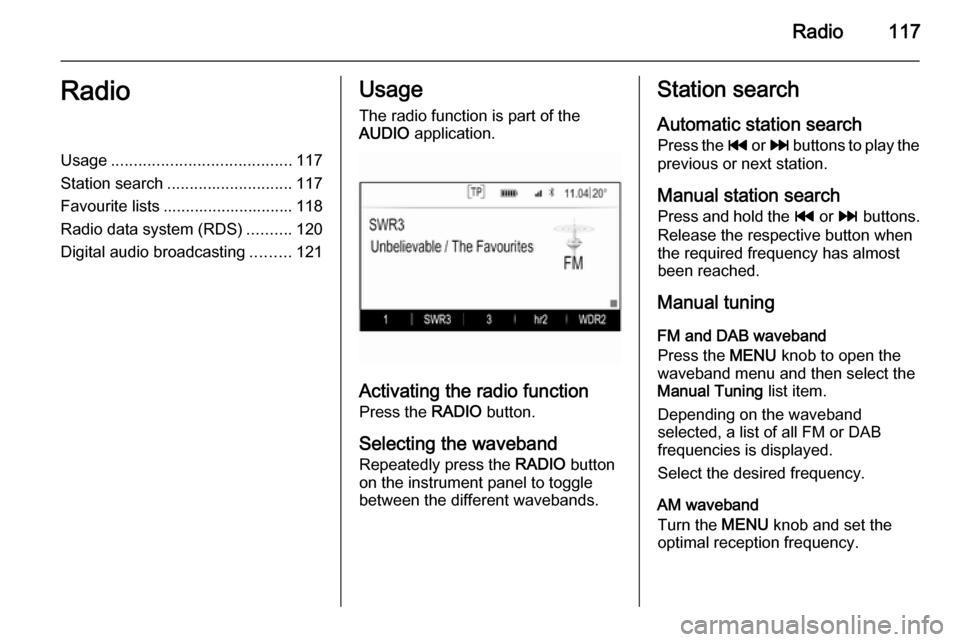
The radio function is part of the
AUDIO application.
Activating the radio function
Press the RADIO button.
Selecting the waveband
Repeatedly press the RADIO button
on the instrument panel to toggle between the different wavebands.
Station search
Automatic station search
Press the t or v buttons to play the
previous or next station.
Manual station search Press and hold the t or v buttons.
Release the respective button when
the required frequency has almost
been reached.
Manual tuning
FM and DAB waveband
Press the MENU knob to open the
waveband menu and then select the Manual Tuning list item.
Depending on the waveband
selected, a list of all FM or DAB
frequencies is displayed.
Select the desired frequency.
AM waveband
Turn the MENU knob and set the
optimal reception frequency.
Page 118 of 143
118Radio
Station lists
FM or DAB waveband
Turn the MENU knob to display a list
of all stations currently receivable.
Scroll through the list and select the
desired station.
AM waveband
Press the MENU knob to open the
waveband menu and then select the
Station List list item.
Select All Strong Stations to display a
list of all stations currently receivable.
Scroll through the list and select the
desired station.
Category lists
Numerous RDS 3 120 and DAB
3 121 stations broadcast a PTY
code, which specifies the type of
programme transmitted (e.g. news).
Some stations also change the PTY
code depending on the content which
is currently transmitted.
The Infotainment system stores these
stations, sorted by programme type in
the corresponding category list.Notice
The Categories list item is only
available for the FM and the DAB
wavebands.
Press the MENU knob to display the
respective waveband menu and
select the Categories list item.
A list of programme type categories
currently available is displayed.
Select the desired category. A list of
stations is displayed transmitting a
programme of the selected type.
Select the desired station.
Updating the station lists
FM and DAB waveband
Press the MENU knob to open the
waveband menu and select the
Update Station List menu item.
The respective station list is updated
Notice
If a waveband specific station list is
updated the corresponding category list (if available) is also updated.AM waveband
Press the MENU knob to open the
waveband menu and select the
Station List menu item.
Select Update Station List .
The station list is updated
Favourite lists
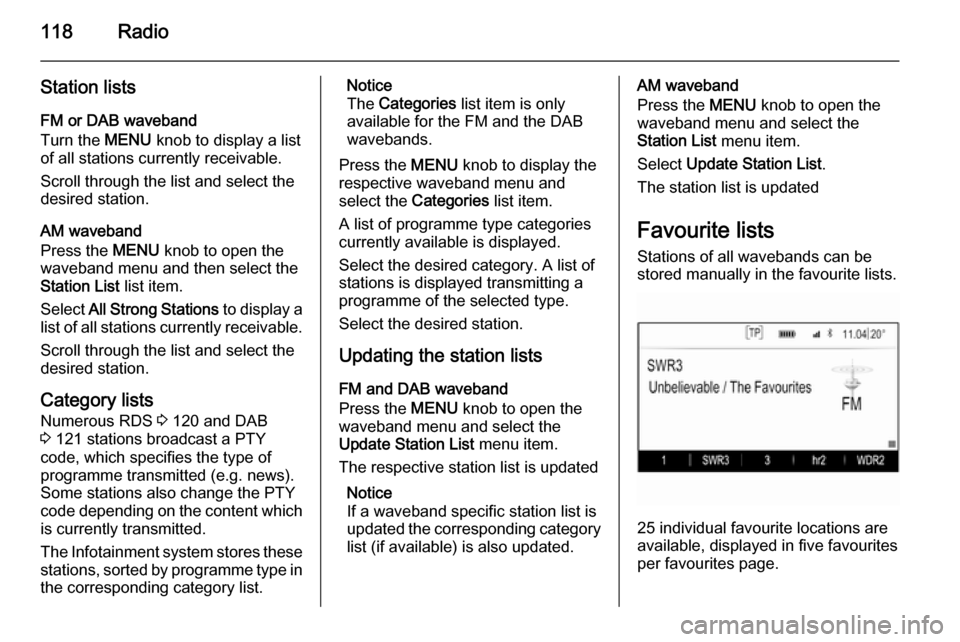
Stations of all wavebands can be
stored manually in the favourite lists.
25 individual favourite locations are
available, displayed in five favourites
per favourites page.
Page 119 of 143

Radio119
In the waveband main menus, a
favourites page is displayed at the
bottom of the screen by default.
To display the favourites list in all
other menus, select one of the
softkeys.
If a favourite location is occupied, the
favourite screen button displays the
label text of the respective favourite. If a favourite location is empty, the
position number of the favourite
location (1 to 25) is indicated.
Storing a station Set the station to be stored.
Press and hold the respective
favourite screen button until a
beeping sound is given out and the
station name is displayed on the
respective screen button.
The station is stored as a favourite.
Retrieving a station If necessary, press the N or O buttons
to scroll to the respective favourites page.Select the desired favourite screen
button. The respective radio station is
played.
Notice
The active favourite is highlighted.
Using the right-hand steering wheel
control
Repeatedly press the k or l buttons
to select the desired station.
Alternatively, using the five-way
controller: Press the i button to
display the cluster menu for
application selection. Select the
AUDIO list item and then Favorites.
Select the desired favourite.
Editing favourites
Press the ; button and then select
the SETTINGS icon. Select the
Radio menu item and then Manage
Favorites .
All favourites are displayed on the screen.
Deleting favourites
Select the favourite you wish to
delete.
Select the DELETE screen button.
The favourite and all associated data
are deleted.
Moving favourites
Select the favourite you wish to move
and then select the MOVE screen
button.
Select the favourite location to which
the respective favourite may be
moved and select the DROP screen
button.