Page 339 of 540
3396-4. Using the other interior features
6
Interior features
YARIS_F_WE_52G04E
Fold down the armrest for use.
The panoramic roof shade can be opened and closed manually.
■Opening the panoramic roof shade
Pushing the tabs will release
the lock, and the shade can be
opened.
■Closing the panoramic roof shade
Pull the tabs to the lock position
to close the shade.
Armrest (if equipped)
NOTICE
■ To prevent damage to the armrest
Do not apply too much load on the armrest.
Panoramic roof shade (if equipped)
Page 398 of 540
3987-3. Do-it-yourself maintenance
YARIS_F_WE_52G04E
Engine compartment: type C fuse box (left-hand drive vehicles)
Pull the rubber strip on the
edge to unhook it from the
cover, and then push the
tabs in and lift the cover off.
Remove the battery terminal
cover and then the fuse box
cover.
Engine compartment: type C fuse box (right-hand drive vehicles)
Pull the rubber strip on the
edge to unhook it from the
cover, and then push the
tabs in and lift the cover off.
Remove the battery terminal
cover and then the fuse box
cover.
1
2
1
2
Page 405 of 540
4057-3. Do-it-yourself maintenance
7
Maintenance and care
YARIS_F_WE_52G04E
■Halogen headlights
Reflector type
Unplug the connector.
Remove the rubber cover.
Release the bulb retaining
spring.
Remove the bulb.
To install a new bulb, align tabs
of the bulb with the cutouts of
the mounting hole.
Replacing light bulbs
1
2
3
4
Page 406 of 540
4067-3. Do-it-yourself maintenance
YARIS_F_WE_52G04E
Set the new light bulb.
Align the 3 tabs on the light bulb
with the mounting and insert.
Install the bulb retaining
spring.
Install the rubber cover.
Ensure the rubber cover is
securely attached.
Fit the rubber cover outer
circumference in firmly.
Fit the rubber cover
around the light bulb in
until the light bulb plug can
be seen.
Install the connector.
5
6
7
1
2
8
Page 407 of 540
4077-3. Do-it-yourself maintenance
7
Maintenance and care
YARIS_F_WE_52G04E
Projector type
Turn the bulb base counter-
clockwise.
Pull the bulb out while press-
ing the lock release of the
connector.
Replace the light bulb, and
install the bulb base.
Align the 3 tabs on the light bulb
with the mounting and insert.
Turn and secure the bulb
base.
Shake the bulb base gently to
check that it is not loose, turn
the headlights on once and visu-
ally confirm that no light is leak-
ing through the mounting.
1
2
3
14
Page 409 of 540
4097-3. Do-it-yourself maintenance
7
Maintenance and care
YARIS_F_WE_52G04E
Turn the bulb base counter-
clockwise.
Set the new light bulb.
Align the 3 tabs on the light bulb
with the mounting, and insert.
Turn and secure the bulb.
Install the connector.
Shake the bulb base gently to
check that it is not loose, turn
the front fog light, on once and
visually confirm that no light is
leaking through the mounting.
5
6
7
8
Page 413 of 540
4137-3. Do-it-yourself maintenance
7
Maintenance and care
YARIS_F_WE_52G04E
After installing the new bulb,
secure the bulb base to the
mirror body.
Align the tabs, and secure
the mirror by pushing in each
diagonally-opposite pair of
tabs in order.
Make sure to insert the tabs in
order as shown in the illustra-
tion, and push them in until a
click is heard.
If you do not hear the click, do
not force the tabs in. Instead,
remove the mirror and check
that the tabs are aligned.
■Stop/tail lights (bulb type), and rear turn signal lights
Open the back door and
remove the cover.
To prevent damaging the vehi-
cle, wrap the screwdriver with a
tape.
Turn the bulb base counter-
clockwise.
Stop/tail light
Rear turn signal light
5
6
1
2
1
2
Page 432 of 540

4328-2. Steps to take in an emergency
YARIS_F_WE_52G04E
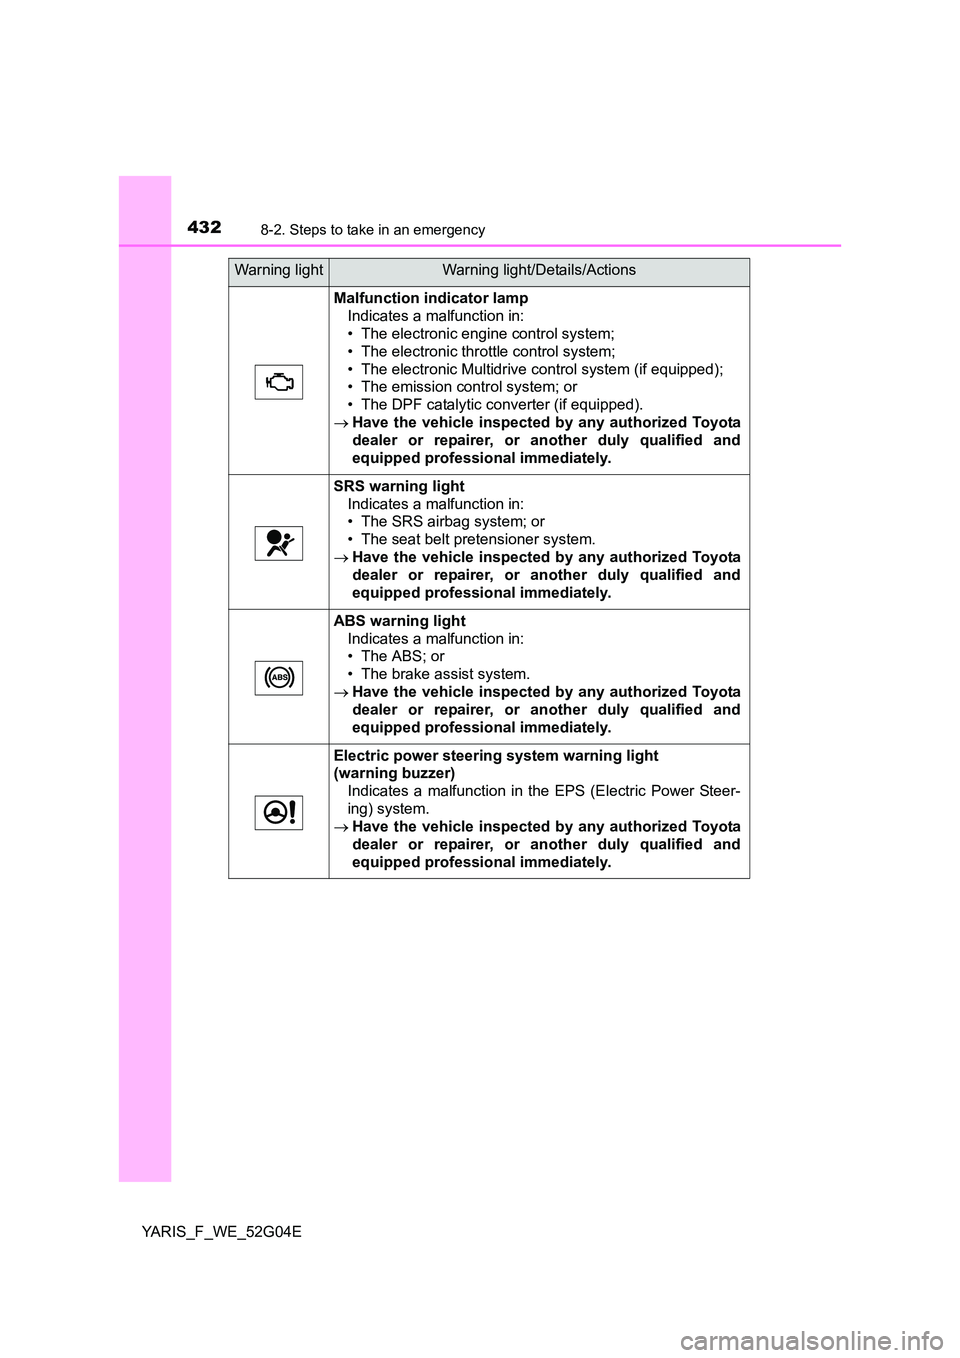
Malfunction indicator lamp
Indicates a malfunction in:
• The electronic engine control system;
• The electronic throttle control system;
• The electronic Multidrive control system (if equipped);
• The emission control system; or
• The DPF catalytic converter (if equipped).
Have the vehicle inspected by any authorized Toyota
dealer or repairer, or another duly qualified and
equipped professional immediately.
SRS warning light
Indicates a malfunction in:
• The SRS airbag system; or
• The seat belt pretensioner system.
Have the vehicle inspected by any authorized Toyota
dealer or repairer, or another duly qualified and
equipped professional immediately.
ABS warning light
Indicates a malfunction in:
• The ABS; or
• The brake assist system.
Have the vehicle inspected by any authorized Toyota
dealer or repairer, or another duly qualified and
equipped professional immediately.
Electric power steering system warning light
(warning buzzer)
Indicates a malfunction in the EPS (Electric Power Steer-
ing) system.
Have the vehicle inspected by any authorized Toyota
dealer or repairer, or another duly qualified and
equipped professional immediately.
Warning lightWarning light/Details/Actions