Page 419 of 650

419 4-3. Do-it-yourself maintenance
4
Maintenance and care
CAUTION
When raising your vehicle
Make sure to observe the following to reduce the possibility of death or seri-
ous injury.
When using a floor jack, follow the instructions of the manual provided with
the jack.
Do not use the jack that was supplied with your vehicle.
Do not put any part of your body or get underneath the vehicle supported
only by the floor jack.
Always use floor jack and/or automotive jack stands on a solid, flat, level
surface.
Do not start the engine while the vehicle is supported by the floor jack.
Stop the vehicle on level firm ground, firmly set the parking brake and put
the shift lever in “P” (Multidrive or automatic transmission) or “R” (manual
transmission).
Make sure to set the floor jack properly at the jack point.
Raising the vehicle with an improperly positioned floor jack will damage
the vehicle and may cause the vehicle to fall off the floor jack.
Do not raise the vehicle while someone is in the vehicle.
When raising the vehicle, do not place any objects on top of or underneath
the floor jack.
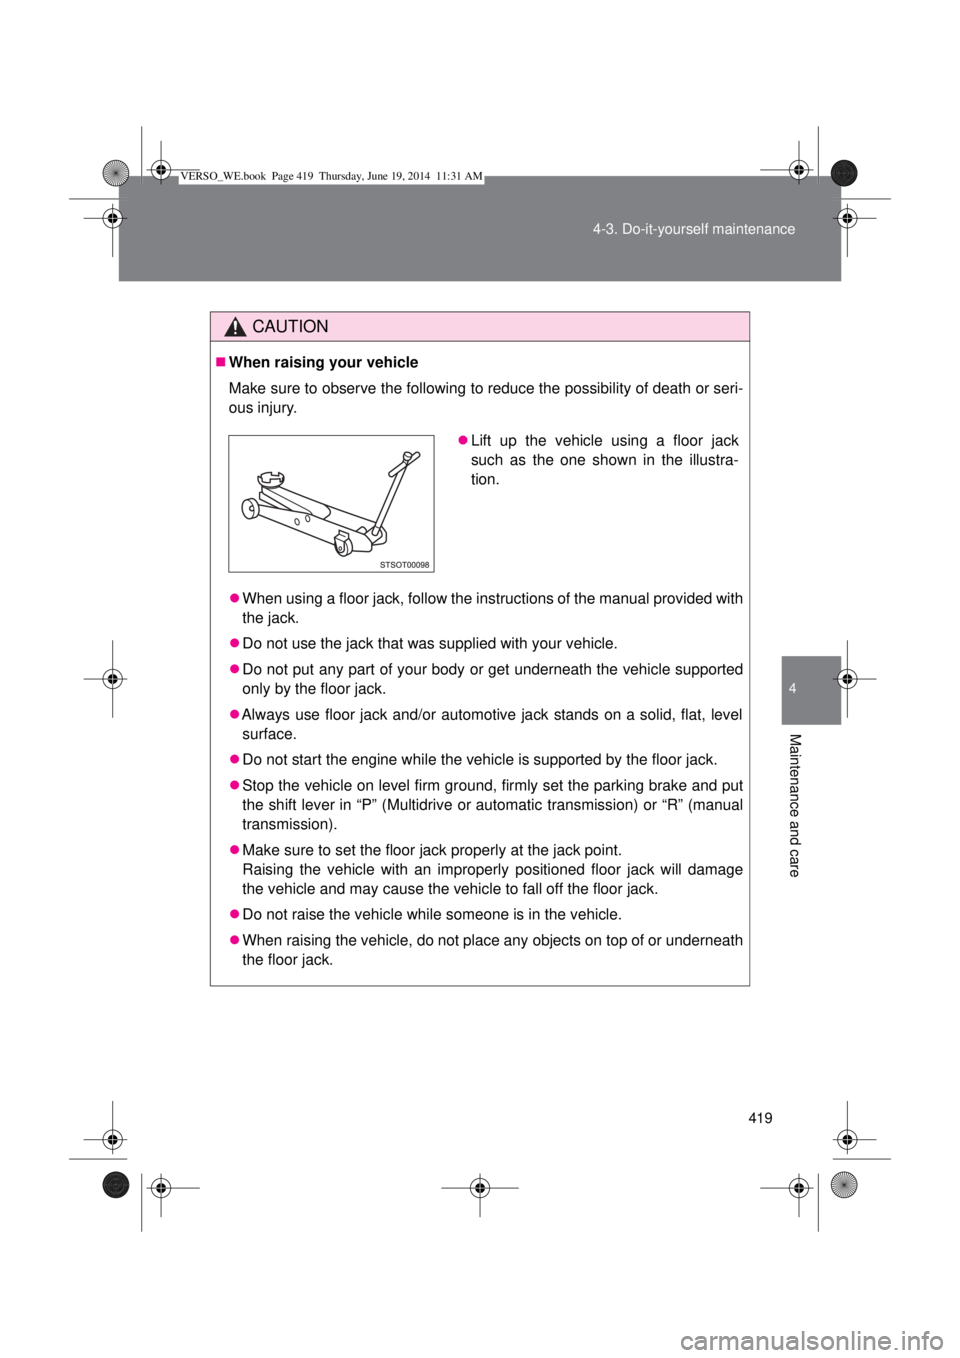
Lift up the vehicle using a floor jack
such as the one shown in the illustra-
tion.
VERSO_WE.book Page 419 Thursday, June 19, 2014 11:31 AM
Page 428 of 650

428 4-3. Do-it-yourself maintenance
Engine oil consumption
A certain amount of engine oil will be consumed while driving. In the follow-
ing situations, oil consumption may increase, and engine oil may need to be
refilled in between oil maintenance intervals.
When the engine is new, for example directly after purchasing the vehicle
or after replacing the engine
If low quality oil or oil of an inappropriate viscosity is used
When driving at high engine speeds or with a heavy load, when towing,
or when driving while accelerating or decelerating frequently
When leaving the engine idling for a long time, or when driving frequently
through heavy traffic
After changing the engine oil (diesel engine only)
The engine oil maintenance should be reset. Perform the following proce-
dures:
1AD-FTV and 2AD-FHV engines
Vehicles without smart entry & start system:
Switch the display to trip meter A (P. 230) when the engine is run-
ning.
Turn the engine switch to the “LOCK” position.
While pressing the trip meter reset button, set the engine switch to
the “ON” position (but do not start the engine because otherwise
the reset mode will be canceled). Continue to press and hold the
button until the multi-information display indicates that the reset is
complete.
Vehicles with smart entry & start system:
Switch the display to trip meter A (P. 230) when the engine is run-
ning.
Turn the “ENGINE START STOP” switch off.
While pressing the trip meter reset button, set the “ENGINE START
STOP” switch to IGNITION ON mode (but do not start the engine
because otherwise the reset mode will be canceled). Continue to
press and hold the button until the multi-information display indi-
cates that the reset is complete.
VERSO_WE.book Page 428 Thursday, June 19, 2014 11:31 AM
Page 429 of 650

429 4-3. Do-it-yourself maintenance
4
Maintenance and care
1WW-FHV engine
Switch the display to the trip meter A (P. 230) and then turn the
engine switch to the “ON” position (vehicles without smart entry &
start system) or the “ENGINE START STOP” switch to IGNITION
ON mode (vehicles with smart entry & start system).
While pressing the display change button (P. 230), turn the
engine switch to the “LOCK” position (vehicles without smart entry
& start system) or “ENGINE START STOP” switch off (vehicles with
smart entry & start system).
Turn the engine switch to the “ON” position (vehicles without smart
entry & start system) or the “ENGINE START STOP” switch to
IGNITION ON mode (vehicles with smart entry & start system).
CAUTION
Used engine oil
Used engine oil contains potentially harmful contaminants which may
cause skin disorders such as inflammation or skin cancer, so care should
be taken to avoid prolonged and repeated contact. To remove used engine
oil from your skin, wash thoroughly with soap and water.
Dispose of used oil and filters only in a safe and acceptable manner. Do
not dispose of used oil and filters in household trash, in sewers or onto the
ground. Call any authorized Toyota dealer or repairer, or another duly
qualified and equipped professional, service station or auto parts store for
information concerning recycling or disposal.
Do not leave used engine oil within the reach of children.
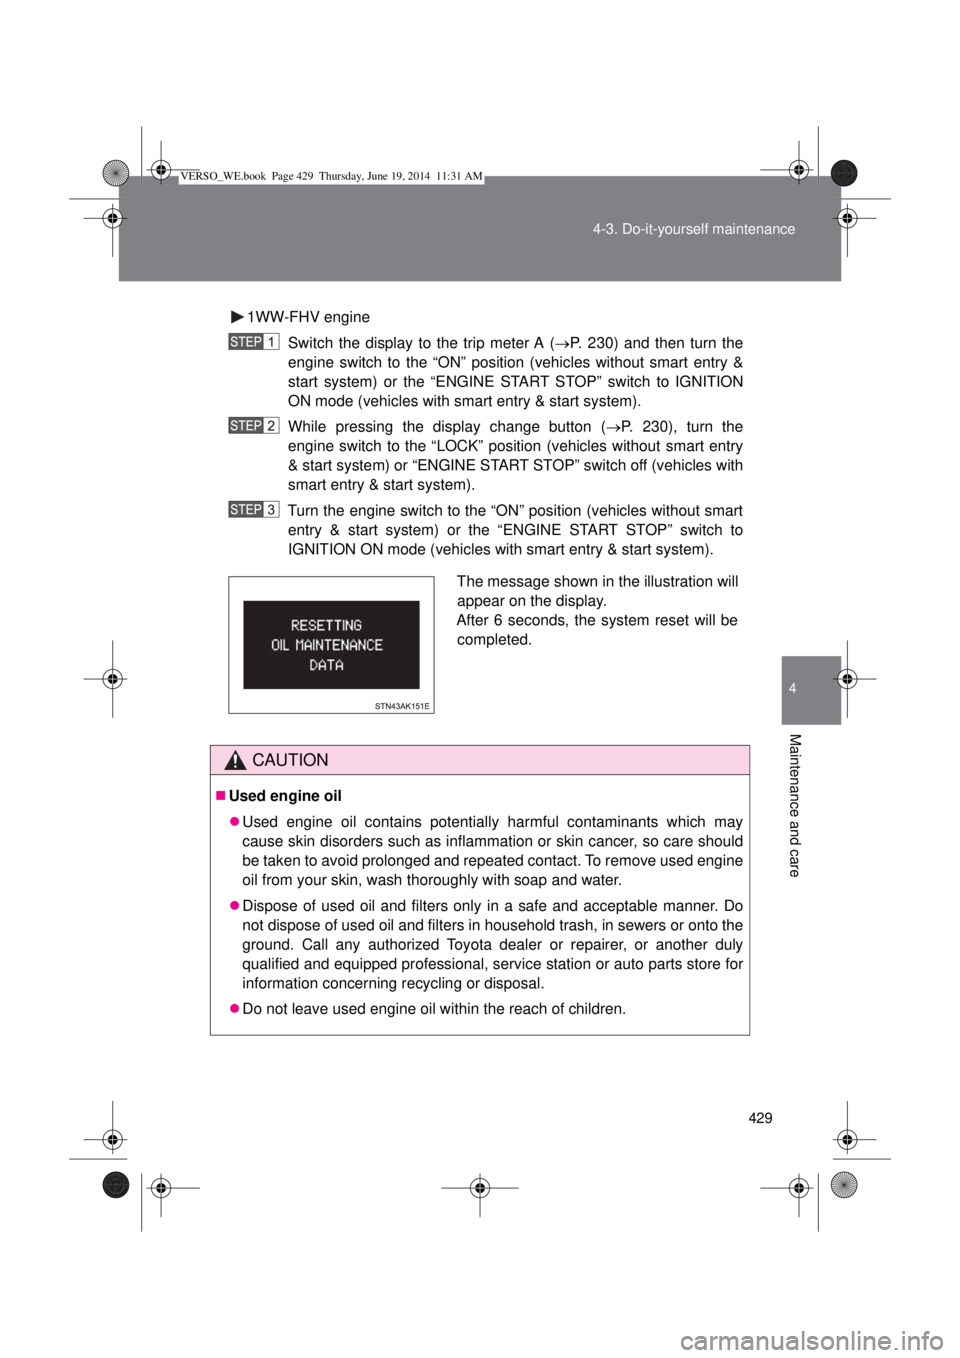
The message shown in the illustration will
appear on the display.
After 6 seconds, the system reset will be
completed.
VERSO_WE.book Page 429 Thursday, June 19, 2014 11:31 AM
Page 439 of 650

439 4-3. Do-it-yourself maintenance
4
Maintenance and care
Fuel filter (diesel engine only)
The water in the fuel filter needs to be drained in either of the follow-
ing situations:
• The “DRAIN WATER FROM FUEL FILTER” warning message is
shown on the multi-information display and a buzzer sounds.
(P. 525)
• 1WW-FHV engine only: Every 20000 km (12000 miles) or 12
months.
1AD-FTV and 2AD-FHV engines
You may drain the fuel filter yourself. However, as the operation is dif-
ficult, we recommend having it drained by any authorized Toyota
dealer or repairer, or another duly qualified and equipped profes-
sional. Even if you decide to drain it yourself, contact any authorized
Toyota dealer or repairer, or another duly qualified and equipped pro-
fessional.
Vehicles without smart entry & start system:
Turn the engine switch to the “LOCK” position.
Vehicles with smart entry & start system:
Turn the “ENGINE START STOP” switch off.
Place a small tray under the drain plug to catch the water and
any fuel that comes out.
Turn the drain plug counterclock-
wise about 2 to 2 1/2 turns.
VERSO_WE.book Page 439 Thursday, June 19, 2014 11:31 AM
Page 445 of 650

445 4-3. Do-it-yourself maintenance
4
Maintenance and care
Initializing the tire pressure warning system (if equipped)
The tire pressure warning system must be initialized in the fol-
lowing circumstances:
When rotating front and rear tires which have different tire infla-
tion pressures
When the tire inflation pressure is changed such as when
changing traveling speed
When changing the tire size
When the tire pressure warning system is initialized, the current
tire inflation pressure is set as the benchmark pressure.
How to initialize the tire pressure warning system (if
equipped)
Park the vehicle in a safe place and turn the engine switch to
the “LOCK” position (vehicles without smart entry & start sys-
tem) or the “ENGINE START STOP” switch off (vehicles with
smart entry & start system).
Initialization cannot be performed while the vehicle is moving.
Adjust the tire inflation pressure to the specified cold tire infla-
tion pressure level. (P. 621)
Make sure to adjust the tire pressure to the specified cold tire infla-
tion pressure level. The tire pressure warning system will operate
based on this pressure level.
Turn the engine switch to the “ON” position (vehicles without
smart entry & start system) or the “ENGINE START STOP”
switch to IGNITION ON mode (vehicles with smart entry &
start system).
VERSO_WE.book Page 445 Thursday, June 19, 2014 11:31 AM
Page 446 of 650
446 4-3. Do-it-yourself maintenance
Press and hold the tire pressure
warning reset switch until the tire
pressure warning light blinks
slowly 3 times.
Vehicles without smart entry & start system: Wait for a few
minutes with the engine switch in the “ON” position and then
turn the engine switch to the “ACC” or “LOCK” position.
Vehicles with smart entry & start system: Wait for a few min-
utes with the “ENGINE START STOP” switch in IGNITION ON
mode and then turn the “ENGINE START STOP” switch off.
VERSO_WE.book Page 446 Thursday, June 19, 2014 11:31 AM
Page 462 of 650
462
4-3. Do-it-yourself maintenance
Air conditioning filter
The air conditioning filter must be changed regularly to maintain air
conditioning efficiency.
Removal method
Vehicles without smart entry & start system:
Turn the engine switch to the “LOCK” position.
Vehicles with smart entry & start system:
Turn the “ENGINE START STOP” switch off.
Open the glove box. Slide off
the damper.
Push in each side of the glove
box to disconnect the claws.
VERSO_WE.book Page 462 Thursday, June 19, 2014 11:31 AM
Page 469 of 650
469
4-3. Do-it-yourself maintenance
4
Maintenance and care
Checking and replacing fuses
If any of the electrical components do not operate, a fuse may have
blown. If this happens, check and replace the fuses as necessary.
Vehicles without smart entry & start system:
Turn the engine switch to the “LOCK” position.
Vehicles with smart entry & start system:
Turn the “ENGINE START STOP” switch off.
The fuses are located in the following places. To check the
fuses, follow the instructions below.
Engine compartment
Push the tab in and lift the lid
off.
Under the driver’s side instrument panel (left-hand drive
vehicles)
Type A
Remove the lid.
VERSO_WE.book Page 469 Thursday, June 19, 2014 11:31 AM