Page 237 of 644
237
2-2. Instrument cluster
PRIUS_OM_OM47A17U_DVD_(U)
2
When driving
■
Setting the calendar
Select “CALENDAR”.
Press and hold the “DISP” button
to enter the setting mode.
Select the date by pressing the
“DISP” or “TRIP” button.
Press and hold the button to
change the date continuously.
If neither button is operated for
approximately 5 seconds, the set-
ting will be changed and the
screen will return to the previous
display.
STEP 1
STEP 2
Page 238 of 644
238 2-2. Instrument cluster
PRIUS_OM_OM47A17U_DVD_(U)
■Switching the EV indicator and Eco Driving Indicator Light
activated or deactivated
Select “EV/ECO”.
Press and hold the “DISP” button
to enter the setting mode.
Select “ON” or “OFF”.
Press and hold the “DISP” button
to finish setting.
STEP 1
STEP 2
Page 243 of 644

243
2-2. Instrument cluster
PRIUS_OM_OM47A17U_DVD_(U)
2
When driving
■
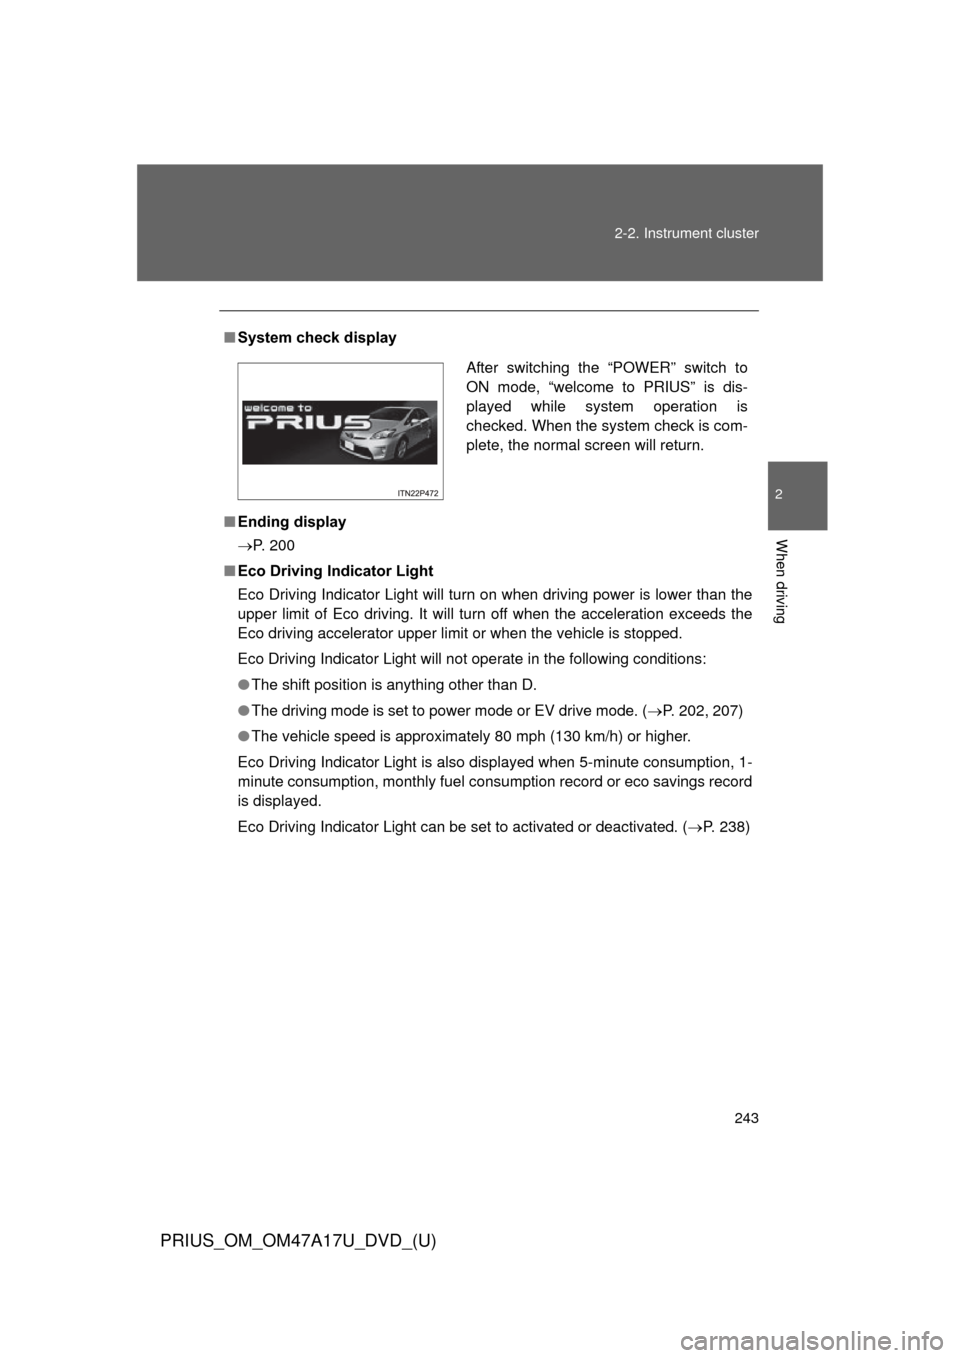
System check display
■ Ending display
P. 200
■ Eco Driving Indicator Light
Eco Driving Indicator Light will turn on when driving power is lower than the
upper limit of Eco driving. It will turn off when the acceleration exceeds the
Eco driving accelerator upper limit or when the vehicle is stopped.
Eco Driving Indicator Light will not operate in the following conditions:
●The shift position is anything other than D.
● The driving mode is set to power mode or EV drive mode. ( P. 202, 207)
● The vehicle speed is approximately 80 mph (130 km/h) or higher.
Eco Driving Indicator Light is also displayed when 5-minute consumption, 1-
minute consumption, monthly fuel cons umption record or eco savings record
is displayed.
Eco Driving Indicator Light can be set to activated or deactivated. ( P. 238)
After switching the “POWER” switch to
ON mode, “welcome to PRIUS” is dis-
played while system operation is
checked. When the system check is com-
plete, the normal screen will return.
Page 244 of 644

244 2-2. Instrument cluster
PRIUS_OM_OM47A17U_DVD_(U)
■Driving in Eco drive mode
The multi-information display will automatically switch the display to Hybrid
System Indicator, regardless of which display is currently being shown.
(P. 227)
■ Touch tracer display (if equipped)
●The touch tracer display can be set to not display even if the steering
switches are touched.
● Only the circular, rubber-covered switches have a built-in touch sensor.
Touching any of the other switches will not display the touch tracer dis-
play.
■ Display settings can be changed when
The vehicle speed is less than approximately 5 mph (8 km/h).
■ Engine speed
On hybrid vehicles, engine speed is precisely controlled in order to help
improve fuel efficiency and reduce exhaust emissions etc. There are times
when the engine speed that is displayed may differ even when vehicle oper-
ation and driving conditions are the same.
■ When the 12-volt battery is disconnected
The following data will be reset.
●Average fuel consumption
● Distance to empty
● Average vehicle speed
● Clock
● Display settings
● Trip meter
Page 257 of 644

257
2-3. Operating the lights and windshield wipers
PRIUS_OM_OM47A17U_DVD_(U)
2
When driving
■
Headlight control sensor (if equipped)
■ Automatic light off system
●When the headlights come on: The headlights and tail lights turn off 30
seconds after a door is opened and closed if the “POWER” switch is
turned to ACCESSORY mode or turned off. (The lights turn off immedi-
ately if on the key is pressed after all the doors are locked.)
● When only the tail lights come on: The tail lights turn off automatically if
the “POWER” switch is turned to ACCESSORY mode or turned off and
the driver’s door is opened.
To turn the lights on again, turn the “POWER” switch to ON mode, or turn the
light switch off once and then back to or .
The sensor may not function properly if
an object is placed on the sensor, or any-
thing that blocks the sensor is affixed to
the windshield.
Doing so interferes with the sensor
detecting the level of ambient light and
may cause the automatic headlight sys-
tem to malfunction.
Air conditioning operation may also be
interrupted.
ITO23P105
Page 274 of 644
274 2-4. Using other driving systems
PRIUS_OM_OM47A17U_DVD_(U)
■Setting the vehicle speed (vehicle-to-vehicle distance con-
trol mode)
Press the “ON-OFF” button to
activate the cruise control.
Radar cruise control indicator
will come on.
Press the button again to
deactivate the cruise control.
Accelerate or decelerate the
vehicle to the desired speed,
and push the lever down to set
the speed.
“SET” indicator will come on.
The vehicle speed at the
moment the lever is released
becomes the set speed.
STEP 1
STEP 2
Page 275 of 644

275
2-4. Using other
driving systems
PRIUS_OM_OM47A17U_DVD_(U)
2
When driving
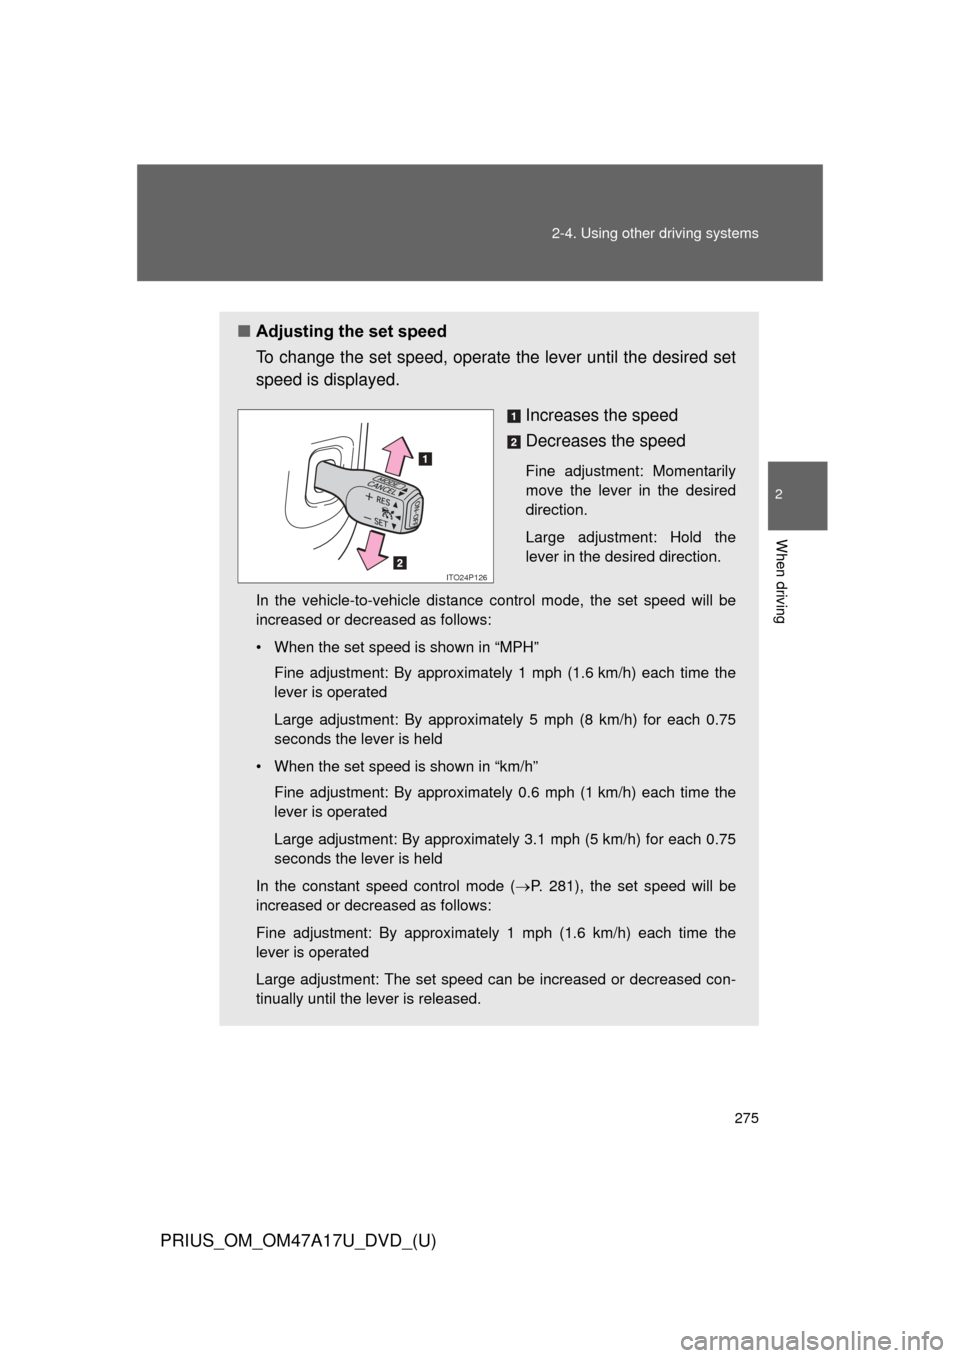
■Adjusting the set speed
To change the set speed, operate the lever until the desired set
speed is displayed.
Increases the speed
Decreases the speed
Fine adjustment: Momentarily
move the lever in the desired
direction.
Large adjustment: Hold the
lever in the desired direction.
In the vehicle-to-vehicle distance control mode, the set speed will be
increased or decreased as follows:
• When the set speed is shown in “MPH” Fine adjustment: By approximately 1 mph (1.6 km/h) each time the
lever is operated
Large adjustment: By approximately 5 mph (8 km/h) for each 0.75
seconds the lever is held
• When the set speed is shown in “km/h” Fine adjustment: By approximately 0.6 mph (1 km/h) each time the
lever is operated
Large adjustment: By approximately 3.1 mph (5 km/h) for each 0.75
seconds the lever is held
In the constant speed control mode ( P. 281), the set speed will be
increased or decreased as follows:
Fine adjustment: By approximately 1 mph (1.6 km/h) each time the
lever is operated
Large adjustment: The set speed can be increased or decreased con-
tinually until the lever is released.
ITO24P126
Page 281 of 644
281
2-4. Using other
driving systems
PRIUS_OM_OM47A17U_DVD_(U)
2
When driving
Selecting conventional cons tant speed control mode
Constant speed control mode differ s from vehicle-to-vehicle distance
control mode. When constant speed mode is selected, your vehicle
will maintain a set speed regardless of whether or not there are other
vehicles in the lane ahead.
Press the “ON-OFF” button to
activate the cruise control.
Press the button again to deacti-
vate the cruise control.
Switch to constant speed con-
trol mode.
(Push the lever forward and
hold for approximately 1 sec-
ond.)
Cruise control indicator will come
on.
When in constant speed control
mode, to return to vehicle-to-vehi-
cle distance control mode, push
the lever forward again and hold
for approximately 1 second.
After the desired speed has been
set, it is not possible to return to
vehicle-to-vehicle distance con-
trol mode.