Page 403 of 540

4036-3. Do-it-yourself maintenance
6
Maintenance and care
HILUX_OM_OM0K219E_(EE)
CAUTION
■When replacing wheels
● Do not use wheels that are a different size from those recommended in the
Owner’s Manual, as this may result in a loss of handling control.
● Never use an inner tube in a leaking wheel which is designed for a tube-
less tire. Doing so may result in an accident, causing death or serious
injury.
■ When installing the wheel nuts
● Never use oil or grease on the wheel bolts or wheel nuts.
Oil and grease may cause the wheel nuts to be excessively tightened,
leading to bolt or disc wheel damage. In addition, the oil or grease can
cause the wheel nuts to loosen and the wheel may fall off, causing an acci-
dent and resulting in death or serious injury. Remove any oil or grease
from the wheel bolts or wheel nuts.
■ Use of defective wheels prohibited
Do not use cracked or deformed wheels.
Doing so could cause the tire to leak air during driving, possibly causing an
accident.
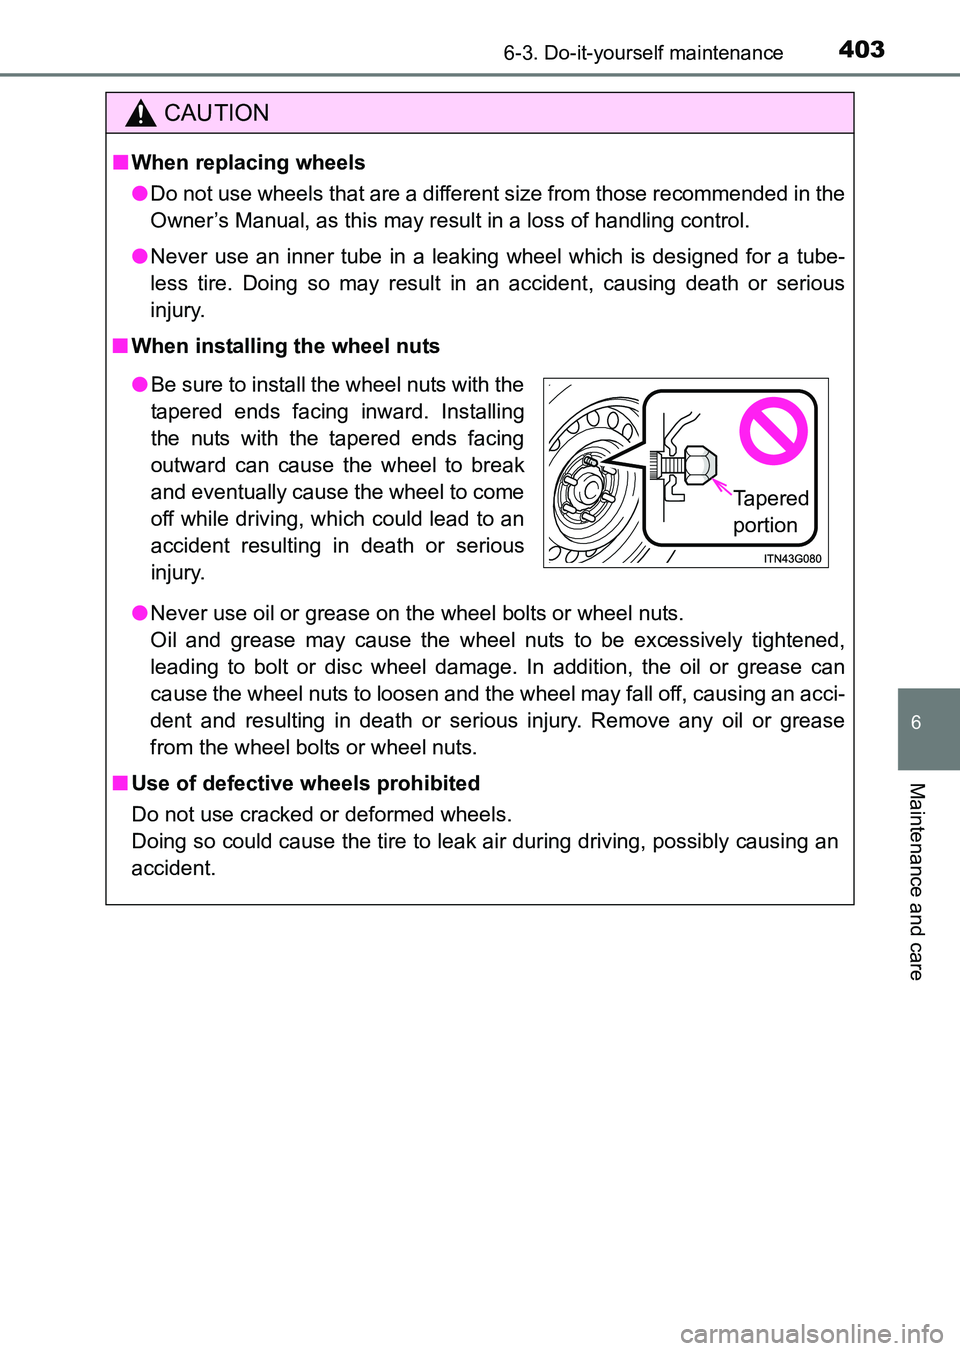
● Be sure to install the wheel nuts with the
tapered ends facing inward. Installing
the nuts with the tapered ends facing
outward can cause the wheel to break
and eventually cause the wheel to come
off while driving, which could lead to an
accident resulting in death or serious
injury.
Tapered
portion
HILUX_OM_OM0K219E_(EE).book Page 403 Wednesday, May 14, 2014 3:06 PM
Page 426 of 540
4266-3. Do-it-yourself maintenance
HILUX_OM_OM0K219E_(EE)■
Front position lights
To allow enough working
space, turn the steering
wheel to the opposite side of
the bulb to be replaced.
Remove the bolts and clip.
Removing the clip
Installing the clip
1
1
2
HILUX_OM_OM0K219E_(EE).book Page 426 Wednesday, May 14, 2014 3:06 PM
Page 428 of 540
4286-3. Do-it-yourself maintenance
HILUX_OM_OM0K219E_(EE)■
Front turn signal lights
To allow enough working
space, turn the steering
wheel to the opposite side of
the bulb to be replaced.
Remove the bolts and clip.
Removing the clip
Installing the clip
1
1
2
HILUX_OM_OM0K219E_(EE).book Page 428 Wednesday, May 14, 2014 3:06 PM
Page 431 of 540
4316-3. Do-it-yourself maintenance
6
Maintenance and care
HILUX_OM_OM0K219E_(EE)■
Front fog lights (if equipped)
To allow enough working
space, turn the steering
wheel to the opposite side of
the bulb to be replaced.
Remove the bolts and clip.
Removing the clip
Installing the clip
1
1
2
HILUX_OM_OM0K219E_(EE).book Page 431 Wednesday, May 14, 2014 3:06 PM
Page 463 of 540
4637-2. Steps to take in an emergency
7
When trouble arises
HILUX_OM_OM0K219E_(EE)
For vehicles with the padlock at type A position (→P. 458), remove
the padlock.
Assembling the jack handle.
Remove the jack handle end, jack handle extensions and wheel nut
wrench from the tool bag and assemble by following these steps.
Loosen the bolts using a
screwdriver.
Assemble the jack handle
end, jack handle extensions
and wheel nut wrench and
tighten the bolts.
Check that the bolts are firmly
tightened.
Insert the jack handle extension
into the lowering screw.Lower
Raise
Place a rag under the jack han-
dle extension to protect the
bumper.
Taking out the spare tire
1
2
1
2
3
1
2
HILUX_OM_OM0K219E_(EE).book Page 463 Wednesday, May 14, 2014 3:06 PM