2015 TOYOTA AYGO inflation pressure
[x] Cancel search: inflation pressurePage 4 of 440

TABLE OF CONTENTS4
AYGO_EE_OM99J92E
5-8. Bluetooth® Phone
Making a phone call ...........244
Receiving a phone call.......246
Speaking on the phone ......247
5-9. Bluetooth®
Bluetooth®.........................249
6-1. Using the air conditioning
system and defogger
Manual air conditioning
system .............................256
Automatic air conditioning
system .............................262
Seat heaters ......................268
6-2. Using the interior lights
Interior lights list .................270
• Interior light ....................270
6-3. Using the storage features
List of storage features ......271
• Glove box ......................272
• Card holders ..................272
• Cup holders ...................272
• Bottle holders ................273
Luggage compartment
features............................275
6-4. Other interior features
Other interior features ........277
• Sun visors ......................277
• Vanity mirrors ................277
• Clock .............................278
• Outside temperature
display ...........................279
• Power outlet ..................280
7-1. Maintenance and care
Cleaning and protecting
the vehicle exterior .......... 282
Cleaning and protecting
the vehicle interior ........... 285
7-2. Maintenance
Maintenance
requirements ................... 288
7-3. Do-it-yourself maintenance
Do-it-yourself service
precautions ..................... 290
Hood.................................. 293
Positioning a floor jack ...... 295
Engine compartment ......... 296
Tires .................................. 308
Tire inflation pressure........ 314
Wheels .............................. 316
Air conditioning filter .......... 318
Wireless remote control/
electronic key battery ...... 319
Checking and replacing
fuses ............................... 322
Light bulbs ......................... 330
6Interior features
7Maintenance and care
Page 11 of 440

11Pictorial index
AYGO_EE_OM99J92E
Windshield wiper . . . . . . . . . . . . . . . . . . . . . . . . . . . . . . . . . . P. 173
Precautions against winter season . . . . . . . . . . . . . . . . . . . . . P. 196
Fuel filler door . . . . . . . . . . . . . . . . . . . . . . . . . . . . . . . . . . . . P. 177
Refueling method . . . . . . . . . . . . . . . . . . . . . . . . . . . . . . . . . . P. 177
Fuel type/fuel tank capacity . . . . . . . . . . . . . . . . . . . . . . . . . . . P. 408
Tires . . . . . . . . . . . . . . . . . . . . . . . . . . . . . . . . . . . . . . . . . . . . P. 308
Tire size/inflation pressure . . . . . . . . . . . . . . . . . . . . . . . . . . . . P. 416
Winter tires/tire chain . . . . . . . . . . . . . . . . . . . . . . . . . . . . . . . . P. 196
Checking/rotation/tire pressure warning system*2 . . . . . . . . . P. 308
Coping with flat tires . . . . . . . . . . . . . . . . . . . . . . . . . . . . P. 361, 374
Hood . . . . . . . . . . . . . . . . . . . . . . . . . . . . . . . . . . . . . . . . . . . . P. 293
Opening . . . . . . . . . . . . . . . . . . . . . . . . . . . . . . . . . . . . . . . . . . P. 293
Engine oil . . . . . . . . . . . . . . . . . . . . . . . . . . . . . . . . . . . . . . . . . P. 408
Coping with overheat . . . . . . . . . . . . . . . . . . . . . . . . . . . . . . . . P. 398
Camera*2, 3
Headlights . . . . . . . . . . . . . . . . . . . . . . . . . . . . . . . . . . . . . . . P. 167
Front position lights . . . . . . . . . . . . . . . . . . . . . . . . . . . . . . . P. 167
Daytime running lights*2 . . . . . . . . . . . . . . . . . . . . . . . . . . . P. 167
Front fog lights*2/rear fog lights . . . . . . . . . . . . . . . . . . . . . P. 171
Turn signal lights . . . . . . . . . . . . . . . . . . . . . . . . . . . . . . . . . . P. 165
Emergency brake signal . . . . . . . . . . . . . . . . . . . . . . . . . . . . . P. 191
Tail lights . . . . . . . . . . . . . . . . . . . . . . . . . . . . . . . . . . . . . . . . P. 167
License plate lights . . . . . . . . . . . . . . . . . . . . . . . . . . . . . . . . P. 167
Back-up lights
Shifting the shift lever to R. . . . . . . . . . . . . . . . . . . . . . . . P. 159, 163
4
5
6
7
8
Light bulbs of the exterior lights for driving
(Replacing method: P. 330, Watts: P. 418)
*1: Vehicles with a smart entry & start system
*2: If equipped
*3: For vehicles with a multimedia system , refer to “Multimedia owner’s manual”.
9
10
11
12
13
14
15
16
Page 195 of 440

1954-5. Using the driving support systems
4
Driving
AYGO_EE_OM99J92E
WARNING
■ Hill-start assist control does not operate effectively when
● Do not overly rely on hill-start assist control. Hill-start assist control may
not operate effectively on steep inclines and roads covered with ice.
● Unlike the parking brake, hill-start assist control is not intended to hold the
vehicle stationary for an extended period of time. Do not attempt to use
hill-start assist control to hold the vehicle on an incline, as doing so may
lead to an accident.
■ When the VSC is activated
The slip indicator light flashes. Always drive carefully. Reckless driving may
cause an accident. Exercise particular care when the indicator light flashes.
■ When the TRC/VSC systems are turned off
Be especially careful and drive at a speed appropriate to the road condi-
tions. As these are the systems to help ensure vehicle stability and driving
force, do not turn the TRC/VSC systems off unless necessary.
■ Replacing tires
Make sure that all tires are of the specified size, brand, tread pattern and
total load capacity. In addition, make sure that the tires are inflated to the
recommended tire inflation pressure level.
The ABS, TRC and VSC systems will not function correctly if different tires
are installed on the vehicle.
Contact any authorized Toyota dealer or repairer, or another duly qualified
and equipped professional for further in formation when replacing tires or
wheels.
■ Handling of tires and the suspension
Using tires with any kind of problem or modifying the suspension will affect
the driving assist systems, and may cause a system to malfunction.
Page 281 of 440

281
7Maintenance and care
AYGO_EE_OM99J92E
7-1. Maintenance and care
Cleaning and protecting
the vehicle exterior .......... 282
Cleaning and protecting
the vehicle interior ........... 285
7-2. Maintenance
Maintenance
requirements.................... 288
7-3. Do-it-yourself maintenance
Do-it-yourself service
precautions ...................... 290
Hood .................................. 293
Positioning a floor jack ....... 295
Engine compartment.......... 296
Tires ................................... 308
Tire inflation pressure ........ 314
Wheels ............................... 316
Air conditioning filter .......... 318
Wireless remote control/
electronic key battery....... 319
Checking and replacing
fuses ................................ 322
Light bulbs ......................... 330
Page 291 of 440

2917-3. Do-it-yourself maintenance
7
Maintenance and care
AYGO_EE_OM99J92E
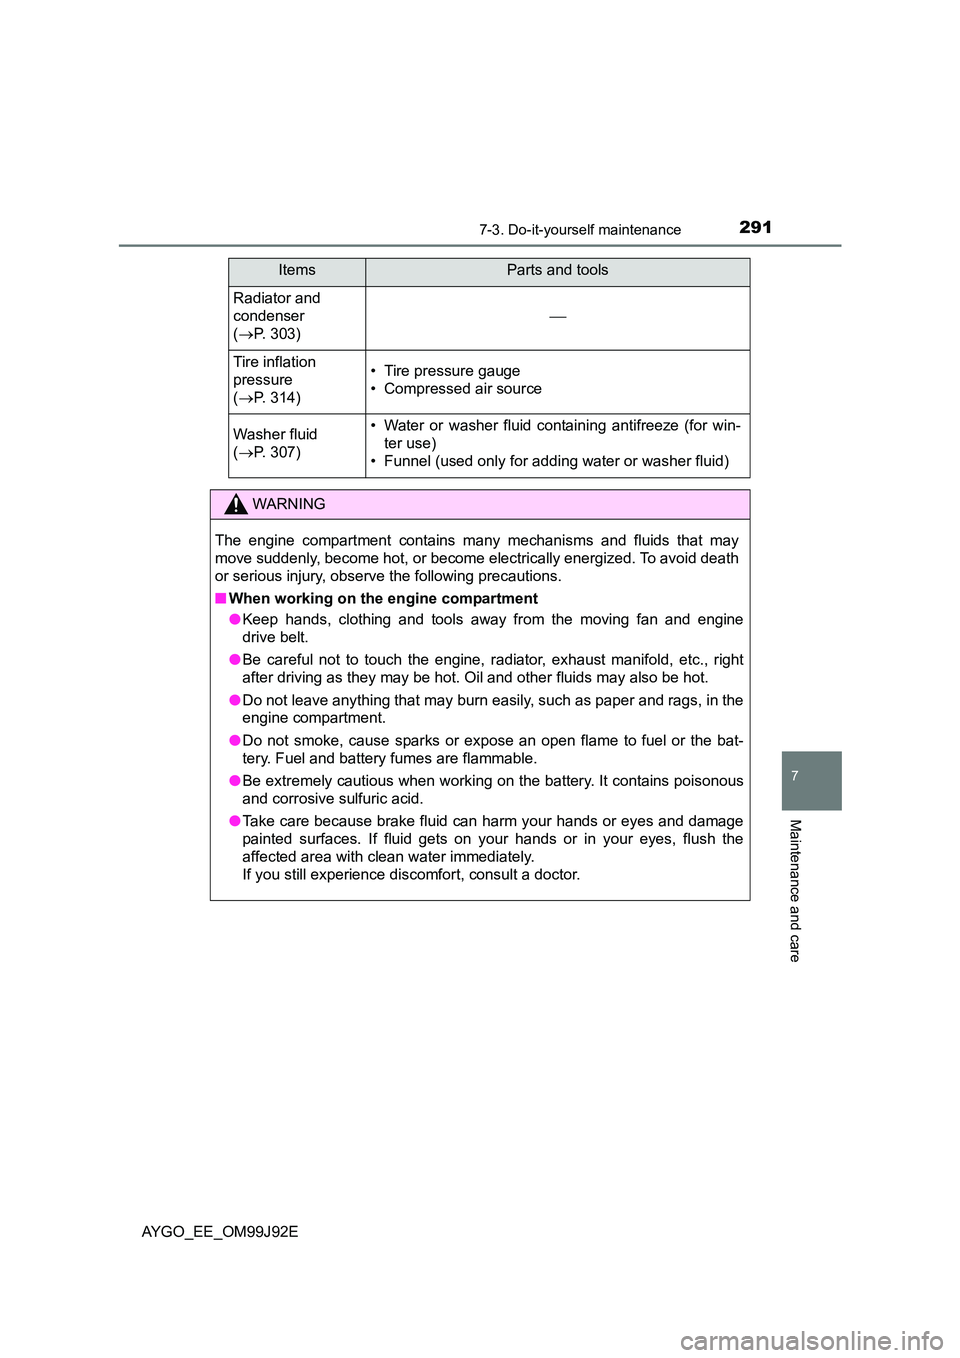
Radiator and
condenser
( →P. 303)
Tire inflation
pressure
( →P. 314)
• Tire pressure gauge
• Compressed air source
Washer fluid
( →P. 307)
• Water or washer fluid containing antifreeze (for win-
ter use)
• Funnel (used only for adding water or washer fluid)
WARNING
The engine compartment contains many mechanisms and fluids that may
move suddenly, become hot, or become electrically energized. To avoid death
or serious injury, observe the following precautions.
■ When working on the engine compartment
● Keep hands, clothing and tools away from the moving fan and engine
drive belt.
● Be careful not to touch the engine, radiator, exhaust manifold, etc., right
after driving as they may be hot. Oil and other fluids may also be hot.
● Do not leave anything that may burn easily, such as paper and rags, in the
engine compartment.
● Do not smoke, cause sparks or expose an open flame to fuel or the bat-
tery. Fuel and battery fumes are flammable.
● Be extremely cautious when working on the battery. It contains poisonous
and corrosive sulfuric acid.
● Take care because brake fluid can harm your hands or eyes and damage
painted surfaces. If fluid gets on your hands or in your eyes, flush the
affected area with clean water immediately.
If you still experience discomfort, consult a doctor.
ItemsParts and tools
Page 309 of 440

3097-3. Do-it-yourself maintenance
7
Maintenance and care
AYGO_EE_OM99J92E
■ Low profile tires (vehicles with 165/60R15 tires)
Generally, low profile tires will wear more rapidly and tire grip performance
will be reduced on snowy and/or icy roads when compared to standard tires.
Be sure to use snow tires or tire chains on snowy and/or icy roads and drive
carefully at a speed appropriate for road and weather conditions.
■ If the tread on snow tires wears down below 4 mm (0.16 in.)
The effectiveness of the tires as snow tires is lost.
Your vehicle is equipped with a tire pressure warning system.
While the vehicle is in motion, the system monitors the fluctuations in
the wheel speed signals that are output by the speed sensor for the
brake control system.
It informs the driver if it detects a low tire inflation pressure.
◆Initializing the tire pressure warning system
■The tire pressure warning system must be initialized when
changing the tire
When the tire pressure warning system is initialized, the current tire
inflation pressure is set as the benchmark pressure.
■The initialization operation
● Make sure to carry out initialization after adjusting the tire infla-
tion pressure. Also, make sure the tires are cold before carrying
out initialization or tire inflation pressure adjustment.
● If you accidentally press the reset switch when initialization is not
necessary, adjust the tire inflation pressure to the specified level
when the tires are cold, and conduct initialization again.
Tire pressure warning system (if equipped)
Page 310 of 440

3107-3. Do-it-yourself maintenance
AYGO_EE_OM99J92E
■How to initialize the tire pressure warning system
Park the vehicle in a safe place and turn the engine switch to the
“LOCK” position (vehicles without a smart entry & start system)
or off (vehicles with a smart entry & start system).
Initialization cannot be performed while the vehicle is moving.
Adjust the tire inflation pressure to the specified cold tire inflation
pressure level. ( →P. 416)
Make sure to adjust the tire pressure to the specified cold tire inflation
pressure level. The tire pressure warning system will operate based on
this pressure level.
Turn the engine switch to the “ON” position (vehicles without a
smart entry & start system) or IGNITION ON mode (vehicles with
a smart entry & start system).
Press and hold the tire pres-
sure warning reset switch
until the tire pressure warn-
ing light blinks slowly 3 times.
■ Situations in which the tire pressure warning system may not operate
properly (if equipped)
● This tire pressure warning system ensure a proper function when OE (Origi-
nal Equipment) tire is installed.
● In the following cases, the tire pressure warning system may not operate
properly.
• The vehicle uses non-standard size tires or tires made by other manufac-
turers.
• The vehicle uses tire of different size or manufacturers.
• The vehicle uses snow tires, comp act spare tire (if equipped) or tire
chains.
• The vehicle is being driven below approximately 40 km/h (25 mph).
• The vehicle is being driven on slippery or rough road surfaces.
● When tire inflation pressure declines rapidly for example when a tire has
burst, the warning may not function.
1
2
3
4
Page 311 of 440

3117-3. Do-it-yourself maintenance
7
Maintenance and care
AYGO_EE_OM99J92E
WARNING
■ When inspecting or replacing tires
Observe the following precautions to prevent accidents.
Failure to do so may cause damage to parts of the drive train as well as
dangerous handling characteristics, which may lead to an accident resulting
in death or serious injury.
● Do not mix tires of different makes, models or tread patterns.
Also, do not mix tires of remarkably different treadwear.
● Do not use tire sizes other than those recommended by Toyota.
● Do not mix differently constructed tires (radial, bias-belted or bias-ply
tires).
● Do not mix summer, all season and snow tires.
● Do not use tires that have been used on another vehicle.
Do not use tires if you do not know how they were used previously.
● Vehicles with a compact spare tire: Do not tow if your vehicle has a com-
pact spare tire installed.
● Vehicles with an emergency tire puncture repair kit: Do not tow anything if
a tire that has been repaired using the emergency tire puncture repair kit is
installed. The load on the tire may cause unexpected damage to the tire.
■ When initializing the tire pressure warning system (if equipped)
Do not operate the tire pressure warning reset switch without first adjusting
the tire inflation pressure to the specified level. Otherwise, the tire pressure
warning light may not come on even if the tire inflation pressure is low, or it
may come on when the tire inflation pressure is actually normal.