Page 346 of 492
346
4-3. Do-it-yourself maintenance
■Front side marker lightsTurn the steering wheel in the
opposite direction of the light to
be replaced.
Turn the steering wheel to a point
that allows your hand to easily fit
between the tire and fender liner.
Remove the clips and partly
remove the fender liner. To prevent damage to the vehicle,
cover the tip of the screwdriverwith a rag.
Release the light's claw. Insert the screwdriver into the
hole. While firmly pushing the
screwdriver forward, move it
towards the inside of the vehicle.
To prevent damage to the vehicle,
wrap the tip of the screwdriver
with a tape.
Pull out the lamp and turn the
lens counterclockwise.
STEP 1
STEP 2
STEP 3
STEP 4
Page 349 of 492
349
4-3. Do-it-yourself maintenance
4
Maintenance and care
■Rear side marker lightsRemove a clip and partly remove
the cover.
To prevent damage to the vehicle,
cover the tip of the screwdriver
with a rag.
Turn the bulb base counterclock-
wise.
Remove the light bulb.
When installing, reverse the steps listed.
STEP 1
STEP 2
STEP 3
STEP 4
Page 350 of 492
350
4-3. Do-it-yourself maintenance
■Rear turn signal lightsRemove a clip and partly remove
the cover.
To prevent damage to the vehicle,
cover the tip of the screwdriverwith a rag.
Turn the bulb base counterclock-
wise.
Remove the light bulb.
When installing, reverse the steps listed.
STEP 1
STEP 2
STEP 3
STEP 4
Page 351 of 492
351
4-3. Do-it-yourself maintenance
4
Maintenance and care
■Back-up lightsTurn the bulb base counterclock-
wise.
Remove the light bulb.
When installing, reverse the steps listed.
STEP 1
STEP 3 STEP 2
STEP 3
Page 352 of 492
352
4-3. Do-it-yourself maintenance
■License plate lightsRemove the trunk lid panel cover
clips and partly remove the trunk
lid panel cover.
To prevent damage to the vehicle,
cover the tip of the screwdriverwith a rag.
Turn the bulb base counterclock-
wise.
Remove the light bulb.
When installing, reverse the steps listed.
STEP 1
STEP 2
STEP 3
STEP 4
Page 401 of 492

5
When trouble arises
401
5-2. Steps to take in an emergency
Trun k li dTurn the mechanical key clock-
wise to open.
Starting the engine
Vehicles with an automatic transmission Ensure that the select lever is in P and firmly depress the
brake pedal.
Touch the area behind the lock
button and unlock button on the
access key to the push-button
ignition switch.
When the access key is detected,
a buzzer sounds and the push-
button ignition switch will turn to
“ON” mode.
When the keyless access with push button start system is deacti-
vated in customization setting, the push-button ignition switch will
turn to “ACC” mode. Modes can be changed by pressing the push-
button ignition switch with the brake pedal released. (The mode
changes each time the switch is pressed.)
Firmly depress the brake pedal and check that the keyless
access with push button start system indicator light (green)
turns on.
Press the push-button ignition switch.
In the event that the push-button ignition switch still cannot be oper-
ated, contact your SUBARU dealer.
STEP 1
STEP 2
STEP 3
STEP 4
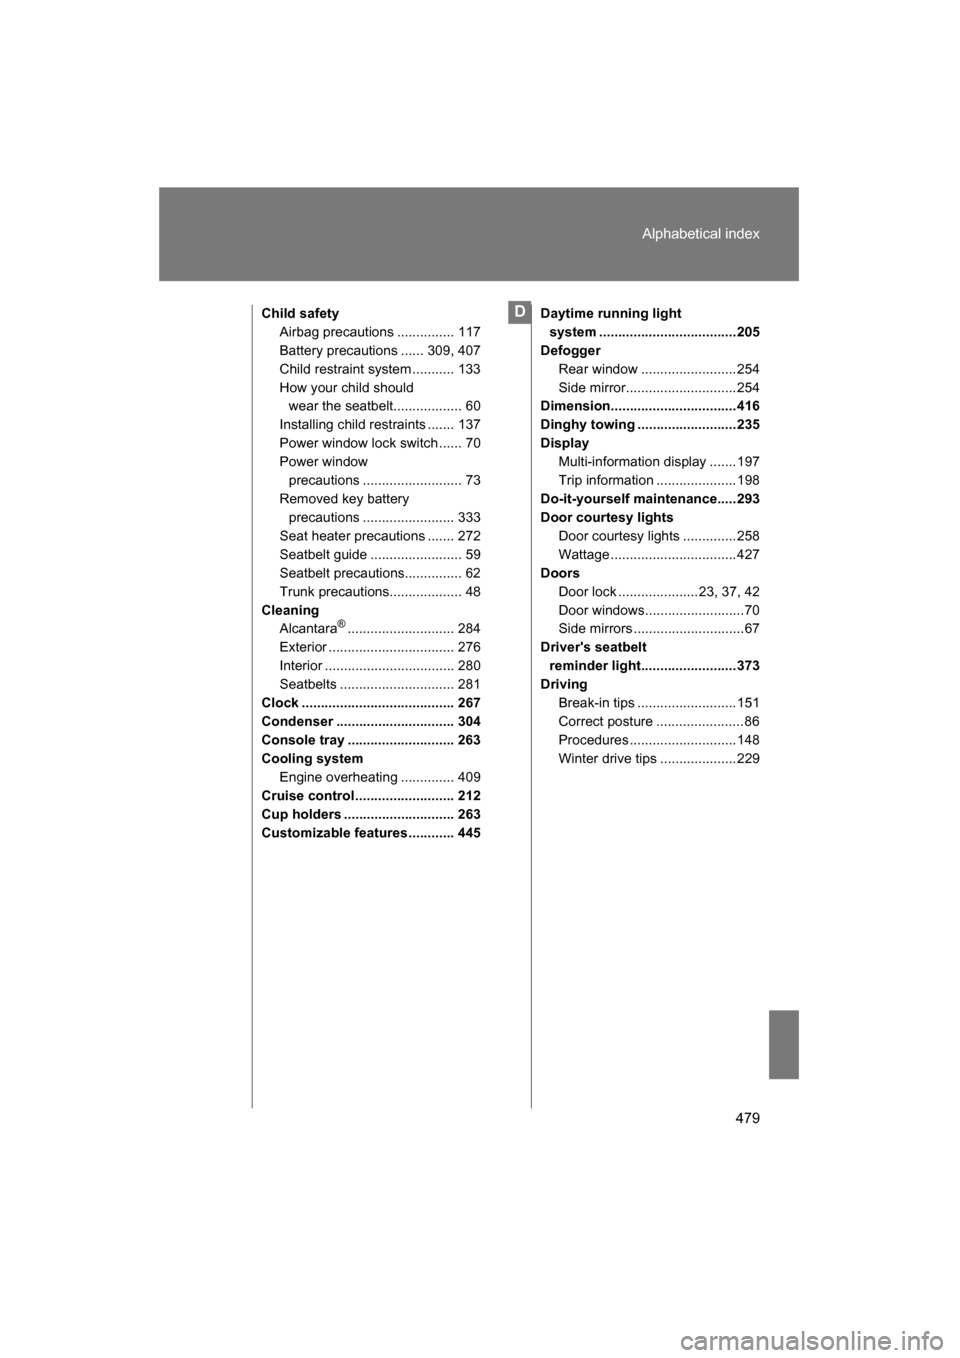
Page 479 of 492

479
Alphabetical index
Child safetyAirbag precautions ............... 117
Battery precautions ...... 309, 407
Child restraint system ........... 133
How your child should wear the seatbelt.................. 60
Installing child restraints ....... 137
Power window lock switch ...... 70
Power window precautions .......................... 73
Removed key battery precautions ........................ 333
Seat heater precautions ....... 272
Seatbelt guide ........................ 59
Seatbelt precautions............... 62
Trunk precautions................... 48
Cleaning Alcantara ®
............................ 284
Exterior ................................. 276
Interior .................................. 280
Seatbelts .............................. 281
Clock ........................................ 267
Condenser ............................... 304
Console tray ............................ 263
Cooling system Engine overheating .............. 409
Cruise control.......................... 212
Cup holders ............................. 263
Customizable features ............ 445 Daytime running light
system ....................................205
Defogger
Rear window .........................254
Side mirror.............................254
Dimension.................................416
Dinghy towing ..........................235
Display
Multi-information display ....... 197
Trip information .....................198
Do-it-yourself maintenance.....293
Door courtesy lights Door courtesy lights ..............258
Wattage .................................427
Doors Door lock .....................23, 37, 42
Door windows..........................70
Side mirrors .............................67
Driver's seatbelt
reminder light.........................373
Driving Break-in tips ..........................151
Correct posture .......................86
Procedures ............................148
Winter drive tips ....................229D