Page 125 of 425
UNDERSTANDING YOUR INSTRUMENT PANEL
CONTENTS
�INSTRUMENT PANEL FEATURES ..........126
� INSTRUMENT CLUSTER .................127
� INSTRUMENT CLUSTER DESCRIPTIONS .....128
� ELECTRONIC VEHICLE INFORMATION CENTER
(EVIC) ...............................141
▫ Electronic Vehicle Information Center (EVIC)
Setup Menu ........................ .143
▫ Change Engine Oil Indicator System ........145
▫ Trip Computer .......................146
▫ Trip Button ..........................146 ▫
Trip Functions .......................147
▫ Values Displayed ..................... .147
▫ Personal Settings
(Customer-Programmable Features) ........148
� Uconnect® RH3 ........................149
▫ Introduction ........................ .149
▫ Recommendations .....................150
▫ Identification Number ..................151
▫ Security Code ........................151
▫ General ............................ .1524
Page 132 of 425

•Daytime Running Lights
• Clearance Lights
• License Plate Lights
The failure relating to these lights could be: •One or more blown bulbs
• A blown protection fuse
• A break in the electrical connection
9. Vehicle Security Light
If during starting, the key code is not correctly
recognized, the Vehicle Security Light comes
on in the instrument panel. In this case, turn
the key to OFF and then to ON/RUN; if it is
still locked, try again with the other keys that come with
the vehicle. Contact an authorized dealer if you still
cannot start the engine.
If with the engine running the warning light flashes, this
means that the car is not protected by the engine inhibitor device. Contact an authorized dealer to have all the keys
programmed.
10. Door Ajar Indicator
This indicator will illuminate when one or
more door(s) are not fully closed.
11. Tachometer
The tachometer indicates engine speed in Revolutions
Per Minute (RPM x 1000).
12. Oil Pressure Warning Light This light indicates low engine oil pressure. The
light should turn on momentarily when the engine is
started. If the light turns on while driving, stop the
vehicle and shut off the engine as soon as possible. A
chime will sound when this light turns on.
Do not operate the vehicle until the cause is corrected.
130 UNDERSTANDING YOUR INSTRUMENT PANEL
Page 153 of 425

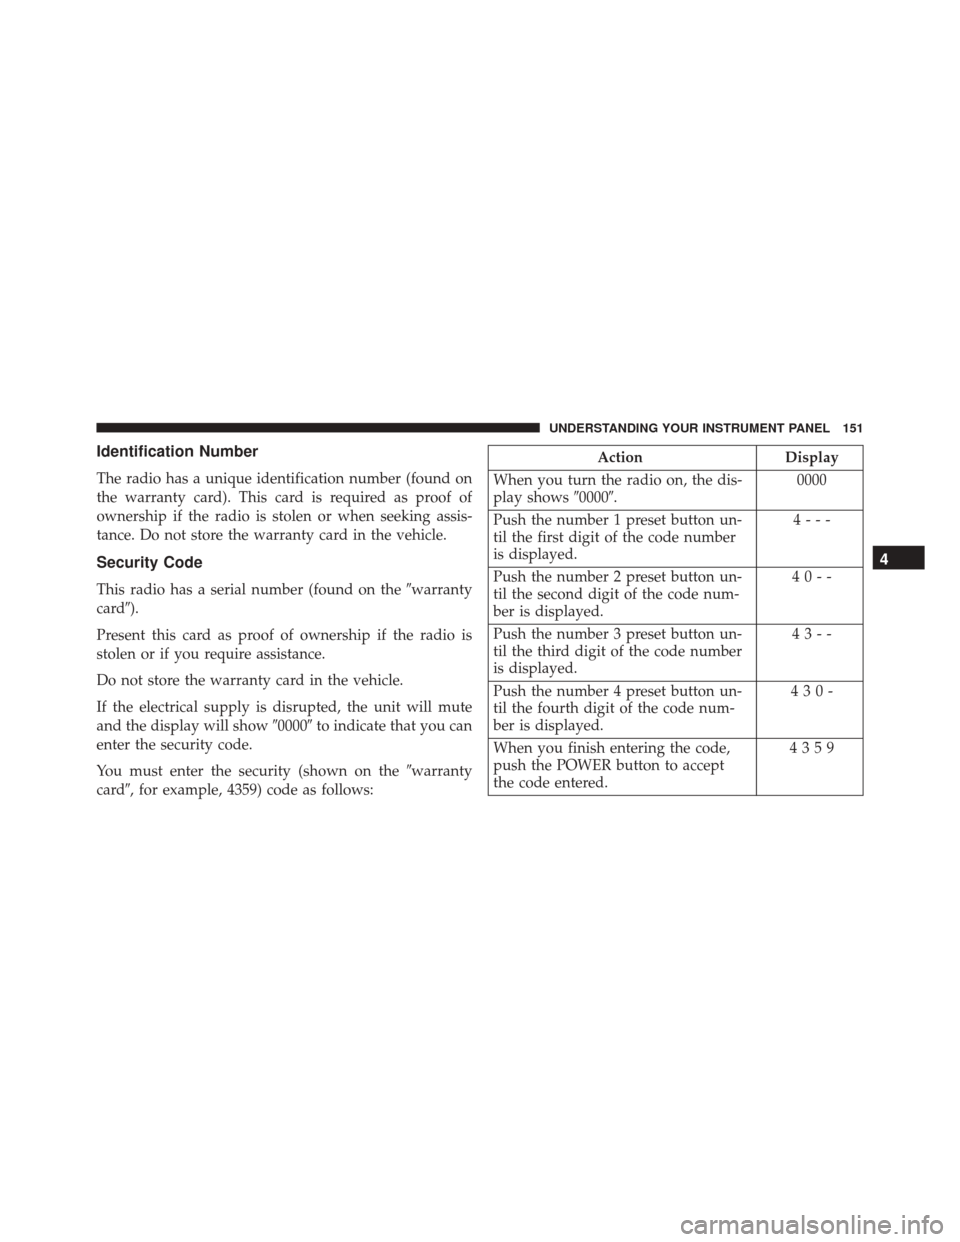
Identification Number
The radio has a unique identification number (found on
the warranty card). This card is required as proof of
ownership if the radio is stolen or when seeking assis-
tance. Do not store the warranty card in the vehicle.
Security Code
This radio has a serial number (found on the�warranty
card�).
Present this card as proof of ownership if the radio is
stolen or if you require assistance.
Do not store the warranty card in the vehicle.
If the electrical supply is disrupted, the unit will mute
and the display will show �0000�to indicate that you can
enter the security code.
You must enter the security (shown on the �warranty
card�, for example, 4359) code as follows:
Action Display
When you turn the radio on, the dis-
play shows �0000�. 0000
Push the number 1 preset button un-
til the first digit of the code number
is displayed. 4---
Push the number 2 preset button un-
til the second digit of the code num-
ber is displayed. 40--
Push the number 3 preset button un-
til the third digit of the code number
is displayed. 43--
Push the number 4 preset button un-
til the fourth digit of the code num-
ber is displayed. 430-
When you finish entering the code,
push the POWER button to accept
the code entered. 4359
4
UNDERSTANDING YOUR INSTRUMENT PANEL 151
Page 154 of 425

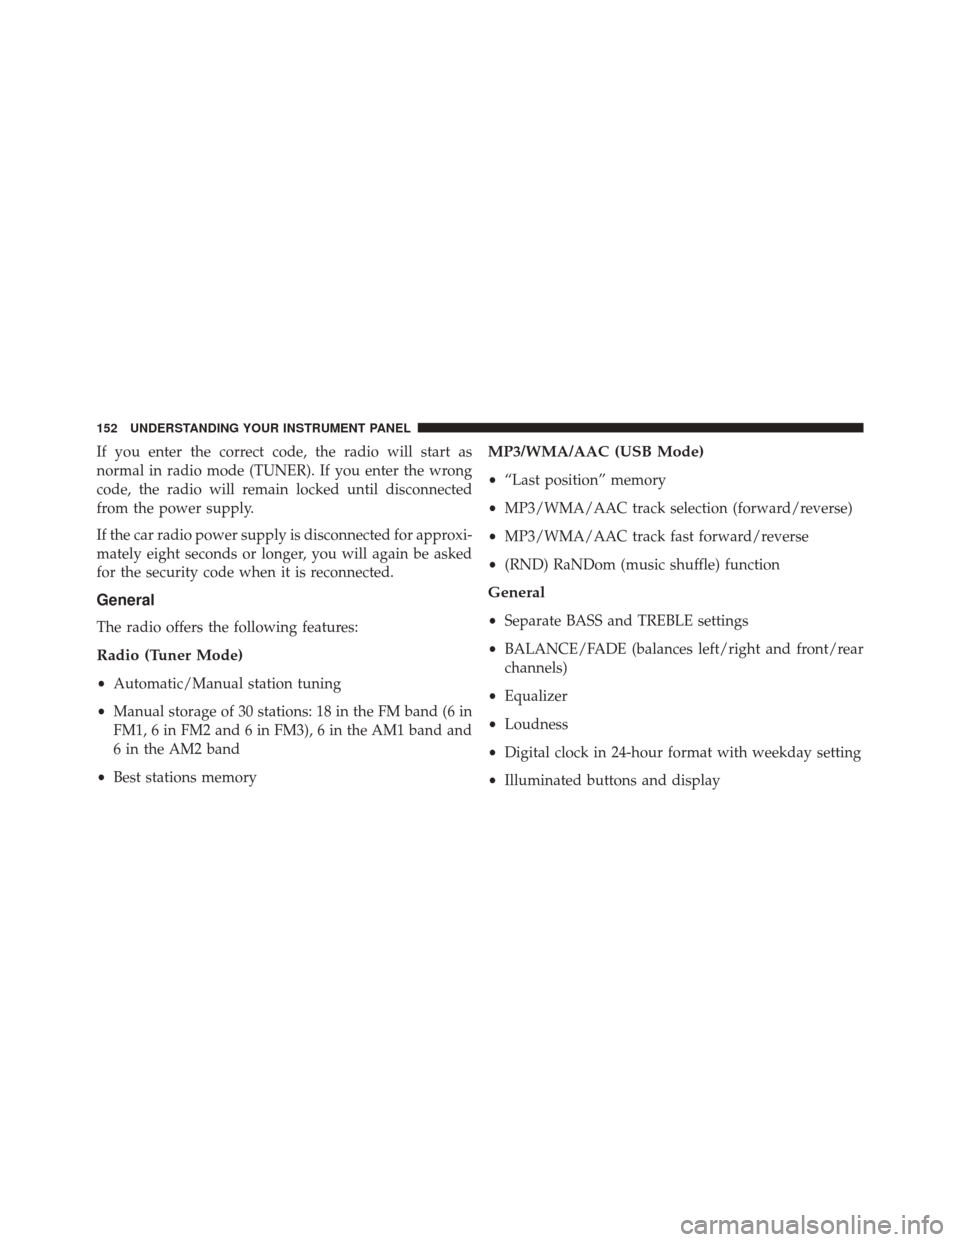
If you enter the correct code, the radio will start as
normal in radio mode (TUNER). If you enter the wrong
code, the radio will remain locked until disconnected
from the power supply.
If the car radio power supply is disconnected for approxi-
mately eight seconds or longer, you will again be asked
for the security code when it is reconnected.
General
The radio offers the following features:
Radio (Tuner Mode)
•Automatic/Manual station tuning
• Manual storage of 30 stations: 18 in the FM band (6 in
FM1, 6 in FM2 and 6 in FM3), 6 in the AM1 band and
6 in the AM2 band
• Best stations memory
MP3/WMA/AAC (USB Mode)
•“Last position” memory
• MP3/WMA/AAC track selection (forward/reverse)
• MP3/WMA/AAC track fast forward/reverse
• (RND) RaNDom (music shuffle) function
General
•Separate BASS and TREBLE settings
• BALANCE/FADE (balances left/right and front/rear
channels)
• Equalizer
• Loudness
• Digital clock in 24-hour format with weekday setting
• Illuminated buttons and display
152 UNDERSTANDING YOUR INSTRUMENT PANEL
Page 156 of 425

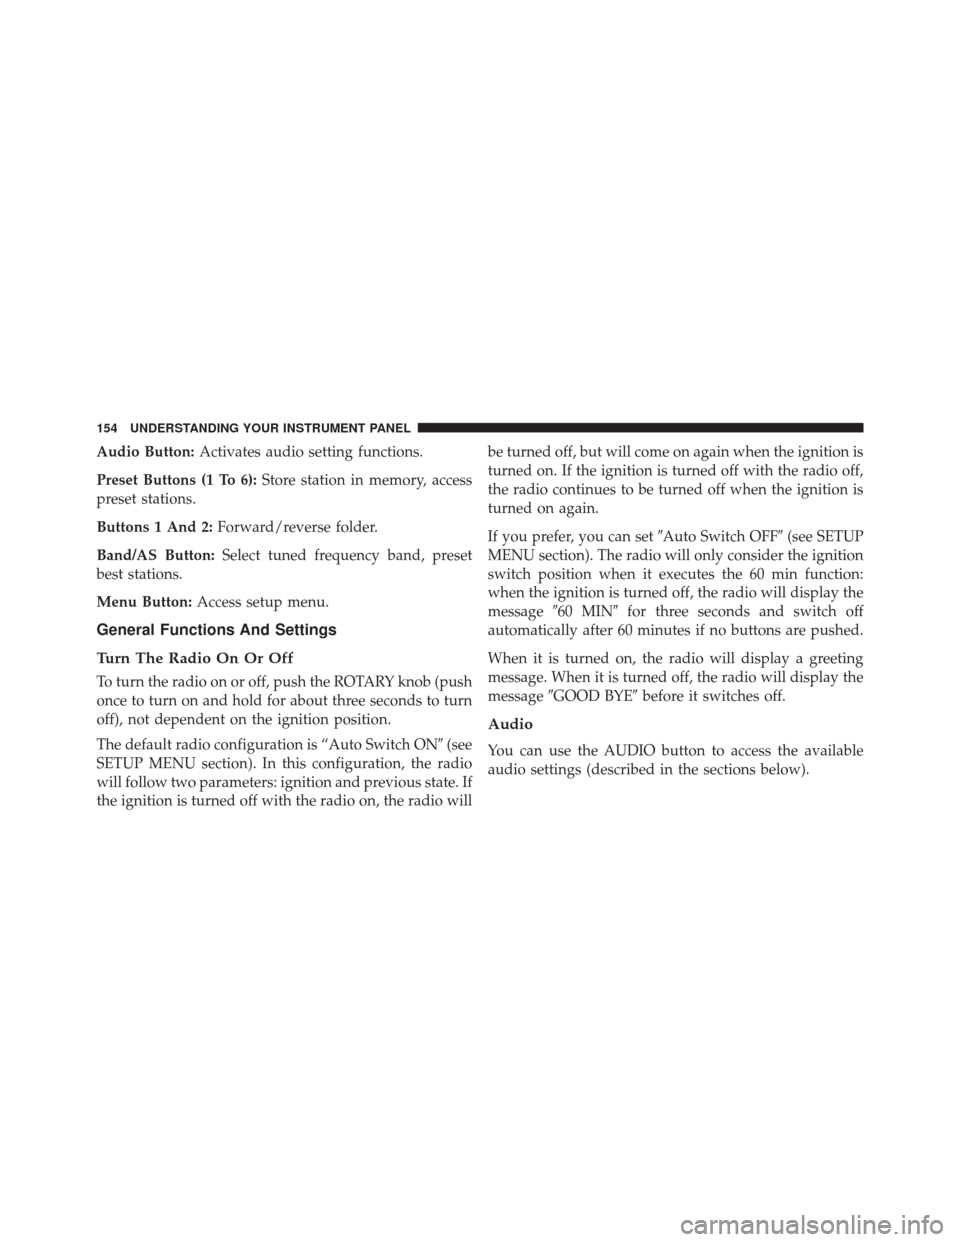
Audio Button:Activates audio setting functions.
Preset Buttons (1 To 6): Store station in memory, access
preset stations.
Buttons 1 And 2: Forward/reverse folder.
Band/AS Button: Select tuned frequency band, preset
best stations.
Menu Button: Access setup menu.
General Functions And Settings
Turn The Radio On Or Off
To turn the radio on or off, push the ROTARY knob (push
once to turn on and hold for about three seconds to turn
off), not dependent on the ignition position.
The default radio configuration is “Auto Switch ON �(see
SETUP MENU section). In this configuration, the radio
will follow two parameters: ignition and previous state. If
the ignition is turned off with the radio on, the radio will be turned off, but will come on again when the ignition is
turned on. If the ignition is turned off with the radio off,
the radio continues to be turned off when the ignition is
turned on again.
If you prefer, you can set
�Auto Switch OFF�(see SETUP
MENU section). The radio will only consider the ignition
switch position when it executes the 60 min function:
when the ignition is turned off, the radio will display the
message �60 MIN� for three seconds and switch off
automatically after 60 minutes if no buttons are pushed.
When it is turned on, the radio will display a greeting
message. When it is turned off, the radio will display the
message �GOOD BYE� before it switches off.
Audio
You can use the AUDIO button to access the available
audio settings (described in the sections below).
154 UNDERSTANDING YOUR INSTRUMENT PANEL
Page 205 of 425

WARNING!(Continued)
Once the key is removed, the transmission is
locked in PARK, securing the vehicle against un-
wanted movement.
• When leaving the vehicle, always remove the igni-
tion key from the vehicle and lock the vehicle.
• Never leave children alone in a vehicle, or with
access to an unlocked vehicle. Allowing children to
be in a vehicle unattended is dangerous for a
number of reasons. A child or others could be
seriously or fatally injured. Children should be
warned not to touch the parking brake, brake pedal
or the transmission gear selector.
• Do not leave the ignition key in or near the vehicle
(or in a location accessible to children). A child
could operate power windows, other controls, or
move the vehicle.
CAUTION!
Damage to the transmission may occur if the follow-
ing precautions are not observed:
•Shift into or out of PARK or REVERSE only after
the vehicle has come to a complete stop.
• Do not shift between PARK, REVERSE, NEU-
TRAL, or DRIVE when the engine is above idle
speed.
• Before shifting into any gear, make sure your foot
is firmly pressing the brake pedal.
NOTE: You must press and hold the brake pedal while
shifting out of PARK.
Key Ignition Park Interlock
This vehicle is equipped with a Key Ignition Park Inter-
lock which requires the transmission to be in PARK
before the ignition switch can be turned to the LOCK/
5
STARTING AND OPERATING 203
Page 209 of 425

WARNING!(Continued)
vehicle could accelerate quickly forward or in re-
verse. You could lose control of the vehicle and hit
someone or something. Only shift into gear when
the engine is idling normally and your foot is
firmly pressing the brake pedal.
• Unintended movement of a vehicle could injure
those in or near the vehicle. As with all vehicles,
you should never exit a vehicle while the engine is
running. Before exiting a vehicle, always apply the
parking brake, shift the transmission into PARK,
turn the engine OFF, and remove the ignition key.
Once the key is removed, the transmission is
locked in PARK, securing the vehicle against un-
wanted movement.
• When leaving the vehicle, always remove the igni-
tion key from the vehicle and lock the vehicle.
(Continued)
WARNING! (Continued)
•Never leave children alone in a vehicle, or with
access to an unlocked vehicle. Allowing children to
be in a vehicle unattended is dangerous for a
number of reasons. A child or others could be
seriously or fatally injured. Children should be
warned not to touch the parking brake, brake pedal
or the gear selector.
• Do not leave the ignition key in or near the vehicle
(or in a location accessible to children). A child
could operate power windows, other controls, or
move the vehicle.
5
STARTING AND OPERATING 207
Page 213 of 425

NOTE:Even if the transmission can be reset, we recom-
mend that you visit your authorized dealer at your
earliest possible convenience. Your authorized dealer has
diagnostic equipment to determine if the problem could
recur.
If the transmission cannot be reset, authorized dealer
service is required.
Electronic Range Select (ERS) Operation
The Electronic Range Select (ERS) shift control allows the
driver to limit the highest available gear. For example, if
you set the transmission gear limit to 4 (fourth gear), the
transmission will not shift above fourth gear, but will
shift through the lower gears normally.
You can switch between DRIVE and ERS mode at any
vehicle speed. When the shift lever is in the DRIVE
position, the transmission will operate automatically, shifting between all available gears. Moving the shift
lever to the ERS position (beside DRIVE) will activate
ERS mode, display the current gear in the instrument
cluster, and set that gear as the top available gear. Once in
ERS mode, moving the shift lever forward (-) or rearward
(+) will change the top available gear.
To exit ERS mode, simply return the shift lever to the
DRIVE position.
WARNING!
Do not downshift for additional engine braking on a
slippery surface. The drive wheels could lose their
grip and the vehicle could skid, causing a collision or
personal injury.
5
STARTING AND OPERATING 211