Page 8 of 599

WARNINGS AND CAUTIONS
This Owners Manual containsWARNINGSagainst op-
erating procedures that could result in a collision or
bodily injury. It also contains CAUTIONSagainst proce-
dures that could result in damage to your vehicle. If you
do not read this entire Owners Manual, you may miss
important information. Observe all Warnings and Cau-
tions.
VAN CONVERSIONS/CAMPERS
The New Vehicle Limited Warranty does not apply to
body modifications or special equipment installed by van
conversion/camper manufacturers/body builders. Refer
to the Warranty Information book, Section 2.1.C. Such
equipment includes video monitors, VCRs, heaters,
stoves, refrigerators, etc. For warranty coverage and
service on these items, contact the applicable manufac-
turer. Operating instructions for the special equipment in-
stalled by the conversion/camper manufacturer should
also be supplied with your vehicle. If these instructions
are missing, please contact your authorized dealer for
assistance in obtaining replacement documents from the
applicable manufacturer.
For information on the Body Builders Guide refer to:
www.rambodybuilder.com. This website contains di-
mensional and technical specifications for your vehicle. It
is intended for Second Stage Manufacturer’s technical
support. For service issues, contact your authorized
dealer.
VEHICLE IDENTIFICATION NUMBER
The Vehicle Identification Number (VIN) is found on the
left front corner of the instrument panel, visible through
the windshield. This number also appears on the vehicle
6 INTRODUCTION
Page 112 of 599

Safety Checks You Should Make Inside The
Vehicle
Seat Belts
Inspect the seat belt system periodically, checking for
cuts, frays, and loose parts. Damaged parts must be
replaced immediately. Do not disassemble or modify the
system.
Front seat belt assemblies must be replaced after a
collision. Rear seat belt assemblies must be replaced after
a collision if they have been damaged (i.e., bent retractor,
torn webbing, etc.). If there is any question regarding seat
belt or retractor condition, replace the seat belt.
Air Bag Warning Light
The light should come on and remain on for
four to eight seconds as a bulb check when the
ignition switch is first turned ON. If the light isnot lit during starting, see your authorized dealer. If the
light stays on, flickers, or comes on while driving, have
the system checked by an authorized dealer.
Defroster
Check operation by selecting the defrost mode and place
the blower control on high speed. You should be able to
feel the air directed against the windshield. See your
authorized dealer for service if your defroster is inoper-
able.
Floor Mat Safety Information
Always use floor mats designed to fit the footwell of your
vehicle. Use only floor mats that leave the pedal area
unobstructed and that are firmly secured so that they
cannot slip out of position and interfere with the pedals
or impair safe operation of your vehicle in other ways.
110 THINGS TO KNOW BEFORE STARTING YOUR VEHICLE
Page 117 of 599

▫Flash-To-Pass ....................... .161
▫ High/Low Beam Switch ................162
� WINDSHIELD WIPERS AND WASHERS ......162
▫ Windshield Wipers ....................162
▫ Windshield Wiper Operation .............163
▫ Intermittent Wiper System ...............163
▫ Windshield Washers ...................163
▫ Mist Feature ........................ .164
▫ Rain Sensing Wipers — If Equipped ........164
� TILT STEERING COLUMN ...............166
� DRIVER ADJUSTABLE PEDALS —
IF EQUIPPED ........................ .167
� HEATED STEERING WHEEL —
IF EQUIPPED ........................ .168�
ELECTRONIC SPEED CONTROL ...........170
▫ To Activate ......................... .171
▫ To Set A Desired Speed .................171
▫ To Deactivate ....................... .172
▫ To Resume Speed .....................172
▫ To Vary The Speed Setting ...............172
▫ To Accelerate For Passing ................173
� OVERHEAD CONSOLE — IF EQUIPPED .....174
▫ Courtesy/Reading Lights ...............175
� ELECTRICAL POWER OUTLETS ...........176
� AUXILIARY SWITCHES — IF EQUIPPED .....181
� CIGAR LIGHTER AND ASH RECEIVER —
IF EQUIPPED ........................ .182
3
UNDERSTANDING THE FEATURES OF YOUR VEHICLE 115
Page 119 of 599
MIRRORS
Inside Day/Night Mirror — If Equipped
A single ball joint mirror is provided in the vehicle. It is
a twist on mirror that has a fixed position at the wind-
shield. The mirror installs on the windshield button with
a counterclockwise rotation and requires no tools for
mounting. The mirror head can be adjusted up, down,
left, and right for various drivers. The mirror should be
adjusted to center on the view through the rear window.
Headlight glare from vehicles behind you can be reduced
by moving the small control under the mirror to the night
position (toward the rear of the vehicle). The mirror
should be adjusted while the small control under the
mirror is set in the day position (toward the windshield).
Adjusting Rearview Mirror
3
UNDERSTANDING THE FEATURES OF YOUR VEHICLE 117
Page 120 of 599
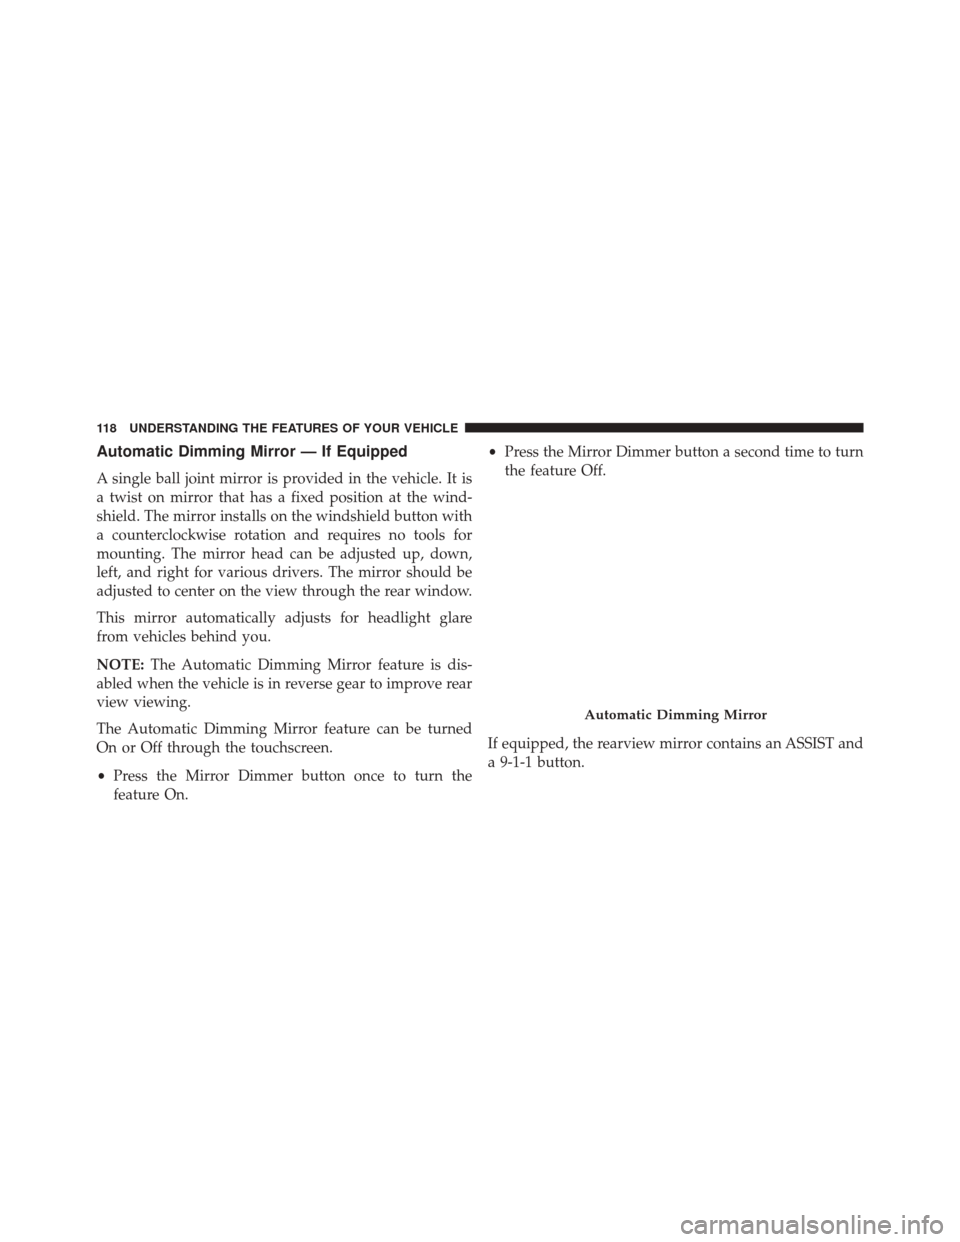
Automatic Dimming Mirror — If Equipped
A single ball joint mirror is provided in the vehicle. It is
a twist on mirror that has a fixed position at the wind-
shield. The mirror installs on the windshield button with
a counterclockwise rotation and requires no tools for
mounting. The mirror head can be adjusted up, down,
left, and right for various drivers. The mirror should be
adjusted to center on the view through the rear window.
This mirror automatically adjusts for headlight glare
from vehicles behind you.
NOTE:The Automatic Dimming Mirror feature is dis-
abled when the vehicle is in reverse gear to improve rear
view viewing.
The Automatic Dimming Mirror feature can be turned
On or Off through the touchscreen.
• Press the Mirror Dimmer button once to turn the
feature On. •
Press the Mirror Dimmer button a second time to turn
the feature Off.
If equipped, the rearview mirror contains an ASSIST and
a 9-1-1 button.
Automatic Dimming Mirror
118 UNDERSTANDING THE FEATURES OF YOUR VEHICLE
Page 126 of 599
NOTE:Never place anything on or near the vehicle’s
wireless and GPS antennas. You could prevent wireless
and GPS signal reception, which can prevent your vehicle
from placing an emergency call. Wireless and GPS signal
reception is required for the 9-1-1 Call system to function
properly.
General Information
This device complies with Part 15 of the FCC Rules.
Operation is subject to the following two conditions: (1)
This device may not cause harmful interference, and (2)
this device must accept any interference received, includ-
ing interference that may cause undesired operation.CAUTION!
To avoid damage to the mirror during cleaning, never
spray any cleaning solution directly onto the mirror.
Apply the solution onto a clean cloth and wipe the
mirror clean.
Automatic Dimming Mirror With Rear View
Camera Display — If Equipped
A single ball joint mirror is provided in the vehicle. It is
a twist on mirror that has a fixed position at the wind-
shield. The mirror installs on the windshield button with
a counterclockwise rotation and requires no tools for
mounting. The mirror head can be adjusted up, down,
left, and right for various drivers. The mirror should be
adjusted to center on the view through the rear window.
This mirror automatically adjusts for headlight glare
from vehicles behind you.
124 UNDERSTANDING THE FEATURES OF YOUR VEHICLE
Page 156 of 599

turned on or off using the Electronic Vehicle Informa-
tion Center (EVIC) or Driver Information Display
(DID). Refer to “Electronic Vehicle Information Center
(EVIC)” or “Driver Information Display (DID)” in
“Understanding Your Instrument Panel” for further
information.
• Broken, muddy, or obstructed headlights and taillights
of vehicles in the field of view will cause headlights to
remain on longer (closer to the vehicle). Also, dirt, film,
and other obstructions on the windshield or camera
lens will cause the system to function improperly.
• To opt out of the Advanced Auto High-Beam Sensitiv-
ity Control (default) and enter Reduced High-Beam
Sensitivity Control (not recommended), toggle high-
beam lever 6 full on/off cycles within 10 seconds of
ignition ON. System will return to default setting upon
ignition off. If the windshield or Automatic High Beam Headlamp
Control mirror is replaced, the mirror must be re-aimed
to ensure proper performance. See your local authorized
dealer.
To Activate
1. If your vehicle is equipped with a touchscreen, the
Automatic High Beams are enabled through the
Uconnect® system. Refer to “Uconnect® Settings” in
“Understanding Your Instrument Panel” for further
information.
If your vehicle is not equipped with a touchscreen, the
Automatic High Beams are enabled through the Elec-
tronic Vehicle Information Center (EVIC) or Driver Infor-
mation Display (DID). Refer to “Electronic Vehicle Infor-
mation Center (EVIC)” or “Driver Information Display
(DID)” in “Understanding Your Instrument Panel” for
further information.
154 UNDERSTANDING THE FEATURES OF YOUR VEHICLE
Page 164 of 599
High/Low Beam Switch
Push the multifunction lever toward the instrument
panel to switch the headlights to high beam. Pulling the
multifunction lever back toward the steering wheel will
turn the low beams back on, or shut the high beams off.
WINDSHIELD WIPERS AND WASHERS
Windshield Wipers
The wipers and washers are operated by a switch in the
multifunction lever. Turn the end of the handle to select
the desired wiper speed.
High/Low Beam SwitchWindshield Wiper/Washer Switch
162 UNDERSTANDING THE FEATURES OF YOUR VEHICLE

