Page 422 of 599
![Ram 5500 Chassis Cab 2015 Owners Manual •Six TPM sensors (Dual Rear Wheel [DRW] applica-
tions)
• Pressure display in the Electronic Vehicle Information
Center (EVIC)/Driver Information Display (DID)
The TPIS system will display all fou Ram 5500 Chassis Cab 2015 Owners Manual •Six TPM sensors (Dual Rear Wheel [DRW] applica-
tions)
• Pressure display in the Electronic Vehicle Information
Center (EVIC)/Driver Information Display (DID)
The TPIS system will display all fou](/manual-img/34/12626/w960_12626-421.png)
•Six TPM sensors (Dual Rear Wheel [DRW] applica-
tions)
• Pressure display in the Electronic Vehicle Information
Center (EVIC)/Driver Information Display (DID)
The TPIS system will display all four (Single Rear Wheel
[SRW] applications) or six (Dual Rear Wheel [DRW]
applications) tire pressure values EVIC/DID display.
If a system fault is detected, the EVIC/DID will display a
�SERVICE TPM SYSTEM� message for a minimum of five
seconds and then display dashes (- -) in place of the
pressure value to indicate which sensor is not being
received. If the ignition switch is cycled, this sequence will repeat,
providing the system fault still exists. If the system fault
no longer exists, the
�SERVICE TPM SYSTEM� message
will no longer be displayed, and a pressure value will
display in place of the dashes. A system fault can occur
due to any of the following:
• Signal interference due to electronic devices or driving
next to facilities emitting the same radio frequencies as
the TPM sensors.
• Installing aftermarket window tinting that contains
materials that may block radio wave signals.
• Accumulation of snow or ice around the wheels or
wheel housings.
• Using tire chains on the vehicle.
• Using wheels/tires not equipped with TPM sensors.
420 STARTING AND OPERATING
Page 430 of 599

included on this label and indicates the Month, Day and
Hour of manufacture. The bar code that appears on the
bottom of the label is your VIN.
Gross Vehicle Weight Rating (GVWR)
The GVWR is the total permissible weight of your vehicle
including driver, passengers, vehicle, options and cargo.
The label also specifies maximum capacities of front and
rear axle systems (GAWR). Total load must be limited so
GVWR and front and rear GAWR are not exceeded.
Payload
The payload of a vehicle is defined as the allowable load
weight a truck can carry, including the weight of the
driver, all passengers, options and cargo.
Gross Axle Weight Rating (GAWR)
The GAWR is the maximum permissible load on the front
and rear axles. The load must be distributed in the cargo
area so that the GAWR of each axle is not exceeded.Each axle GAWR is determined by the components in the
system with the lowest load carrying capacity (axle,
springs, tires or wheels). Heavier axles or suspension
components sometimes specified by purchasers for in-
creased durability does not necessarily increase the vehi-
cle’s GVWR.
Tire Size
The tire size on the Vehicle Certification Label represents
the actual tire size on your vehicle. Replacement tires
must be equal to the load capacity of this tire size.
Rim Size
This is the rim size that is appropriate for the tire size
listed.
Inflation Pressure
This is the cold tire inflation pressure for your vehicle for
all loading conditions up to full GAWR.
428 STARTING AND OPERATING
Page 436 of 599
Fifth-Wheel Hitch
The fifth-wheel hitch is a special high platform with a
coupling that mounts over the rear axle of the tow vehicle
in the truck bed. It connects a vehicle and fifth-wheel
trailer with a coupling king pin.
With Weight-Distributing Hitch (Correct)Improper Adjustment Of Weight-Distributing Hitch(Incorrect)
434 STARTING AND OPERATING
Page 437 of 599

Gooseneck Hitch
The gooseneck hitch employs a pivoted coupling arm
which attaches to a ball mounted in the bed of a pickup
truck. The coupling arm connects to the hitch mounted
over the rear axle in the truck bed.
Trailer Hitch Classification
The following chart provides the industry standard for
the maximum trailer weight a given trailer hitch class can
tow and should be used to assist you in selecting the
correct trailer hitch for your intended towing condition.
Trailer Hitch Classification DefinitionsClass Max. Trailer Hitch
Industry Standards
Class I - Light Duty 2,000 lbs (907 kg)
Class II - Medium Duty 3,500 lbs (1 587 kg)
Trailer Hitch Classification Definitions
Class III - Heavy Duty 5,000 lbs (2 268 kg)
Class IV - Extra Heavy
Duty 10,000 lbs (4 540 kg)
Fifth Wheel/Gooseneck Greater than 10,000 lbs (4 540 kg)
Refer to the “Trailer Towing Weights (Maximum
Trailer Weight Ratings)” for the Maximum Gross
Trailer Weight (GTW) towable for your given drive-
train.
All trailer hitches should be professionally installed
on your vehicle.
5
STARTING AND OPERATING 435
Page 438 of 599

Trailer Towing Weights (Maximum Trailer Weight
Ratings)
NOTE:For additional trailer towing information (maxi-
mum trailer weight ratings) refer to the following website
addresses:
• ramtrucks.com/en/towing_guide/
• ramtruck.ca (Canada)
• rambodybuilder.com
Trailer And Tongue Weight
Always load a trailer with 60% of the weight in the front
of the trailer. This places 10% of the GTW on the tow
hitch of your vehicle. Loads balanced over the wheels or
heavier in the rear can cause the trailer to sway severely
side to side which will cause loss of control of the vehicle
and trailer. Failure to load trailers heavier in front is the
cause of many trailer collisions. Never exceed the maxi-
mum tongue weight stamped on your trailer hitch. Consider the following items when computing the
weight on the rear axle of the vehicle:
•
The tongue weight of the trailer
• The weight of any other type of cargo or equipment
put in or on your vehicle
• The weight of the driver and all passengers
436 STARTING AND OPERATING
Page 440 of 599

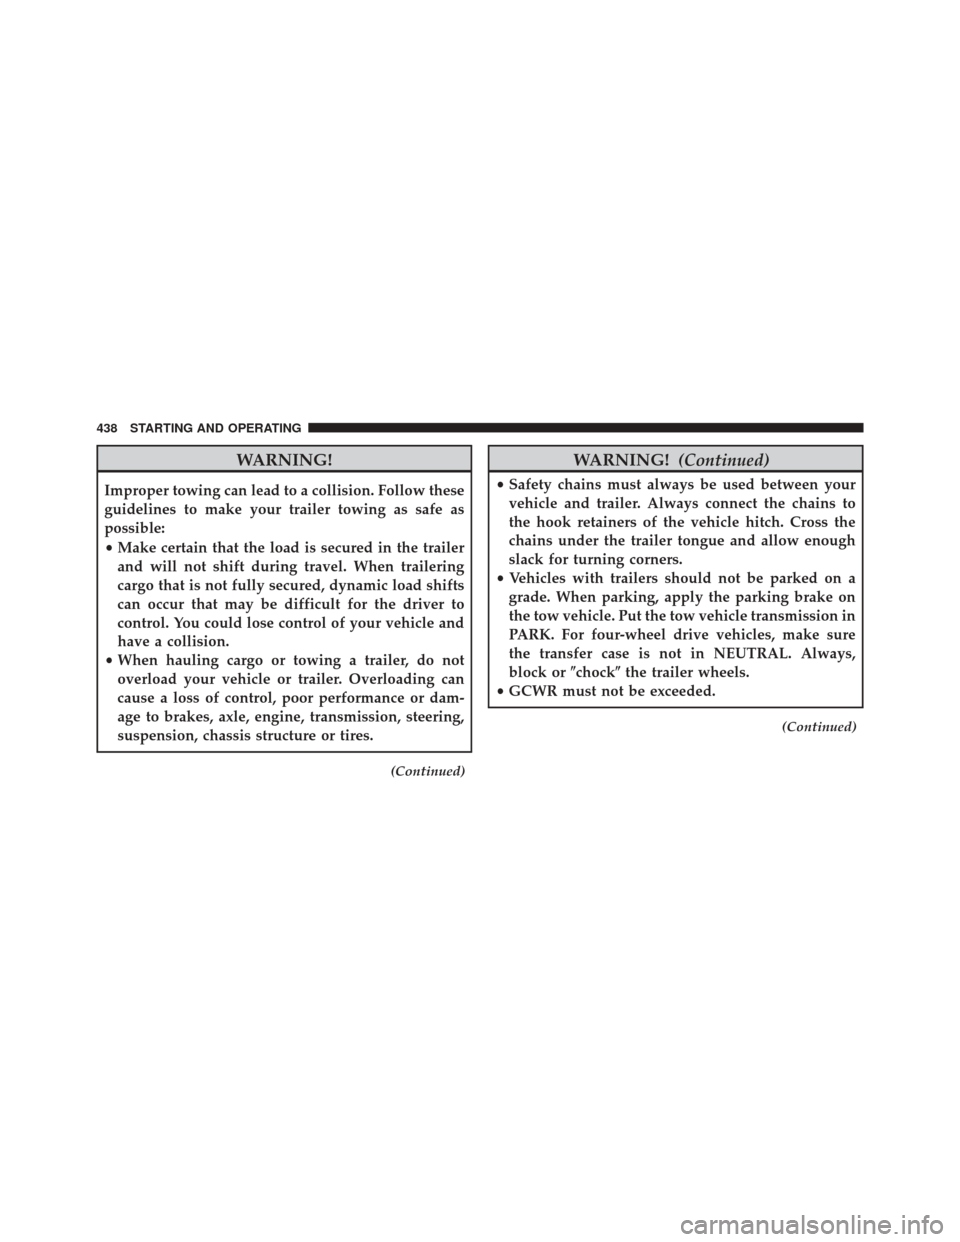
WARNING!
Improper towing can lead to a collision. Follow these
guidelines to make your trailer towing as safe as
possible:
•Make certain that the load is secured in the trailer
and will not shift during travel. When trailering
cargo that is not fully secured, dynamic load shifts
can occur that may be difficult for the driver to
control. You could lose control of your vehicle and
have a collision.
• When hauling cargo or towing a trailer, do not
overload your vehicle or trailer. Overloading can
cause a loss of control, poor performance or dam-
age to brakes, axle, engine, transmission, steering,
suspension, chassis structure or tires.
(Continued)
WARNING! (Continued)
•Safety chains must always be used between your
vehicle and trailer. Always connect the chains to
the hook retainers of the vehicle hitch. Cross the
chains under the trailer tongue and allow enough
slack for turning corners.
• Vehicles with trailers should not be parked on a
grade. When parking, apply the parking brake on
the tow vehicle. Put the tow vehicle transmission in
PARK. For four-wheel drive vehicles, make sure
the transfer case is not in NEUTRAL. Always,
block or �chock�the trailer wheels.
• GCWR must not be exceeded.
(Continued)
438 STARTING AND OPERATING
Page 445 of 599

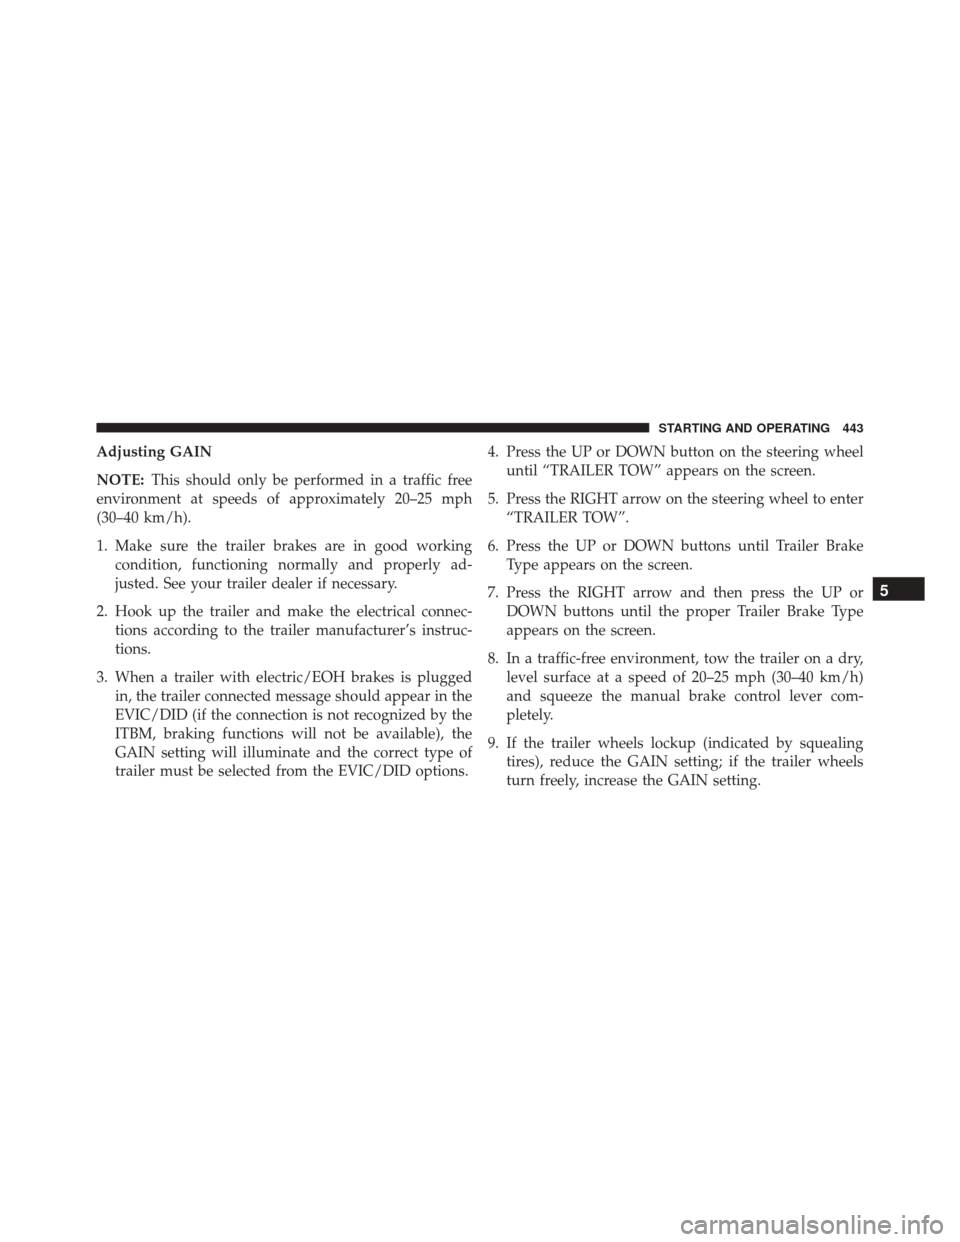
Adjusting GAIN
NOTE:This should only be performed in a traffic free
environment at speeds of approximately 20–25 mph
(30–40 km/h).
1. Make sure the trailer brakes are in good working condition, functioning normally and properly ad-
justed. See your trailer dealer if necessary.
2. Hook up the trailer and make the electrical connec- tions according to the trailer manufacturer’s instruc-
tions.
3. When a trailer with electric/EOH brakes is plugged in, the trailer connected message should appear in the
EVIC/DID (if the connection is not recognized by the
ITBM, braking functions will not be available), the
GAIN setting will illuminate and the correct type of
trailer must be selected from the EVIC/DID options. 4. Press the UP or DOWN button on the steering wheel
until “TRAILER TOW” appears on the screen.
5. Press the RIGHT arrow on the steering wheel to enter “TRAILER TOW”.
6. Press the UP or DOWN buttons until Trailer Brake Type appears on the screen.
7. Press the RIGHT arrow and then press the UP or DOWN buttons until the proper Trailer Brake Type
appears on the screen.
8. In a traffic-free environment, tow the trailer on a dry, level surface at a speed of 20–25 mph (30–40 km/h)
and squeeze the manual brake control lever com-
pletely.
9. If the trailer wheels lockup (indicated by squealing tires), reduce the GAIN setting; if the trailer wheels
turn freely, increase the GAIN setting.
5
STARTING AND OPERATING 443
Page 446 of 599
Repeat steps 8 and 9 until the GAIN setting is at a point
just below trailer wheel lockup. If towing a heavier
trailer, trailer wheel lockup may not be attainable even
with the maximum GAIN setting of 10.
Light Electric Heavy Electric Light EOHHeavy EOH
Type of Trailer
Brakes Electric Trailer
BrakesElectric Trailer
BrakesElectric over
Hydraulic Trailer
BrakesElectric over
Hydraulic Trailer
Brakes
Load *Under 10,000 lbs *Above 10,000 lbs *Under 10,000 lbs *Above 10,000 lbs
* The suggested selection depends and may change
depending on the customer preferences for braking per-
formance. Condition of the trailer brakes, driving and
road state may also affect the selection.
444 STARTING AND OPERATING