Page 42 of 271
40
108_en_Chap02_ouvertures_ed01-2015
Rear quarter windows
Opening
Closing
F tilt the lever outwards.
F P ush it fully to secure the window in the
open position.
F
P
ull the lever to release the window.
F
t
i
lt the lever fully inwards to secure the
window in the closed position.
On the 5 -door versions, system for ventilation
of the rear seats by the partial opening of the
window.
Front electric windows*
the driver has controls for both front
windows.
th
e electric windows do not work with
the ignition off.
1.
L
eft hand front electric window.
2.
R
ight hand front electric window.
After the ignition has been switched on, press
one of the control switches to open or pull to
close the window.
t
he
window stops when you
release the control switch.
* Depending on version. Closing the windows can cause serious
injury.
en
sure that nothing is preventing
the closing of the windows and take
particular care with children.
Access
Page 66 of 271
64
108_en_Chap04_amenagements_ed01-2015
to remove the mat on the driver's side:
F m ove the seat as far back as possible,
F
un
clip the fixings,
F
r
emove the mat.
Mats
When fitting the mat for the first time, on the
driver's side use only the fixings provided in the
wallet attached.
th
e other mats are simply placed on the
carpet.
to a
void any risk of jamming of the
pedals:
-
o
nly use mats which are suited to
the fixings already present in the
vehicle; these fixings must be used,
-
n
ever fit one mat on top of another.
th
e use of mats not approved by
P
e
uge
Ot
may inter fere with access
to the pedals and hinder the operation
of the speed limiter or etg electronic
gearbox.
to r
efit the mat on the driver's side:
F
p
osition the mat correctly,
F r efit the fixings by pressing,
F c heck that the mat is secured correctly.
FittingRemoval
Refitting
Fittings
Page 69 of 271
67
108_en_Chap04_amenagements_ed01-2015
Storage box
F Remove the boot carpet for access to the storage box.
Depending on the configuration, it is laid out for
storing:
-
a t
owing eye,
-
a t
emporary puncture repair kit,
-
... For versions with storage box: it must
be in place before loading the boot.th
e hooks can be used to secure shopping
bags.
Hooks
Maximum authorised load on the
hooks: 2 kg .
4
Fittings
Page 88 of 271

86
108_en_Chap05_conduite_ed01-2015
Switching off
F Press the end of the control stalk. th e display of information related to the
speed limiter disappears.
Operating fault
Illumination of this warning lamp in
the instrument panel indicates a fault
with the speed limiter.
Have it checked by a P
e
uge
Ot
dealer or a qualified workshop.
th
e use of mats not approved by
P
e
uge
Ot
may inter fere with the
operation of the speed limiter.
to a
void any risk of jamming of the
pedals:
-
e
nsure that the mat is secured
c o r r e c t l y,
-
d
o not fit one mat on top of another.
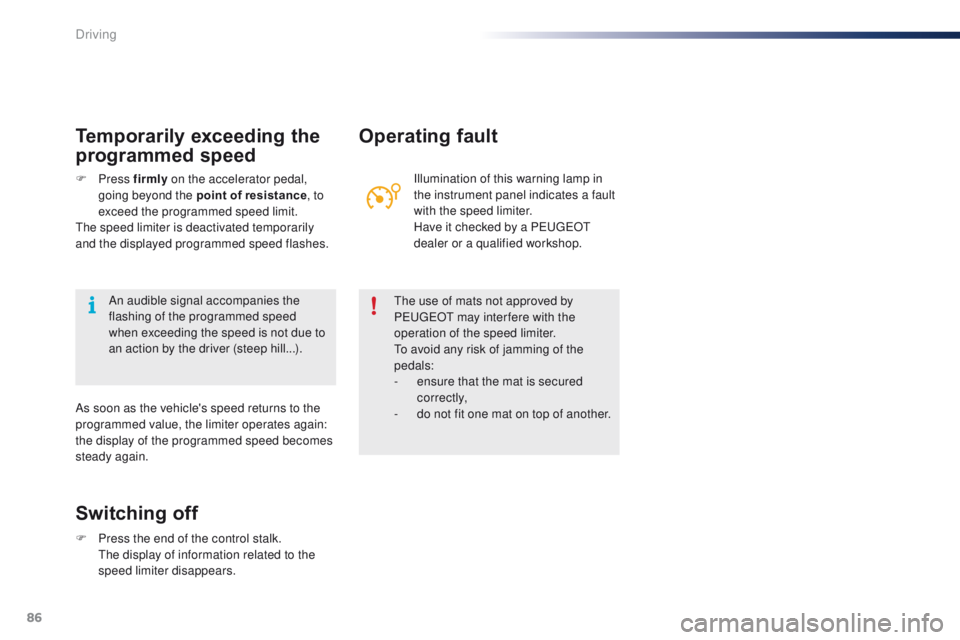
Temporarily exceeding the
programmed speed
F Press f irmly on the accelerator pedal,
going beyond the point of resistance ,
to
exceed the programmed speed limit.
th
e speed limiter is deactivated temporarily
and the displayed programmed speed flashes.
As soon as the vehicle's speed returns to the
programmed value, the limiter operates again:
the display of the programmed speed becomes
steady again. An audible signal accompanies the
flashing of the programmed speed
when exceeding the speed is not due to
an action by the driver (steep hill...).
Driving
Page 91 of 271

89
108_en_Chap05_conduite_ed01-2015
Switching off
F Press the end of the control stalk th e display of information related to the
speed limiter disappears.
Operating fault
Illumination of this warning lamp in
the instrument panel indicates a fault
with the speed limiter.
th
e use of mats not approved by
P
e
uge
Ot
may inter fere with the
operation of the speed limiter.
to a
void any risk of jamming of the
pedals:
-
e
nsure that the mat is secured
c o r r e c t l y,
-
d
o not fit one mat on top of another.
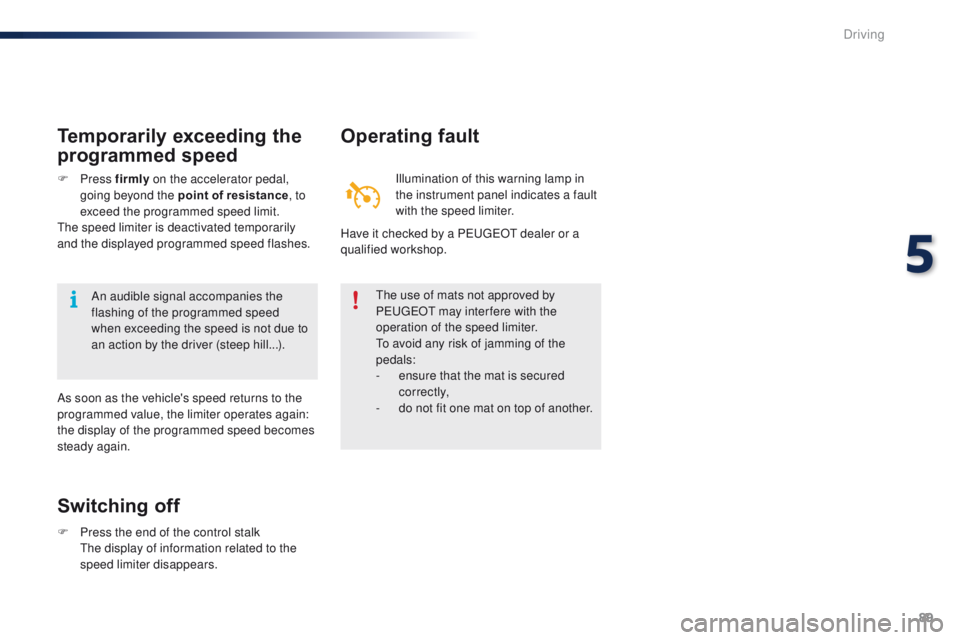
Temporarily exceeding the
programmed speed
F Press f irmly on the accelerator pedal,
going beyond the point of resistance ,
to
exceed the programmed speed limit.
th
e speed limiter is deactivated temporarily
and the displayed programmed speed flashes. Have it checked by a P
e
uge
Ot
dealer or a
qualified workshop.
An audible signal accompanies the
flashing of the programmed speed
when exceeding the speed is not due to
an action by the driver (steep hill...).
As soon as the vehicle's speed returns to the
programmed value, the limiter operates again:
the display of the programmed speed becomes
steady again.
5
Driving
Page 103 of 271
101
108_en_Chap07_securite_ed01-2015
Direction indicators
F Left: lower the lighting stalk passing the point of resistance.
F
R
ight: raise the lighting stalk passing the
point of resistance.
Horn
Audible warning to alert other road users to an
imminent danger.
When manoeuvring the vehicle,
take care not to operate the horn
unintentionally.
Three flashes of the direction
indicators
F Press briefly upwards or downwards, without going beyond the point of
resistance; the direction indicators will
flash 3 times. F
P
ress one of the steering wheel spokes.
F
P
ress the central part of the steering wheel.
7
Safety
Page 104 of 271

102
108_en_Chap07_securite_ed01-2015
Under-inflation detection
the system monitors the pressures in the four
tyres, once the vehicle is moving.
It compares the information given by the four
wheel speed sensors with reference values,
which must be reinitialised ever y time the
tyre pressures are adjusted or a wheel
changed.
th
e system triggers an alert as soon as it
detects a drop in the inflation pressure of one
or more tyres.
th
e under-inflation detection system
does not replace the need for vigilance
on the part of the driver.
th
is system does not avoid the need to
check the tyre pressures (including the
spare wheel) every month as well as
before a long journey.
Driving with under-inflated tyres impairs
road holding, extends braking distances
and causes premature tyre wear,
particularly under arduous condition
(high loading, high speed, long journey).
System which automatically checks the pressures of the tyres while driving.
Hazard warning lamps
Visual warning by means of the direction
indicators to alert other road users to a vehicle
breakdown, towing or accident.
F
P
ress this button, the direction indicators
flash.
th
ey can operate with the ignition off.
Safety
Page 105 of 271

103
108_en_Chap07_securite_ed01-2015
Under-inflation alert
this is given by fixed illumination of
this warning lamp, accompanied by
an audible signal.
F
R
educe speed immediately, avoid
excessive steering movements and sudden
braking.
F
S
top the vehicle as soon as it is safe to do
so.
th
e loss of pressure detected does not
always cause visible bulging of the tyre.
Do not satisfy yourself with just a visual
check.
F
I
f you have a compressor (such as the one
in the temporary puncture repair kit) check
the pressures of the four tyres when cold.
I
f it is not possible to carry out this check
straight away, drive carefully at reduced
speed.
or
F
I
n the event of a puncture, use the
temporary puncture repair kit or the spare
wheel (depending on equipment).
th
e alert is maintained until the system
is reinitialised.
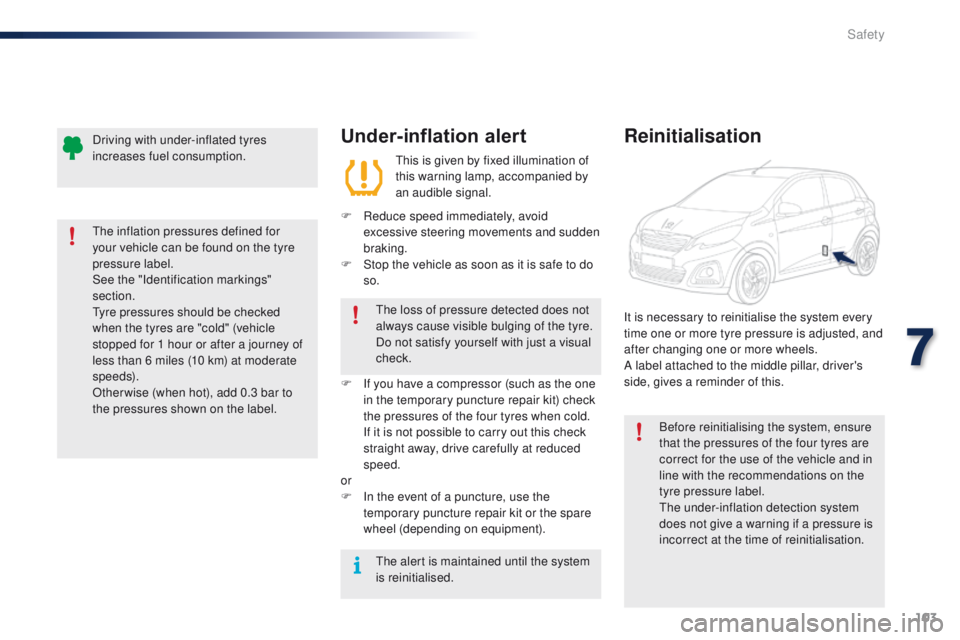
Reinitialisation
Before reinitialising the system, ensure
that the pressures of the four tyres are
correct for the use of the vehicle and in
line with the recommendations on the
tyre pressure label.
th
e under-inflation detection system
does not give a warning if a pressure is
incorrect at the time of reinitialisation.
It is necessary to reinitialise the system every
time one or more tyre pressure is adjusted, and
after changing one or more wheels.
A label attached to the middle pillar, driver's
side, gives a reminder of this.
th
e inflation pressures defined for
your vehicle can be found on the tyre
pressure label.
See the "Identification markings"
section.
ty
re pressures should be checked
when the tyres are "cold" (vehicle
stopped for 1 hour or after a journey of
less than 6 miles (10 km) at moderate
speeds).
Other wise (when hot), add 0.3 bar to
the pressures shown on the label. Driving with under-inflated tyres
increases fuel consumption.
7
Safety