Page 33 of 343

Keys, doors and windows31
If the control indicator d flashes when
the ignition is on, there is a fault in the system; the engine cannot be started.
Switch off the ignition and repeat the
start attempt.
If the control indicator continues
flashing, attempt to start the engine
using the spare key and seek the
assistance of a workshop.
Note
The immobiliser does not lock the
doors. You should always lock the
vehicle after leaving it and switch on the anti-theft alarm system 3 23,
3 29.
Control indicator d 3 118.Exterior mirrors
Convex shape
The convex exterior mirror contains
an aspherical area and reduces blind spots. The shape of the mirror makes objects appear smaller, which will
affect the ability to estimate
distances.
Electric adjustment
Select the relevant exterior mirror by
turning the control to left (L) or right
(R) . Then swivel the control to adjust
the mirror.
In position 0 no mirror is selected.
Folding mirrors
For pedestrian safety, the exterior
mirrors will swing out of their normal
mounting position if they are struck
with sufficient force. Reposition the mirror by applying slight pressure tothe mirror housing.
Page 46 of 343

44Seats, restraints9Danger
Move the backrest to an upright
position before folding to avoid
injury.
Seat folding on power seats
Lift release lever and fold backrest
forwards. The seat slides
automatically forwards to the stop.
To restore lift backrest to upright
position and engage. The seat slides
automatically backwards to the
original position.
In case the head restraint of the
folded backrest is blocked by the
upper windscreen frame, slightly let
the seat move backwards before
lifting up the backrest 3 44.
Safety function
If the power seat encounters
resistance while sliding forward or
rearward, it is immediately stopped
and moved back.
Overload
If the folding function is electrically overloaded, the power supply is
automatically cut-off for a short time.
Power seat adjustment9 Warning
Care must be taken when
operating the power seats. There
is a risk of injury, particularly for
children. Objects could become
trapped.
Keep a close watch on the seats
when adjusting them. Vehicle
passengers should be informed
accordingly.
Seat lengthwise position
Move switch forwards/backwards.
Page 49 of 343

Seats, restraints47Rear seats
Armrest
Fold armrest down. The armrest
contains cupholders and a storage
box.
Seat belts
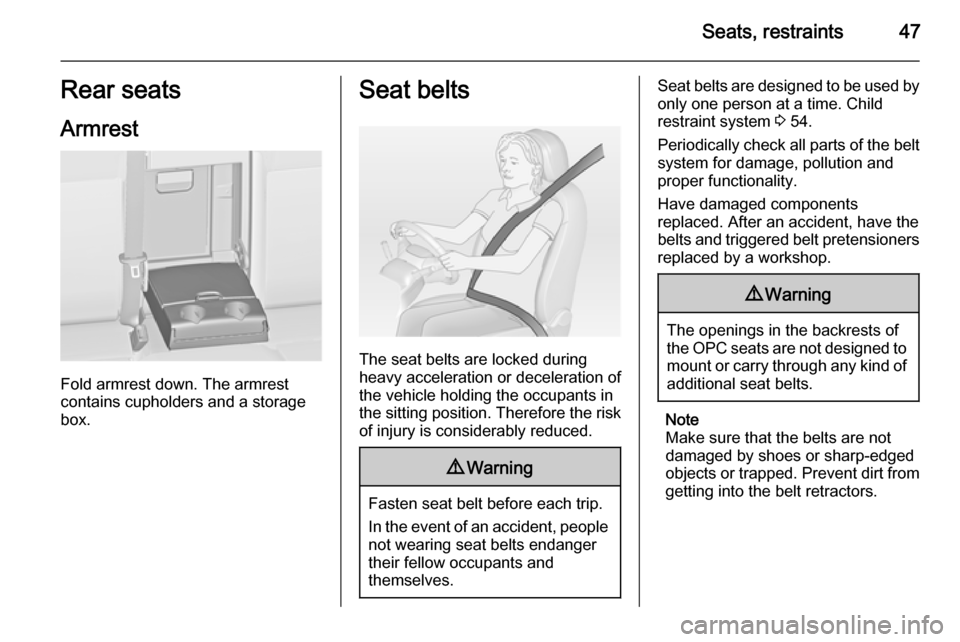
The seat belts are locked during
heavy acceleration or deceleration of
the vehicle holding the occupants in
the sitting position. Therefore the risk
of injury is considerably reduced.
9 Warning
Fasten seat belt before each trip.
In the event of an accident, people
not wearing seat belts endanger their fellow occupants and
themselves.
Seat belts are designed to be used by only one person at a time. Child
restraint system 3 54.
Periodically check all parts of the belt
system for damage, pollution and
proper functionality.
Have damaged components
replaced. After an accident, have the
belts and triggered belt pretensioners replaced by a workshop.9 Warning
The openings in the backrests of
the OPC seats are not designed to mount or carry through any kind ofadditional seat belts.
Note
Make sure that the belts are not
damaged by shoes or sharp-edged
objects or trapped. Prevent dirt from
getting into the belt retractors.
Page 62 of 343
60StorageStorageStorage compartments................60
Load compartment .......................82
Roof rack system .........................97
Loading information .....................98Storage compartments9Warning
Do not store heavy or sharp
objects in the storage
compartments. Otherwise, the
storage compartment lid could
open and vehicle occupants could be injured by objects being thrown
around in the event of hard
braking, a sudden change in
direction or an accident.
Glovebox
The glovebox features a pen holder,
a credit card holder, a coin holder and
an adapter for the locking wheel nuts.
The glovebox should be closed whilst
driving.
Cupholders
Cupholders are located in the centre
console.
Page 68 of 343
66Storage
Check the cable and lamp position to
make sure these are correctly
installed and are securely located.
Lock the rear carrier system
Swivel the right clamping lever ( 1)
first, followed by the left clamping
lever ( 2), until a resistance is
noticeable.
The rear carrier system is locked
when the clamping levers are
swivelled by approx. 50°. Otherwise
safe functionality is not guaranteed.
Note
Close the tailgate.
Page 74 of 343
72Storage
Disengage the locking lever on the
diagonal support and fold both pedal crank recesses down.
9 Warning
Risk of pinching.
Swivel first the left clamping lever ( 1),
followed by the right clamping lever
( 2 ), until they stop.
Push the clamping lever down and
pull both lamp supports out of the recesses.
Fold in the lamp supports on the
backs of the tail lamps.
First place the front ( 1) tail lamp, then
the rear ( 2) tail lamp in the recesses
and push down as far as possible.
Push cables all the way into all guides
in order to prevent damage.
Open the tailgate.
Page 77 of 343
Storage75
Fold out tail lamps
Fold out both tail lamps.
Lock the rear carrier system
Swivel both clamping levers
sidewards as far as they will go.
Otherwise safe functionality is not
guaranteed.
Fold out wheel recesses
Fold out both wheel recesses.
Assembling the bicycle rack
Lift the rack at the rear ( 1) and pull it
backwards.
Fold up the rack ( 2).
Page 78 of 343
76Storage
Push down the rack (1) and swivel
handle ( 2) backwards to engage.
Attaching the first bicycle
1. Rotate the pedals into position (as
shown in the illustration) and put
the bicycle on the foremost wheel
recess.
Make sure that the bicycle stands centrally on the wheel recesses.
2. Attach the short mounting bracket
to the bicycle frame. Turn the
knob clockwise to fasten.
3. Secure both bicycle wheels to the
wheel recesses using the strap
retainers.
4. Check the bicycle to make sure it is secure.
Caution
Ensure gap between bicycle and
vehicle is at least 5 cm. If
necessary, loosen handlebar and swivel sidewards.