Page 328 of 396
The current sensor�Ais located near the battery
along the negative battery cable. If you add elec-
trical accessories to your vehicle, be sure to
ground them to a suitable body ground such as
the frame or engine block area.
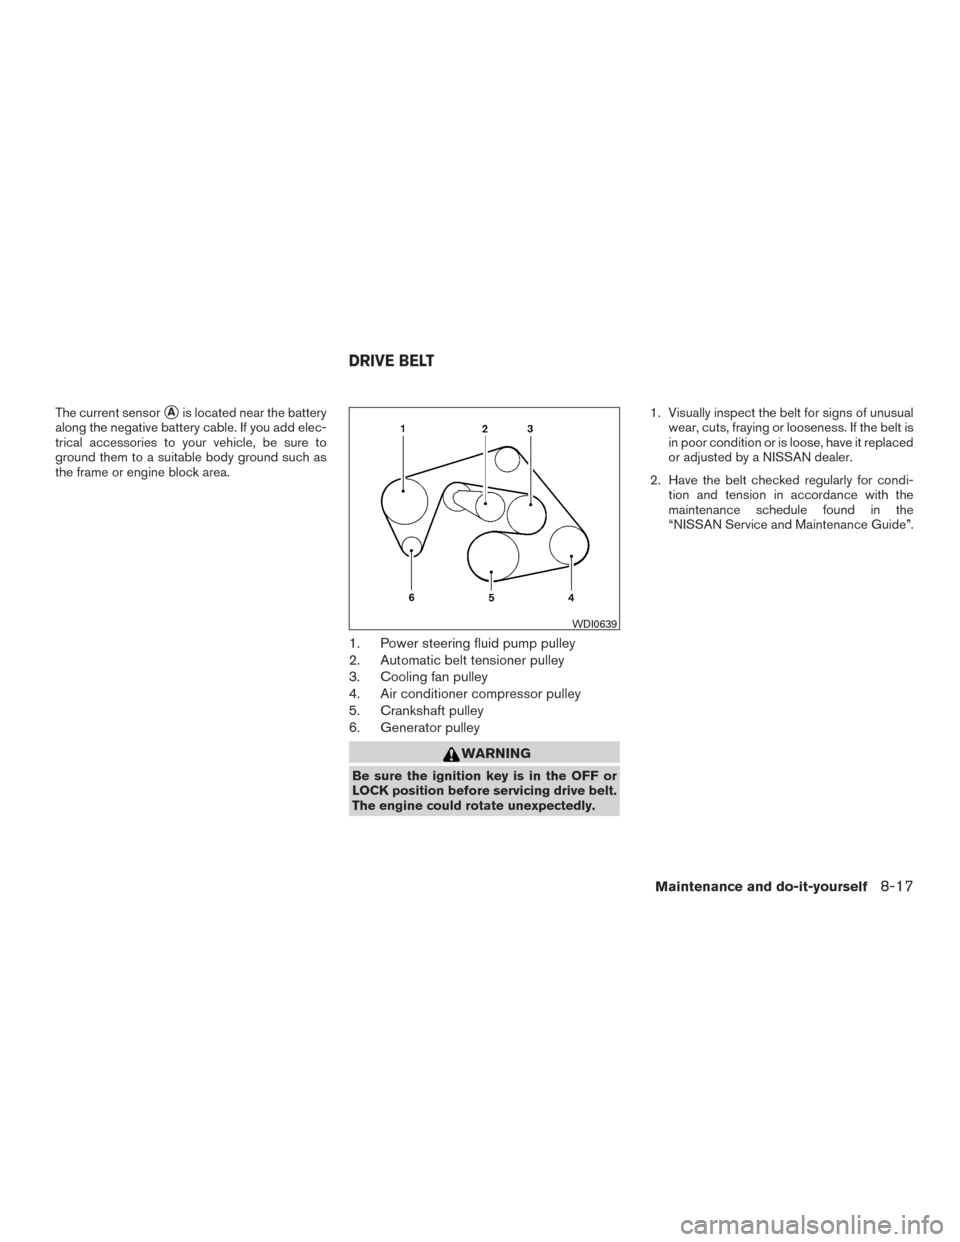
1. Power steering fluid pump pulley
2. Automatic belt tensioner pulley
3. Cooling fan pulley
4. Air conditioner compressor pulley
5. Crankshaft pulley
6. Generator pulley
WARNING
Be sure the ignition key is in the OFF or
LOCK position before servicing drive belt.
The engine could rotate unexpectedly. 1. Visually inspect the belt for signs of unusual
wear, cuts, fraying or looseness. If the belt is
in poor condition or is loose, have it replaced
or adjusted by a NISSAN dealer.
2. Have the belt checked regularly for condi- tion and tension in accordance with the
maintenance schedule found in the
“NISSAN Service and Maintenance Guide”.
WDI0639
DRIVE BELT
Maintenance and do-it-yourself8-17
Page 329 of 396
REPLACING SPARK PLUGS
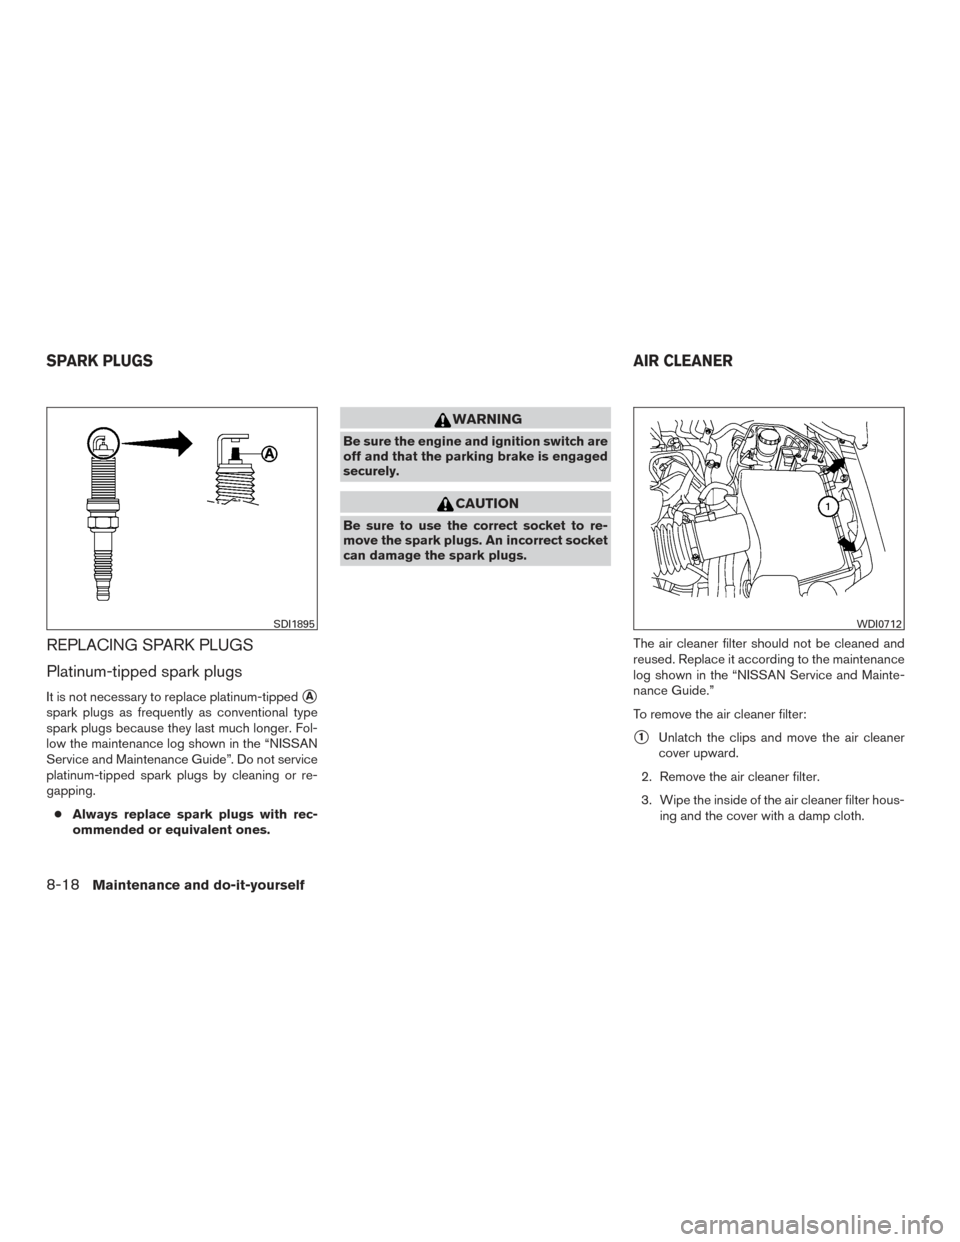
Platinum-tipped spark plugs
It is not necessary to replace platinum-tipped�A
spark plugs as frequently as conventional type
spark plugs because they last much longer. Fol-
low the maintenance log shown in the “NISSAN
Service and Maintenance Guide”. Do not service
platinum-tipped spark plugs by cleaning or re-
gapping.● Always replace spark plugs with rec-
ommended or equivalent ones.
WARNING
Be sure the engine and ignition switch are
off and that the parking brake is engaged
securely.
CAUTION
Be sure to use the correct socket to re-
move the spark plugs. An incorrect socket
can damage the spark plugs.
The air cleaner filter should not be cleaned and
reused. Replace it according to the maintenance
log shown in the “NISSAN Service and Mainte-
nance Guide.”
To remove the air cleaner filter:
�1Unlatch the clips and move the air cleaner
cover upward.
2. Remove the air cleaner filter.
3. Wipe the inside of the air cleaner filter hous- ing and the cover with a damp cloth.
SDI1895WDI0712
SPARK PLUGS AIR CLEANER
8-18Maintenance and do-it-yourself
Page 335 of 396
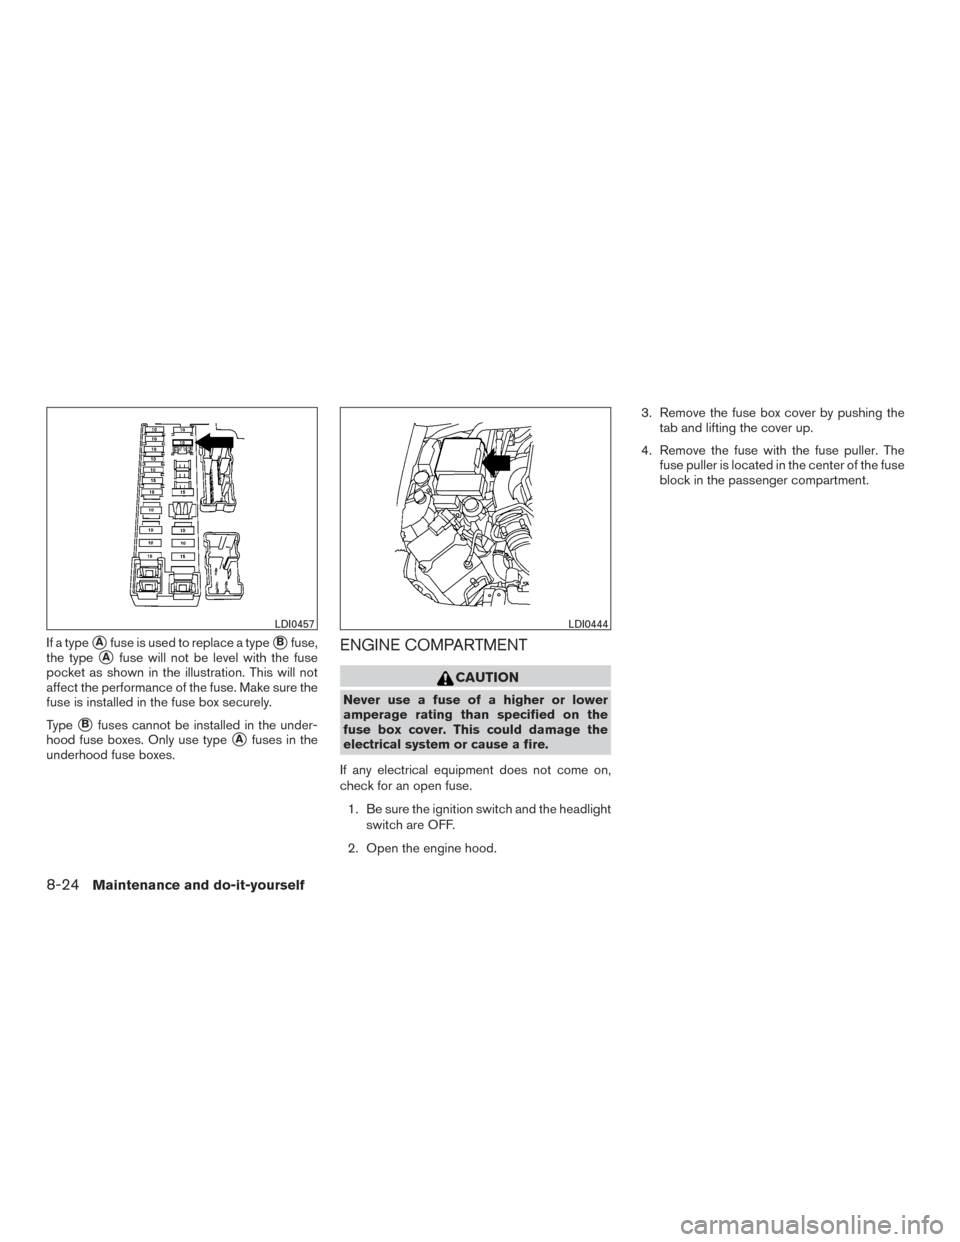
If a type�Afuse is used to replace a type�Bfuse,
the type
�Afuse will not be level with the fuse
pocket as shown in the illustration. This will not
affect the performance of the fuse. Make sure the
fuse is installed in the fuse box securely.
Type
�Bfuses cannot be installed in the under-
hood fuse boxes. Only use type
�Afuses in the
underhood fuse boxes.
ENGINE COMPARTMENT
CAUTION
Never use a fuse of a higher or lower
amperage rating than specified on the
fuse box cover. This could damage the
electrical system or cause a fire.
If any electrical equipment does not come on,
check for an open fuse. 1. Be sure the ignition switch and the headlight switch are OFF.
2. Open the engine hood. 3. Remove the fuse box cover by pushing the
tab and lifting the cover up.
4. Remove the fuse with the fuse puller. The fuse puller is located in the center of the fuse
block in the passenger compartment.
LDI0457LDI0444
8-24Maintenance and do-it-yourself
Page 336 of 396
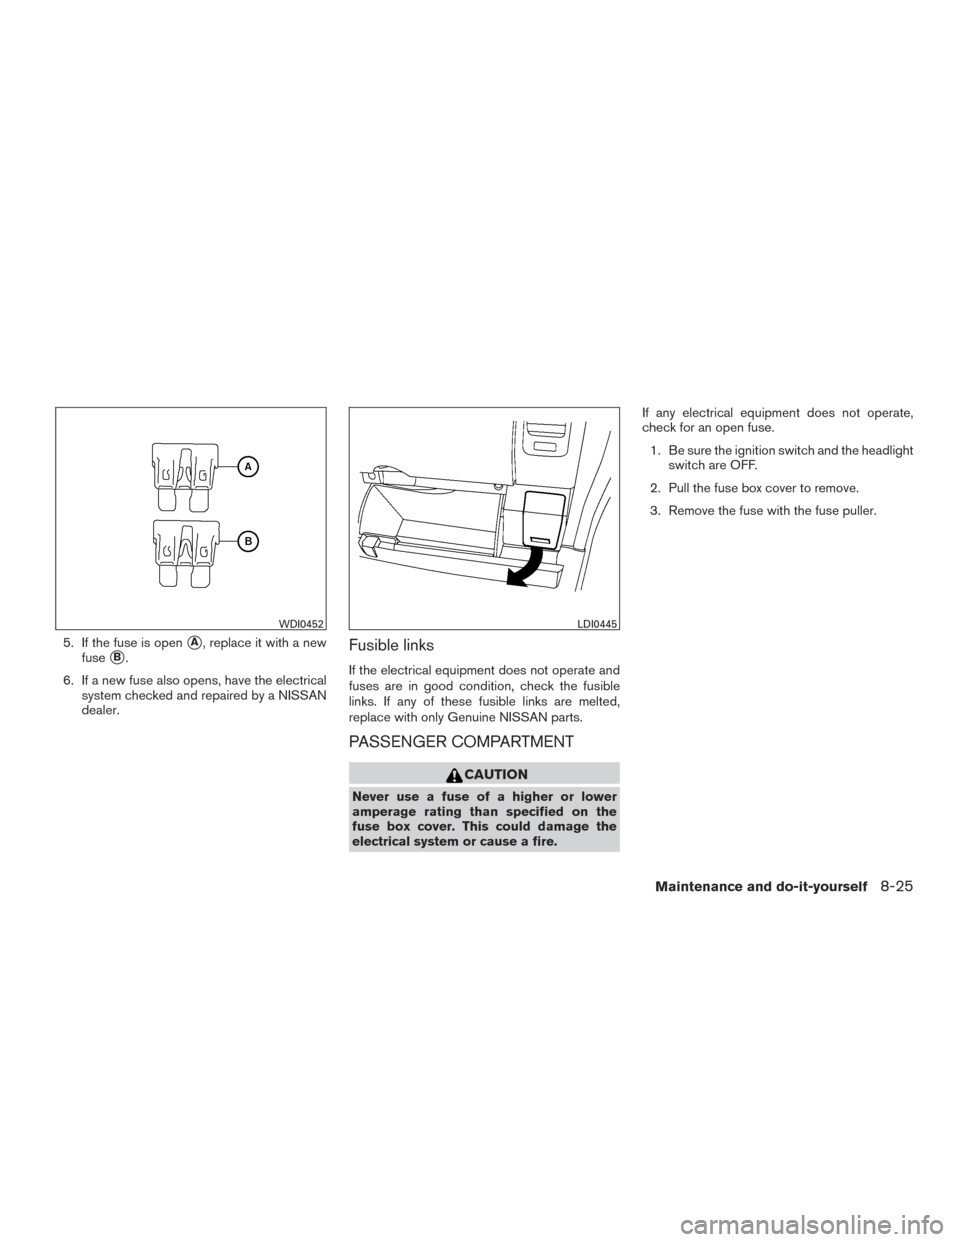
5. If the fuse is open�A, replace it with a new
fuse
�B.
6. If a new fuse also opens, have the electrical system checked and repaired by a NISSAN
dealer.Fusible links
If the electrical equipment does not operate and
fuses are in good condition, check the fusible
links. If any of these fusible links are melted,
replace with only Genuine NISSAN parts.
PASSENGER COMPARTMENT
CAUTION
Never use a fuse of a higher or lower
amperage rating than specified on the
fuse box cover. This could damage the
electrical system or cause a fire. If any electrical equipment does not operate,
check for an open fuse.
1. Be sure the ignition switch and the headlight switch are OFF.
2. Pull the fuse box cover to remove.
3. Remove the fuse with the fuse puller.
WDI0452LDI0445
Maintenance and do-it-yourself8-25
Page 338 of 396
How to replace the extended storage
switch:1. To remove the extended storage switch, be sure the ignition switch is in the OFF or
LOCK position.
2. Be sure the headlight switch is in the OFF position.
3. Remove the fuse box cover.
4. Pinch the locking tabs
�1found on each
side of the storage switch.
5. Pull the storage switch straight out from the fuse box
�2.
CAUTION
Be careful not to allow children to swallow
the battery or removed parts.
BATTERY REPLACEMENT
Maintenance and do-it-yourself8-27
Page 360 of 396
●If a methanol blend is used, it should
contain no more than 5% methanol
(methyl alcohol, wood alcohol) . It
should also contain a suitable amount
of appropriate cosolvents and corro-
sion inhibitors. If not properly formu-
lated with appropriate cosolvents and
corrosion inhibitors, such methanol
blends may cause fuel system damage
and/or vehicle performance problems.
At this time, sufficient data is not avail-
able to ensure that all methanol blends
are suitable for use in NISSAN ve-
hicles.
If any driveability problems such as engine stall-
ing and difficult hot-starting are experienced after
using oxygenate-blend fuels, immediately
change to a non-oxygenate fuel or a fuel with a
low blend of MTBE.
Take care not to spill gasoline during refu-
eling. Gasoline containing oxygenates can
cause paint damage.
E–15 fuel
E-15 fuel is a mixture of approximately 15% fuel
ethanol and 85% unleaded gasoline. E-15 can
only be used in vehicles designed to run on E-15
fuel. Do not use E-15 in your vehicle. U.S. gov-
ernment regulations require fuel ethanol dispens-
ing pumps to be identified with small, square, orange and black label with the common abbre-
viation or the appropriate percentage for that
region.
E–85 fuel
E-85 fuel is a mixture of approximately 85% fuel
ethanol and 15% unleaded gasoline. E-85 can
only be used in a Flexible Fuel Vehicle (FFV) . Do
not use E-85 in your vehicle. U.S. government
regulations require fuel ethanol dispensing
pumps to be identified by a small, square, orange
and black label with the common abbreviation or
the appropriate percentage for that region.
Aftermarket fuel additives
NISSAN does not recommend the use of any
aftermarket fuel additives (for example, fuel injec-
tor cleaner, octane booster, intake valve deposit
removers, etc.) which are sold commercially.
Many of these additives intended for gum, varnish
or deposit removal may contain active solvents or
similar ingredients that can be harmful to the fuel
system and engine.
Octane rating tips
Using unleaded gasoline with an octane
rating lower than recommended can cause
persistent, heavy “spark knock.” (“Spark
knock” is a metallic rapping noise.) If se-
vere, this can lead to engine damage. If youdetect a persistent heavy spark knock even
when using gasoline of the stated octane
rating, or if you hear steady spark knock
while holding a steady speed on level
roads, have a NISSAN dealer correct the
condition. Failure to correct the condition
is misuse of the vehicle, for which NISSAN
is not responsible.
Incorrect ignition timing may result in spark
knock, after-run and/or overheating, which may
cause excessive fuel consumption or engine
damage. If any of the above symptoms are en-
countered, have your vehicle checked at a
NISSAN dealer.
However, now and then you may notice
light spark knock for a short time while
accelerating or driving up hills. This is not a
cause for concern, because you get the
greatest fuel benefit when there is light
spark knock for a short time under heavy
engine load.
Technical and consumer information9-5
Page 363 of 396
ENGINE
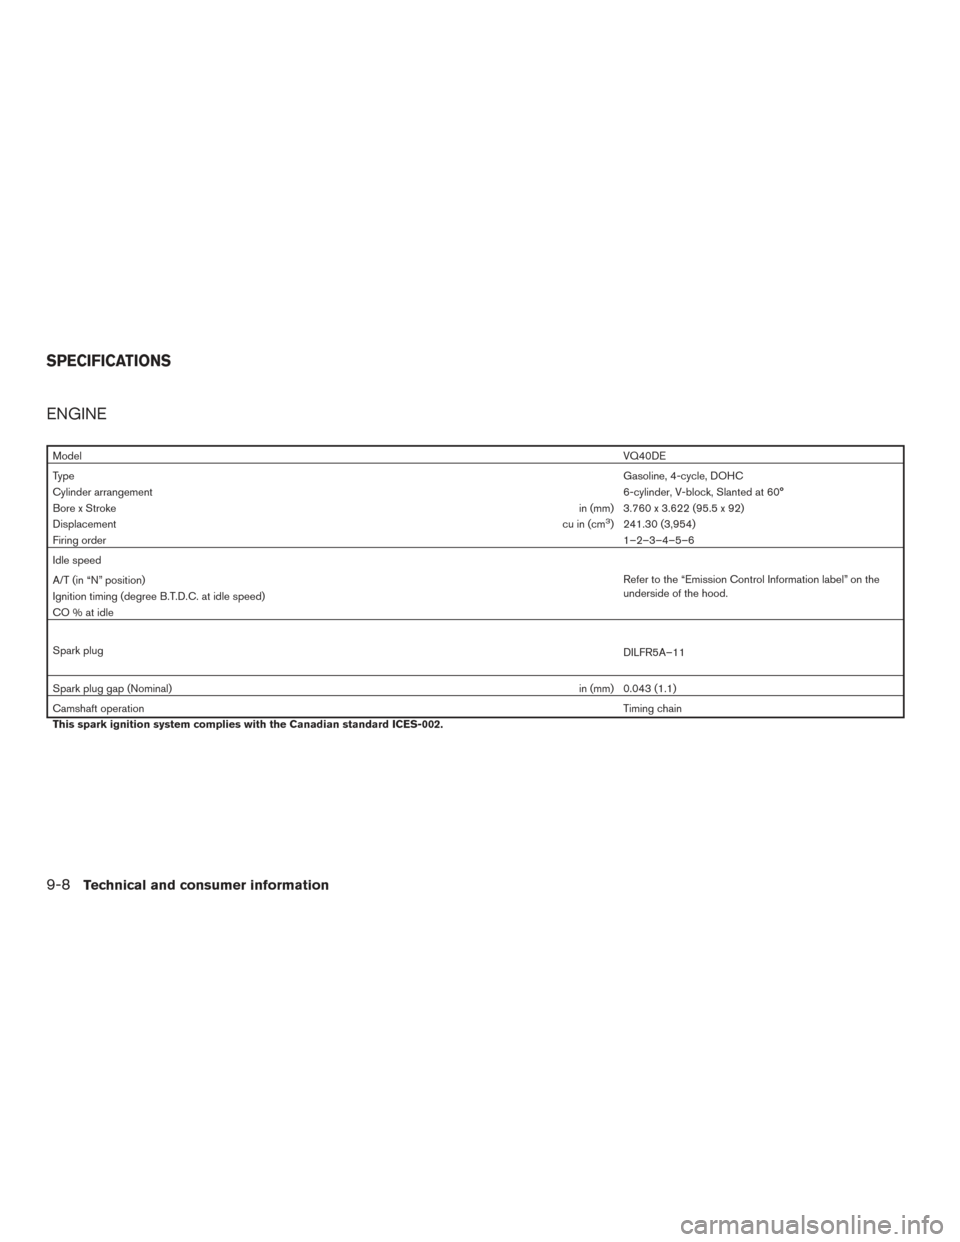
ModelVQ40DE
Type Gasoline, 4-cycle, DOHC
Cylinder arrangement 6-cylinder, V-block, Slanted at 60°
Bore x Stroke in (mm) 3.760 x 3.622 (95.5 x 92)
Displacement cu in (cm
3) 241.30 (3,954)
Firing order 1–2–3–4–5–6
Idle speed Refer to the “Emission Control Information label” on the
underside of the hood.
A/T (in “N” position)
Ignition timing (degree B.T.D.C. at idle speed)
CO%atidle
Spark plug
DILFR5A–11
Spark plug gap (Nominal) in (mm) 0.043 (1.1)
Camshaft operation Timing chain
This spark ignition system complies with the Canadian standard ICES-002.
SPECIFICATIONS
9-8Technical and consumer information
Page 378 of 396
WARNING
Trailer hitch components have specific
weight ratings. Your vehicle may be capable
of towing a trailer heavier than the weight
rating of the hitch components. Never ex-
ceed the weight rating of the hitch compo-
nents. Doing so can cause serious personal
injury or property damage.
Hitch ball
Choose a hitch ball of the proper size and weight
rating for your trailer:● The required hitch ball size is stamped on
most trailer couplers. Most hitch balls also
have the size printed on the top of the ball.
● Choose the proper class hitch ball based on
the trailer weight.
● The diameter of the threaded shank of the
hitch ball must be matched to the ball mount
hole diameter. The hitch ball shank should
be no more than 1/16” smaller than the hole
in the ball mount.
●
The threaded shank of the hitch ball must be
long enough to be properly secured to the ball
mount. There should be at least 2 threads
showing beyond the lock washer and nut.
Ball mount
The hitch ball is attached to the ball mount and
the ball mount is inserted into the hitch receiver.
Choose a proper class ball mount based on the
trailer weight. Additionally, the ball mount should
be chosen to keep the trailer tongue level with the
ground.
Weight carrying hitches
A weight carrying or “dead weight” ball mount is
one that is designed to carry the whole amount of
tongue weight and gross weight directly on the
ball mount and on the receiver.
Weight distribution hitch
This type of hitch is also called a “load-leveling” or
“equalizing” hitch. A set of bars attach to the ball
mount and to the trailer to distribute the tongue
weight (hitch weight) of your trailer. Many ve-
hicles can’t carry the full tongue weight of a given
trailer, and need some of the tongue weight
transferred through the frame and pushing down
on the front wheels. This gives stability to the tow
vehicle.
A weight-distributing hitch system (Class IV) is
recommended if you plan to tow trailers with a
maximum weight over 5,000 lbs (2,268 kg).
Check with the trailer and towing equipment manufacturers to determine if they recommend
the use of a weight-distributing hitch system.
NOTE:
A weight-distributing hitch system may af-
fect the operation of trailer surge brakes. If
you are considering use of a weight-
distributing hitch system with a surge
brake-equipped trailer, check with the
surge brake, hitch or trailer manufacturer
to determine if and how this can be done.
Follow the instructions provided by the manufac-
turer for installing and using the weight-
distributing hitch system.
General set-up instructions are as follows:
1. Park unloaded vehicle on a level surface. With the ignition on and the doors closed,
allow the vehicle to stand for several minutes
so that it can level.
2. Measure the height of a reference point on the front and rear bumpers at the center of
the vehicle.
3. Attach the trailer to the vehicle and adjust the hitch equalizers so that the front bumper
height is within0-.5inches (0 – 13 mm) of
the reference height measured in step 2. The
rear bumper should be no higher than the
reference height measured in step 2.
Technical and consumer information9-23