2015 NISSAN VERSA NOTE service indicator
[x] Cancel search: service indicatorPage 76 of 384
2 Instruments and controls
Instrument panel...................................2-2
Meters and gauges ................................2-3
Speedometer and odometer .....................2-4
Tachometer ....................................2-8
Engine coolant temperature gauge ...............2-8
Fuel gauge ....................................2-9
Trip computer ................................. 2-10
Service interval reminder .......................2-11
Warning/indicator lights and audible reminders ......2-13
Checking bulbs ............................... 2-14
Warning lights ................................ 2-14
Indicator lights ................................ 2-19
Audible reminders ............................. 2-21
Security systems ................................. 2-22
NISSAN vehicle immobilizer system
(if so equipped) ............................... 2-22
Windshield wiper and washer switch ...............2-23
Switch operation .............................. 2-23
Rear window wiper and washer switch ..............2-24
Rear window and outside mirror (if so equipped)
defroster switch .................................. 2-25
Headlight and turn signal switch ....................2-25
Headlight control switch ........................ 2-25
Daytime running light system (Canada only) ......2-26 Instrument brightness control
...................2-27
Turn signal switch ............................. 2-28
Fog light switch (if so equipped) ................2-28
Horn ............................................ 2-29
Heated seats (if so equipped) ......................2-29
Vehicle Dynamic Control (VDC) off switch ...........2-30
Power outlet ..................................... 2-31
Storage ......................................... 2-31
Map pockets .................................. 2-31
Seatback pockets ............................. 2-32
Storage trays ................................. 2-32
Cup holders .................................. 2-32
Glove box .................................... 2-34
Cargo cover (if so equipped) ....................2-35
Divide-n-hide
adjustable floor
(if so equipped) ............................... 2-36
Grocery hooks ................................ 2-37
Windows ........................................ 2-37
Power windows (if so equipped) ................2-37
Manual windows (if so equipped) ................2-40
Interior light ...................................... 2-40
Map light ........................................ 2-41
Luggage compartment light ........................2-41
Page 89 of 384
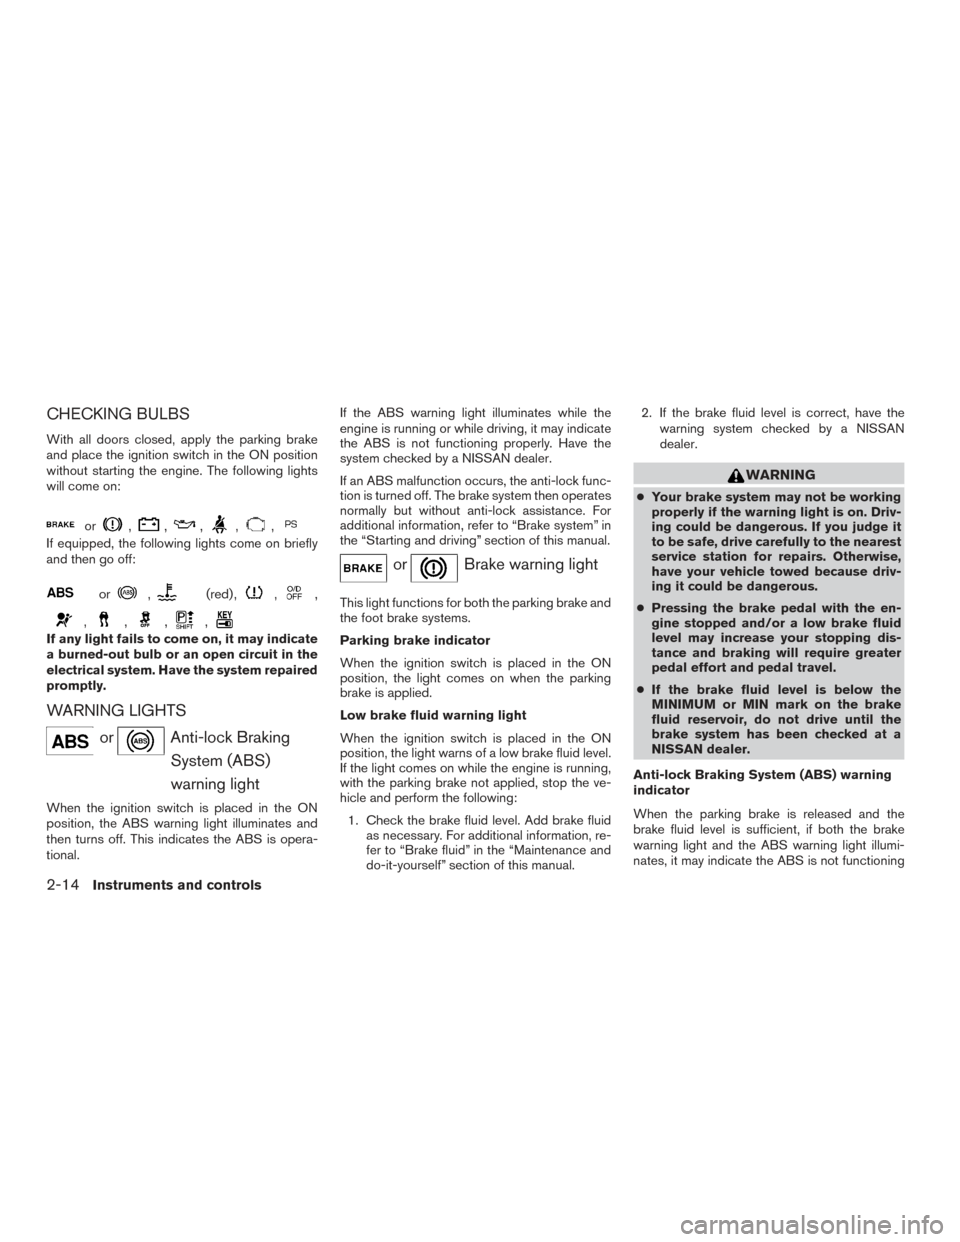
CHECKING BULBS
With all doors closed, apply the parking brake
and place the ignition switch in the ON position
without starting the engine. The following lights
will come on:
or,,,,,
If equipped, the following lights come on briefly
and then go off:
or,(red) ,,,
,,,,
If any light fails to come on, it may indicate
a burned-out bulb or an open circuit in the
electrical system. Have the system repaired
promptly.
WARNING LIGHTS
orAnti-lock BrakingSystem (ABS)
warning light
When the ignition switch is placed in the ON
position, the ABS warning light illuminates and
then turns off. This indicates the ABS is opera-
tional. If the ABS warning light illuminates while the
engine is running or while driving, it may indicate
the ABS is not functioning properly. Have the
system checked by a NISSAN dealer.
If an ABS malfunction occurs, the anti-lock func-
tion is turned off. The brake system then operates
normally but without anti-lock assistance. For
additional information, refer to “Brake system” in
the “Starting and driving” section of this manual.
orBrake warning light
This light functions for both the parking brake and
the foot brake systems.
Parking brake indicator
When the ignition switch is placed in the ON
position, the light comes on when the parking
brake is applied.
Low brake fluid warning light
When the ignition switch is placed in the ON
position, the light warns of a low brake fluid level.
If the light comes on while the engine is running,
with the parking brake not applied, stop the ve-
hicle and perform the following:
1. Check the brake fluid level. Add brake fluid as necessary. For additional information, re-
fer to “Brake fluid” in the “Maintenance and
do-it-yourself” section of this manual. 2. If the brake fluid level is correct, have the
warning system checked by a NISSAN
dealer.
WARNING
●Your brake system may not be working
properly if the warning light is on. Driv-
ing could be dangerous. If you judge it
to be safe, drive carefully to the nearest
service station for repairs. Otherwise,
have your vehicle towed because driv-
ing it could be dangerous.
● Pressing the brake pedal with the en-
gine stopped and/or a low brake fluid
level may increase your stopping dis-
tance and braking will require greater
pedal effort and pedal travel.
● If the brake fluid level is below the
MINIMUM or MIN mark on the brake
fluid reservoir, do not drive until the
brake system has been checked at a
NISSAN dealer.
Anti-lock Braking System (ABS) warning
indicator
When the parking brake is released and the
brake fluid level is sufficient, if both the brake
warning light and the ABS warning light illumi-
nates, it may indicate the ABS is not functioning
2-14Instruments and controls
Page 200 of 384
APPS button:
Press the APPS button to launch the Smart-
phone Integration Mode. Refer to “Nissan-
Connect
SMMobile Apps” in this section for addi-
tional information about using this feature.
For additional information on connecting your
phone, refer to the “Bluetooth® Hands-Free
Phone system without Navigation” section.
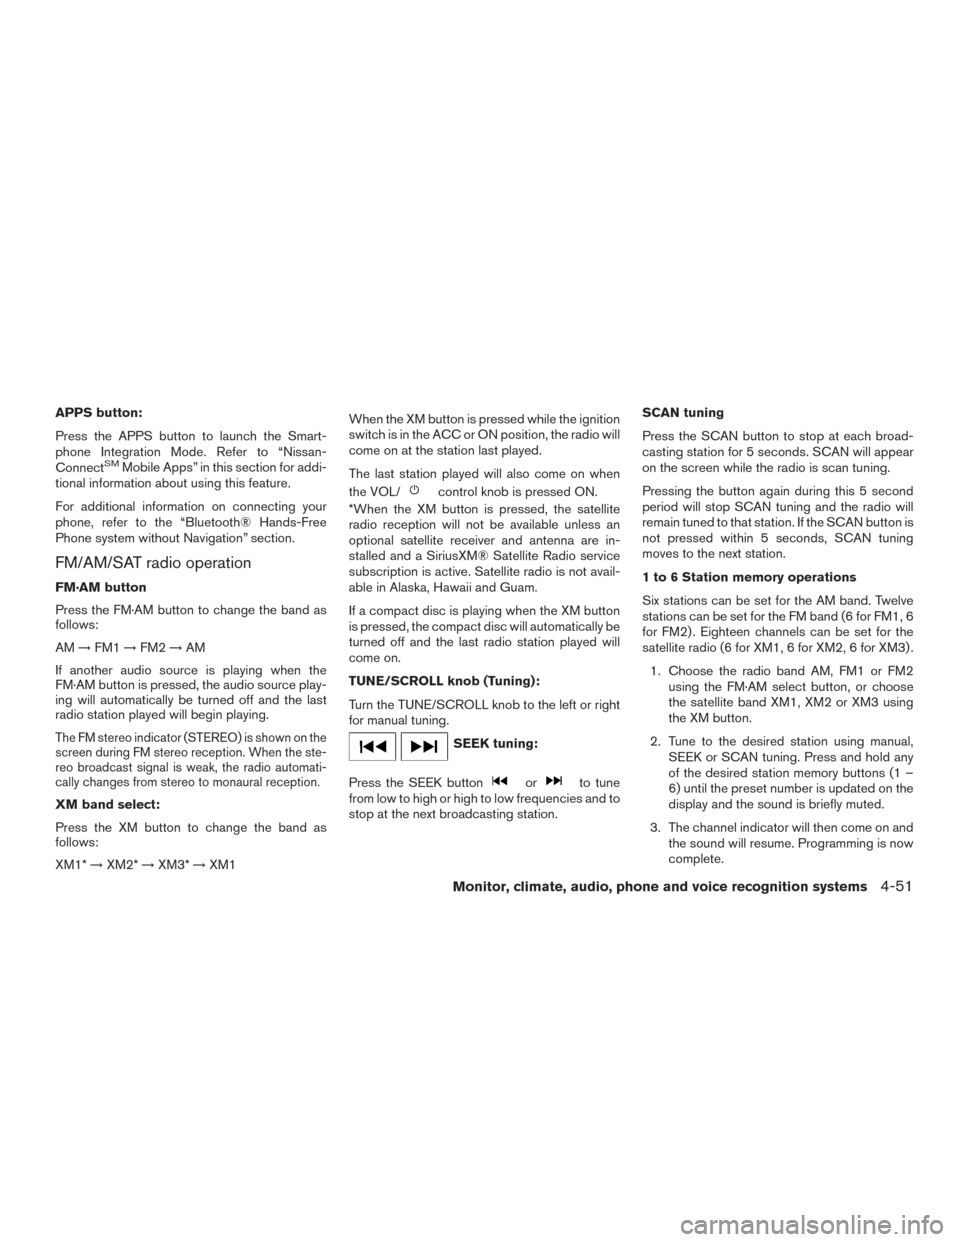
FM/AM/SAT radio operation
FM·AM button
Press the FM·AM button to change the band as
follows:
AM →FM1 →FM2 →AM
If another audio source is playing when the
FM·AM button is pressed, the audio source play-
ing will automatically be turned off and the last
radio station played will begin playing.
The FM stereo indicator (STEREO) is shown on the
screen during FM stereo reception. When the ste-
reo broadcast signal is weak, the radio automati-
cally changes from stereo to monaural reception.
XM band select:
Press the XM button to change the band as
follows:
XM1* →XM2* →XM3* →XM1 When the XM button is pressed while the ignition
switch is in the ACC or ON position, the radio will
come on at the station last played.
The last station played will also come on when
the VOL/
control knob is pressed ON.
*When the XM button is pressed, the satellite
radio reception will not be available unless an
optional satellite receiver and antenna are in-
stalled and a SiriusXM® Satellite Radio service
subscription is active. Satellite radio is not avail-
able in Alaska, Hawaii and Guam.
If a compact disc is playing when the XM button
is pressed, the compact disc will automatically be
turned off and the last radio station played will
come on.
TUNE/SCROLL knob (Tuning):
Turn the TUNE/SCROLL knob to the left or right
for manual tuning.
SEEK tuning:
Press the SEEK button
orto tune
from low to high or high to low frequencies and to
stop at the next broadcasting station. SCAN tuning
Press the SCAN button to stop at each broad-
casting station for 5 seconds. SCAN will appear
on the screen while the radio is scan tuning.
Pressing the button again during this 5 second
period will stop SCAN tuning and the radio will
remain tuned to that station. If the SCAN button is
not pressed within 5 seconds, SCAN tuning
moves to the next station.
1 to 6 Station memory operations
Six stations can be set for the AM band. Twelve
stations can be set for the FM band (6 for FM1, 6
for FM2) . Eighteen channels can be set for the
satellite radio (6 for XM1, 6 for XM2, 6 for XM3) .
1. Choose the radio band AM, FM1 or FM2 using the FM·AM select button, or choose
the satellite band XM1, XM2 or XM3 using
the XM button.
2. Tune to the desired station using manual, SEEK or SCAN tuning. Press and hold any
of the desired station memory buttons (1 –
6) until the preset number is updated on the
display and the sound is briefly muted.
3. The channel indicator will then come on and the sound will resume. Programming is now
complete.
Monitor, climate, audio, phone and voice recognition systems4-51
Page 205 of 384
![NISSAN VERSA NOTE 2015 2.G Owners Manual SXM settings:
To view the SXM settings:1. Press the [
] button.
2. Touch the “Settings” key.
3. Touch the “SXM” key.
The signal strength, activation status and other
information are displayed NISSAN VERSA NOTE 2015 2.G Owners Manual SXM settings:
To view the SXM settings:1. Press the [
] button.
2. Touch the “Settings” key.
3. Touch the “SXM” key.
The signal strength, activation status and other
information are displayed](/manual-img/5/451/w960_451-204.png)
SXM settings:
To view the SXM settings:1. Press the [
] button.
2. Touch the “Settings” key.
3. Touch the “SXM” key.
The signal strength, activation status and other
information are displayed on the screen.
FM/AM/SAT radio operation
FM·AM button
Press the FM·AM button to change the band as
follows:
AM →FM1 →FM2 →AM
If another audio source is playing when the
FM·AM button is pressed, the audio source play-
ing will automatically be turned off and the last
radio station played will begin playing.
The FM stereo indicator (ST) is shown on the
screen during FM stereo reception. When the
stereo broadcast signal is weak, the radio auto-
matically changes from stereo to monaural re-
ception. SXM band select:
Pressing the SXM button will change the band as
follows:
SXM1*
→SXM2* →SXM3*→ SXM1* (satellite,
if so equipped)
When the SXM button is pressed while the igni-
tion switch is in the ACC or ON position, the
radio will come on at the last station played.
The last station played will also come on when
the ON-OFF/VOL control knob is pressed.
*When the SXM button is pressed, the satellite
radio mode will be skipped unless an optional
satellite receiver and antenna are installed and a
SiriusXM® Satellite Radio service subscription is
active. Satellite radio is not available in Alaska,
Hawaii and Guam.
If a compact disc is playing when the SXM button
is pressed, the compact disc will automatically be
turned off and the last radio station played will
come on.
While the radio is in SXM mode, the operation
can be controlled through the touch-screen.
Touch the “Channels” key to display a list of
channels. Touch a channel displayed on the list to
change to that channel. Touch the “Categories” key to display a list of categories. Touch a cat-
egory displayed on the list to display options
within that category.
Tuning with the touch-screen:
When in AM or FM mode, the radio can be tuned
using the touch-screen. To bring up the visual
tuner, touch the “Tune” key on the lower right
corner of the screen. A screen appears with a bar
running from low frequencies on the left to high
frequencies on the right. Touch the screen at the
location of the frequency you wish to tune and the
station will change to that frequency. To return to
the regular radio display screen, touch the “OK”
key.
Tuning with the TUNE control knob:
The radio can also be manually tuned using the
TUNE knob. When in FM or AM mode, turn the
TUNE control knob to the left for lower frequen-
cies or to the right for higher frequencies. When
in SXM mode, turn the TUNE control knob to
change the channel.
4-56Monitor, climate, audio, phone and voice recognition systems
Page 350 of 384
Wheel nut tightening torque:83 ft-lb (113 N·m)
The wheel nuts must be kept tight-
ened to specifications at all times. It
is recommended that wheel nuts be
tightened to specification at each
tire rotation interval.
TPMS Sensor ID Matching Process
After Tire Rotation (if so equipped)
Each TPMS sensor has a unique identifi-
cation code. Any time you rotate your
vehicle’s tires or replace one or more of
the TPMS sensors, these identification
codes need to be matched to the new
tire/wheel position to make sure that the
low tire pressure display in the meter is
correct. The identification codes are
matched to their positions using a TPMS
diagnostic tool. See your NISSAN dealer
for service.WARNING
● After rotating the tires, check and
adjust the tire pressure.
● Retighten the wheel nuts when
the vehicle has been driven for
600 miles (1,000 km) (also in
cases of a flat tire, etc.) .
● Do not include the spare tire in
the tire rotation.
● For additional information re-
garding tires, refer to “Important
Tire Safety Information” (US) or
“Tire Safety Information”
(Canada) in the Warranty Infor-
mation Booklet.
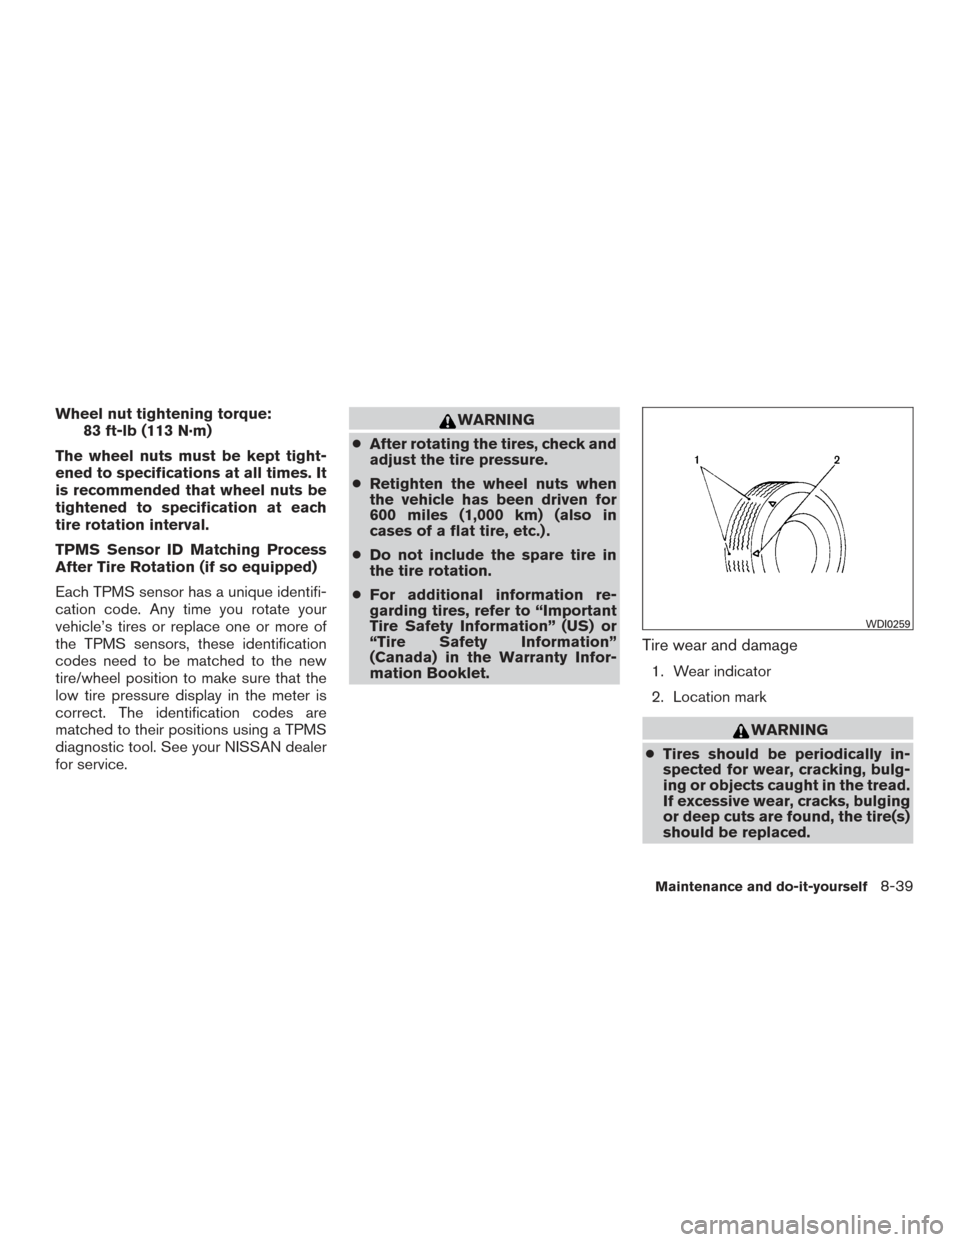
Tire wear and damage
1. Wear indicator
2. Location mark
WARNING
● Tires should be periodically in-
spected for wear, cracking, bulg-
ing or objects caught in the tread.
If excessive wear, cracks, bulging
or deep cuts are found, the tire(s)
should be replaced.
WDI0259
Maintenance and do-it-yourself8-39
Page 351 of 384
●The original tires have built-in
tread wear indicators. When the
wear indicators are visible, the
tire(s) should be replaced.
● Tires degrade with age and use.
Have tires, including the spare,
over 6 years old checked by a
qualified technician because
some tire damage may not be ob-
vious. Replace the tires as neces-
sary to prevent tire failure and
possible personal injury.
● Improper service of the spare tire
may result in serious personal in-
jury. If it is necessary to repair the
spare tire, contact a NISSAN
dealer.
● For additional information re-
garding tires, refer to “Important
Tire Safety Information” (US) or
“Tire Safety Information”
(Canada) in the Warranty Infor-
mation Booklet.Replacing wheels and tires
When replacing a tire, use the same size, tread
design, speed rating and load carrying capacity
as originally equipped. Recommended types and
sizes are shown in “Wheels and tires” in the
“Technical and consumer information” section of
this manual.
WARNING
● The use of tires other than those recom-
mended or the mixed use of tires of
different brands, construction (bias,
bias-belted or radial) , or tread patterns
can adversely affect the ride, braking,
handling, ground clearance, body-to-
tire clearance, tire chain clearance,
speedometer calibration, headlight aim
and bumper height. Some of these ef-
fects may lead to accidents and could
result in serious personal injury.
● If your vehicle was originally equipped
with 4 tires that were the same size and
you are only replacing 2 of the 4 tires,
install the new tires on the rear axle.
Placing new tires on the front axle may
cause loss of vehicle control in some
driving conditions and cause an acci-
dent and personal injury. ●
If the wheels are changed for any rea-
son, always replace with wheels which
have the same off-set dimension.
Wheels of a different off-set could
cause premature tire wear, degrade ve-
hicle handling characteristics, or inter-
fere with the brake discs/drums. Such
interference can lead to decreased
braking efficiency and/or early brake
pad/shoe wear. Refer to “Wheels and
tires” in the “Technical and consumer
information” section of this manual for
wheel off-set dimensions.
● When a spare tire is mounted or a wheel
is replaced, tire pressure will not be
indicated, the TPMS will not function
and the low tire pressure warning light
will flash for approximately 1 minute.
The light will remain on after 1 minute.
Contact your NISSAN dealer as soon as
possible for tire replacement and/or
system resetting.
● Replacing tires with those not originally
specified by NISSAN could affect the
proper operation of the TPMS.
8-40Maintenance and do-it-yourself
Page 352 of 384
●Do not install a damaged or deformed
wheel or tire even if it has been re-
paired. Such wheels or tires could have
structural damage and could fail with-
out warning.
● The use of retread tires is not
recommended.
Wheel balance
Unbalanced wheels may affect vehicle handling
and tire life. Even with regular use, wheels can get
out of balance. Therefore, they should be bal-
anced as required.
Wheel balance service should be per-
formed with the wheels off the vehicle.
Spin balancing the wheels on the vehicle
could lead to mechanical damage.
● For additional information regarding
tires, refer to “Important Tire Safety
Information” (US) or “Tire Safety Infor-
mation” (Canada) in the Warranty In-
formation Booklet.
Care of wheels
● Wash the wheels when washing the vehicle
to maintain their appearance. ●
Clean the inner side of the wheels when the
wheel is changed or the underside of the
vehicle is washed.
● Do not use abrasive cleaners when washing
the wheels.
● Inspect wheel rims regularly for dents or
corrosion. Such damage may cause loss of
pressure or poor seal at the tire bead.
● NISSAN recommends waxing the road
wheels to protect against road salt in areas
where it is used during winter.
Spare tire (TEMPORARY USE ONLY
spare tire)
Observe the following precautions if the TEM-
PORARY USE ONLY spare tire must be used.
Otherwise, your vehicle could be damaged or
involved in an accident:
WARNING
● The spare tire should be used for emer-
gency use only. It should be replaced
with the standard tire at the first oppor-
tunity to avoid possible tire or differen-
tial damage. ●
Drive carefully while the TEMPORARY
USE ONLY spare tire is installed. Avoid
sharp turns and abrupt braking while
driving.
● Periodically check spare tire inflation
pressure. Always keep the pressure of
the TEMPORARY USE ONLY spare tire
at 60 psi (420 kPa, 4.2 bar) .
● With the TEMPORARY USE ONLY spare
tire installed do not drive the vehicle at
speeds faster than 50 MPH (80 km/h).
●
When driving on roads covered with
snow or ice, the TEMPORARY USE ONLY
spare tire should be used on the rear
wheels and the original tire used on the
front wheels (drive wheels) . Use tire
chains only on the front (original) tires.
● Tire tread of the TEMPORARY USE
ONLY spare tire will wear at a faster rate
than the standard tire. Replace the
spare tire as soon as the tread wear
indicators appear.
● Do not use the spare tire on other
vehicles.
● Do not use more than one spare tire at
the same time.
● Do not tow a trailer when the TEMPO-
RARY USE ONLY spare tire is installed.
Maintenance and do-it-yourself8-41
Page 376 of 384
10 Index
A
ABS (Anti-lock Braking System) ........5-28
Air bag (See supplemental restraint
system) .....................1-42
Air bag system Front (See supplemental front impact
air bag system) ...............1-49
Side and curtain (See supplemental
side air bag and curtain side-impact
air bag system) ...............1-54
Airbagwarninglabels.............1-56
Airbagwarninglight...........1-57,2-18
Air bag warning light, supplemental . .1-57, 2-18
Air cleaner housing filter ............8-18
Air conditioner Air conditioner operation ..........4-26
Air conditioner service ...........4-31
Air conditioner specification label .....9-12
Air conditioner system refrigerant and
oil recommendations .............9-7
Air conditioner system refrigerant
recommendations ..............9-7
Heater and air conditioner controls ....4-23
Servicing air conditioner ..........4-31
Airflowcharts..................4-27
Anchor point locations .............1-25
Antenna .....................4-74
Anti-lock brake warning light ..........2-14
Anti-lock Braking System (ABS) ........5-28
Apps .......................4-75
Armrests .....................1-5 Around View™ Monitor
.............4-14
Audible reminders ...............2-21
Audio system ..................4-31
AMradioreception.............4-32
Bluetooth®audio..........4-70,4-71
Bluetooth® streaming audio ........4-71
Compact disc (CD)
player..........4-42,4-47,4-52,4-59
FM/AM radio with compact disc (CD)
player ....................4-44
FM-AM radio with compact disc (CD)
player ....................4-40
FM/AM/SAT radio with compact disc (CD)
player.................4-49,4-54
FMradioreception..........4-31,4-45
iPod® Player .............4-65,4-67
iPod® player operation .......4-65,4-67
Radio ....................4-31
Steering wheel audio control switch . . .4-72
USB interface ............4-61,4-63
USB (Universal Serial Bus) Connection
Port..................4-61,4-63
Automatic Automatic power window switch .....2-39
Automatic transmission position indicator
light .....................2-19
Automatic door locks ..............3-7
AUXjack..............4-43,4-45,4-61
B
Battery ..................5-32,8-14 Charge warning light
............2-15
Battery replacement Keyfob ...................8-24
NISSAN Intelligent Key® ..........8-25
Before starting the engine ...........5-13
Belt (See drive belt) ..............8-17
Block heater Engine ....................5-33
Bluetooth® audio ............4-70,4-71
Bluetooth® hands-free phone
system..................4-76,4-91
Boosterseats..................1-39
Brake Anti-lock Braking System (ABS) ......5-28
Brake fluid ..................8-13
Brakelight(Seestoplight).........8-28
Brake system ................5-27
Brakewarninglight.............2-14
Brakewearindicators........2-21,8-20
Parking brake operation ..........5-20
Self-adjusting brakes ............8-20
Brake fluid ....................8-13
Brakes ......................8-20
Brake system ..................5-27
Break-inschedule ...............5-23
Brightness/contrast button ...........4-9
Brightness control Instrument panel ..............2-27
Bulb check/instrument panel ..........2-14
Bulbreplacement................8-28