Page 18 of 384

1 Safety—Seats, seat belts and
supplemental restraint system
Seats............................................1-2
Front manual seat adjustment . . ..................1-2
Armrest (driver’s side only) ......................1-4
Folding rear seat ...............................1-4
Head restraints/Headrests ..........................1-5
Adjustable head restraint/headrest
components ...................................1-6
Non-adjustable head restraint/headrest
components ...................................1-7
Remove .......................................1-7
Install .........................................1-8
Adjust .........................................1-8
Seat belts ....................................... 1-10
Precautions on seat belt usage ..................1-10
Pregnant women .............................. 1-13
Injured persons ................................ 1-13
Three-point type seat belt with retractor ..........1-13
Seat belt extenders ............................ 1-18
Seat belt maintenance ......................... 1-18
Child safety ...................................... 1-19Infants
........................................ 1-20
Small children ................................. 1-20
Larger children ................................ 1-20
Child restraints ................................... 1-21
Precautions on child restraints ..................1-21
LATCH (Lower Anchors and Tethers for
CHildren) System ............................. 1-23
Rear-facing child restraint installation using
LATCH....................................... 1-25
Rear-facing child restraint installation using
the seat belts ................................. 1-28
Forward-facing child restraint installation
using LATCH .................................. 1-31
Forward-facing child restraint installation
using the seat belts ............................ 1-34
Booster seats ................................. 1-39
Supplemental restraint system (SRS) . . .............1-42
Precautions on SRS ........................... 1-42
Supplemental air bag warning labels .............1-56
Supplemental air bag warning light ..............1-57
Page 21 of 384
ARMREST (driver’s side only)
To use the armrest, pull it down to the resting
position.
�AStowed position
�BResting position
FOLDING REAR SEAT
1. Ensure the rear outboard seat belt tongue isproperly stowed in the rear trim slot next to
the door
�1before moving the rear seatback
�2in order to prevent the outboard seat belt
from getting caught behind the rear seat-
back. 2. Pull the knob
�3and fold�4the rear seat-
back down.
WARNING
● Never allow anyone to ride in the cargo
area or on the rear seat when it is in the
fold-down position. Use of these areas
by passengers without proper restraints
could result in serious injury in an acci-
dent or sudden stop.
LRS2454LRS8103LRS2453
1-4Safety—Seats, seat belts and supplemental restraint system
Page 33 of 384

WARNING
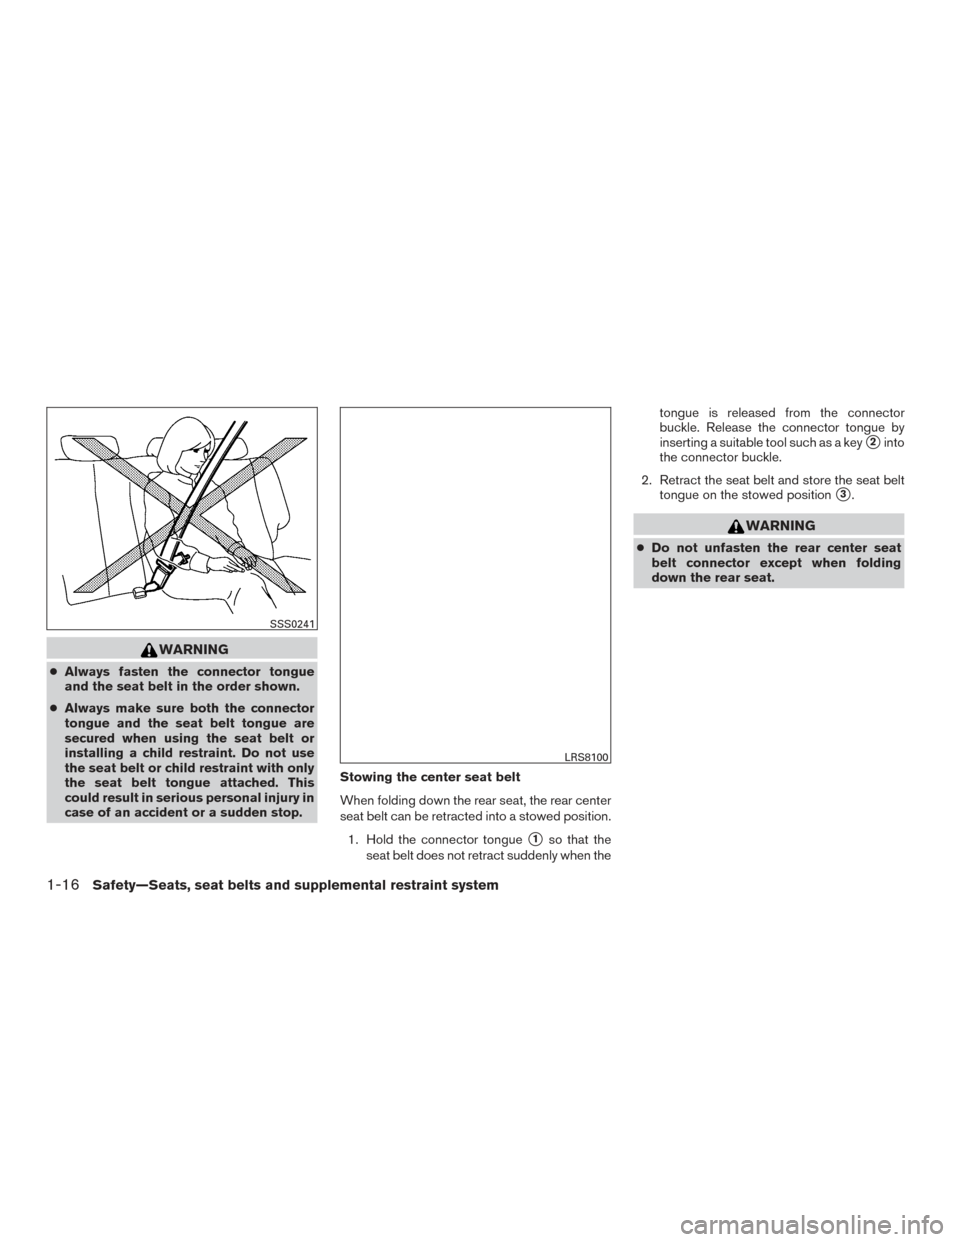
●Always fasten the connector tongue
and the seat belt in the order shown.
● Always make sure both the connector
tongue and the seat belt tongue are
secured when using the seat belt or
installing a child restraint. Do not use
the seat belt or child restraint with only
the seat belt tongue attached. This
could result in serious personal injury in
case of an accident or a sudden stop. Stowing the center seat belt
When folding down the rear seat, the rear center
seat belt can be retracted into a stowed position.
1. Hold the connector tongue
�1so that the
seat belt does not retract suddenly when the tongue is released from the connector
buckle. Release the connector tongue by
inserting a suitable tool such as a key
�2into
the connector buckle.
2. Retract the seat belt and store the seat belt tongue on the stowed position
�3.
WARNING
●Do not unfasten the rear center seat
belt connector except when folding
down the rear seat.
SSS0241
LRS8100
1-16Safety—Seats, seat belts and supplemental restraint system
Page 34 of 384

Attaching the center seat belt
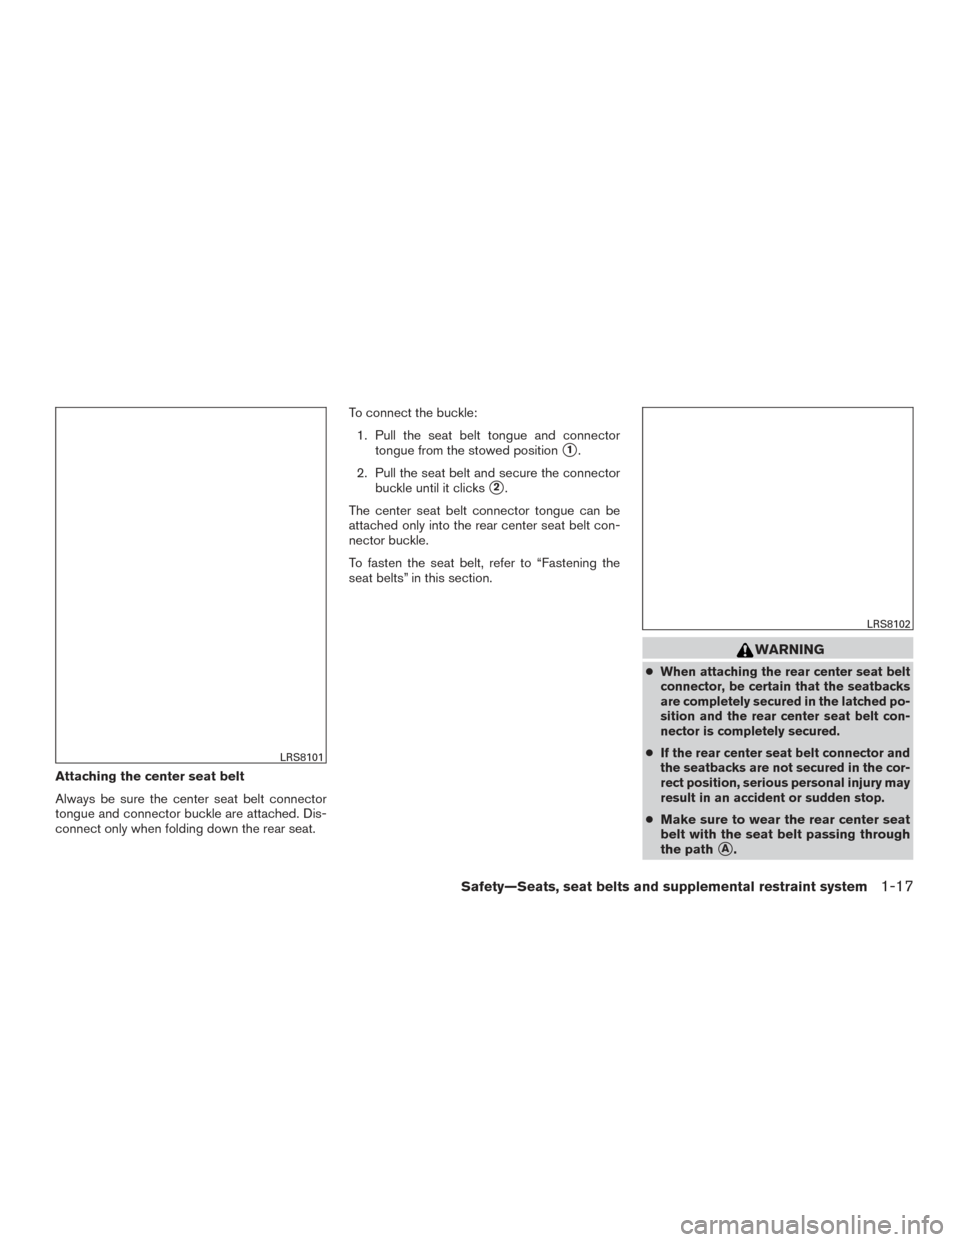
Always be sure the center seat belt connector
tongue and connector buckle are attached. Dis-
connect only when folding down the rear seat.To connect the buckle:
1. Pull the seat belt tongue and connector tongue from the stowed position
�1.
2. Pull the seat belt and secure the connector buckle until it clicks
�2.
The center seat belt connector tongue can be
attached only into the rear center seat belt con-
nector buckle.
To fasten the seat belt, refer to “Fastening the
seat belts” in this section.
WARNING
●When attaching the rear center seat belt
connector, be certain that the seatbacks
are completely secured in the latched po-
sition and the rear center seat belt con-
nector is completely secured.
●If the rear center seat belt connector and
the seatbacks are not secured in the cor-
rect position, serious personal injury may
result in an accident or sudden stop.
● Make sure to wear the rear center seat
belt with the seat belt passing through
the path
�A.
LRS8101
LRS8102
Safety—Seats, seat belts and supplemental restraint system1-17
Page 143 of 384
REAR HATCH RELEASE
The rear hatch release mechanism allows the rear
hatch to be opened in the event of a discharged
battery.
To release the rear hatch from the inside of the
vehicle, perform the following operations:1. Fold the rear seats down. For additional information, refer to “Folding rear seat” in the
“Safety — seats, seat belts and supplemen-
tal restraint system” section of this manual.
2. Insert a suitable tool in the access opening. Move the release lever to the right. The rear
hatch will be unlatched. 3. Push the rear hatch up to open.
NOTE:
If you had to open the rear hatch using this
lever, have your vehicle checked by a
NISSAN dealer as soon as possible.
OPENER OPERATION
The fuel-filler door release is located below the
instrument panel. To open the fuel-filler door, pull
the release. To lock, close the fuel-filler door
securely.
LPD2171LPD2022
FUEL-FILLER DOOR
3-26Pre-driving checks and adjustments