2015 NISSAN TITAN ignition
[x] Cancel search: ignitionPage 9 of 24

7
STARTING/STOPPING THE ENGINE
Depress the brake pedal.
Move the shift lever to the P (PARK) position.
Turn the ignition switch to the START position.
TURNING THE ENGINE OFF
Move the shift lever to the P (PARK) position,
apply the parking brake and turn the ignition switch to the LOCK position.
For more information, refer to the “Starting and driving (section 5)” of your Owner’s Manual.
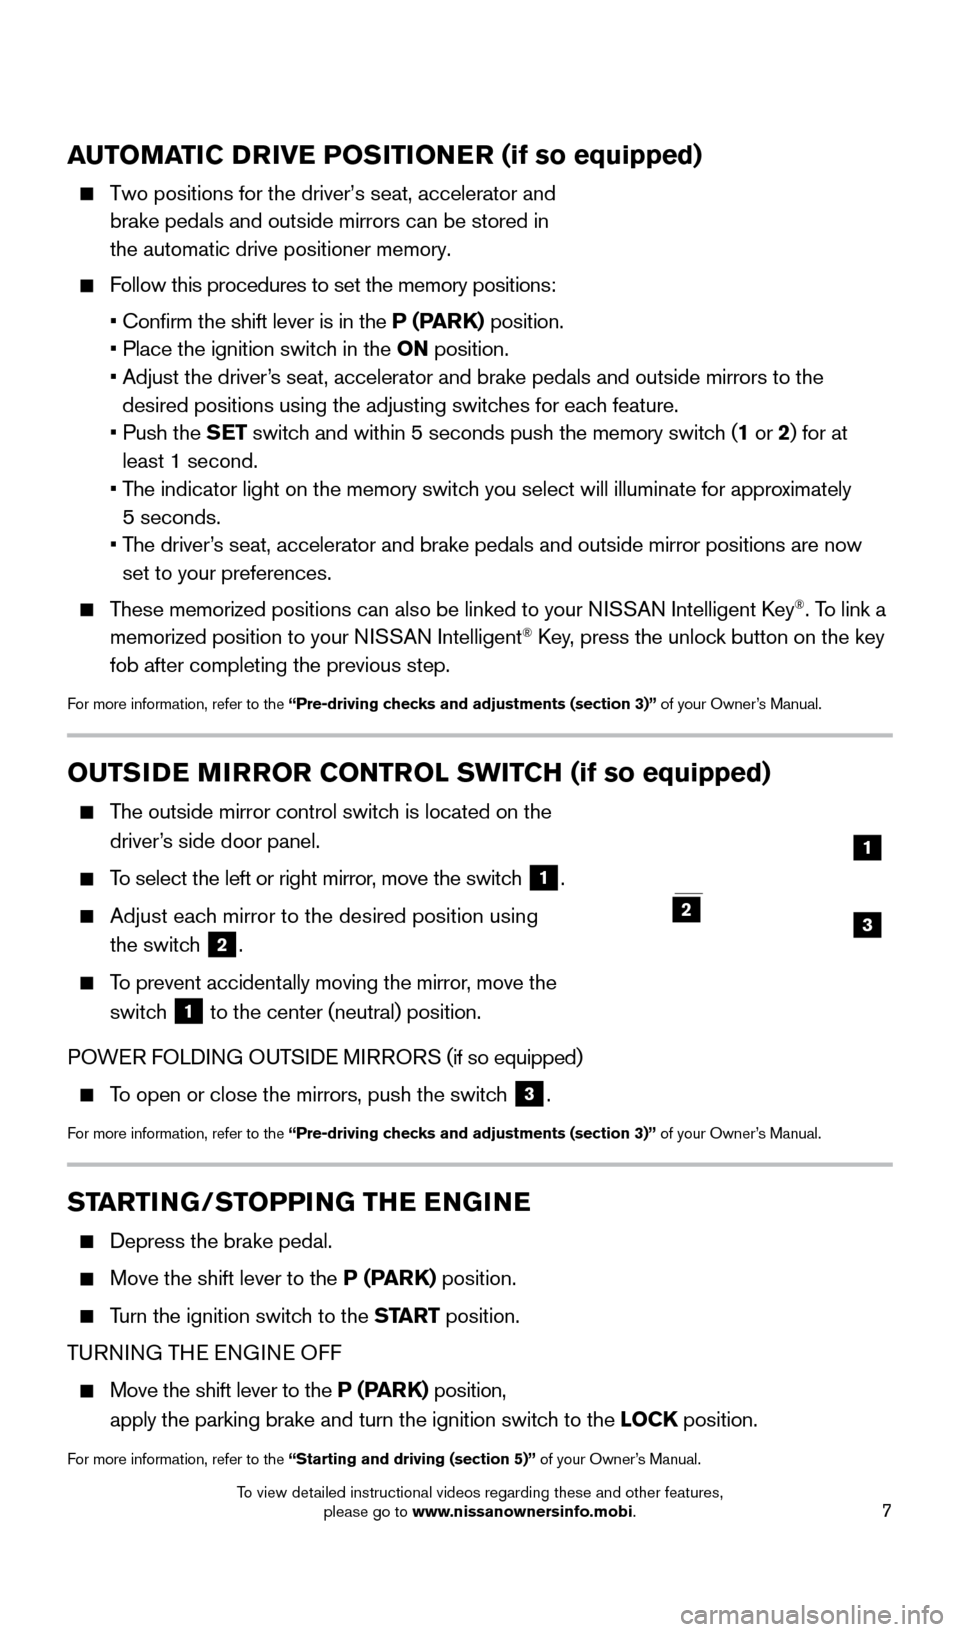
OUTSIDE MIRROR CONTROL SWITCH (if so equipped)
The outside mirror control switch is located on the
driver’s side door panel.
To select the left or right mirror, move the switch 1.
Adjust each mirror to the desired position using
the switch
2.
To prevent accidentally moving the mirror, move the
switch
1 to the center (neutral) position.
POWER FOLDING OUTSIDE MIRRORS (if so equipped)
To open or close the mirrors, push the switch 3.
For more information, refer to the “Pre-driving checks and adjustments (section 3)” of your Owner’s Manual.
2
1
23
AUTOMATIC DRIVE POSITIONER (if so equipped)
Two positions for the driver’s seat, accelerator and
brake pedals and outside mirrors can be stored in
the automatic drive positioner memory.
Follow this procedures to set the memory positions:
• Confirm the shift lever is in the
P (PARK) position.
• Place the ignition switc
h in the ON position.
•
Adjust the driver
’s seat, accelerator and brake pedals and outside mirrors to the
desired positions using the adjusting switches for each feature.
•
Push the
SET switch and within 5 seconds push the memory switch (1 or 2) for at
least 1 second.
•
T
he indicator light on the memory switch you select will illuminate for approximately
5 seconds.
•
T
he driver’s seat, accelerator and brake pedals and outside mirror positions are no\
w
set to your preferences.
These memorized positions can also be linked to your NISSAN Intelligent Key®. To link a
memorized position to your NISSAN Intelligent® Key, press the unlock button on the key
fob after completing the previous step.
For more information, refer to the “Pre-driving checks and adjustments (section 3)” of your Owner’s Manual.
1925624_15b_Titan_QRG_041415.indd 74/14/15 2:33 PM
To view detailed instructional videos regarding these and other features, please go to www.nissanownersinfo.mobi.
Page 10 of 24

8
FIRST DRIVE FEATURES
HEADLIGHT CONTROL SWITCH
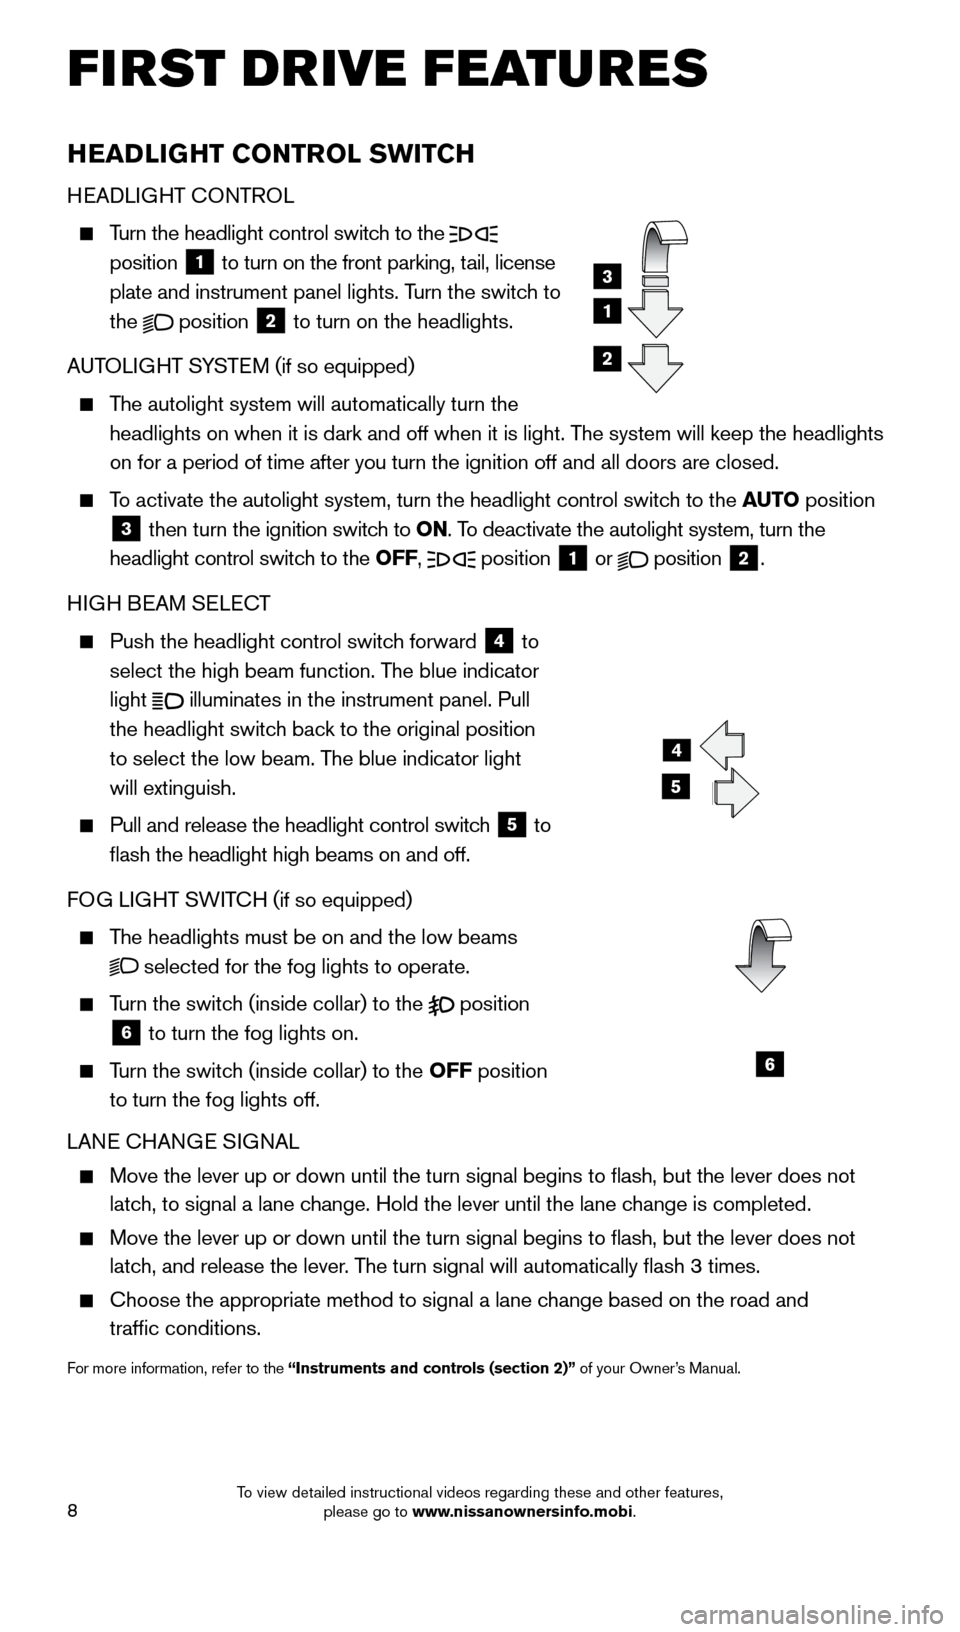
HEADLIGHT CONTROL
Turn the headlight control switch to the
position 1 to turn on the front parking, tail, license
plate and instrument panel lights. Turn the switch to
the
position
2 to turn on the headlights.
AUTOLIGHT SYSTEM (if so equipped)
The autolight system will automatically turn the
headlights on when it is dark and off when it is light. The system will keep the headlights
on for a period of time after you turn the ignition off and all doors ar\
e closed.
To activate the autolight system, turn the headlight control switch to the AUTO position
3 then turn the ignition switch to ON. To deactivate the autolight system, turn the
headlight control switch to the OFF, position 1 or
position
2.
HIGH BEAM SELECT
Push the headlight control switc h forward
4 to
select the high beam function. The blue indicator
light
illuminates in the instrument panel. Pull
the headlight switch back to the original position
to select the low beam. The blue indicator light
will extinguish.
Pull and release the headlight control switc h
5 to
flash the headlight high beams on and off.
FOG LIGHT SWITCH (if so equipped)
The headlights must be on and the low beams
selected for the fog lights to operate.
Turn the switch (inside collar) to the
position
6 to turn the fog lights on.
Turn the switch (inside collar)
to the OFF position
to turn the fog lights off.
LANE CHANGE SIGNAL
Move the lever up or down until the turn signal begins to flash, but t\
he lever does not
latch, to signal a lane change. Hold the lever until the lane change is completed.
Move the lever up or down until the turn signal begins to flash, but t\
he lever does not
latch, and release the lever. The turn signal will automatically flash 3 times.
Choose the appropriate method to signal a lane c hange based on the road and
traffic conditions.
For more information, refer to the “Instruments and controls (section 2)” of your Owner’s Manual.
4
5
6
1
3
2
1925624_15b_Titan_QRG_041415.indd 84/14/15 2:33 PM
To view detailed instructional videos regarding these and other features, please go to www.nissanownersinfo.mobi.
Page 14 of 24

12
FI RST DRIVE FEATURES
CRUISE CONTROL (if so equipped)
The cruise control system enables you to set a
constant cruising speed once the vehicle has
reached 25 mph (40 km/h).
The system will automatically maintain the set
speed until you tap the brake pedal, accelerate,
cancel or turn the system off.
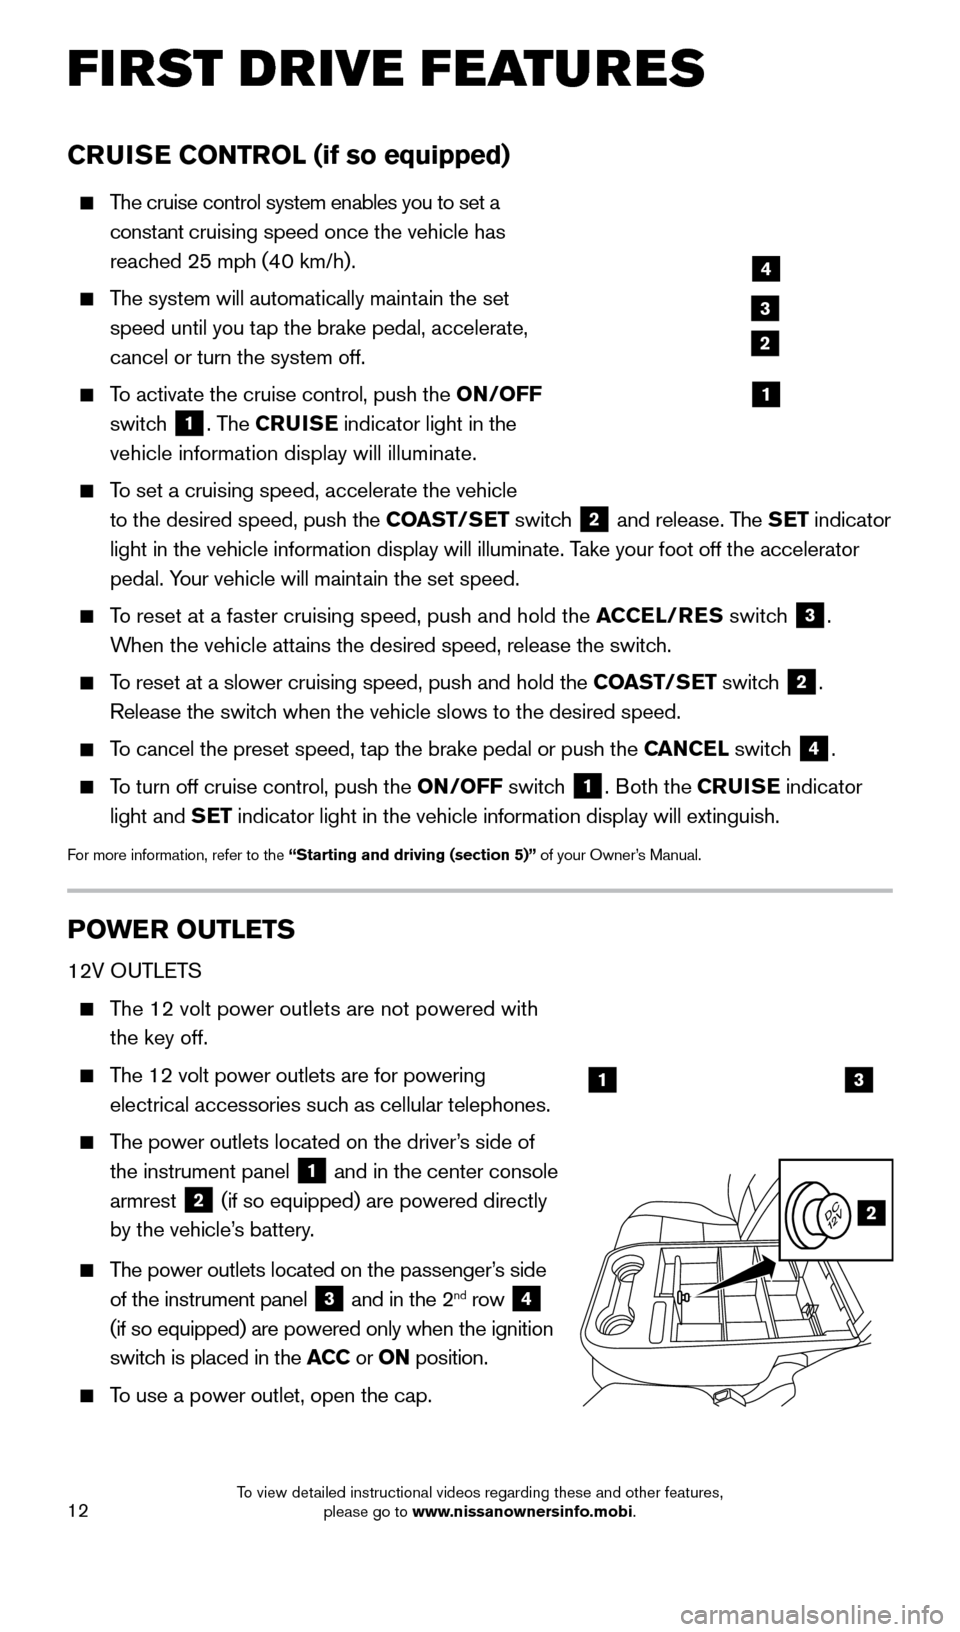
To activate the cruise control, push the ON/OFF
switch
1. The CRUISE indicator light in the
vehicle information display will illuminate.
To set a cruising speed, accelerate the vehicle
to the desired speed, push the COAST/SET switch
2 and release. The SET indicator
light in the vehicle information display will illuminate. Take your foot off the accelerator
pedal. Your vehicle will maintain the set speed.
To reset at a faster cruising speed, push and hold the ACCEL/RES switch
3.
When the vehicle attains the desired speed, release the switch.
To reset at a slower cruising speed, push and hold the COAST/SET switch 2.
Release the switch when the vehicle slows to the desired speed.
To cancel the preset speed, tap the brake pedal or push the CANCEL switch 4.
To turn off cruise control, push the ON/OFF switch 1. Both the CRUISE indicator
light and SET indicator light in the vehicle information display will extinguish.
For more information, refer to the “Starting and driving (section 5)” of your Owner’s Manual.
POWER OUTLETS
12V OUTLETS
The 12 volt power outlets are not powered with the key off.
The 12 volt power outlets are for powering
electrical accessories such as cellular telephones.
The power outlets located on the driver’s side of
the instrument panel
1 and in the center console
armrest 2 (if so equipped) are powered directly
by the vehicle’s battery.
The power outlets located on the passenger’s side
of the instrument panel
3 and in the 2nd row 4
(if so equipped) are powered only when the ignition
switch is placed in the ACC or ON position.
To use a power outlet, open the cap.
4
3
2
1
13
2
1925624_15b_Titan_QRG_041415.indd 124/14/15 2:33 PM
To view detailed instructional videos regarding these and other features, please go to www.nissanownersinfo.mobi.