Page 184 of 457

Connecting the rear camera (if so
equipped)
Before closing the tailgate reconnect the rear
camera by performing the following:1. After attaching the rear tailgate to the truck, keep the tailgate open and check that the
tailgate harness is not hanging below the
tailgate.
2. Remove the connector bracket
�2from the
sill by pressing the locking tab inward, in the
direction shown, while pulling the bracket
apart. 3. Disconnect the chassis plug and bracket
from the chassis wiring harness
�3. Keep
the connector and bracket in a safe place
such as the glove box.
4. Disconnect the tailgate plug from the tail- gate wiring harness. Keep the tailgate plug
in a safe place such as the glove box.
5. Connect the tailgate wiring harness to the chassis wiring harness.
6. Securely fix the rear camera connector bracket
�1to the rear sill.
7. Close the tailgate securely.
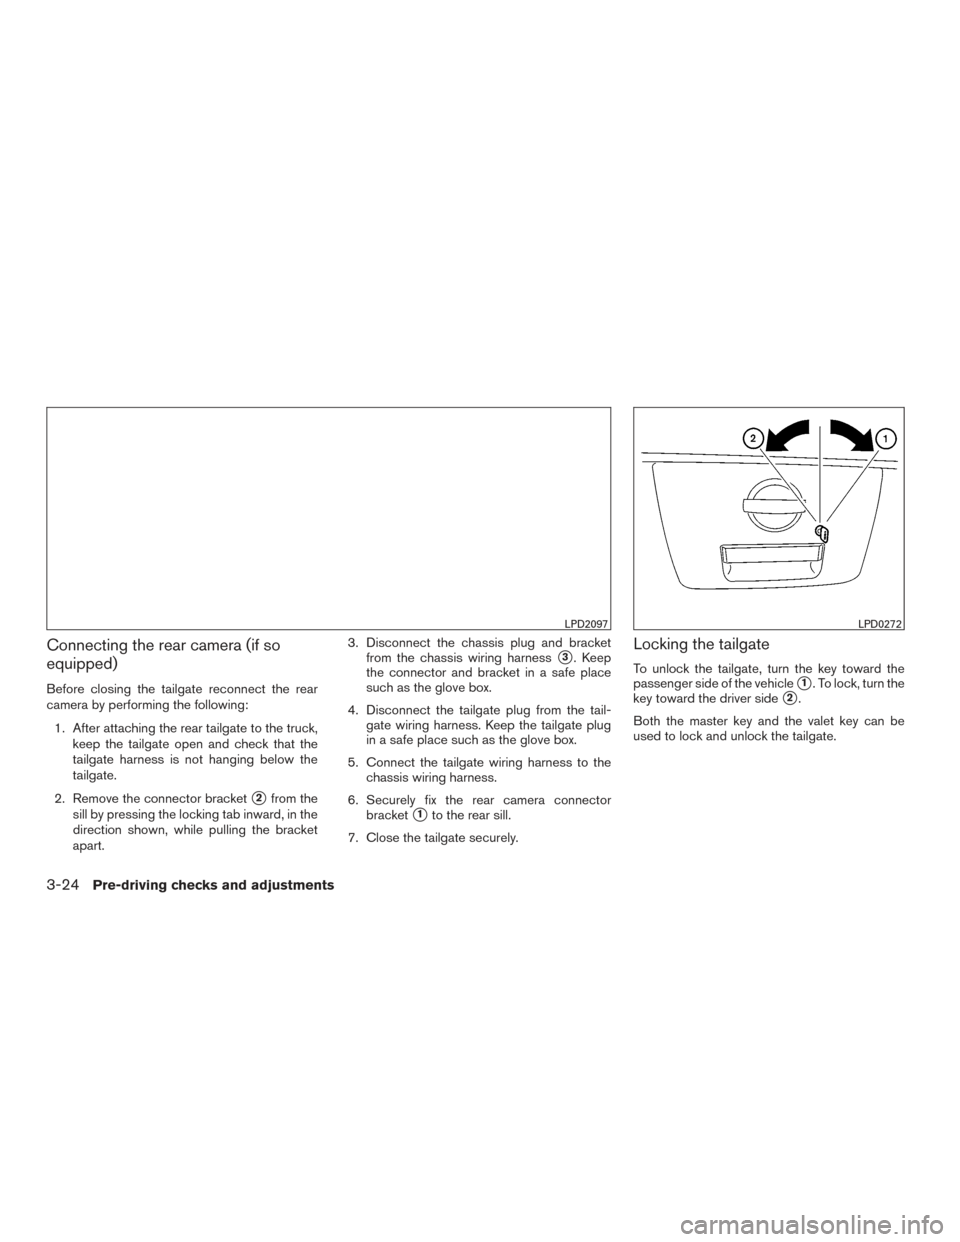
Locking the tailgate
To unlock the tailgate, turn the key toward the
passenger side of the vehicle
�1. To lock, turn the
key toward the driver side
�2.
Both the master key and the valet key can be
used to lock and unlock the tailgate.
LPD2097LPD0272
3-24Pre-driving checks and adjustments
Page 376 of 457
IN-CABIN MICROFILTER (if so
equipped)
The in-cabin microfilter restricts the entry of air-
borne dust and pollen particles and reduces
some objectionable outside odors. The filter is
located behind the glove box. Refer to the
“NISSAN Service and Maintenance Guide” for
change intervals.
To replace the filter, perform the following proce-
dure:1. Remove the two lower glove box hinge pins
�A. Remove the glove box from the opening
and let it hang by the cord. 2. Remove the filter cover bolt and remove the
filter cover.
3. Remove the old in-cabin microfilters.
WDI0619LDI0387
8-20Maintenance and do-it-yourself
Page 377 of 457

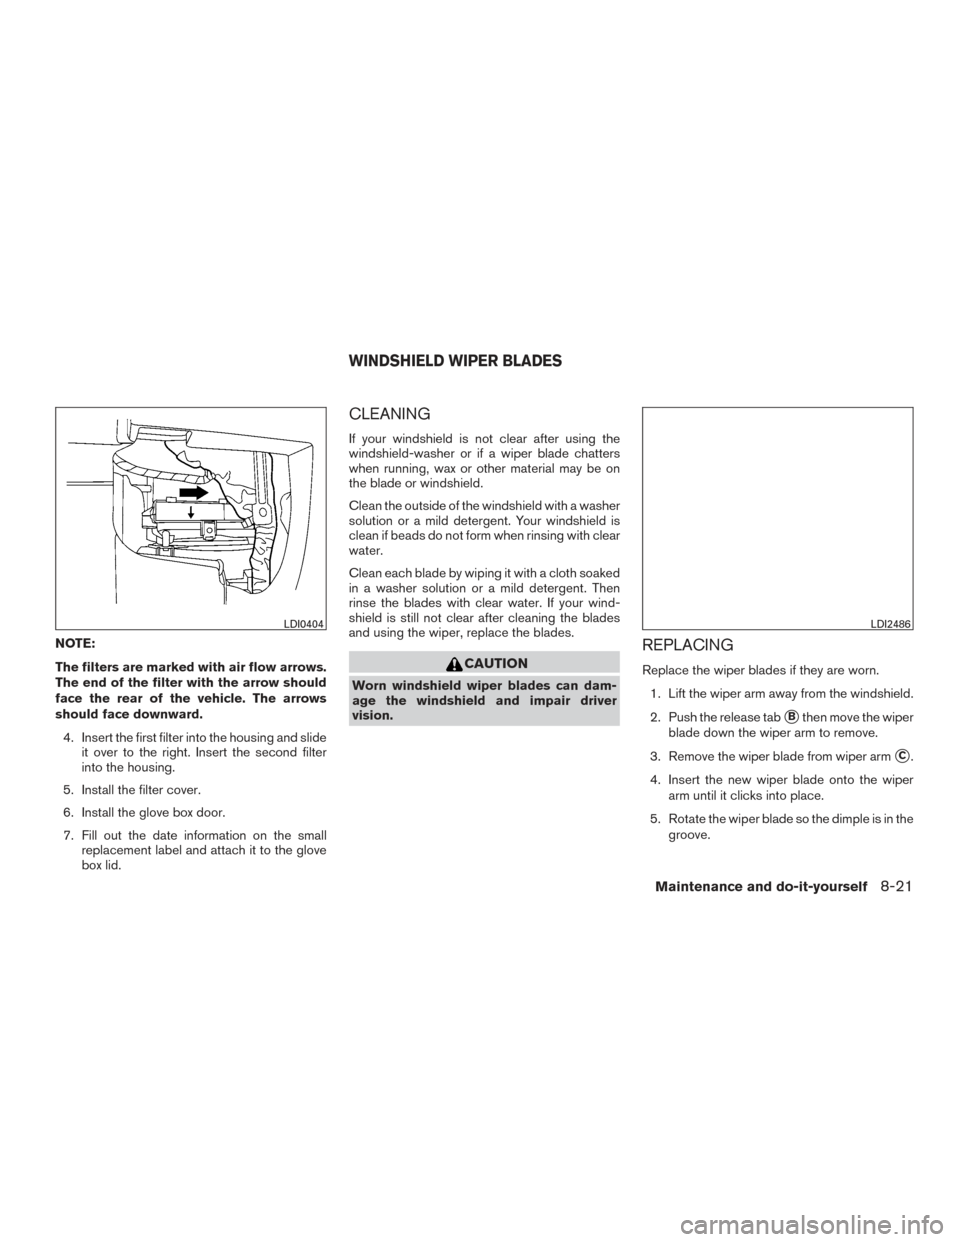
NOTE:
The filters are marked with air flow arrows.
The end of the filter with the arrow should
face the rear of the vehicle. The arrows
should face downward.4. Insert the first filter into the housing and slide it over to the right. Insert the second filter
into the housing.
5. Install the filter cover.
6. Install the glove box door.
7. Fill out the date information on the small replacement label and attach it to the glove
box lid.
CLEANING
If your windshield is not clear after using the
windshield-washer or if a wiper blade chatters
when running, wax or other material may be on
the blade or windshield.
Clean the outside of the windshield with a washer
solution or a mild detergent. Your windshield is
clean if beads do not form when rinsing with clear
water.
Clean each blade by wiping it with a cloth soaked
in a washer solution or a mild detergent. Then
rinse the blades with clear water. If your wind-
shield is still not clear after cleaning the blades
and using the wiper, replace the blades.
CAUTION
Worn windshield wiper blades can dam-
age the windshield and impair driver
vision.
REPLACING
Replace the wiper blades if they are worn.
1. Lift the wiper arm away from the windshield.
2. Push the release tab
�Bthen move the wiper
blade down the wiper arm to remove.
3. Remove the wiper blade from wiper arm
�C.
4. Insert the new wiper blade onto the wiper arm until it clicks into place.
5. Rotate the wiper blade so the dimple is in the groove.
LDI0404LDI2486
WINDSHIELD WIPER BLADES
Maintenance and do-it-yourself8-21
Page 449 of 457

Changing engine coolant...........8-8
Changing engine oil .............8-10
Changing engine oil filter ..........8-12
Checking engine coolant level ........8-8
Checking engine oil level ...........8-9
Engine compartment check locations ....8-6
Engine coolant temperature gauge .....2-5
Engine cooling system ............8-7
Engine oil ...................8-9
Engine oil and oil filter recommendation . . .9-7
Engine oil pressure gauge ..........2-7
Engine oil viscosity ..............9-8
Engine serial number ............9-13
Engine specifications .............9-9
Starting the engine .............5-12
Engine coolant temperature gauge .......2-5
Engineoilpressuregauge............2-7
Engine oil pressure low/engine coolant
temperature high warning light .........2-14
Enterbutton....................4-4
Event data recorders ..............9-44
Exhaust gas (Carbon monoxide) .........5-2
Explanation of maintenance items ........8-2
Extendedstorageswitch ............8-26
F
Flashers (See hazard warning flasher switch) . .6-2
Flat tire .......................6-2
Floor mat positioning aid .............7-5
Fluid Brake fluid ..................8-14
Capacities and recommended
fuel/lubricants .................9-2
Engine coolant .................8-7 Engine oil
...................8-9
Power steering fluid .............8-13
Windshield-washer fluid ...........8-14
F.M.V.S.S. certification label ...........9-13
Foglightswitch .................2-37
Four-Wheel Drive ................5-24
Front air bag system
(See supplemental restraint system) ......1-57
Front power seat adjustment ...........1-4
Frontseats.....................1-2
Fuel Capacities and recommended
fuel/lubricants .................9-2
Fuel economy ................5-24
Fuel-filler cap .................3-11
Fuel-filler lid .................3-11
Fuel gauge ...................2-6
Fuel octane rating ...............9-5
Fuel recommendation .............9-4
Loose fuel cap warning ...........2-26
Fuel-filler door ..................3-11
Fuelgauge.....................2-6
Fuses.......................8-23
Fusiblelinks ...................8-25
G
Garage door opener, HomeLink® Universal
Transceiver . .2-61, 2-62, 2-63, 2-64, 2-64, 2-65
Gascap .....................3-11
Gauge Automatic transmission fluid temperature
gauge .....................2-8
Engine coolant temperature gauge .....2-5
Engine oil pressure gauge ..........2-7 Fuelgauge...................2-6
Odometer
...................2-4
Speedometer .................2-4
Tachometer ..................2-5
Trip odometer .................2-4
Voltmeter ....................2-7
General
maintenance ...............8-2
Glovebox.....................2-48
Groceryhooks..................2-53
H
Hazard warning flasher switch ..........6-2
Headlightandturnsignalswitch........2-32
Headlightcontrolswitch ............2-33
Headlights....................8-28
Headphones (See NISSAN mobile
entertainment system) ..............4-72
Head restraints ..................1-9
Heated seats ...................2-38
Heater Heater and air conditioner (automatic)
(if so equipped) ...............4-24
Heater and air conditioner controls .....4-25
Heater operation ...........4-18,4-25
Heater and air conditioner (automatic) .....4-24
HomeLink® Universal
Transceiver . .2-61, 2-62, 2-63, 2-64, 2-64, 2-65
Hood.......................3-11
Horn .......................2-37
I
Ignition switch ...................5-9
10-3