Page 3 of 82
Table of
ContentsIntroduction
Getting started
Map settings
Navigation
Other settings
General system information
Troubleshooting guide
Index
1
2
3
4
5
6
7
8
Page 6 of 82
This manual uses special words, symbols and
icons that are organized by function.
Please refer to the following items to understand
how to use this manual properly.
FOR SAFE OPERATION
mWARNING
Indicates the presence of a hazard that
could cause death or serious personal
injury. To avoid or reduce the risk, the
procedures must be followed precisely.
CAUTION
Indicates the presence of a hazard that
could cause minor or moderate per-
sonal injury or damage to your vehicle.
To avoid or reduce the risk, the proce-
dures must be followed carefully.
NOTE:
Indicates items that help you understand
and maximize the performance of your
vehicle. If ignored, they may lead to a mal-
function or poor performance.
REFERENCE SYMBOLS
INFO:
Indicates information that is necessary for effi-
cient use of your vehicle or accessories.
Reference page:
Indicates the title and page that you should refer
to.
NAV:
This is an example of how a button on the control
panel will be shown.
“Route”:
This is an example of a key/item displayed on the
screen. This system is primarily designed to help you
reach your destination, and it also performs other
functions as outlined in this manual. However,
you, the driver, must use the system safely and
properly. Information concerning road
conditions, traffic signs and the availability of
services may not always be up-to-date. The sys-
tem is not a substitute for safe, proper and legal
driving.
Before using the navigation system, please read
the following safety information. Always use the
system as outlined in this manual.
mWARNING
●
To operate the navigation system,
first park the vehicle in a safe loca-
tion and set the parking brake. Oper-
ating the system while driving can
distract the driver and may result in a
serious accident.
● Do not rely on route guidance alone.
Always be sure that all driving ma-
neuvers are legal and safe in order to
avoid accidents.
● Do not disassemble or modify this
system. If you do, it may result in
accidents, fire or electrical shock.
HOW TO USE THIS MANUAL SAFETY INFORMATION
1-2Introduction
Page 10 of 82
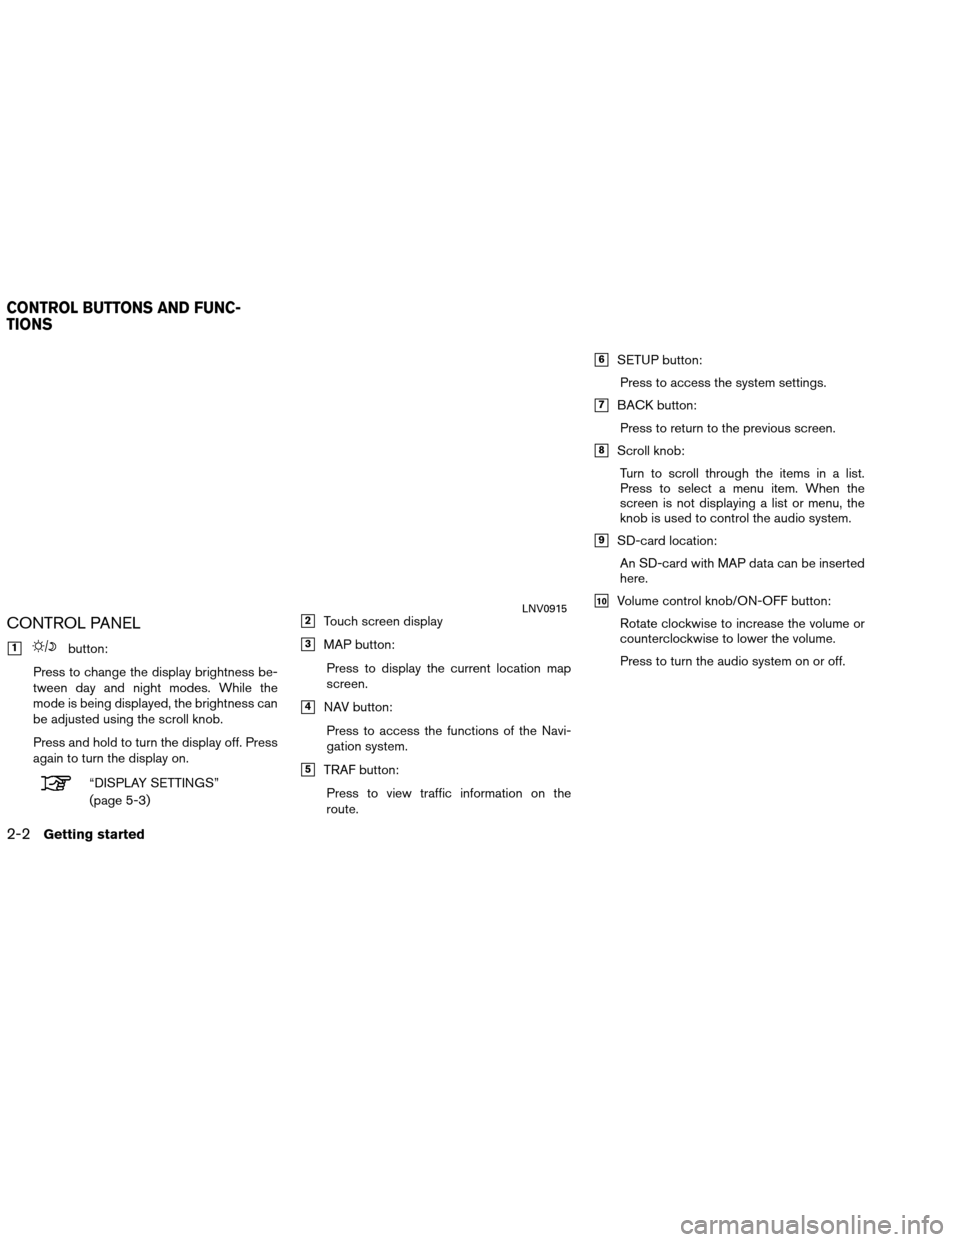
CONTROL PANEL
�1button:
Press to change the display brightness be-
tween day and night modes. While the
mode is being displayed, the brightness can
be adjusted using the scroll knob.
Press and hold to turn the display off. Press
again to turn the display on.
“DISPLAY SETTINGS”
(page 5-3)
�2Touch screen display
�3MAP button: Press to display the current location map
screen.
�4NAV button:Press to access the functions of the Navi-
gation system.
�5TRAF button:Press to view traffic information on the
route.
�6SETUP button:Press to access the system settings.
�7BACK button:Press to return to the previous screen.
�8Scroll knob:Turn to scroll through the items in a list.
Press to select a menu item. When the
screen is not displaying a list or menu, the
knob is used to control the audio system.
�9SD-card location:An SD-card with MAP data can be inserted
here.
�10Volume control knob/ON-OFF button:Rotate clockwise to increase the volume or
counterclockwise to lower the volume.
Press to turn the audio system on or off.LNV0915
CONTROL BUTTONS AND FUNC-
TIONS
2-2Getting started
Page 14 of 82
Destination functions available while driving in-
clude:
●Home
● Previous destinations
● Nearby places
● Address book
● My places
● Map input
TOUCH SCREEN OPERATION
The same operations described for the scrolling
dial are possible using touch screen operation.
Examples of touch screen operation
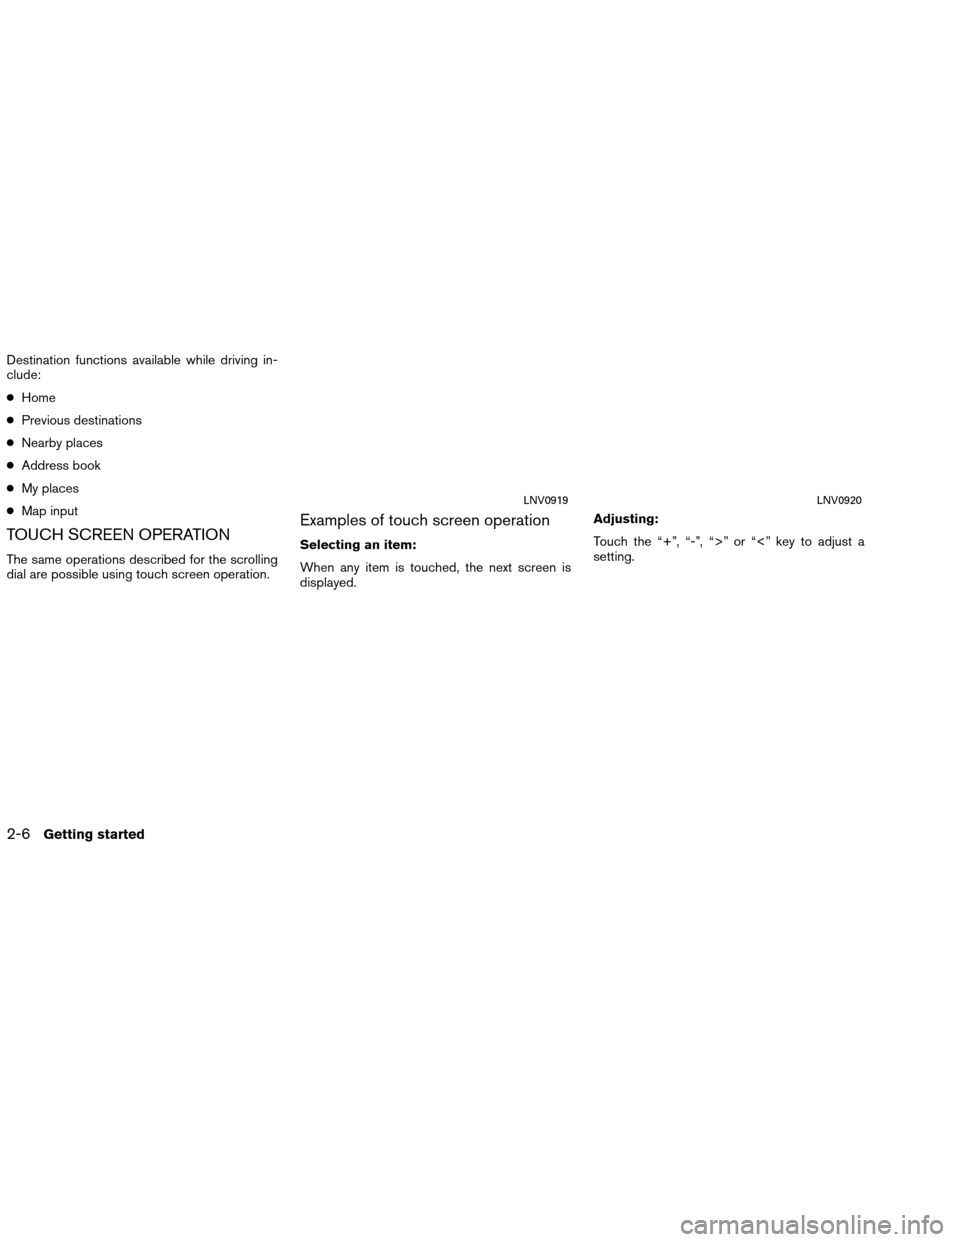
Selecting an item:
When any item is touched, the next screen is
displayed. Adjusting:
Touch the “+”, “-”, “>” or “<” key to adjust a
setting.
LNV0919LNV0920
2-6Getting started
Page 15 of 82
Scrolling through a message or list:
Touch the
(up) or(down) keys on
the screen repeatedly to scroll through a mes-
sage or a list. When scrolling a lengthy list, you
can also touch the screen and slide your finger
along the scroll bar where shown to scroll more
quickly.
MENU SCREEN OPERATION
Menu screens and their purpose
Press one of the application buttons to activate
the corresponding menu screen:
● NAV (Navigation)
● MAP
● SETUP (Settings)
● TRAF (Traffic)
How to select a menu item
1. As an alternative to using the touch screen,
turn the scrolling dial clockwise or counter-
clockwise to scroll through the menu items
until the preferred item is highlighted.
2. To select the preferred item, press the scrolling dial to enter.
3. Press the
BACK button. The previ-
ous screen will be displayed and the
changes will be saved.
HOW TO INPUT CHARACTERS
Character (letter and number) input
screen
Alphanumeric characters are used when setting
a destination, searching for an address, editing
stored locations, etc.
LNV0921LNV0918
Getting started2-7
Page 17 of 82
3 Map settings
Map types........................................3-2
2-Dimensional (2D) view ........................3-2
3-Dimensional (3D) view ........................3-2
Screen information (2D or 3D) ...................3-3
Moving a map .....................................3-4
Returning to the current vehicle location ...........3-4
Map options menu screen ..........................3-5
Changing the map scale ...........................3-5
Map scale .....................................3-6 Looking at information on the map
...................3-6
Map symbols ...................................3-6
Map settings for the map screen ....................3-7
Map SD-card .....................................3-8
How to handle the SD-card ......................3-8
SD-card replacement ...........................3-9
How to order map data updates ..................3-9
About the map data .............................3-9
End-user terms ................................ 3-10
Page 18 of 82
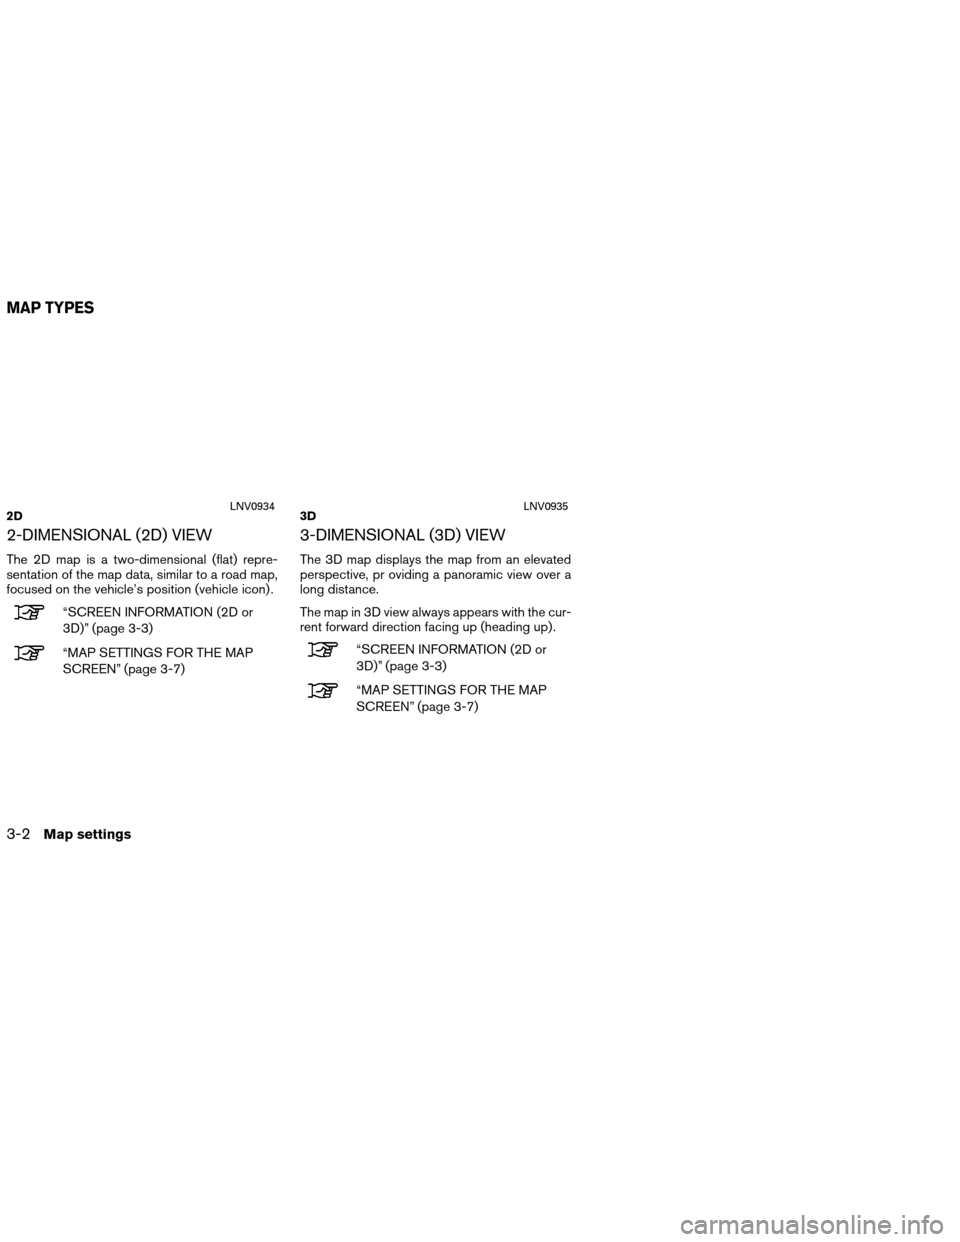
2-DIMENSIONAL (2D) VIEW
The 2D map is a two-dimensional (flat) repre-
sentation of the map data, similar to a road map,
focused on the vehicle’s position (vehicle icon) .
“SCREEN INFORMATION (2D or
3D)” (page 3-3)
“MAP SETTINGS FOR THE MAP
SCREEN” (page 3-7)
3-DIMENSIONAL (3D) VIEW
The 3D map displays the map from an elevated
perspective, pr oviding a panoramic view over a
long distance.
The map in 3D view always appears with the cur-
rent forward direction facing up (heading up) .
“SCREEN INFORMATION (2D or
3D)” (page 3-3)
“MAP SETTINGS FOR THE MAP
SCREEN” (page 3-7)
2DLNV09343DLNV0935
MAP TYPES
3-2Map settings
Page 19 of 82
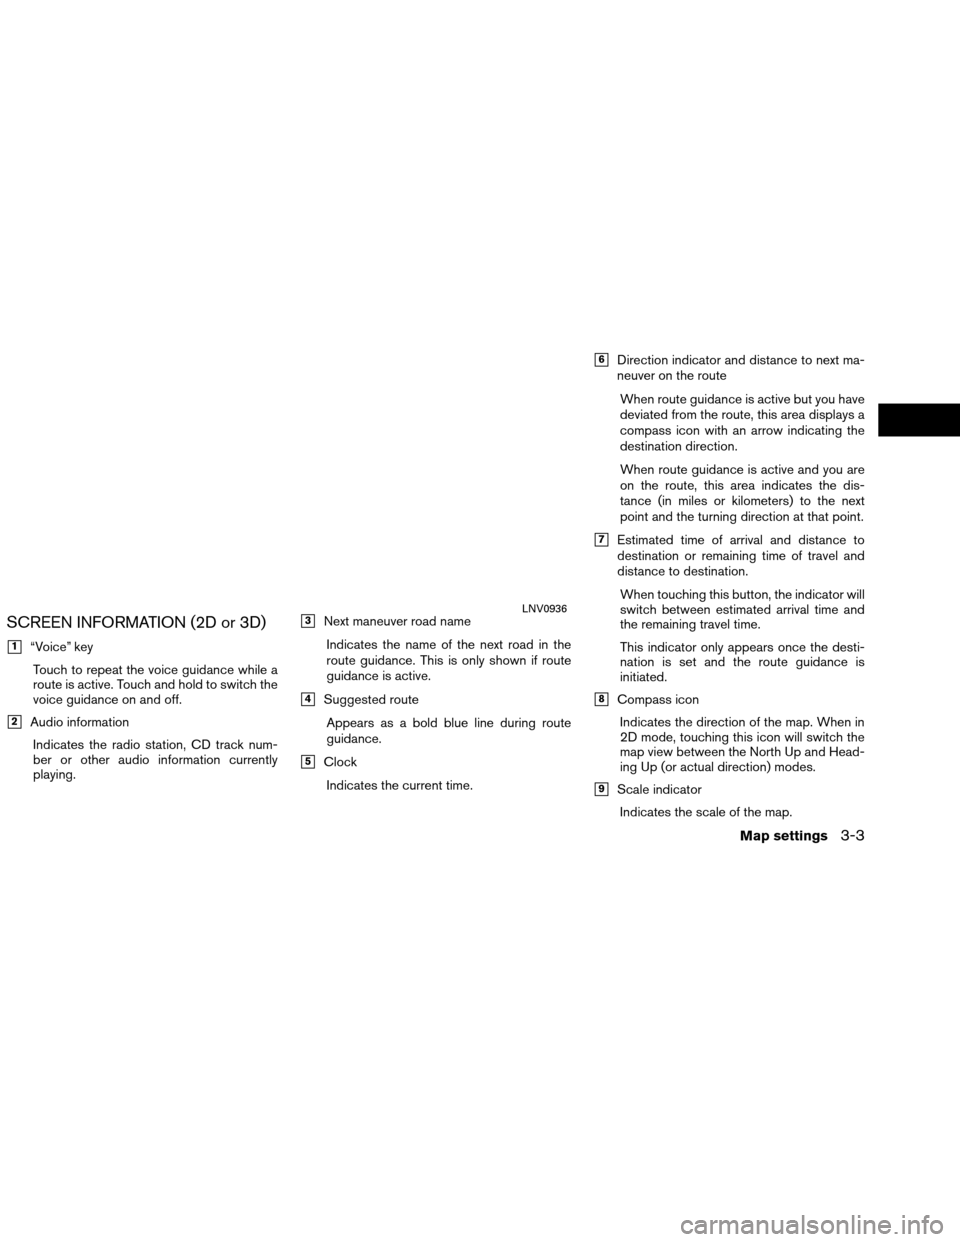
SCREEN INFORMATION (2D or 3D)
�1“Voice” keyTouch to repeat the voice guidance while a
route is active. Touch and hold to switch the
voice guidance on and off.
�2Audio informationIndicates the radio station, CD track num-
ber or other audio information currently
playing.
�3Next maneuver road name
Indicates the name of the next road in the
route guidance. This is only shown if route
guidance is active.
�4Suggested routeAppears as a bold blue line during route
guidance.
�5ClockIndicates the current time.
�6Direction indicator and distance to next ma-
neuver on the route
When route guidance is active but you have
deviated from the route, this area displays a
compass icon with an arrow indicating the
destination direction.
When route guidance is active and you are
on the route, this area indicates the dis-
tance (in miles or kilometers) to the next
point and the turning direction at that point.
�7Estimated time of arrival and distance to
destination or remaining time of travel and
distance to destination.
When touching this button, the indicator will
switch between estimated arrival time and
the remaining travel time.
This indicator only appears once the desti-
nation is set and the route guidance is
initiated.
�8Compass iconIndicates the direction of the map. When in
2D mode, touching this icon will switch the
map view between the North Up and Head-
ing Up (or actual direction) modes.
�9Scale indicatorIndicates the scale of the map.
LNV0936
Map settings3-3