Page 134 of 558

CAUTION
●The battery could run down if the seat
heater is operated while the engine is
not running.
● Do not use the seat heater for extended
periods or when no one is using the
seat.
● Do not put anything on the seat which
insulates heat, such as a blanket, cush-
ion, seat cover, etc. Otherwise, the seat
may become overheated.
● Do not place anything hard or heavy on
the seat or pierce it with a pin or similar
object. This may result in damage to the
heater.
● Any liquid spilled on the heated seat
should be removed immediately with a
dry cloth.
● When cleaning the seat, never use
gasoline, benzine, thinner, or any simi-
lar materials.
● If any malfunctions are found or the
heated seat does not operate, turn the
switch off and have the system checked.
It is recommended that you visit a
NISSAN dealer for this service. The front seats are warmed by built-in heaters.
1. Start the engine.
2. Push the LO or HI position of the switch, as desired. The indicator light in the switch will
illuminate.
The heater is controlled by a thermostat,
automatically turning the heater on and off.
The indicator light will remain on as long as
the switch is on.
3. When the seat is warmed or before you leave the vehicle, be sure to push the switch
to turn it off.
Page 155 of 558
When the ON switch�1is pressed, the footwell
lights (if so equipped) , step lights (if so
equipped) , map lights and rear personal lights
will automatically turn on and stay on for a period
of time when:
● The doors are unlocked by the Intelligent
Key, a key or the request switch (if so
equipped) while all doors are closed and the
ignition switch is in the OFF position.
● When individually pushed.
When the OFF switch
�2is pushed, the interior
lights do not illuminate. NOTE:
The footwell lights and step lights illumi-
nate when the driver and passenger doors
are open regardless of the interior light
switch position. These lights will turn off
automatically after a period of time while
doors are open to prevent the battery from
becoming discharged.
Page 157 of 558

CAUTION
Do not use for extended periods of time
with the engine stopped. This could result
in a discharged battery.The HomeLink® Universal Transceiver provides
a convenient way to consolidate the functions of
up to three individual hand-held transmitters into
one built-in device.
HomeLink® Universal Transceiver:
● Will operate most radio frequency devices
such as garage doors, gates, home and of-
fice lighting, entry door locks and security
systems.
● Is powered by your vehicle’s battery. No
separate batteries are required. If the vehi-
cle’s battery is discharged or is discon-
nected, HomeLink® will retain all program-
ming.
When the HomeLink® Universal Trans-
ceiver is programmed, retain the original
transmitter for future programming proce-
dures (Example: new vehicle purchases) .
Upon sale of the vehicle, the programmed
HomeLink® Universal Transceiver buttons
should be erased for security purposes. For
additional information, refer to “Program-
ming HomeLink®” in this section.
Page 170 of 558

In such cases, correct the operating conditions
before using the Intelligent Key function or use
the mechanical key.
Although the life of the battery varies depending
on the operating conditions, the battery’s life is
approximately two years. If the battery is dis-
charged, replace it with a new one.
When the Intelligent Key battery is low, an indi-
cator illuminates in the vehicle information dis-
play. For additional information, refer to “Vehicle
information display” in the “Instruments and con-
trols” section of this manual.
Since the Intelligent Key is continuously receiving
radio waves, if the key is left near equipment
which transmits strong radio waves, such as sig-
nals from a TV and personal computer, the bat-
tery life may become shorter.
For additional information, refer to “Battery re-
placement” in the “Do-it-yourself” section of this
manual.
As many as four Intelligent Keys can be regis-
tered and used with one vehicle. For information
about the purchase and use of additional Intelli-
gent Keys, it is recommended that you visit a
NISSAN dealer.
Page 175 of 558
HOW TO USE THE REMOTE
KEYLESS ENTRY FUNCTION
The remote keyless entry function can operate all
door locks using the remote keyless function of
the Intelligent Key. The remote keyless function
can operate at a distance of 33 ft (10 m) away
from the vehicle. The operating distance de-
pends upon the conditions around the vehicle.
The remote keyless entry function will not func-
tion under the following conditions:● When the Intelligent Key is not within the
operational range.
● When the doors or the rear liftgate are open
or not closed securely.
● When the Intelligent Key battery is dis-
charged.
Page 194 of 558

CAUTION
For vehicles with automatic drive posi-
tioner: Failure to reset the tilt and tele-
scoping functions of the steering wheel,
after the vehicle’s battery has been dis-
charged, may prevent the steering wheel
position from being adjusted.
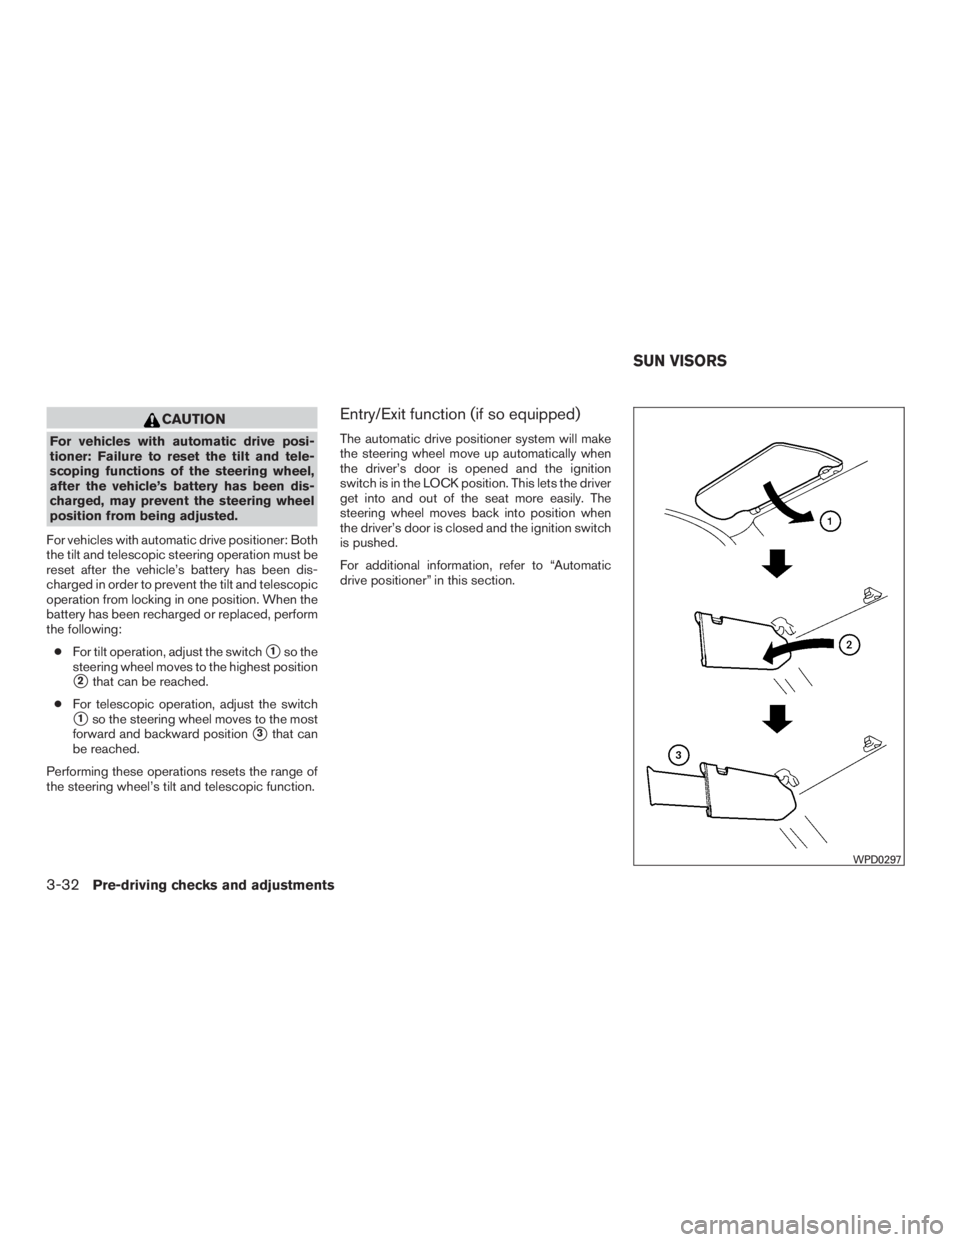
For vehicles with automatic drive positioner: Both
the tilt and telescopic steering operation must be
reset after the vehicle’s battery has been dis-
charged in order to prevent the tilt and telescopic
operation from locking in one position. When the
battery has been recharged or replaced, perform
the following: ● For tilt operation, adjust the switch
�1so the
steering wheel moves to the highest position
�2that can be reached.
● For telescopic operation, adjust the switch
�1so the steering wheel moves to the most
forward and backward position
�3that can
be reached.
Performing these operations resets the range of
the steering wheel’s tilt and telescopic function.
Entry/Exit function (if so equipped)
The automatic drive positioner system will make
the steering wheel move up automatically when
the driver’s door is opened and the ignition
switch is in the LOCK position. This lets the driver
get into and out of the seat more easily. The
steering wheel moves back into position when
the driver’s door is closed and the ignition switch
is pushed.
For additional information, refer to “Automatic
drive positioner” in this section.
Page 302 of 558

CINEMA
Optimum mode for movies. Provides power-
ful surround audio as if you are in a theater.
MUSIC
Provides natural and clear sounds with sta-
bility optimal for listening to music.
GAME
Provides realistic sounds for playing games
with bass enhanced sounds.
2. Mode indicators The selected surround audio mode will illu-
minate.
3. DISPLAY SELECT button
Slide this switch to select which of the audio
sources to listen to when the rear displays
are playing different sources.
L: the headphone will play audio from the
source playing on the left display
R: the headphone will play audio from the
source playing on the right display
4. ON/OFF button
Push to turn the headphones on or off.
5. Power ON/OFF indicator Illuminates when the headphones are turned
on.
6. VOL button
Turn to adjust the volume. Operating tips:
● The headphones will automatically turn off
after several minutes if there is no audio
output during that period. The headphones
will also turn off after approximately 4 hours
of continuous use. To prevent the battery
from being discharged, keep the power
turned off when not in use.
● If the sound from the headphones is not
clear, it may be due to interference from an
infrared communication device or a cellular
phone. If this happens, turn down the head-
phone volume or stop using the head-
phones. It is also possible that the head-
phones may be too far or offset from the
transmitter which is in the rear display
screen. Use the headphones in front of the
rear display.
● The sound may also be interrupted tempo-
rarily when there is something between the
headphones and the transmitter causing in-
terference. Move the source of interference,
such as opaque materials, hands, hair, etc. Battery replacement:
Page 303 of 558
To replace the battery:1. Open the lid as illustrated above. For headphones, use a flat object, such as a
coin, if necessary, to open the lid located on
the back of the left headphone speaker. 2. Replace both batteries with new ones.
● Recommended battery: Size AAA x 2
● Be careful not to touch the battery terminal
● Make sure that the