Page 295 of 524

●10 Key Search
Select the “10 Key Search” key to open the
number entry screen. Input the number you
want to search for and the specified file or
folder will be played.
●Display
Adjust the image quality of the screen.
●DRC
DRC (Dynamic Range Compression) auto-
matically adjusts the soundtrack volume
level to maintain a more even sound to the
speakers.
●Audio
Choose the preferred language of the audio.
●Subtitle
Choose the preferred language of the sub-
titles.
●Display Mode
Choose between the “Normal”, “Wide”,
“Cinema” or “Full” display modes.
iPod®* PLAYER OPERATION
WITHOUT NAVIGATION SYSTEM (if
so equipped)
Connecting iPod®
WARNING
Do not connect, disconnect or operate the
USB device while driving. Doing so can be
a distraction. If distracted you could lose
control of your vehicle and cause an acci-
dent or serious injury.
CAUTION
●Do not force the USB device into the
USB port. Inserting the USB device
tilted or up-side-down into the port may
damage the port. Make sure that the
USB device is connected correctly into
the USB port.
●Do not grab the USB port cover (if so
equipped) when pulling the USB device
out of the port. This could damage the
port and the cover.
●Do not leave the USB cable in a place
where it can be pulled unintentionally.
Pulling the cable may damage the port.
Refer to your device manufacturer’s owner infor-
mation regarding the proper use and care of the
device.
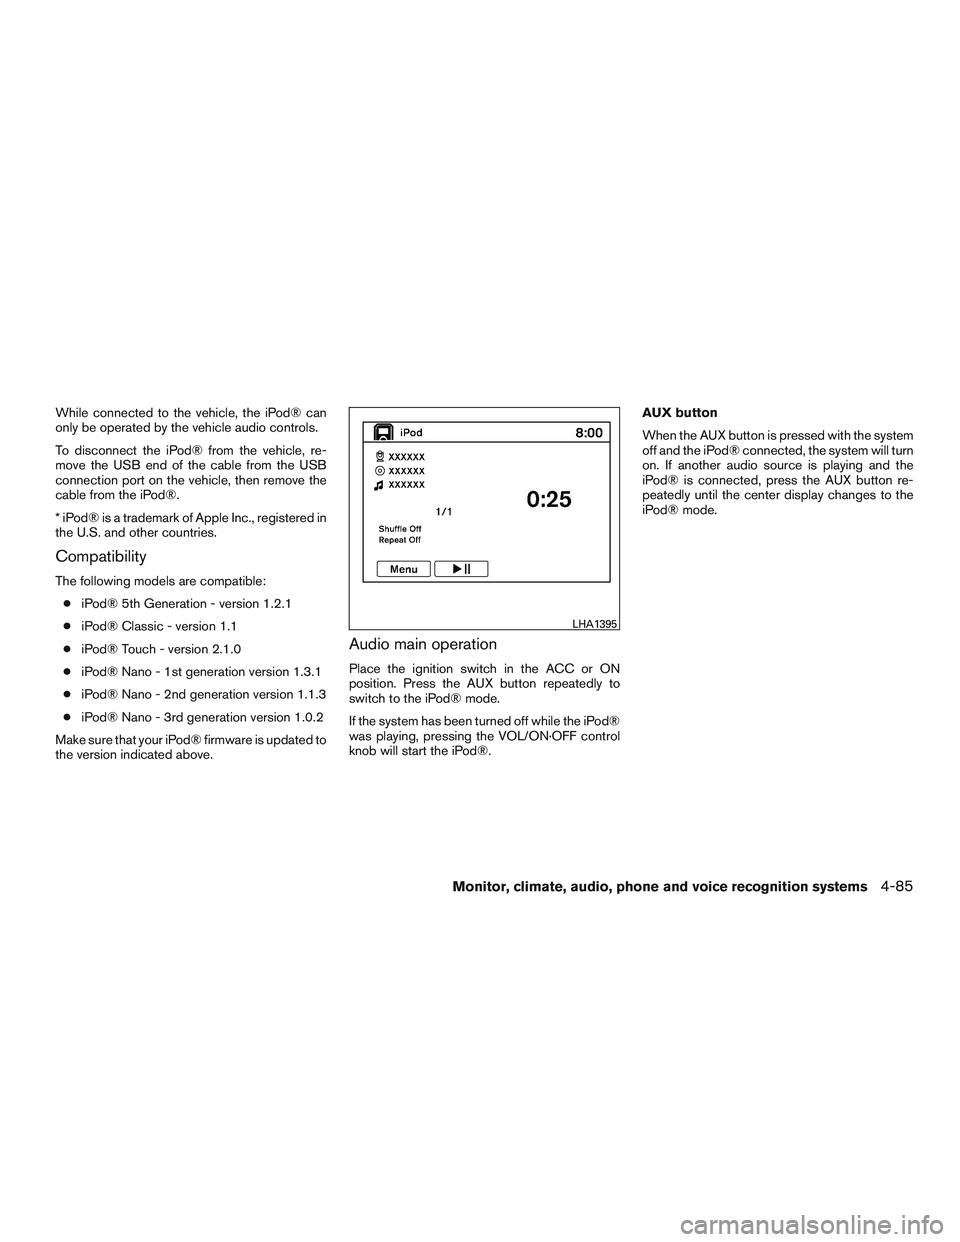
To connect an iPod® to the vehicle so that the
iPod® can be controlled with the audio system
controls and display screen, use the USB con-
nection port located in the center console. Con-
nect the iPod®-specific end of the cable to the
iPod® and the USB end of the cable to the USB
connection port on the vehicle
�1. If your iPod®
supports charging via a USB connection, its bat-
tery will be charged while connected to the ve-
hicle with the ignition switch in the ACC or ON
position.
WHA1366
4-84Monitor, climate, audio, phone and voice recognition systems
Page 296 of 524

While connected to the vehicle, the iPod® can
only be operated by the vehicle audio controls.
To disconnect the iPod® from the vehicle, re-
move the USB end of the cable from the USB
connection port on the vehicle, then remove the
cable from the iPod®.
* iPod® is a trademark of Apple Inc., registered in
the U.S. and other countries.
Compatibility
The following models are compatible:
●iPod® 5th Generation - version 1.2.1
●iPod® Classic - version 1.1
●iPod® Touch - version 2.1.0
●iPod® Nano - 1st generation version 1.3.1
●iPod® Nano - 2nd generation version 1.1.3
●iPod® Nano - 3rd generation version 1.0.2
Make sure that your iPod® firmware is updated to
the version indicated above.
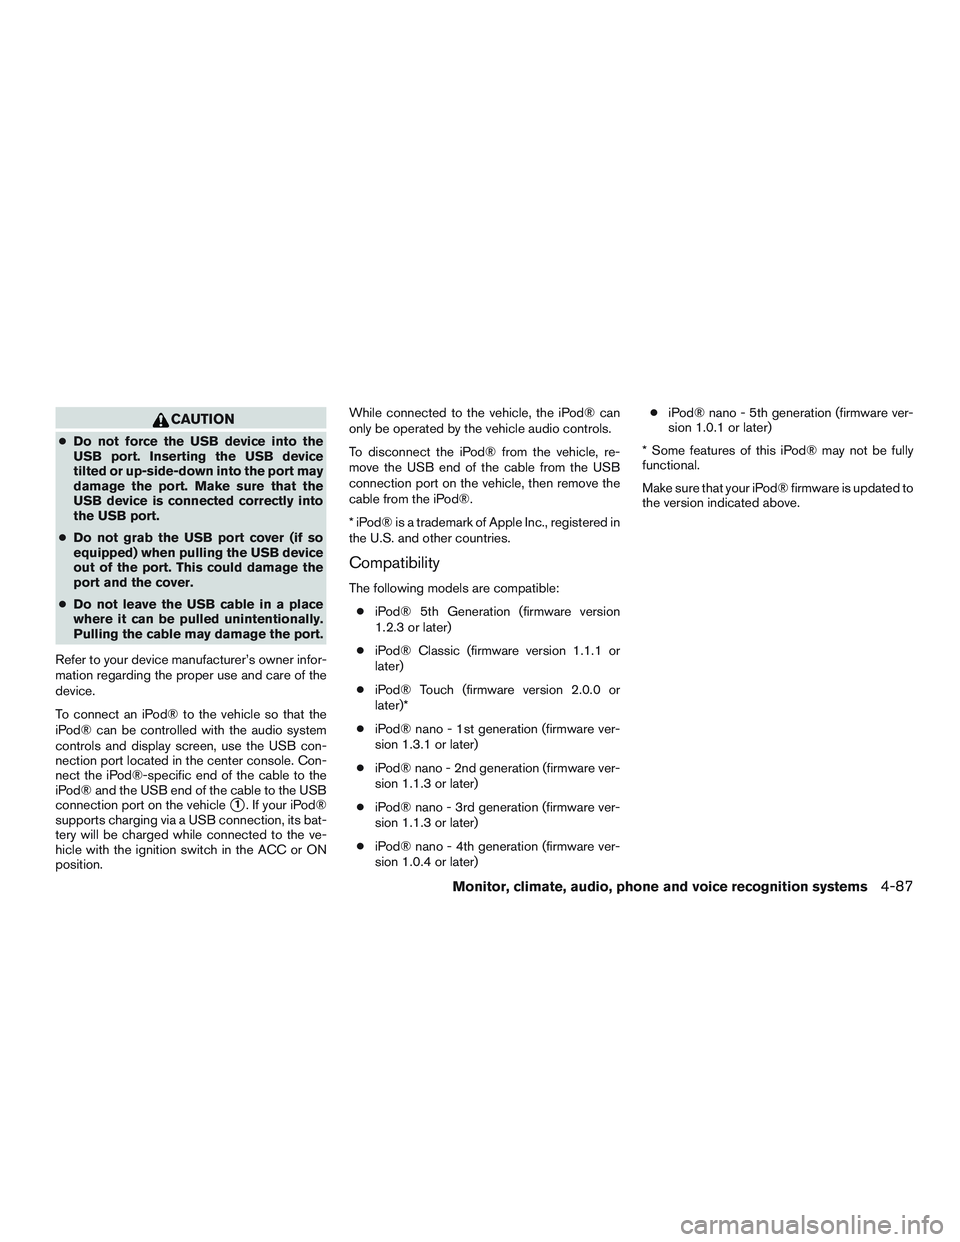
Audio main operation
Place the ignition switch in the ACC or ON
position. Press the AUX button repeatedly to
switch to the iPod® mode.
If the system has been turned off while the iPod®
was playing, pressing the VOL/ON·OFF control
knob will start the iPod®.AUX button
When the AUX button is pressed with the system
off and the iPod® connected, the system will turn
on. If another audio source is playing and the
iPod® is connected, press the AUX button re-
peatedly until the center display changes to the
iPod® mode.
LHA1395
Monitor, climate, audio, phone and voice recognition systems4-85
Page 298 of 524

CAUTION
●Do not force the USB device into the
USB port. Inserting the USB device
tilted or up-side-down into the port may
damage the port. Make sure that the
USB device is connected correctly into
the USB port.
●Do not grab the USB port cover (if so
equipped) when pulling the USB device
out of the port. This could damage the
port and the cover.
●Do not leave the USB cable in a place
where it can be pulled unintentionally.
Pulling the cable may damage the port.
Refer to your device manufacturer’s owner infor-
mation regarding the proper use and care of the
device.
To connect an iPod® to the vehicle so that the
iPod® can be controlled with the audio system
controls and display screen, use the USB con-
nection port located in the center console. Con-
nect the iPod®-specific end of the cable to the
iPod® and the USB end of the cable to the USB
connection port on the vehicle
�1. If your iPod®
supports charging via a USB connection, its bat-
tery will be charged while connected to the ve-
hicle with the ignition switch in the ACC or ON
position.While connected to the vehicle, the iPod® can
only be operated by the vehicle audio controls.
To disconnect the iPod® from the vehicle, re-
move the USB end of the cable from the USB
connection port on the vehicle, then remove the
cable from the iPod®.
* iPod® is a trademark of Apple Inc., registered in
the U.S. and other countries.
Compatibility
The following models are compatible:
●iPod® 5th Generation (firmware version
1.2.3 or later)
●iPod® Classic (firmware version 1.1.1 or
later)
●iPod® Touch (firmware version 2.0.0 or
later)*
●iPod® nano - 1st generation (firmware ver-
sion 1.3.1 or later)
●iPod® nano - 2nd generation (firmware ver-
sion 1.1.3 or later)
●iPod® nano - 3rd generation (firmware ver-
sion 1.1.3 or later)
●iPod® nano - 4th generation (firmware ver-
sion 1.0.4 or later)●iPod® nano - 5th generation (firmware ver-
sion 1.0.1 or later)
* Some features of this iPod® may not be fully
functional.
Make sure that your iPod® firmware is updated to
the version indicated above.
Monitor, climate, audio, phone and voice recognition systems4-87
Page 307 of 524

CAUTION
●Always properly tighten the antenna
rod during installation or the antenna
rod may break during vehicle operation.
●Do not place metal film near the rear
window glass or attach any metal parts
to it. This may cause poor reception or
noise.
●When cleaning the inside of the rear
window, be careful not to scratch or
damage the rear window antenna.
Lightly wipe along the window antenna
with a dampened soft cloth.
Window antenna
The antenna pattern is printed inside the rear
passenger and driver side windows.
CAUTION
●Do not place metalized film near the
rear driver or passenger side window
glass or attach any metal parts to it. This
may cause poor reception or noise.
●When cleaning the inside of the rear
driver or passenger side window, be
careful not to scratch or damage the
window antenna. Lightly wipe along the
antenna with a dampened soft cloth.If your vehicle is equipped with the Dual Head
Restraint/Headrest DVD System, you can enjoy
playing video files via a DVD, CD or USB memory
that provides images and sound both from the
front and rear display screens.
You can also enjoy compatible auxiliary devices
such as video games, camcorders or portable
video players through the auxiliary jacks.
The front and right/left rear displays can show
different sources individually. The maximum of
three audio sources, such as an iPod®, DVD and
auxiliary device, can be enjoyed at the same time.
WARNING
The driver must not attempt to operate the
Dual Head Restraint/Headrest DVD Sys-
tem while driving so full attention may be
given to vehicle operation.
Park the vehicle in a safe location and
apply the parking brake to view the im-
ages on the front center display screen
using the DVD player.
CAUTION
●Do not attempt to use the system in
extremely high or low temperature con-
dition [below�4ºF (�20ºC) or above
158ºF (70ºC)].
DUAL HEAD RESTRAINT/HEADREST
DVD SYSTEM (if so equipped)
4-96Monitor, climate, audio, phone and voice recognition systems
Page:
< prev 1-8 9-16 17-24