2015 NISSAN MURANO PLATINUM seats
[x] Cancel search: seatsPage 86 of 424
WARNING
●Do not place any objects near the seat-
back of the front seats. Also, do not
place any objects (an umbrella, bag,
etc.) between the front door finisher
and the front seat. Such objects may
become dangerous projectiles and
cause injury if a side air bag inflates.
● Right after inflation, several side air bag
and curtain air bag system components
will be hot. Do not touch them; you may
severely burn yourself.
● No unauthorized changes should be
made to any components or wiring of
the side air bag and curtain air bag
systems. This is to prevent damage to or
accidental inflation of the side air bag
and curtain air bag systems.
● Do not make unauthorized changes to
your vehicle’s electrical system, sus-
pension system or side panel. This
could affect proper operation of the cur-
tain air bag systems. ●
Tampering with the side air bag system
may result in serious personal injury.
For example, do not change the front
seats by placing material near the seat-
backs or by installing additional trim
material, such as seat covers, around
the side air bag.
● Work around and on the side air bag
and curtain air bag systems should be
done by a NISSAN dealer. Installation
of electrical equipment should also be
done by a NISSAN dealer. The SRS wir-
ing harnesses* should not be modified
or disconnected. Unauthorized electri-
cal test equipment and probing devices
should not be used on the side air bag
or curtain air bag systems.
* The SRS wiring harness or connectors are
yellow or orange for easy identification.
When selling your vehicle, we request that you
inform the buyer about the side air bags and
curtain air bag system and guide the buyer to the
appropriate sections in this Owner’s Manual.
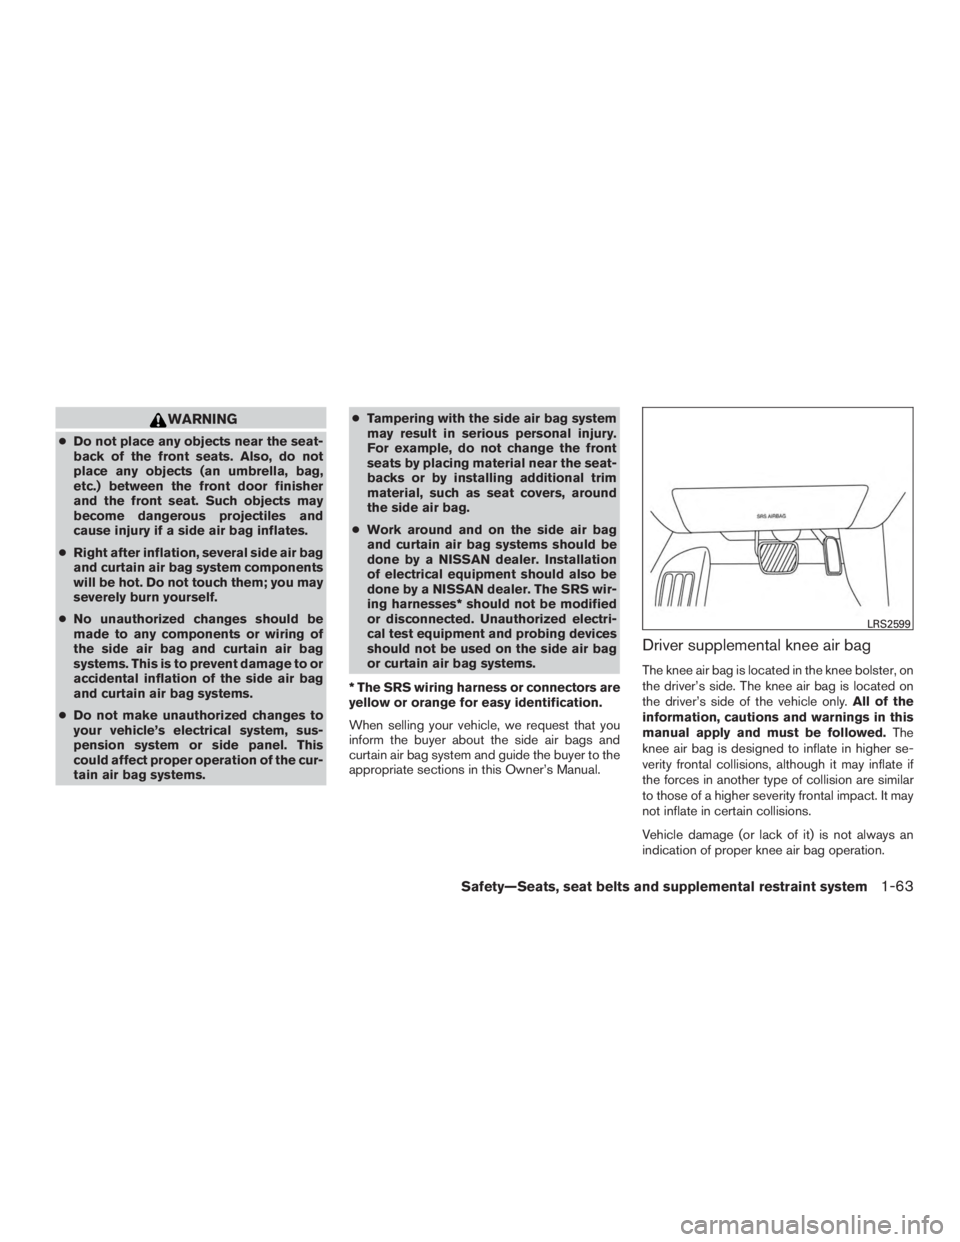
Driver supplemental knee air bag
The knee air bag is located in the knee bolster, on
the driver’s side. The knee air bag is located on
the driver’s side of the vehicle only. All of the
information, cautions and warnings in this
manual apply and must be followed. The
knee air bag is designed to inflate in higher se-
verity frontal collisions, although it may inflate if
the forces in another type of collision are similar
to those of a higher severity frontal impact. It may
not inflate in certain collisions.
Vehicle damage (or lack of it) is not always an
indication of proper knee air bag operation.
Page 103 of 424
If any of the following conditions occur, the front
air bag, side air bag, curtain air bag, knee air bag,
and pretensioner systems need servicing and
your vehicle must be taken to a NISSAN dealer:● The supplemental air bag warning light re-
mains on after approximately 7 seconds.
● The supplemental air bag warning light
flashes intermittently.
● The supplemental air bag warning light does
not come on at all.
Unless checked and repaired, the supplemental
restraint system (air bag system) and/or the seat
belts with pretensioner system may not function
properly. For additional information, refer to
“Supplemental restraint system (SRS)” in the
“Safety—Seats, seat belts and supplemental re-
straint system” section of this manual.
Page 126 of 424
NOTE:
If the surface temperature of the steering
wheel is above 68°F (20°C) when the switch
is turned on, the system will not heat the
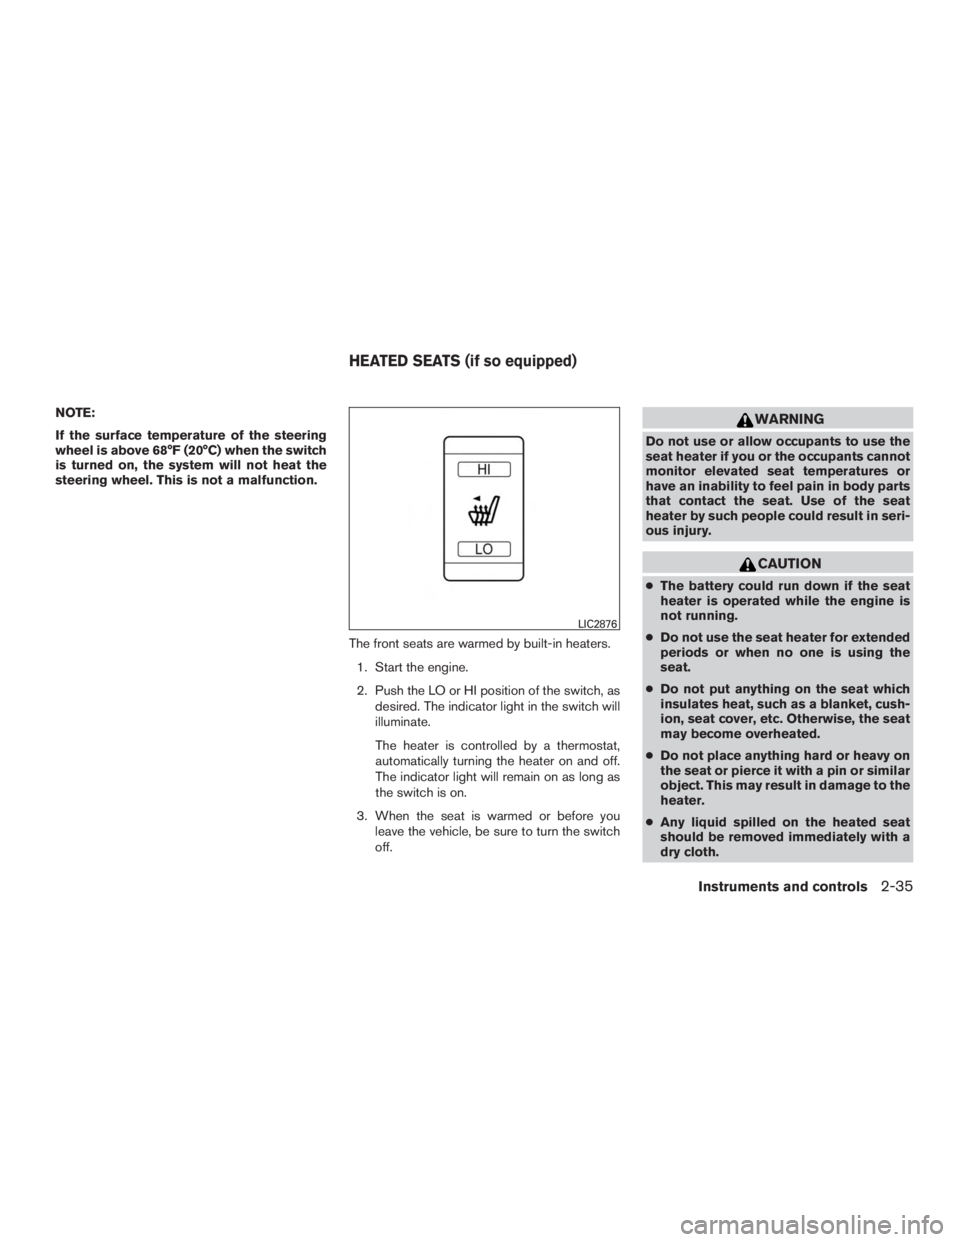
steering wheel. This is not a malfunction.The front seats are warmed by built-in heaters.1. Start the engine.
2. Push the LO or HI position of the switch, as desired. The indicator light in the switch will
illuminate.
The heater is controlled by a thermostat,
automatically turning the heater on and off.
The indicator light will remain on as long as
the switch is on.
3. When the seat is warmed or before you leave the vehicle, be sure to turn the switch
off.
Page 131 of 424
●Push the plug in as far as it will go. If
good contact is not made, the plug may
overheat or the internal temperature
fuse may open.
● When not in use, be sure to close the
cap. Do not allow water or any other
liquid to contact the outlet.
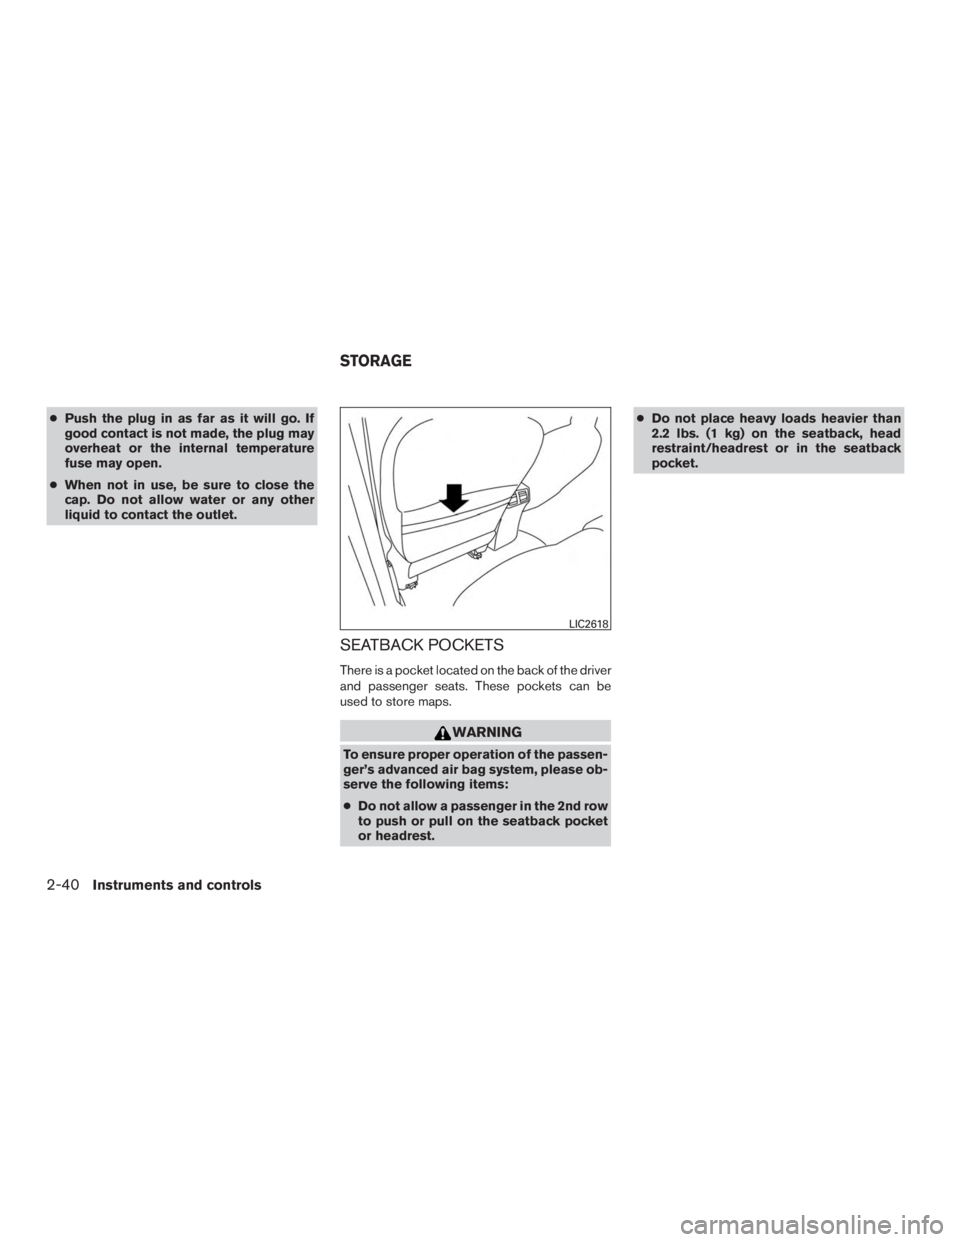
SEATBACK POCKETS
There is a pocket located on the back of the driver
and passenger seats. These pockets can be
used to store maps.
Page 228 of 424
CAUTION
●To avoid damage and loss of function
when using a USB device, note the fol-
lowing precautions.
● Do not force the USB device into the
USB port. Inserting the USB device
tilted or up-side-down into the port may
damage the port. Make sure that the
USB device is connected correctly into
the USB port.
● Do not grab the USB port cover (if so
equipped) when pulling the USB device
out of the port. This could damage the
port and the cover.
● Do not leave the USB cable in a place
where it can be pulled unintentionally.
Pulling the cable may damage the port.
Refer to your device manufacturer’s owner infor-
mation regarding the proper use and care of the
device.
There are two USB connection ports available in
the vehicle. One is located in the media pocket on
the center console near the cupholders, the other
on the back of the rear center console facing the
rear seats. Insert the USB device into the con-
nection port. When a compatible storage device is plugged
into the connection port, compatible audio files
on the storage device can be played through the
vehicle’s audio system.
Audio file operation
MEDIA button
Place the ignition switch in the ON or ACC
position and press the MEDIA button to switch to
the USB input mode. If a CD is playing or another
audio source is plugged in through the AUX IN
jack located in the center console, the MEDIA
button toggles between the three sources.
Play information
Information about the audio files being played
can be displayed on the display screen of the
vehicle’s audio system. Depending on how the
audio files are encoded, information such as
Folder, Song and Artist will be displayed.
The track number and number of total tracks in
the folder are displayed on the screen as well.
Page 230 of 424
CAUTION
●Do not force the USB device into the
USB port. Inserting the USB device
tilted or up-side-down into the port may
damage the port. Make sure that the
USB device is connected correctly into
the USB port.
● Do not grab the USB port cover (if so
equipped) when pulling the USB device
out of the port. This could damage the
port and the cover.
● Do not leave the USB cable in a place
where it can be pulled unintentionally.
Pulling the cable may damage the port.
Refer to your device manufacturer’s owner infor-
mation regarding the proper use and care of the
device.
To connect an iPod® to the vehicle so that the
iPod® can be controlled with the audio system
controls and display screen, use the USB con-
nection port located on the center console near
the cupholders, or the other on the back of the
rear center console facing the rear seats. Con-
nect the iPod®-specific end of the cable to the
iPod® and the USB end of the cable to the USB
connection port on the vehicle. If your iPod®
supports charging via a USB connection, its bat- tery will be charged while connected to the ve-
hicle with the ignition switch in the ACC or ON
position.
While connected to the vehicle, the iPod® can
only be operated by the vehicle audio controls.
To disconnect the iPod® from the vehicle, re-
move the USB end of the cable from the USB
connection port on the vehicle, then remove the
cable from the iPod®.
* iPod® is a trademark of Apple Inc., registered in
the U.S. and other countries.
Compatibility
The following models are compatible:
● iPod® Classic - 5th Generation (firmware
version 1.3.0 or later)
● iPod® Classic - 6th Generation (firmware
version 2.0.1 or later)
● iPod® Classic - 7th Generation (firmware
version 2.0.4 or later)
● iPod® nano - 1st generation (firmware ver-
sion 1.3.1 or later)
● iPod® nano - 2nd generation (firmware ver-
sion 1.1.3 or later)
● iPod® nano - 3rd generation (firmware ver-
sion 1.1.3 or later) ●
iPod® nano - 4th generation (firmware ver-
sion 1.0.4 or later)
● iPod® nano - 5th generation (firmware ver-
sion 1.0.2 or later)
● iPod® nano - 6th generation (firmware ver-
sion 1.1 or later)
● iPod® Touch - 2nd generation (firmware
version 4.2.1 or later)
● iPod® Touch - 3rd generation (firmware ver-
sion 5.1 or later) (minimum iOS 5.0 required
for smartphone integration)
● iPod® Touch - 4th generation (firmware ver-
sion 5.1 or later) (minimum iOS 5.0 required
for smartphone integration)
● iPhone® 3G (firmware version 4.2.1 or later)
● iPhone® 3GS (firmware version 5.1 or later)
(minimum iOS 5.0 required for smartphone
integration)
● iPhone® 4 (firmware version 5.1 or later)
(minimum iOS 5.0 required for smartphone
integration)
● iPhone® 4S (firmware version 5.1 or later)
(minimum iOS 5.0 required for smartphone
integration)
Display screen, heater, air conditioner, audio and phone systems4-45
Page 256 of 424
particularly if the loss of control causes the
vehicle to slide sideways.
Be attentive at all times, and avoid driving when
tired. Never drive when under the influence of
alcohol or drugs (including prescription or over-
the-counter drugs which may cause drowsi-
ness) . Always wear your seat belt as outlined in
the “Safety – Seats, seat belts and supplemental
restraint system” section of this manual, and also
instruct your passengers to do so.
Seat belts help reduce the risk of injury in colli-
sions and rollovers.In a rollover crash, an
unbelted or improperly belted person is
significantly more likely to be injured or
killed than a person properly wearing a
seat belt.
OFF-ROAD RECOVERY
While driving, the right side or left side wheels
may unintentionally leave the road surface. If this
occurs, maintain control of the vehicle by follow-
ing the procedure below. Please note that this
procedure is only a general guide. The vehicle
must be driven as appropriate based on the con-
ditions of the vehicle, road and traffic.
1. Remain calm and do not overreact.
2. Do not apply the brakes. 3. Maintain a firm grip on the steering wheel
with both hands and try to hold a straight
course.
4. When appropriate, slowly release the accel- erator pedal to gradually slow the vehicle.
5. If there is nothing in the way, steer the ve- hicle to follow the road while vehicle speed
is reduced. Do not attempt to drive the ve-
hicle back onto the road surface until vehicle
speed is reduced.
6. When it is safe to do so, gradually turn the steering wheel until both tires return to the
road surface. When all tires are on the road
surface, steer the vehicle to stay in the ap-
propriate driving lane.
● If you decide that it is not safe to return the
vehicle to the road surface based on vehicle,
road or traffic conditions, gradually slow the
vehicle to a stop in a safe place off the road.
RAPID AIR PRESSURE LOSS
Rapid air pressure loss or a “blow-out” can occur
if the tire is punctured or is damaged due to
hitting a curb or pothole. Rapid air pressure loss
can also be caused by driving on under-inflated
tires. Rapid air pressure loss can affect the handling
and stability of the vehicle, especially at highway
speeds.
Help prevent rapid air pressure loss by maintain-
ing the correct air pressure and visually inspect
the tires for wear and damage. For additional
information, refer to “Wheels and tires” in the
“Maintenance and do-it-yourself” section of this
manual. If a tire rapidly loses air pressure or
“blows-out” while driving, maintain control of the
vehicle by following the procedure below. Please
note that this procedure is only a general guide.
The vehicle must be driven as appropriate based
on the conditions of the vehicle, road and traffic.
Page 343 of 424
Occasionally remove loose dust from the interior
trim, plastic parts and seats using a vacuum
cleaner or soft bristled brush. Wipe the vinyl and
leather (if so equipped) surfaces with a clean,
soft cloth dampened in mild soap solution, then
wipe clean with a dry, soft cloth.
Regular care and cleaning is required in order to
maintain the appearance of the leather (if so
equipped) .
Before using any fabric protector, read the manu-
facturer’s recommendations. Some fabric pro-
tectors contain chemicals that may stain or
bleach the seat material.
Use a cloth dampened only with water to clean
the meter and gauge lens.