Page 174 of 424

3. Push the liftgate up to open.
NOTE:
If you had to open the liftgate using this
procedure, have your vehicle checked by a
NISSAN dealer as soon as possible.
LIFTGATE POSITION SETTING
The liftgate can be set to open to a specific height
by performing the following: 1. Open the liftgate using the request switch or the Intelligent Key.
2. Pull the liftgate down to the desired position and hold the liftgate (the liftgate will have
some resistance when being manually ad-
justed) .
3. While holding the liftgate in position, press and hold the liftgate switch
located
on the liftgate for approximately 5 seconds
or until two beeps are heard.
The liftgate will open to the selected position
setting. To change the position of the liftgate,
repeat Steps 1-3 for setting the position of the
liftgate.
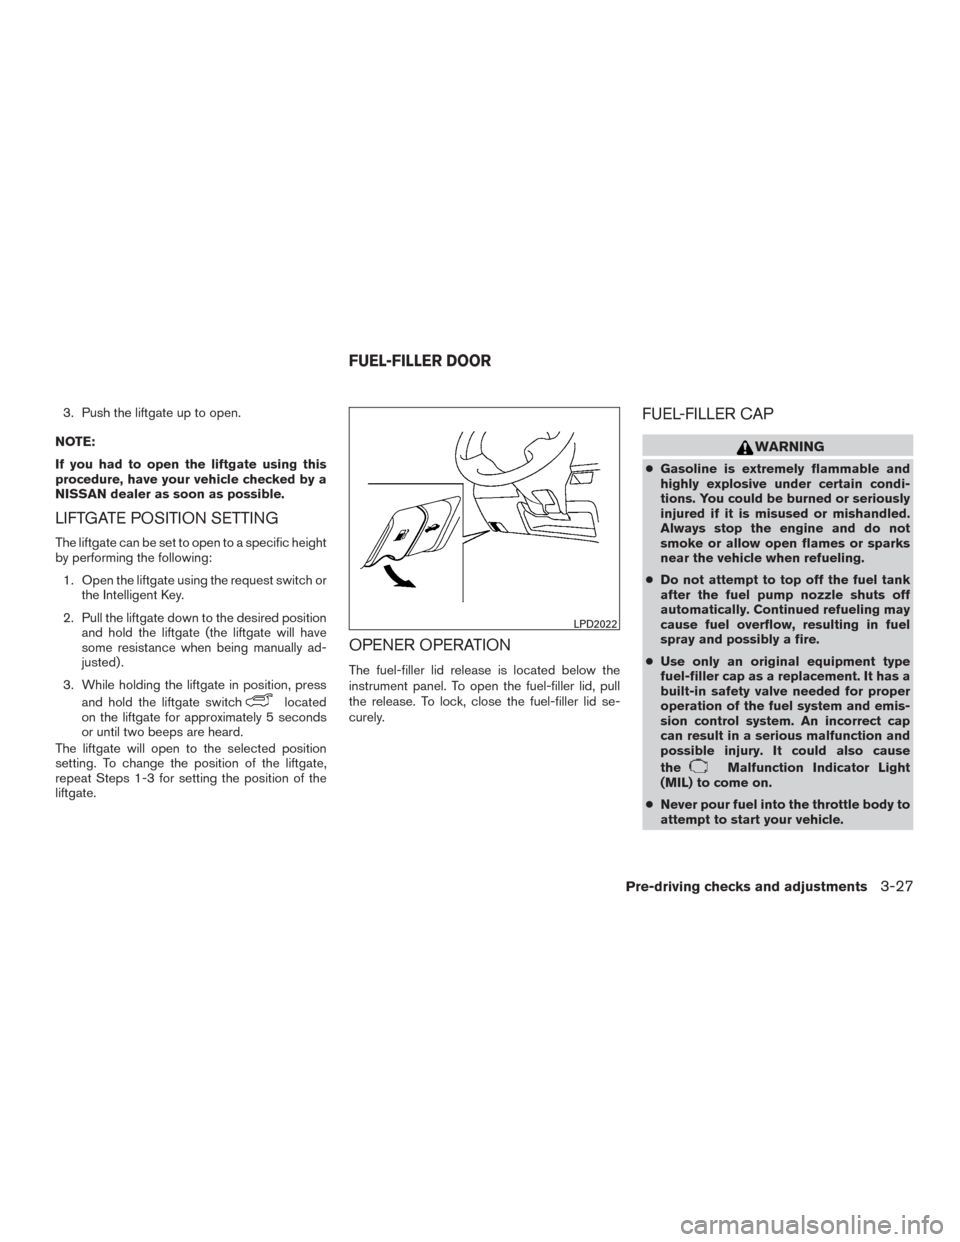
OPENER OPERATION
The fuel-filler lid release is located below the
instrument panel. To open the fuel-filler lid, pull
the release. To lock, close the fuel-filler lid se-
curely.
FUEL-FILLER CAP
WARNING
● Gasoline is extremely flammable and
highly explosive under certain condi-
tions. You could be burned or seriously
injured if it is misused or mishandled.
Always stop the engine and do not
smoke or allow open flames or sparks
near the vehicle when refueling.
● Do not attempt to top off the fuel tank
after the fuel pump nozzle shuts off
automatically. Continued refueling may
cause fuel overflow, resulting in fuel
spray and possibly a fire.
● Use only an original equipment type
fuel-filler cap as a replacement. It has a
built-in safety valve needed for proper
operation of the fuel system and emis-
sion control system. An incorrect cap
can result in a serious malfunction and
possible injury. It could also cause
the
Malfunction Indicator Light
(MIL) to come on.
● Never pour fuel into the throttle body to
attempt to start your vehicle.
LPD2022
FUEL-FILLER DOOR
Pre-driving checks and adjustments3-27
Page 372 of 424

Note:
Changes or modifications not expressly ap-
proved by the party responsible for compli-
ance could void the user’s authority to op-
erate the equipment.
For Canada:
This device complies with Industry Canada
licence-exempt RSS standard(s) . Opera-
tion is subject to the following two condi-
tions: (1) this device may not cause inter-
ference, and (2) this device must accept any
interference, including interference that
may cause undesired operation of the de-
vice.HEADLIGHTS
Replacing the halogen headlight bulb
(if so equipped)
The headlight is a semi-sealed beam type which
uses a replaceable headlight (halogen) bulb. Be-
cause the headlight assembly must be removed
from the vehicle for bulb replacement, see your
NISSAN dealer.
CAUTION
●Aiming is not necessary after replacing
the bulb. When aiming adjustment is
necessary, contact a NISSAN dealer.
● Do not leave the headlight assembly
open without a bulb installed for a long
period of time. Dust, moisture, smoke,
etc. entering the headlight body may
affect bulb performance. Remove the
bulb from the headlight assembly just
before a replacement bulb is installed.
● Only touch the base when handling the
bulb. Never touch the glass envelope.
Touching the glass could significantly
affect bulb life and/or headlight
performance. ●
High pressure halogen gas is sealed
inside the halogen bulb. The bulb may
break if the glass envelope is scratched
or the bulb is dropped.
Fog may temporarily form inside the lens of the
exterior lights in the rain or in a car wash. A
temperature difference between the inside and
the outside of the lens causes the fog. This is not
a malfunction. If large drops of water collect
inside the lens, contact a NISSAN dealer.Replacing the LED headlight bulb (if
so equipped)
If LED headlight bulb replacement is required,
see your NISSAN dealer.
FOG LIGHTS (if so equipped)
Replacing the fog light bulb
If replacement is required, see your NISSAN
dealer.
LIGHTS
Maintenance and do-it-yourself8-27
Page 373 of 424

CAUTION
●High pressure halogen gas is sealed
inside the halogen bulb. The bulb may
break if the glass envelope is scratched
or the bulb is dropped.
● When handling the bulb, do not touch
the glass envelope.
● Use the same number and wattage as
originally installed as shown in the
chart.
● Do not leave the bulb out of the fog light
for a long period of time as dust, mois-
ture and smoke may enter the fog light
body and affect the performance of the
fog light.
EXTERIOR AND INTERIOR LIGHTS
Item Wattage (W)Bulb No.
Headlight assembly (Type A) (if so equipped)* High (Halogen) 65H9
Low (Halogen) 55H11
Turn 28/87444NA
Side marker 5W5W
Park ——
Headlight assembly (Type B) (if so equipped)* High ——
Low ——
Turn 28/87444NA
Side marker 5W5W
Park ——
Front fog lights (if so equipped)* 35H8
Daytime running lights* ——
Door mirror turn signal light ——
Map light* ——
Personal light* ——
Vanity mirror light* 1.337LL
Glove box light* ——
Cargo light* 5—
High-mounted stop light* ——
Rear combination light* Tail/Stop ——
Turn 21WY21W
Rear side marker 5W5W
Backup (reversing) 16921
License plate light* 5W5W
* See a NISSAN dealer for replacement.
Always check with the Parts Department at a NISSAN dealer for the latest parts information.
8-28Maintenance and do-it-yourself
Page 393 of 424
ENGINE
ModelVQ35DE
Type Gasoline, 4-cycle, DOHC
Cylinder arrangement 6-cylinder, V-block, Slanted at 60°
Bore x Stroke in (mm) 3.760 x 3.205 (95.5 x 81.4)
Displacement cu in (cm
3) 213.45 (3,498)
Firing order 1–2–3–4–5–6
Idle speed
No adjustment is necessary.
CVT (in N (Neutral) position)
Ignition timing (degree B.T.D.C. at idle speed)
CO%atidle
Spark plug
FXE22HR-11
Spark plug gap (Nominal) in (mm) 0.043 (1.1)
Camshaft operation Timing chain
This spark ignition system complies with the Canadian standard ICES-002.
SPECIFICATIONS
9-8Technical and consumer information