Page 355 of 424
CAUTION
Oil level should be checked regularly. Op-
erating the engine with an insufficient
amount of oil can damage the engine, and
such damage is not covered by warranty.
CHANGING ENGINE OIL
1. Park the vehicle on a level surface and applythe parking brake.
2. Start the engine and let it idle until it reaches operating temperature, then turn it off.
3. Remove the oil filler cap
�Aby turning it
counterclockwise.
4. Remove pins
�Bfrom the under-engine pro-
tector.
5. Place a large drain pan under the drain plug
�C. 6. Remove the drain plug
�Cwith a wrench by
turning it counterclockwise and completely
drain the oil.
If the engine oil filter is to be changed, re-
move and replace it at this time. For addi-
tional information, refer to “Changing engine
oil filter” in this section.
● Waste oil must be disposed of prop-
erly.
● Check your local regulations.
LDI2554LDI2558
8-10Maintenance and do-it-yourself
Page 356 of 424
WARNING
●Prolonged and repeated contact with
used engine oil may cause skin cancer.
● Try to avoid direct skin contact with
used oil. If skin contact is made, wash
thoroughly with soap or hand cleaner as
soon as possible.
● Keep used engine oil out of reach of
children.
CAUTION
Be careful not to burn yourself. The engine
oil may be hot.
7. Clean and reinstall the drain plug and a new washer. Securely tighten the drain plug with
a wrench. Do not use excessive force.
Drain plug tightening torque: 26 ft-lb (34 N·m)
8. Refill engine with recommended oil through the oil filler opening, then install the oil filler
cap securely.
For additional information, refer to “Recom-
mended fluids/lubricants and capacities” in
the “Technical and consumer information”
section of this manual for drain and refill
capacity.
The drain and refill capacity depends on the
oil temperature and drain time. Use these
specifications for reference only. Always use
the dipstick to determine when the proper
amount of oil is in the engine.
9. Start the engine. Check for leakage around the drain plug and oil filter. Correct as re-
quired. 10. Turn the engine off and wait more than
10 minutes. Check the oil level with the
dipstick. Add engine oil if necessary.
LDI2634
Maintenance and do-it-yourself8-11
Page 357 of 424
CHANGING ENGINE OIL FILTER
1. Park the vehicle on a level surface and applythe parking brake.
2. Turn the engine off.
3. Place a large drain pan under the oil filter
�B. 4. Remove pins
�Afrom the right engine pro-
tector located inside the right wheel well and
then remove protector. Remove oil filter
�B
with an oil filter wrench by turning it counter-
clockwise. Then remove the oil filter by turn-
ing it by hand.
CAUTION
Be careful not to burn yourself. The engine
oil may be hot.
5. Wipe the engine oil filter sealing surface with a clean rag.
CAUTION
●Be sure to remove any old gasket
material remaining on the sealing
surface of the engine. Failure to do
so could lead to an oil leak and en-
gine damage.
● The dipstick must be inserted in
place to prevent oil spillage from the
dipstick hole when filling the engine
with oil.
6. Coat the gasket on the new filter with clean engine oil.
7. Screw on the oil filter until a slight resistance is felt, then tighten an additional 2/3 turn. 8. Start the engine and check for leakage
around the oil filter. Correct as required.
9. Turn the engine off and wait more than 10 minutes. Check the oil level. Add engine
oil if necessary.
LDI2562
8-12Maintenance and do-it-yourself
Page 358 of 424
CAUTION
●NISSAN recommends using Genuine
NISSAN CVT Fluid NS-3 ONLY in
NISSAN CVTs. Do not mix with other
fluids.
● Do not use Automatic transmission
fluid (ATF) or Manual transmission fluid
in a NISSAN CVT, as it may damage the
CVT. Damage caused by the use of flu-
ids other than as recommended is not
covered under NISSAN’s New Vehicle
Limited Warranty.
● Using fluids that are not equivalent to
Genuine NISSAN CVT Fluid NS-3 may
also damage the CVT. Damage caused
by the use of fluids other than as recom-
mended is not covered under NISSAN’s
New Vehicle Limited Warranty.
When checking or replacement of CVT fluid is
required, we recommend your NISSAN dealer for
servicing. Check the fluid level in the reservoir.
The fluid level should be checked when the fluid
is cold at fluid temperatures of 32 to 86ºF (0 to
30ºC) . The fluid level can be checked with the
level gauge which is attached to the cap. To
check the fluid level, remove the cap. The fluid
level should be between the MAX
�1and MIN�2
lines.
If the fluid is below the MIN
�2line, add Genuine
NISSAN E-PSF or equivalent. Remove the cap
and fill through the opening.
CAUTION
● DO NOT OVERFILL.
● Use of a power steering fluid other than
Genuine NISSAN E-PSF or equivalent
will prevent the power steering system
from operating properly.
● Power steering fluid is poisonous and
should be stored carefully in marked
containers out of the reach of children.
LDI2635
CONTINUOUSLY VARIABLE
TRANSMISSION (CVT) FLUID POWER STEERING FLUID
Maintenance and do-it-yourself8-13
Page 359 of 424
WARNING
●Use only new fluid from a sealed con-
tainer. Old, inferior or contaminated
fluid may damage the brake system.
The use of improper fluids can damage
the brake system and affect the vehi-
cle’s stopping ability.
● Clean the filler cap before removing.
● Brake fluid is poisonous and should be
stored carefully in marked containers
out of reach of children.
CAUTION
Do not spill the fluid on any painted sur-
faces. This will damage the paint. If fluid is
spilled, immediately wash the surface with
water.
Check the fluid level in the reservoir. If the brake
fluid is below the MIN line, the brake warning light
will illuminate. Add brake fluid up to the MAX line.
For additional information on brake fluid type,
refer to “Recommended fluids/lubricants and ca-
pacities” in the “Technical and consumer informa-
tion” section of this manual.
If the brake fluid must be added frequently, the
brake system should be thoroughly checked by a
NISSAN dealer.
WINDSHIELD-WASHER FLUID
RESERVOIR
Fill the windshield-washer fluid reservoir periodi-
cally. Add windshield-washer fluid when the low
windshield-washer fluid warning light comes on.
To fill the windshield-washer fluid reservoir, lift
the cap off the reservoir and pour the windshield-
washer fluid into the reservoir opening.
Add a washer solvent to the washer for better
cleaning. In the winter season, add a windshield-
washer antifreeze. Follow the manufacturer’s in-
structions for the mixture ratio.
LDI2592LDI2573
BRAKE FLUID WINDSHIELD-WASHER FLUID
8-14Maintenance and do-it-yourself
Page 360 of 424
Refill the reservoir more frequently when driving
conditions require an increased amount of
windshield-washer fluid.
Recommended fluid is Genuine NISSAN Wind-
shield Washer Concentrate Cleaner & Antifreeze
or equivalent.
CAUTION
●Do not substitute engine antifreeze
coolant for windshield-washer fluid.
This may result in damage to the paint.
● Do not fill the windshield-washer fluid
reservoir with washer fluid concen-
trates at full strength. Some methyl al-
cohol based washer fluid concentrates
may permanently stain the grille if
spilled while filling the windshield-
washer fluid reservoir.
● Pre-mix washer fluid concentrates with
water to the manufacturer’s recom-
mended levels before pouring the fluid
into the windshield-washer fluid reser-
voir. Do not use the windshield-washer
fluid reservoir to mix the washer fluid
concentrate and water. ●
Keep the battery surface clean and dry.
Clean the battery with a solution of baking
soda and water.
● Make certain the terminal connections are
clean and securely tightened.
● If the vehicle is not to be used for 30 days or
longer, disconnect the negative (-) battery
terminal cable to prevent discharge.
NOTE:
Care should be taken to avoid situations
that can lead to potential battery discharge
and potential no-start conditions such as: 1. Installation or extended use of electronic accessories that consume battery power
when the engine is not running (Phone char-
gers, GPS, DVD players, etc.)
2. Vehicle is not driven regularly and/or only driven short distances. In these cases, the
battery may need to be charged to maintain
battery health.
WARNING
●Do not expose the battery to flames, an
electrical spark or a cigarette. Hydrogen
gas generated by the battery is explo-
sive. Explosive gases can cause blind-
ness or injury. Do not allow battery fluid
to contact your skin, eyes, fabrics or
painted surfaces. Sulfuric acid can
cause blindness or injury. After touch-
ing a battery or battery cap, do not
touch or rub your eyes. Thoroughly
wash your hands. If the acid contacts
your eyes, skin or clothing, immediately
flush with water for at least 15 minutes
and seek medical attention.
● Do not operate the vehicle if the fluid in
the battery is low. Low battery fluid can
cause a higher load on the battery
which can generate heat, reduce battery
life, and in some cases lead to an
explosion.
● When working on or near a battery, al-
ways wear suitable eye protection and
remove all jewelry.
● Battery posts, terminals and related ac-
cessories contain lead and lead com-
pounds. Wash hands after handling.
BATTERY
Maintenance and do-it-yourself8-15
Page 361 of 424
●Keep battery out of the reach of
children.
● Do not tip the battery. Keep the vent
caps tight and the battery level.
1. Remove the vent caps with a screwdriver asshown. Use a cloth to protect the battery
case.
2. Check the fluid level in each cell. If it isnecessary to add fluid, add only distilled
water to bring the level up to the bottom of
the filler opening. Do not overfill.Reinstall
the vent caps.
WDI0224
LDI0302
8-16Maintenance and do-it-yourself
Page 362 of 424
Vehicles operated in high temperatures or under
severe conditions require frequent checks of the
battery fluid level.
JUMP STARTING
If jump starting is necessary, refer to “Jump start-
ing” in the “In case of emergency” section of this
manual. If the engine does not start by jump
starting, the battery may have to be replaced.
Contact a NISSAN dealer.
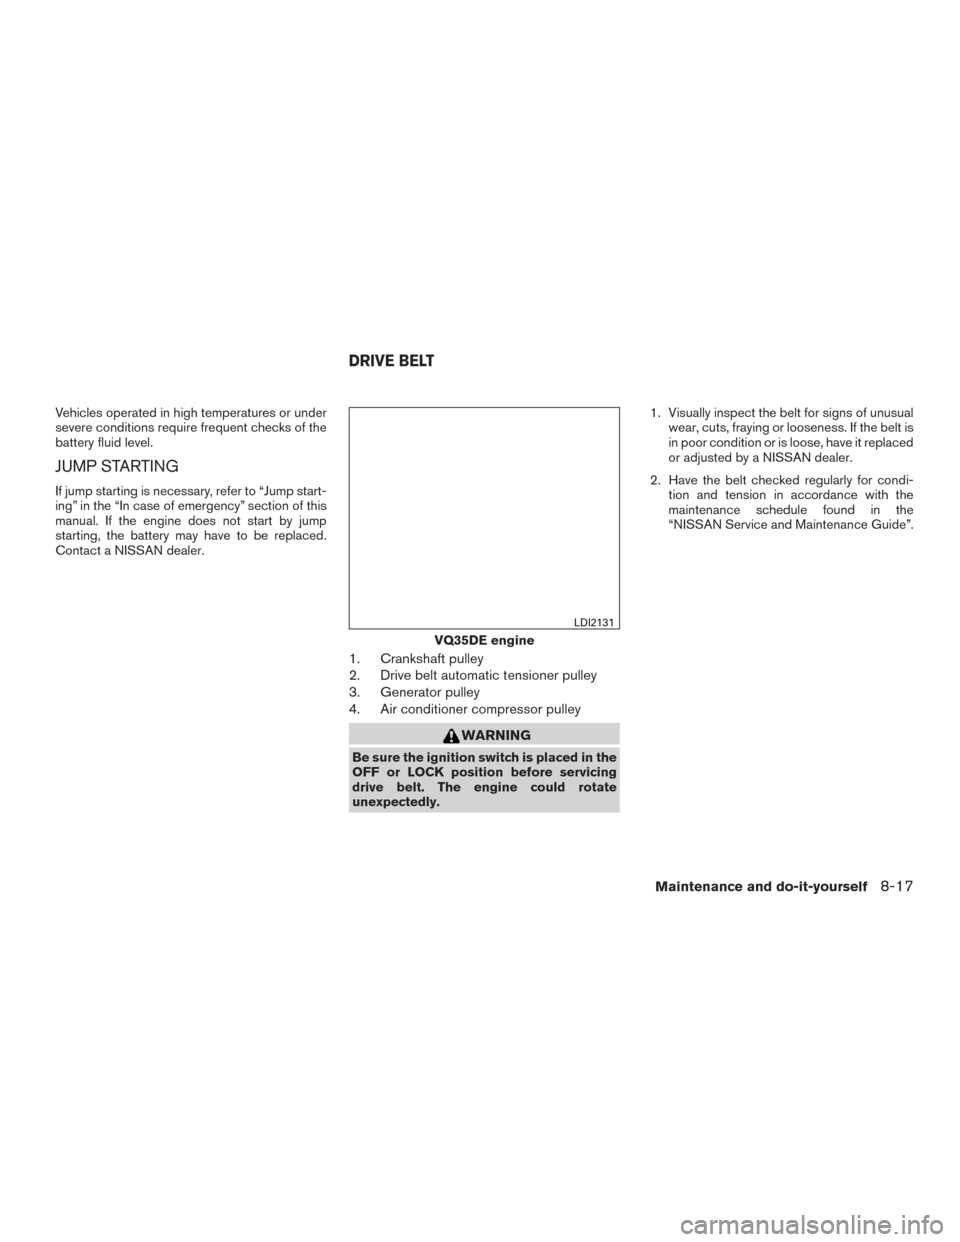
1. Crankshaft pulley
2. Drive belt automatic tensioner pulley
3. Generator pulley
4. Air conditioner compressor pulley
WARNING
Be sure the ignition switch is placed in the
OFF or LOCK position before servicing
drive belt. The engine could rotate
unexpectedly.1. Visually inspect the belt for signs of unusual
wear, cuts, fraying or looseness. If the belt is
in poor condition or is loose, have it replaced
or adjusted by a NISSAN dealer.
2. Have the belt checked regularly for condi- tion and tension in accordance with the
maintenance schedule found in the
“NISSAN Service and Maintenance Guide”.
VQ35DE engine
LDI2131
DRIVE BELT
Maintenance and do-it-yourself8-17