2015 NISSAN LEAF instrument panel
[x] Cancel search: instrument panelPage 2 of 28
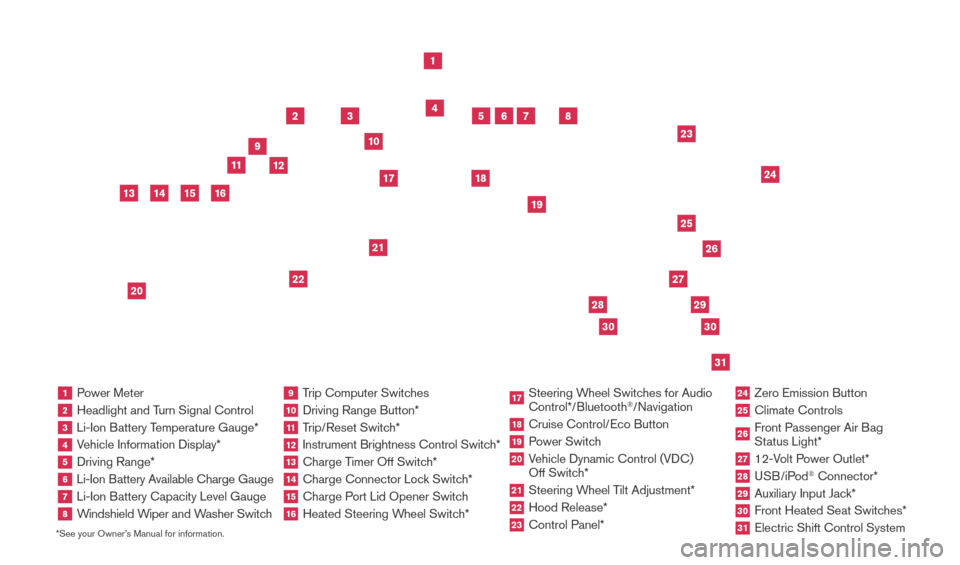
*See your Owner’s Manual for information.1 Power Meter2 Headlight and Turn Signal Control3 Li-Ion Battery Temperature Gauge*4 Vehicle Information Display*5 Driving Range*6
Li-Ion Battery Available Charge Gauge7 Li-Ion Battery Capacity Level Gauge8
Windshield Wiper and Washer Switch
9 Trip Computer Switches10 Driving Range Button*
11 Trip/Reset Switch*12 Instrument Brightness Control Switc h*13 Charge Timer Off Switch*14 Charge Connector Lock Switch*15 Charge Port Lid Opener Switch16 Heated Steering Wheel Switch*
17 Steering Wheel Switches for Audio
Control*/Bluetooth
®/Navigation
18 Cruise Control/ Eco Button19 Power Switch20 Vehicle Dynamic Control (VDC)
Off Switch*21 Steering W heel Tilt Adjustment*22 Hood Release*
23 Control Panel*
24 Zero Emission Button
25 Climate Controls
26 Front Passenger Air B ag
Status Light*27 12-Volt Power Outlet*28 USB/iPod
® Connector*
29 Auxiliary Input Jac k*30 Front Heated Seat Switc hes*31 Electric Shift Control System
1
3
4
2
5
10
11
6
7
23
2629
27
3031
24
25
22
9
12
8
21
19
17
18
2830
13
15
20
14
16
1789594_15b_Leaf_QRG_063014.indd 36/30/14 1:28 PM
Page 10 of 28
7
CHARGE PORT LID/CHARGE CONNECTOR LOCK SWITCH
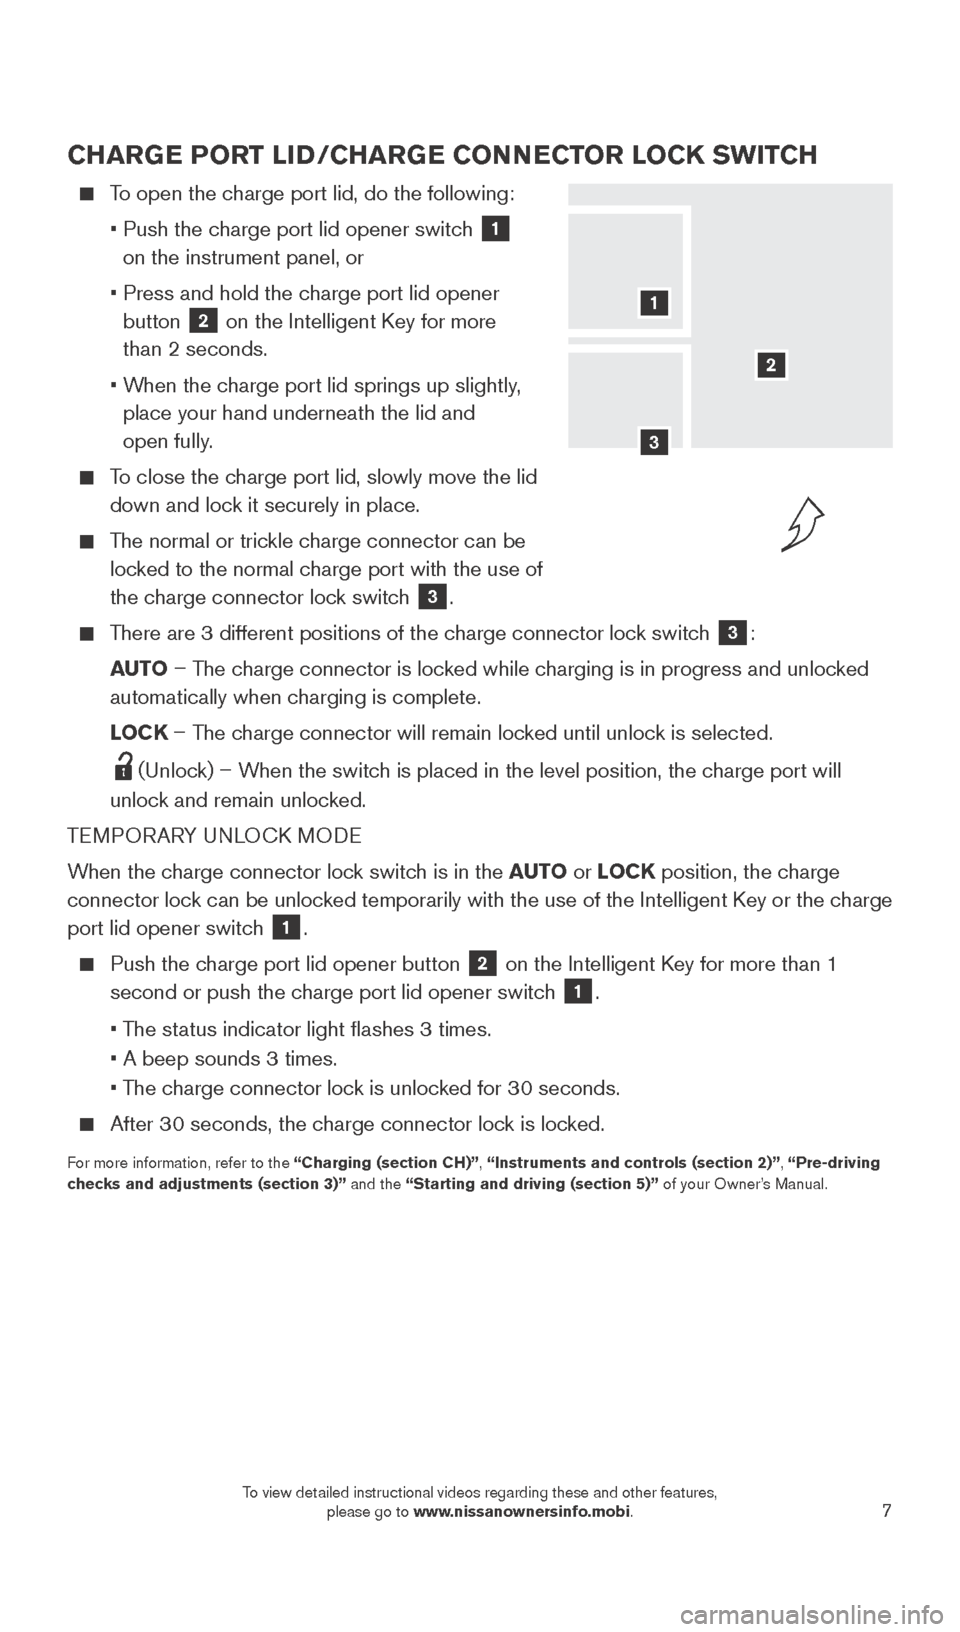
To open the charge port lid, do the following:
•
Push the c
harge port lid opener switch
1
on the instrument panel, or
•
Press and hold the c
harge port lid opener
button
2 on the Intelligent Key for more
than 2 seconds.
•
W
hen the charge port lid springs up slightly,
place your hand underneath the lid and
open fully.
To close the charge port lid, slowly move the lid down and lock it securely in place.
The normal or trickle charge connector can be locked to the normal charge port with the use of
the charge connector lock switch
3.
There are 3 different positions of the charge connector lock switch 3:
AUTO – The charge connector is locked while charging is in progress and unlocked
automatically when charging is complete.
L
OCK – The charge connector will remain locked until unlock is selected.
(Unlock) – When the switch is placed in the level position, the charge port will
unlock and remain unlocked.
TEMPORARY UNLOCK MODE
When the charge connector lock switch is in the AUTO or LOCK position, the charge
connector lock can be unlocked temporarily with the use of the Intelligent Key or the charge
port lid opener switch
1.
Push the charge port lid opener button
2 on the Intelligent Key for more than 1
second or push the charge port lid opener switch
1.
• T
he status indicator light flashes 3 times.
• A beep sounds 3 times.
• T
he charge connector lock is unlocked for 30 seconds.
After 30 seconds, the charge connector lock is locked.
For more information, refer to the “Charging (section CH)”, “Instruments and controls (section 2)”, “Pre-driving
checks and adjustments (section 3)” and the “Starting and driving (section 5)” of your Owner’s Manual.
2
1
3
1789594_15b_Leaf_QRG_063014.indd 76/30/14 1:28 PM
To view detailed instructional videos regarding these and other features, please go to www.nissanownersinfo.mobi.
Page 11 of 28
8
LI-ION BATTERY CHARGING
Before charging the Li-ion battery, see your Owner’s Manual for detailed warnings and
cautions when charging your battery.
There are three methods available to perform the charge operation: normal charge, trickle charge and quick charge (if so equipped).
NORMAL CHARGE
Perform a normal charge using the charger installed in your home.
It takes approximately 3-4 hours to charge the Li-ion battery from empty to full with a 6.6 kW charger (if so equipped).
To charge your vehicle:
•
Place the power switc
h in the OFF position.
•
Push the c
harge port lid opener switch located on the instrument panel to the left of
the steering wheel.
•
Press the c
harge port tab and open the cap.
•
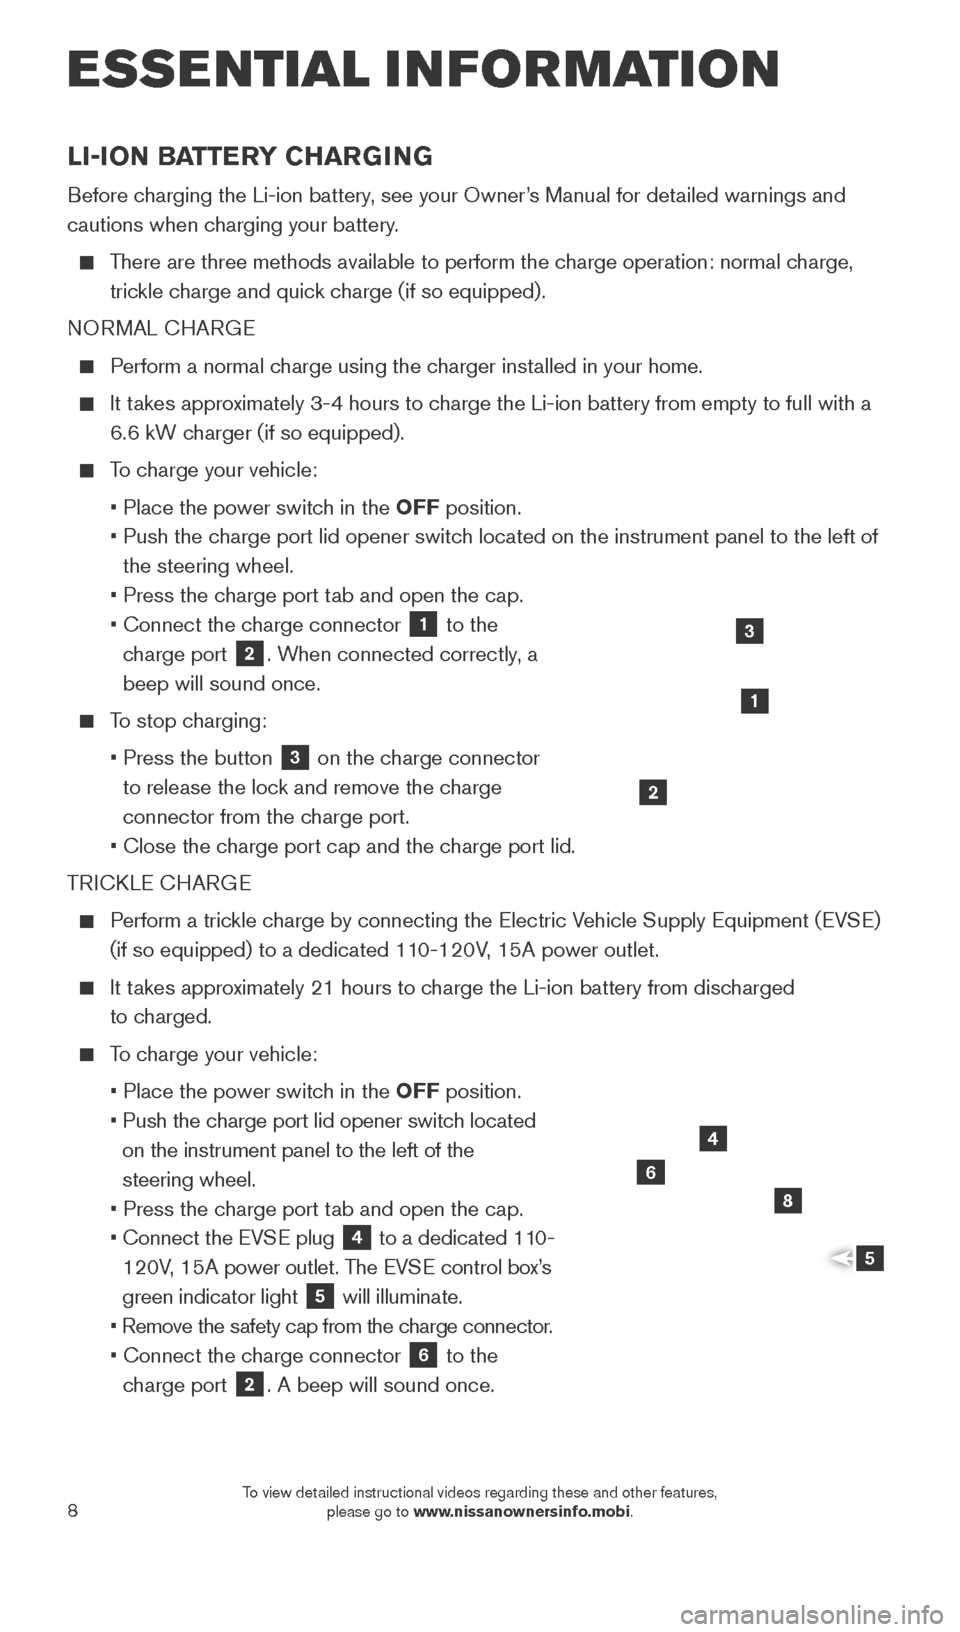
Connect the c
harge connector
1 to the
charge port 2. When connected correctly, a
beep will sound once.
To stop charging:
•
Press the button 3 on the charge connector
to release the lock and remove the charge
connector from the charge port.
•
Close the c
harge port cap and the charge port lid.
TRICKLE CHARGE
Perform a trickle charge by connecting the Electric Vehicle Supply Equipment (EVSE) (if so equipped) to a dedicated 110-120V, 15A power outlet.
It takes approximately 21 hours to charge the Li-ion battery from discharged to charged.
To charge your vehicle:
•
Place the power switc
h in the OFF position.
•
Push the c
harge port lid opener switch located
on the instrument panel to the left of the
steering wheel.
•
Press the c
harge port tab and open the cap.
•
Connect the EV
SE plug
4 to a dedicated 110-
120V, 15A power outlet. The EVSE control box’s
green indicator light
5 will illuminate.
•
Remove the s
afety cap from the charge connector.
•
Connect the c
harge connector
6 to the
charge port 2. A beep will sound once.
4
6
8
5
1
2
3
ESSE NTIAL I N FOR MATION
1789594_15b_Leaf_QRG_063014.indd 86/30/14 1:28 PM
To view detailed instructional videos regarding these and other features, please go to www.nissanownersinfo.mobi.
Page 12 of 28
9
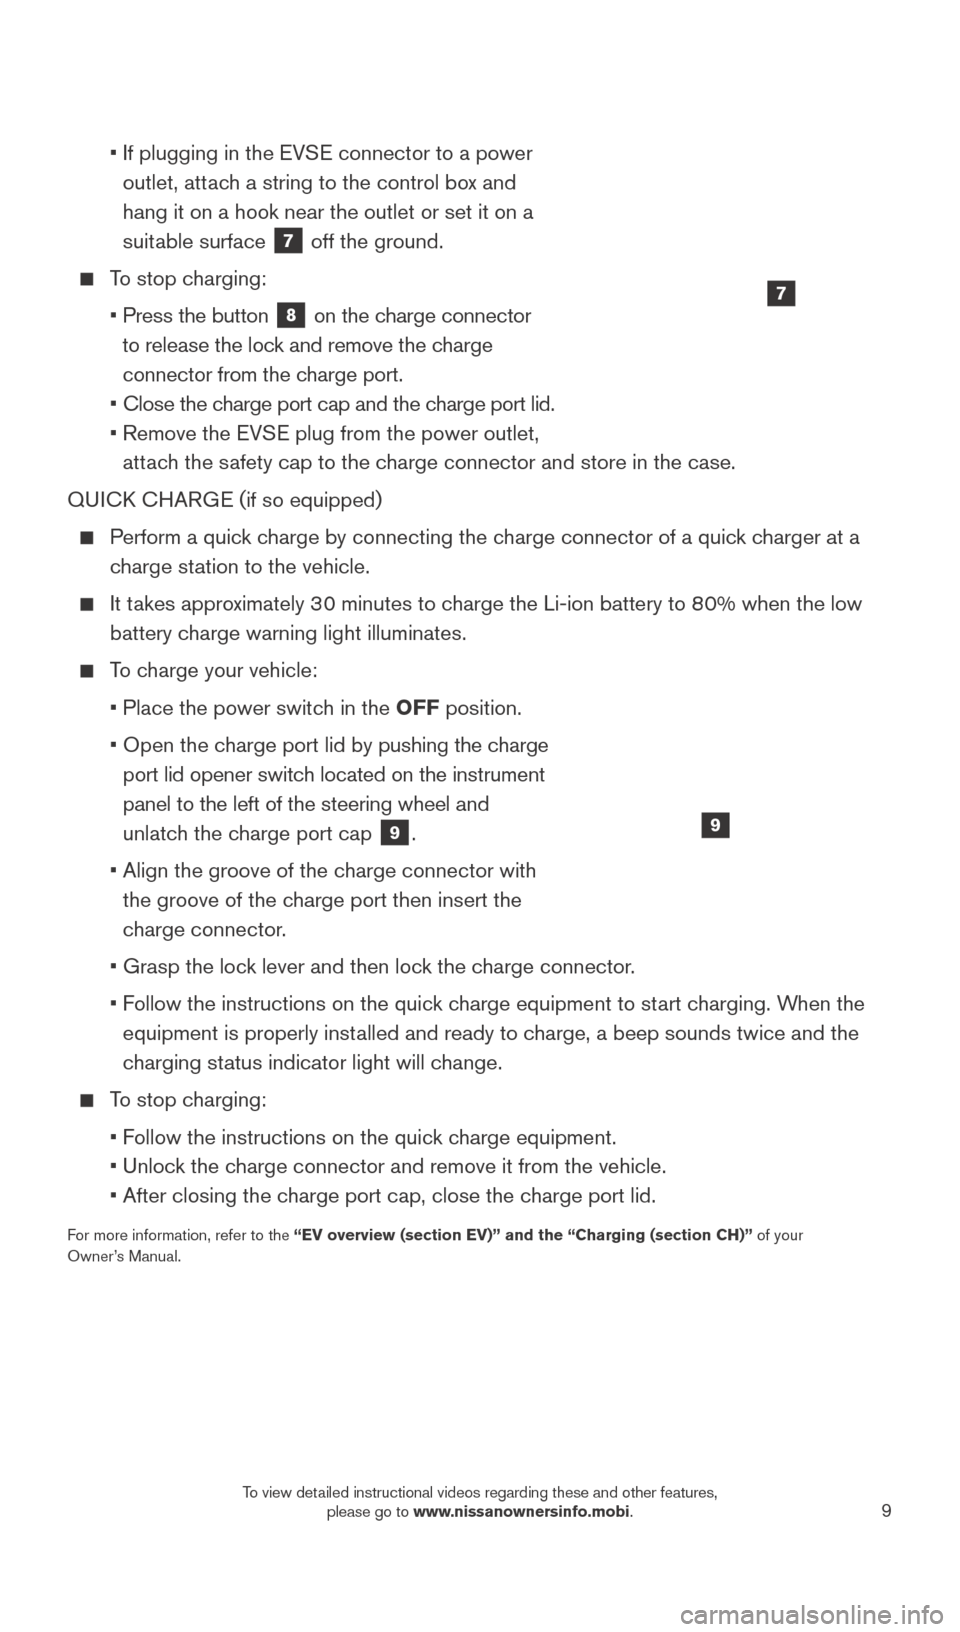
• If plugging in the EV SE connector to a power
outlet, attach a string to the control box and
hang it on a hook near the outlet or set it on a
suitable surface
7 off the ground.
To stop charging:
•
Press the button 8 on the charge connector
to release the lock and remove the charge
connector from the charge port.
•
Close the c
harge port cap and the charge port lid.
•
Remove the EV
SE plug from the power outlet,
attach the safety cap to the charge connector and store in the case.
QUICK CHARGE (if so equipped)
Perform a quick charge by connecting the charge connector of a quick charger at a charge station to the vehicle.
It takes approximately 30 minutes to charge the Li-ion battery to 80% when the low battery charge warning light illuminates.
To charge your vehicle:
•
Place the power switc
h in the OFF position.
•
Open the c
harge port lid by pushing the charge
port lid opener switch located on the instrument
panel to the left of the steering wheel and
unlatch the charge port cap
9.
•
Align the groove of the c
harge connector with
the groove of the charge port then insert the
charge connector.
•
Grasp the loc
k lever and then lock the charge connector.
•
F
ollow the instructions on the quick charge equipment to start charging. When the
equipment is properly installed and ready to charge, a beep sounds twice and the
charging status indicator light will change.
To stop charging:
•
F
ollow the instructions on the quick charge equipment.
•
Unloc
k the charge connector and remove it from the vehicle.
•
After closing the c
harge port cap, close the charge port lid.
For more information, refer to the “EV overview (section EV)” and the “Charging (section CH)”\
of your
Owner’s Manual.
9
7
1789594_15b_Leaf_QRG_063014.indd 96/30/14 1:28 PM
To view detailed instructional videos regarding these and other features, please go to www.nissanownersinfo.mobi.
Page 13 of 28
10
TIRE PRESSURE MONITORING SYSTEM (TPMS)
WITH EASY FILL TIRE ALERT
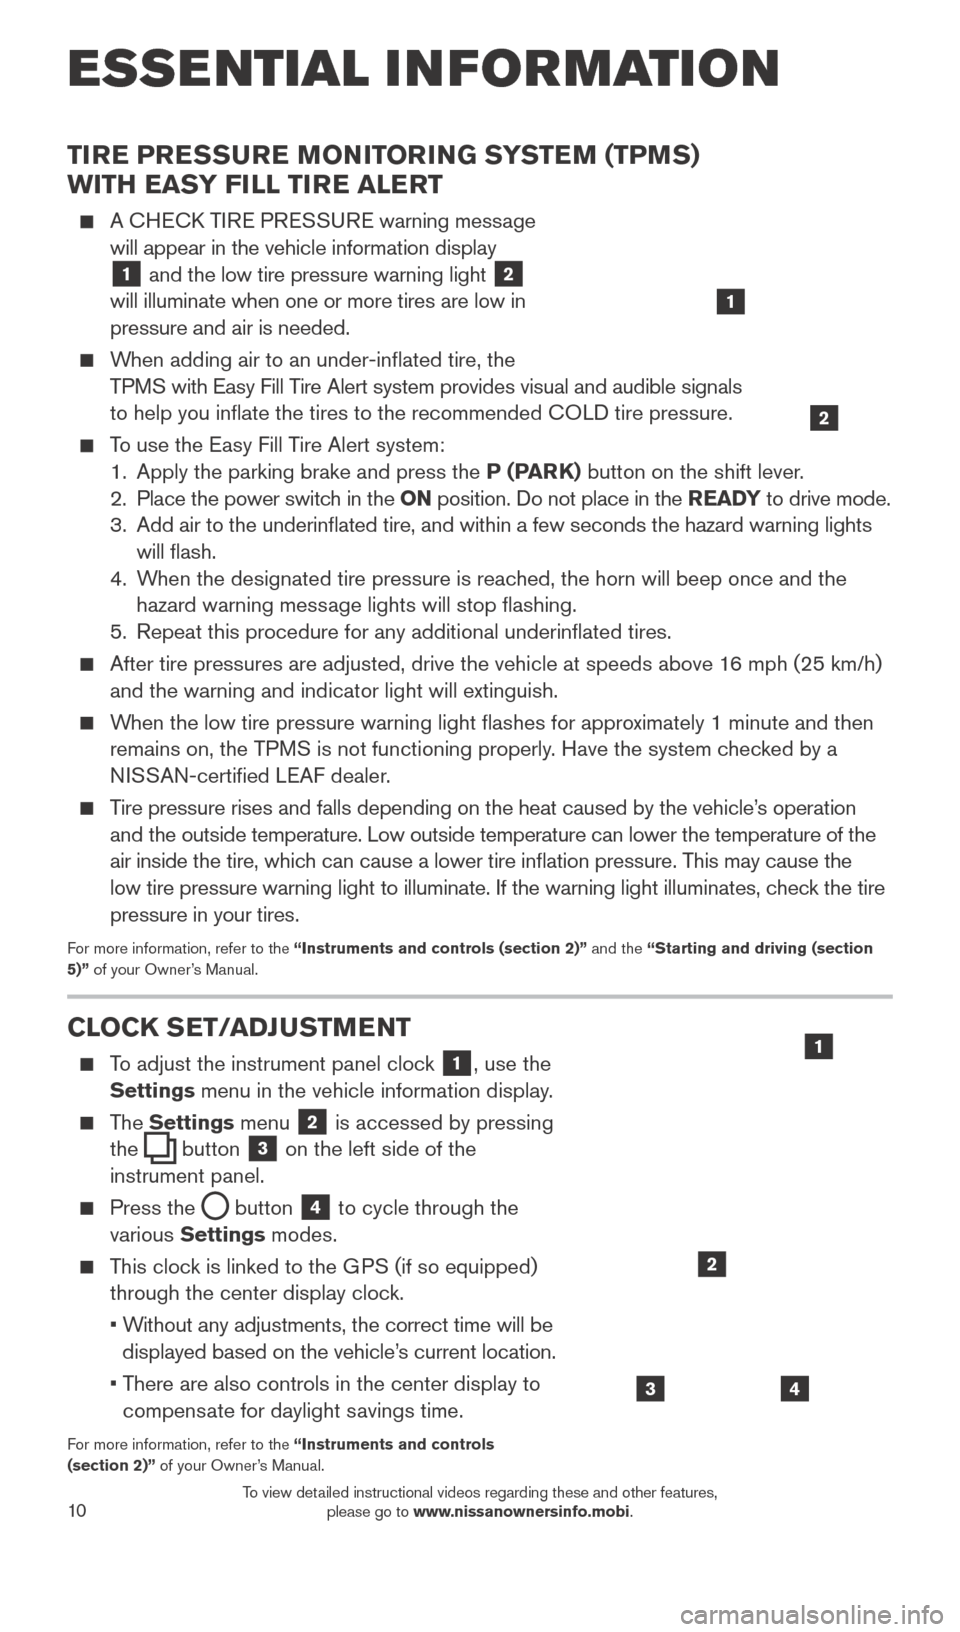
A CHECK TIRE PRESSURE warning message will appear in the vehicle information display
1 and the low tire pressure warning light
2
will illuminate when one or more tires are low in
pressure and air is needed.
When adding air to an under-inflated tire, the
TPMS with Easy Fill Tire Alert system provides visual and audible signals
to help you inflate the tires to the recommended COLD tire pressure.
To use the Easy Fill Tire Alert system: 1. Apply the parking brake and press the P (PARK) button on the shift lever.
2.
Place the power switc
h in the ON position. Do not place in the READY to drive mode.
3.
Add air to the underinflated tire, and within a few seconds the hazard\
warning lights
will flash.
4.
W
hen the designated tire pressure is reached, the horn will beep once and the
hazard warning message lights will stop flashing.
5.
Repeat this procedure for any additional underinflated tires.
After tire pressures are adjusted, drive the vehicle at speeds above 1 6 mph (25 km/h)
and the warning and indicator light will extinguish.
When the low tire pressure warning light flashes for approximately 1 minute and then remains on, the TPMS is not functioning properly. Have the system checked by a
NISSAN-certified LEAF dealer.
Tire pressure rises and falls depending on the heat caused by the vehicle\
’s operation and the outside temperature. Low outside temperature can lower the temperatu\
re of the
air inside the tire, which can cause a lower tire inflation pressure. This may cause the
low tire pressure warning light to illuminate. If the warning light illuminates, check the tire
pressure in your tires.
For more information, refer to the “Instruments and controls (section 2)” and the “Starting and driving (section
5)” of your Owner’s Manual.
CLOCK SET/ADJUSTMENT
To adjust the instrument panel clock 1, use the
Settings menu in the vehicle information display.
The Settings menu 2 is accessed by pressing
the
button
3 on the left side of the
instrument panel.
Press the button
4 to cycle through the
various Settings modes.
This clock is linked to the GPS (if so equipped) through the center display clock.
•
W
ithout any adjustments, the correct time will be
displayed based on the vehicle’s current location.
•
T
here are also controls in the center display to
compensate for daylight savings time.
For more information, refer to the “Instruments and controls
(section 2)” of your Owner’s Manual.
43
2
1
ESSE NTIAL I N FOR MATION
1
2
1789594_15b_Leaf_QRG_063014.indd 106/30/14 1:29 PM
To view detailed instructional videos regarding these and other features, please go to www.nissanownersinfo.mobi.
Page 17 of 28
14
HEADLIGHT CONTROL SWITCH
HEADLIGHT CONTROL
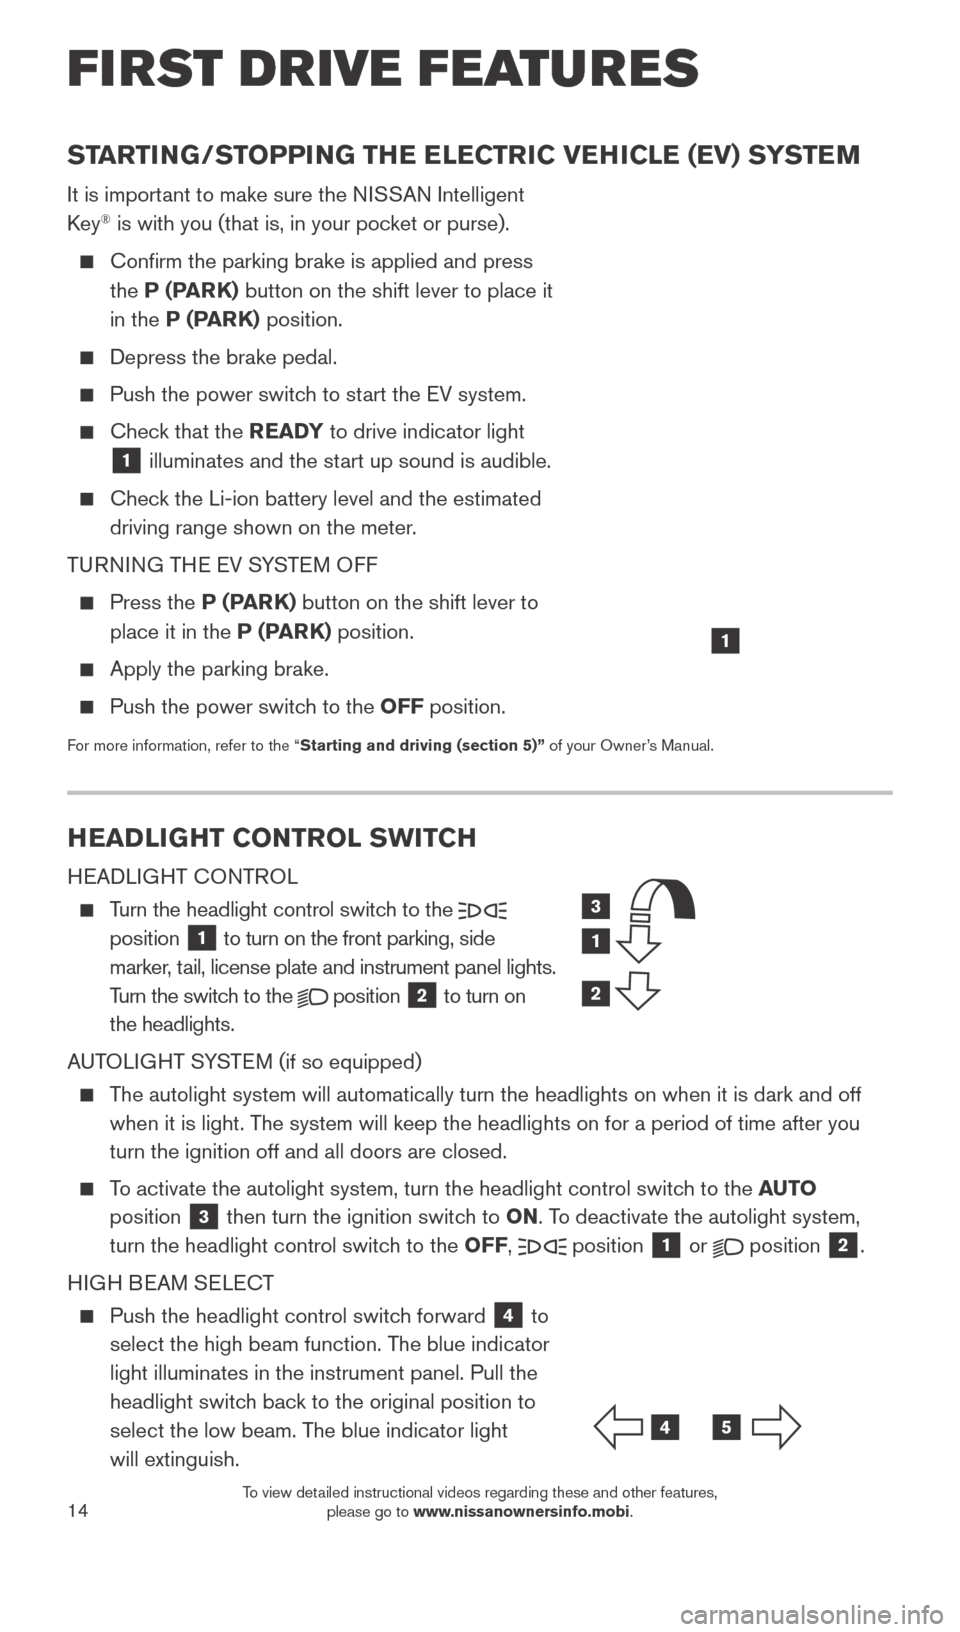
Turn the headlight control switch to the
position 1 to turn on the front parking, side
marker, tail, license plate and instrument panel lights.
Turn the switch to the
position
2 to turn on
the headlights.
AUTOLIGHT SYSTEM (if so equipped)
The autolight system will automatically turn the headlights on when it is\
dark and off when it is light. The system will keep the headlights on for a period of time after you
turn the ignition off and all doors are closed.
To activate the autolight system, turn the headlight control switch to the AUTO
position
3 then turn the ignition switch to ON. To deactivate the autolight system,
turn the headlight control switch to the OFF, position 1 or
position
2.
HIGH BEAM SELECT
Push the headlight control switc h forward
4 to
select the high beam function. The blue indicator
light illuminates in the instrument panel. Pull the
headlight switch back to the original position to
select the low beam. The blue indicator light
will extinguish.
STARTING/STOPPING THE ELECTRIC VEHICLE (EV) SYSTEM
It is important to make sure the NISSAN Intelligent
Key® is with you (that is, in your pocket or purse).
Confirm the parking brake is applied and press
the
P (PARK) button on the shift lever to place it
in the P (PARK) position.
Depress the brake pedal.
Push the power switc h to start the EV system.
Check that the READY to drive indicator light
1 illuminates and the start up sound is audible.
Check the Li-ion battery level and the estimated
driving range shown on the meter.
TURNING THE EV SYSTEM OFF
Press the P (P ARK) button on the shift lever to
place it in the P (PARK) position.
Apply the parking brake.
Push the power switc h to the OFF position.
For more information, refer to the “Starting and driving (section 5)” of your Owner’s Manual.
1
FI RST DR IVE FEATU R ES
3
1
2
45
1789594_15b_Leaf_QRG_063014.indd 146/30/14 1:29 PM
To view detailed instructional videos regarding these and other features, please go to www.nissanownersinfo.mobi.
Page 21 of 28
18
CRUISE CONTROL
The cruise control system enables you to set a constant cruising speed once the vehicle has
reached 25 mph (40 km/h).
The system will automatically maintain the set speed until you tap the brake pedal, accelerate,
cancel or turn the system off.
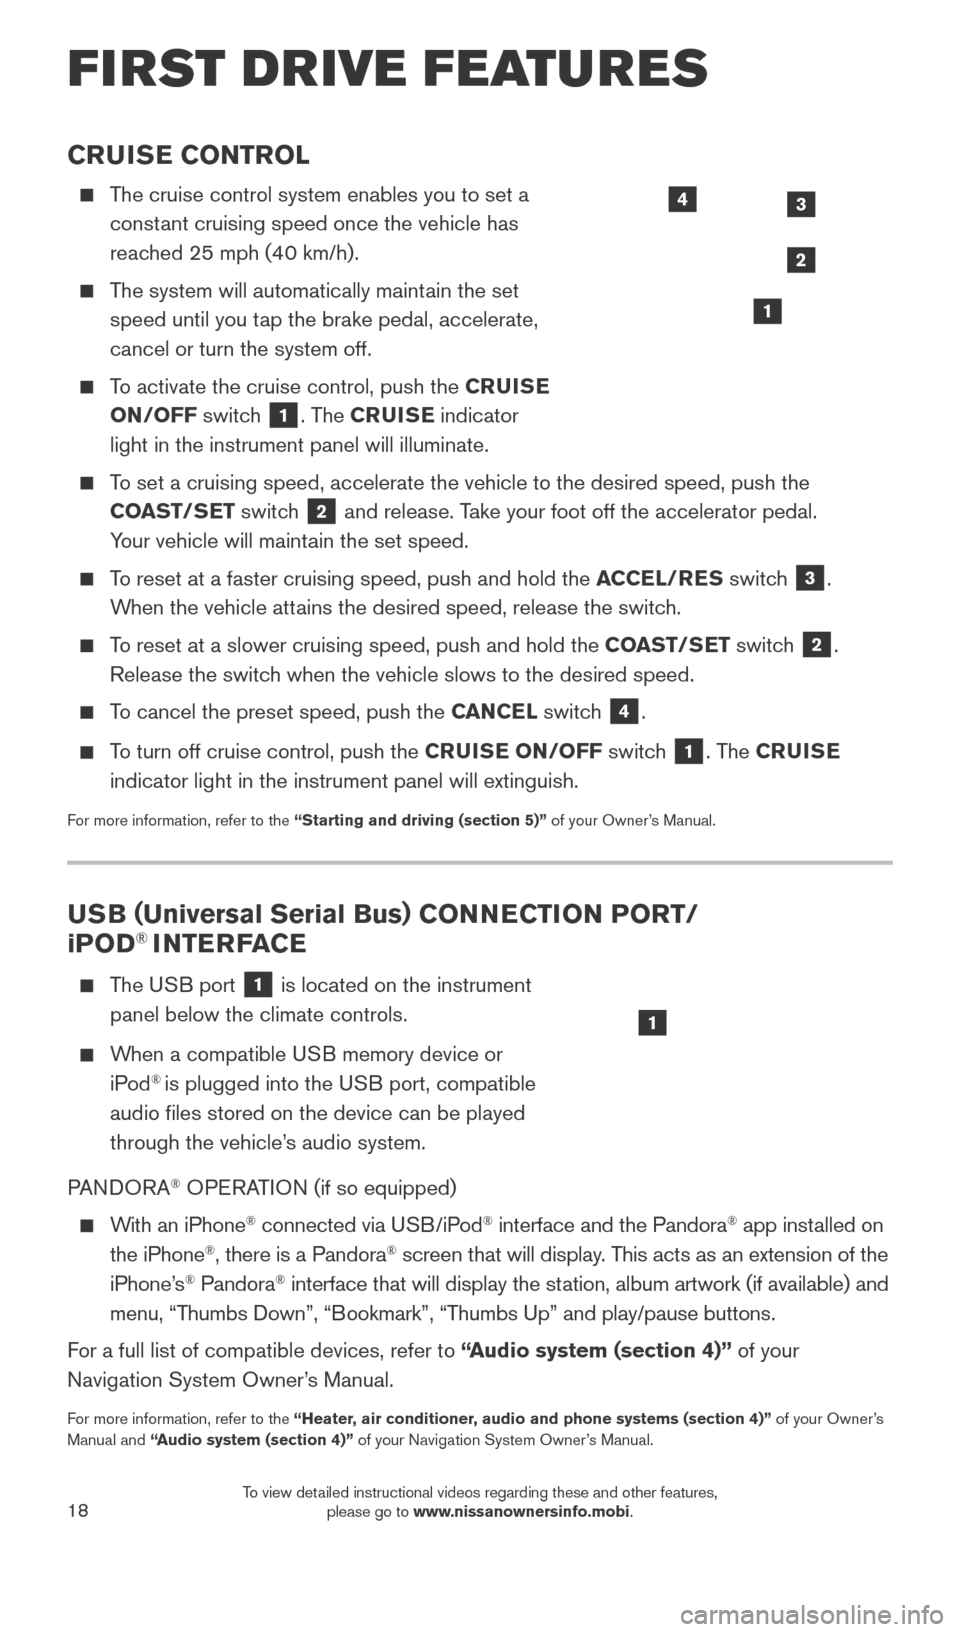
To activate the cruise control, push the CRUISE
ON/OFF switch
1. The CRUISE indicator
light in the instrument panel will illuminate.
To set a cruising speed, accelerate the vehicle to the desired speed, pus\
h the COAST/SET switch
2 and release. Take your foot off the accelerator pedal.
Your vehicle will maintain the set speed.
To reset at a faster cruising speed, push and hold the ACCEL/RES switch
3.
When the vehicle attains the desired speed, release the switch.
To reset at a slower cruising speed, push and hold the COAST/SET switch 2.
Release the switch when the vehicle slows to the desired speed.
To cancel the preset speed, push the CANCEL switch 4.
To turn off cruise control, push the CRUISE ON/OFF switch
1. The CRUISE
indicator light in the instrument panel will extinguish.
For more information, refer to the “Starting and driving (section 5)” of your Owner’s Manual.
FIRST DRIVE FEATURES
3
2
1
4
USB ( Universal Serial Bus) CONNECTION PORT/
i POD® INTERFACE
T he USB port
1 is located on the instrument
panel below the climate controls.
When a compatible USB memory device or iPod® is plugged into the USB port, compatible
audio files stored on the device can be played
through the vehicle’s audio system.
PANDORA
® OPERATION (if so equipped)
With an iPhone® connected via USB/iPod® interface and the Pandora® app installed on
the iPhone®, there is a Pandora® screen that will display. This acts as an extension of the
iPhone’s® Pandora® interface that will display the station, album artwork (if available) and
menu, “Thumbs Down”, “Bookmark”, “Thumbs Up” and play/pause buttons.
For a full list of compatible devices, refer to “Audio system (section 4)” of your
Navigation System Owner’s Manual.
For more information, refer to the “Heater, air conditioner, audio and phone systems (section 4)” of your Owner’s
Manual and “Audio system (section 4)” of your Navigation System Owner’s Manual.
1
1789594_15b_Leaf_QRG_063014.indd 186/30/14 1:29 PM
To view detailed instructional videos regarding these and other features, please go to www.nissanownersinfo.mobi.
Page 22 of 28
19
TRIP COMPUTER
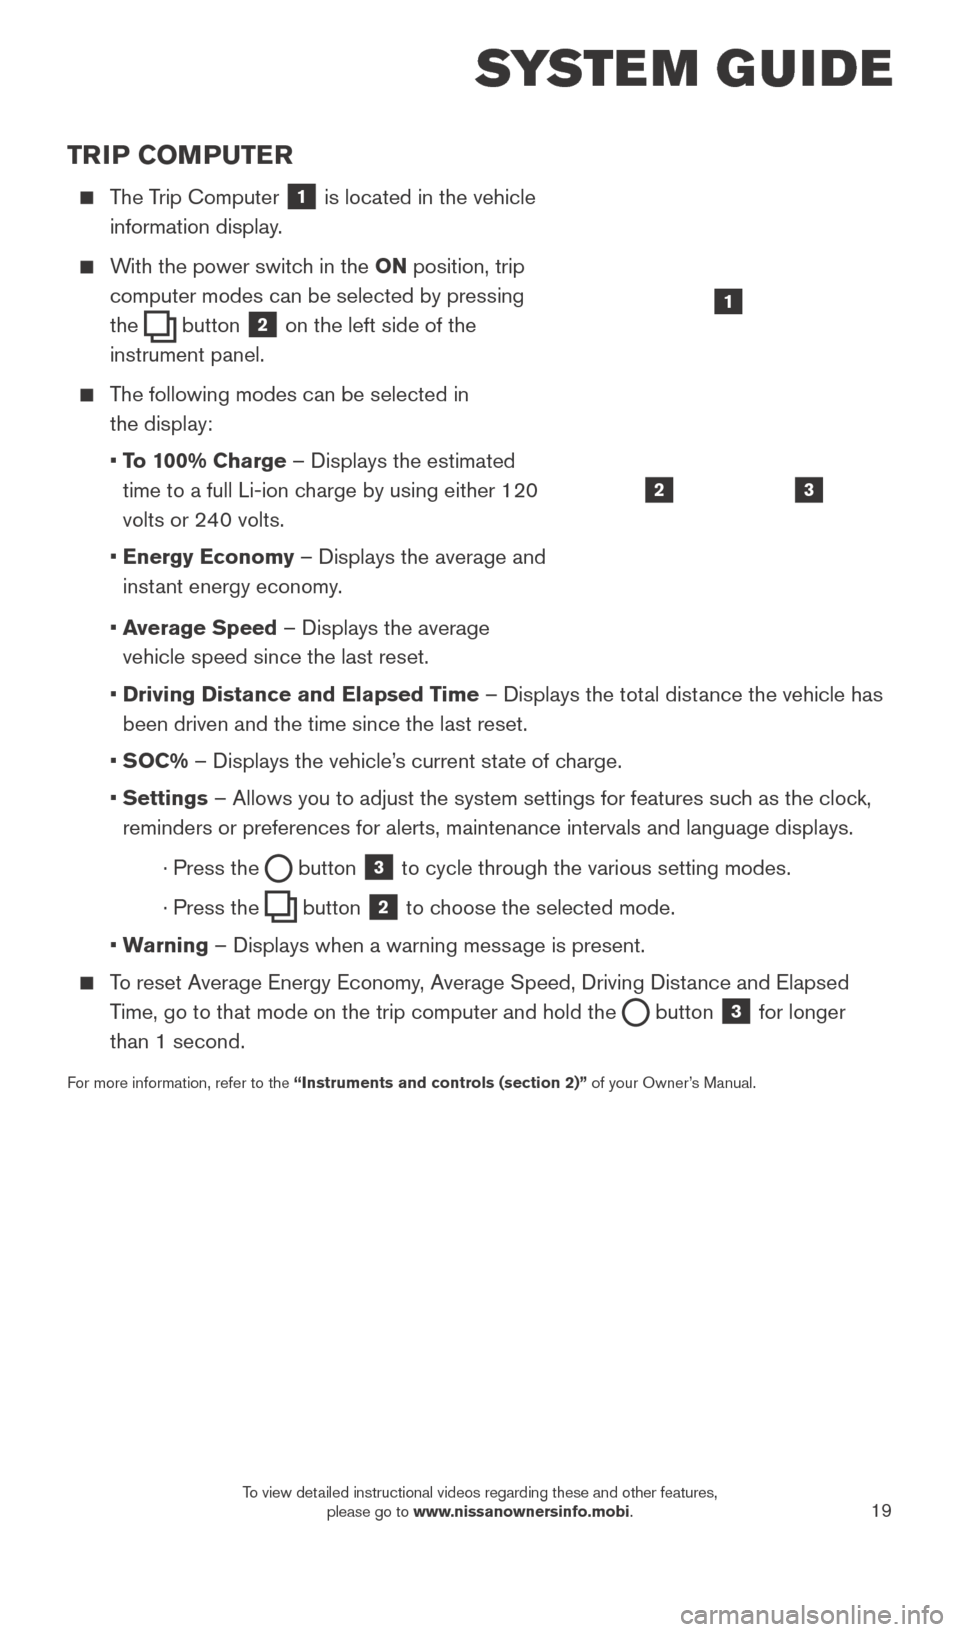
The Trip Computer 1 is located in the vehicle
information display.
With the power switch in the ON position, trip
computer modes can be selected by pressing
the
button 2 on the left side of the
instrument panel.
The following modes can be selected in
the display:
• T
o 100% Charge – Displays the estimated
time to a full Li-ion charge by using either 120
volts or 240 volts.
• Energy Economy
– Displays the average and
instant energy economy.
•
A
verage Speed – Displays the average
vehicle speed since the last reset.
• Driving Distance and Elapsed T
ime – Displays the total distance the vehicle has
been driven and the time since the last reset.
•
SOC% – Displays the vehicle’s current state of charge.
• Settings
– Allows you to adjust the system settings for features such as the clock,
reminders or preferences for alerts, maintenance intervals and language \
displays.
· Press the button
3 to cycle through the various setting modes.
· Press the button
2 to choose the selected mode.
•
W
arning – Displays when a warning message is present.
To reset Average Energy Economy, Average Speed, Driving Distance and Elapsed Time, go to that mode on the trip computer and hold the
button 3 for longer
than 1 second.
For more information, refer to the “Instruments and controls (section 2)” of your Owner’s Manual.
32
1
SYSTEM GUIDE
1789594_15b_Leaf_QRG_063014.indd 196/30/14 1:29 PM
To view detailed instructional videos regarding these and other features, please go to www.nissanownersinfo.mobi.