2015 NISSAN LEAF ESP
[x] Cancel search: ESPPage 7 of 28

4
NEW SYSTEM FEATURES
SHIFT CONTROL SYSTEM
This vehicle is equipped with an electric shift control
system, providing smooth and easy shift lever operation.
There are five shift positions for operating the vehicle: P (PARK) , R (REVERSE) ,
N (NEUTRAL) , D (DRIVE) and B-Mode.
•
P (P
ARK) – Activated by pressing the
P (PARK) button on the shift lever when the car
has come to a complete stop.
•
D (D
RIVE) – For normal driving and is activated by moving the shift lever left and
down. The shift lever will then return to the center position.
•
B-Mode
– Engages the regenerative braking system more aggressively when
decelerating, helping to put energy back into the battery pack. To enter B-MODE
the vehicle must be in D (DRIVE) and then move the shift lever to the D (DRIVE)
position again. The shift lever will then return to the center position.
ECO – Consumes less power and helps extend vehicle range.
•
W
hile in either D (DRIVE) or B-MODE, ECO can be activated by pressing the ECO
button on the right side of the steering wheel.
•
W
hile in ECO, there will be a reduced acceleration response.
For more information, refer to the “EV overview (section EV)” and the “Starting and driving (section 5)” of your
Owner’s Manual.
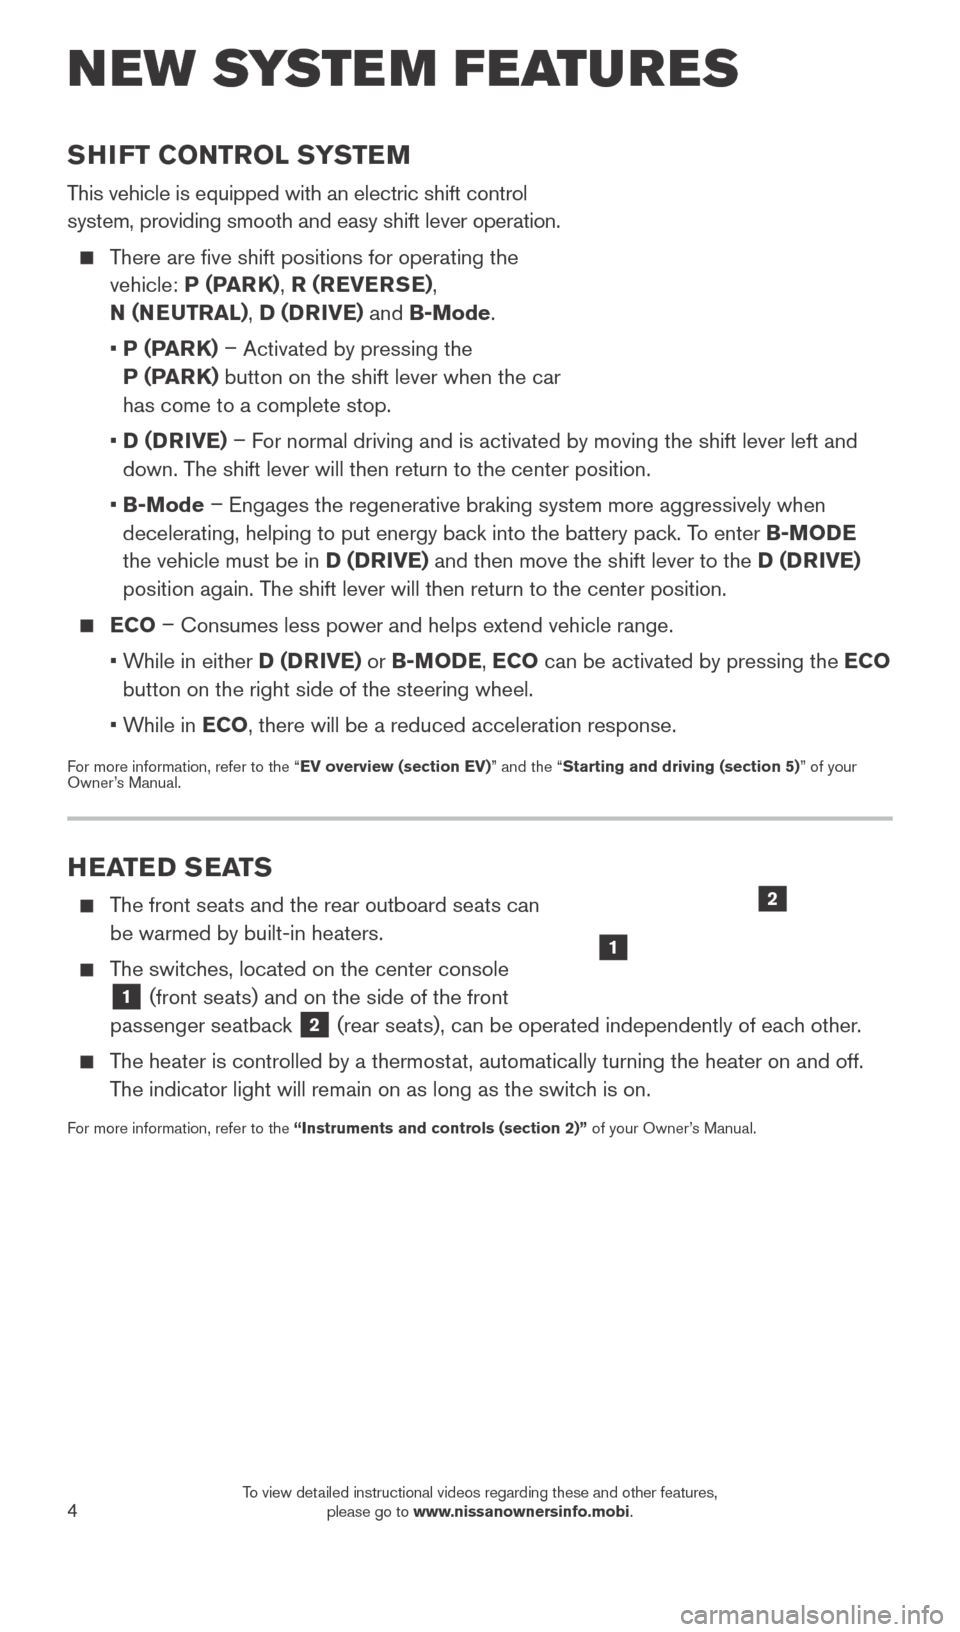
HEATED SEATS
The front seats and the rear outboard seats can be warmed by built-in heaters.
The switches, located on the center console
1 (front seats) and on the side of the front
passenger seatback 2 (rear seats), can be operated independently of each other.
The heater is controlled by a thermostat, automatically turning the heater on and off.
The indicator light will remain on as long as the switch is on.
For more information, refer to the “Instruments and controls (section 2)” of your Owner’s Manual.
1
2
1789594_15b_Leaf_QRG_063014.indd 46/30/14 1:28 PM
To view detailed instructional videos regarding these and other features, please go to www.nissanownersinfo.mobi.
Page 14 of 28

11
REAR HATCH RELEASE
To open the rear hatch, unlock it and push the rear hatch opener
switch 1. Pull the rear hatch up to open. The rear hatch can be
unlocked by:
Pressing the button
2 on the NISSAN Intelligent Key® twice.
Pushing the rear hatc
h request switch
3 while carrying the
Intelligent Key with you.
Pushing the door handle request switc h twice.
Pushing the power door lock switch to
the
position.
The rear hatch does not lock when closed. To lock
the rear hatch, use the request switch, power
door lock or key fob.
For more information, refer to the “Pre-driving checks and
adjustments (section 3)” of your Owner’s Manual.
NISSAN INTELLIGENT KEY® SYSTE M
The NISSAN Intelligent Key® System allows you to
lock or unlock the vehicle, open the rear hatch and start
your vehicle. It is important to make sure the Intelligent
Key is with you (that is, in your pocket or purse).
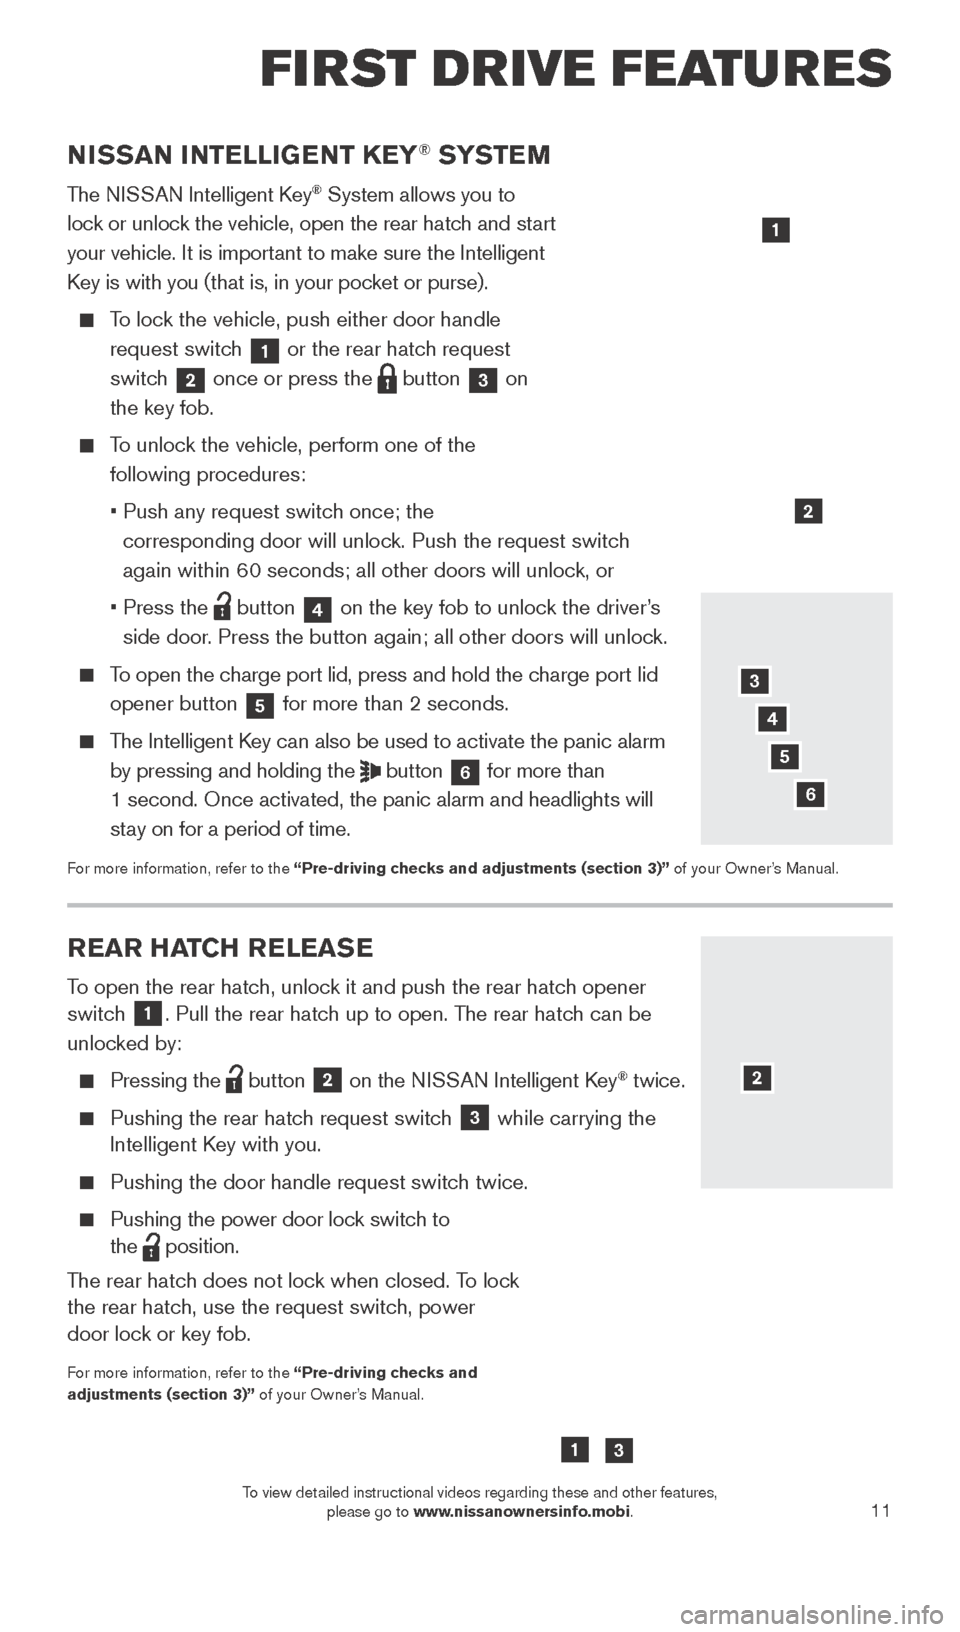
To lock the vehicle, push either door handle request switch
1 or the rear hatch request
switch 2 once or press the
button
3 on
the key fob.
To unlock the vehicle, perform one of the following procedures:
•
Push any request switc
h once; the
corresponding door will unlock. Push the request switch
again within 60 seconds; all other doors will unlock, or
•
Press the button
4 on the key fob to unlock the driver’s
side door. Press the button again; all other doors will unlock.
To open the charge port lid, press and hold the charge port lid opener button
5 for more than 2 seconds.
The Intelligent Key can also be used to activate the panic alarm
by pressing and holding the
button
6 for more than
1 second. Once activated, the panic alarm and headlights will
stay on for a period of time.
For more information, refer to the “Pre-driving checks and adjustments (section 3)” of your Owner’s Manual.
1
2
3
4
6
2
FI RST DR IVE FEATU R ES
5
13
1789594_15b_Leaf_QRG_063014.indd 116/30/14 1:29 PM
To view detailed instructional videos regarding these and other features, please go to www.nissanownersinfo.mobi.
Page 20 of 28

17
FM/AM/SiriusXM®* SATELLITE RADIO
with CD PLAYER
(if so equipped)
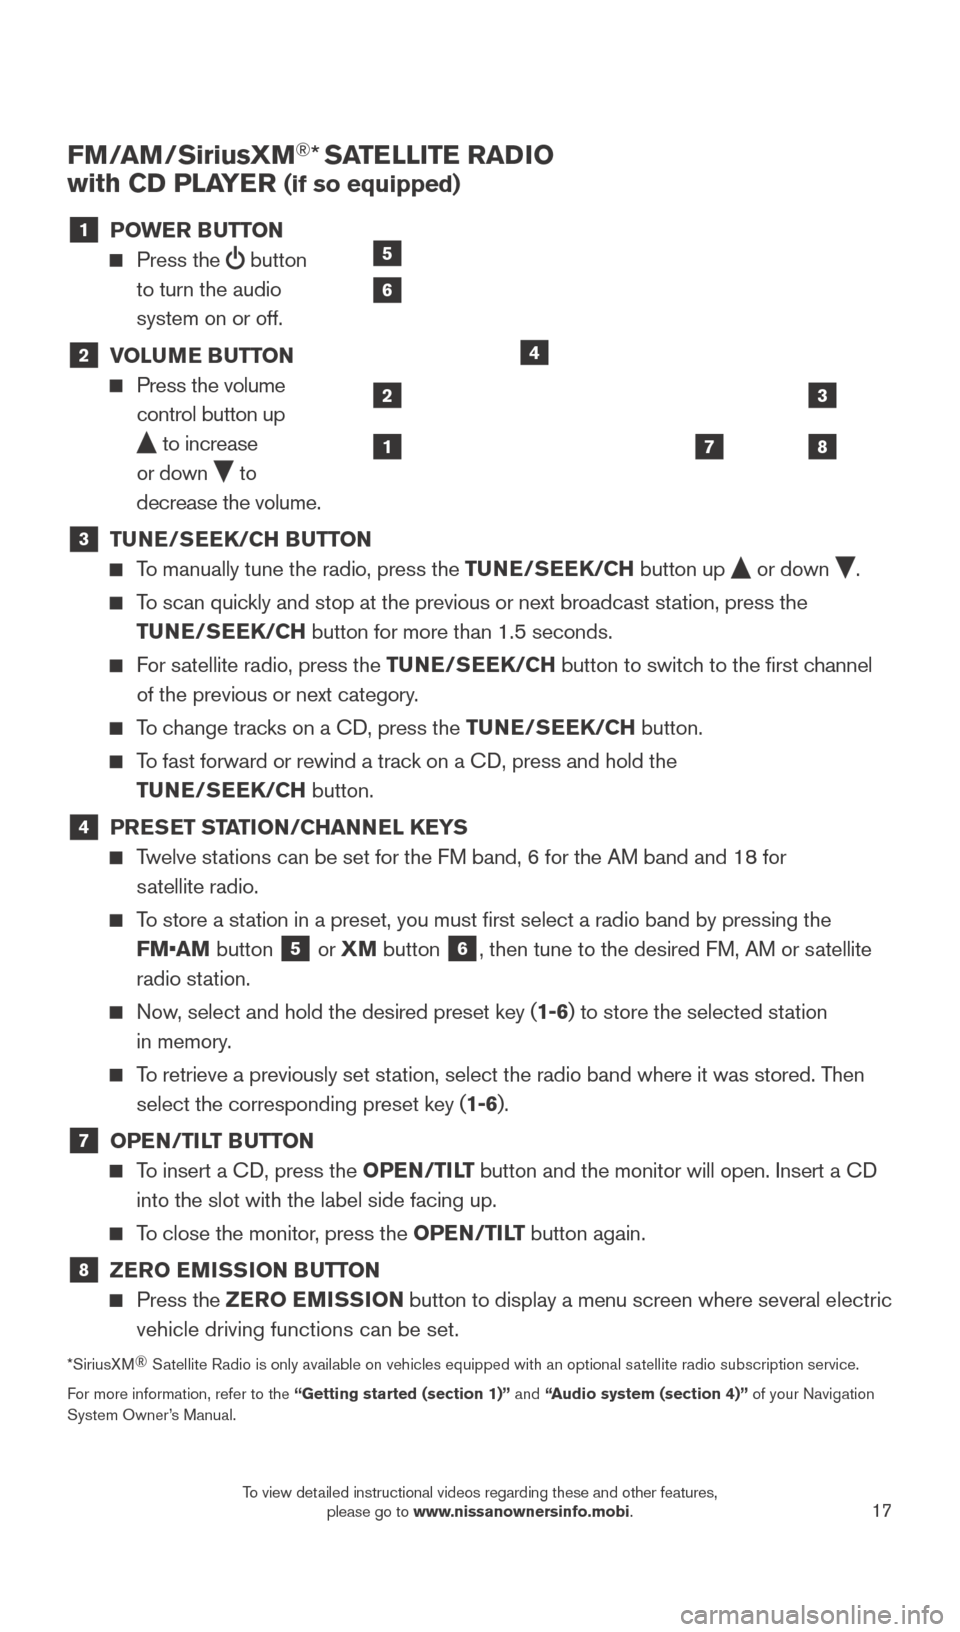
1 P OWER BUTTON
Press the
button
to turn the audio
system on or off.
2 V OLUME BUTTON Press the volume
control button up
to increase
or down
to
decrease the volume.
3 TU NE/SEEK/CH BUTTON To manually tune the radio, press the TUNE/SEEK/CH
button up or down .
To scan quickly and stop at the previous or next broadcast station, press the
TUNE/SEEK/CH button for more than 1.5 seconds.
For satellite radio, press the TUNE/SEEK/CH button to switch to the first channel
of the previous or next category.
To change tracks on a CD, press the TUNE/SEEK/CH button.
To fast forward or rewind a track on a CD, press and hold the
TUNE/SEEK/CH button.
4 PRESET STATION/CHANNEL KEYS Twelve stations can be set for the FM band, 6 for the AM band and 18 for
satellite radio.
To store a station in a preset, you must first select a radio band by pressing the FM•AM button
5 or
XM button 6, then tune to the desired FM, AM or satellite
radio station.
Now, select and hold the desired preset key (1-6) to store the selected station
in memory.
To retrieve a previously set station, select the radio band where it was stored. Then select the corresponding preset key (1-6).
7 OPE N/TILT BUTTON
To insert a CD, press the OPEN/TILT button and the monitor will open. Insert a CD
into the slot with the label side facing up.
To close the monitor, press the OPEN/TILT button again.
8 ZER O EMISSION BUTTON Press the
ZER O EMISSION button to display a menu screen where several electric
vehicle driving functions can be set.
*SiriusXM ®
Satellite Radio is only available on vehicles equipped with an optional s\
atellite radio subscription service.
For more information, refer to the “Getting started (section 1)” and “Audio system (section 4)” of your Navigation
System Owner’s Manual.
2
1
3
87
4
5
6
1789594_15b_Leaf_QRG_063014.indd 176/30/14 1:29 PM
To view detailed instructional videos regarding these and other features, please go to www.nissanownersinfo.mobi.
Page 23 of 28

20
BLUETOOTH® HANDS-FREE PHONE SYSTEM
A cellular telephone should not be used while driving so full attention \
may be given to
vehicle operation.*
SYSTEM OPERATING TIPS
Press the or button to interrupt the voice
prompts at any time and speak a command after
the tone.
To use the system faster, you may speak the second level commands with the main menu command on
the main menu. For example, press the
or
button and after the tone say “Call Redial”.
The “Help” command can be used to hear a list of available commands at any time.
Reduce bac kground noise as much as possible
by closing windows and pointing HVAC vents
away from the ceiling.
Speak naturally without long pauses and without raising your voice.
When speaking Phonebook names, please be aware some phones require the la\
st name to be spoken before the first name. For example, “Michael Smith” may be
spoken as “Smith Michael”.
To cancel a Voice Recognition session, simply wait 5 seconds, say “Cancel” or “Quit”, or press and hold the
button for 5 seconds.
To increase or decrease the volume of the voice prompts, push the volume \
control switches + or - on the steering wheel or turn the control dial on the audio system
while the audio system is responding.
If the Voice Recognition system does not recognize your voice commands, train th\
e system using the Voice Adaptation Mode. See your Owner’s Manual for detailed information.
For more detailed information and instructions, see your cellular phone’s Owner’s Manual and visit www.nissanusa.com/bluetooth.
BLUETOOTH® SYSTEM WITHOUT NAVIGATION ( if so equipped)
CONNECTING PROCEDURE
The vehicle must be stationary when connecting
the phone.
1.
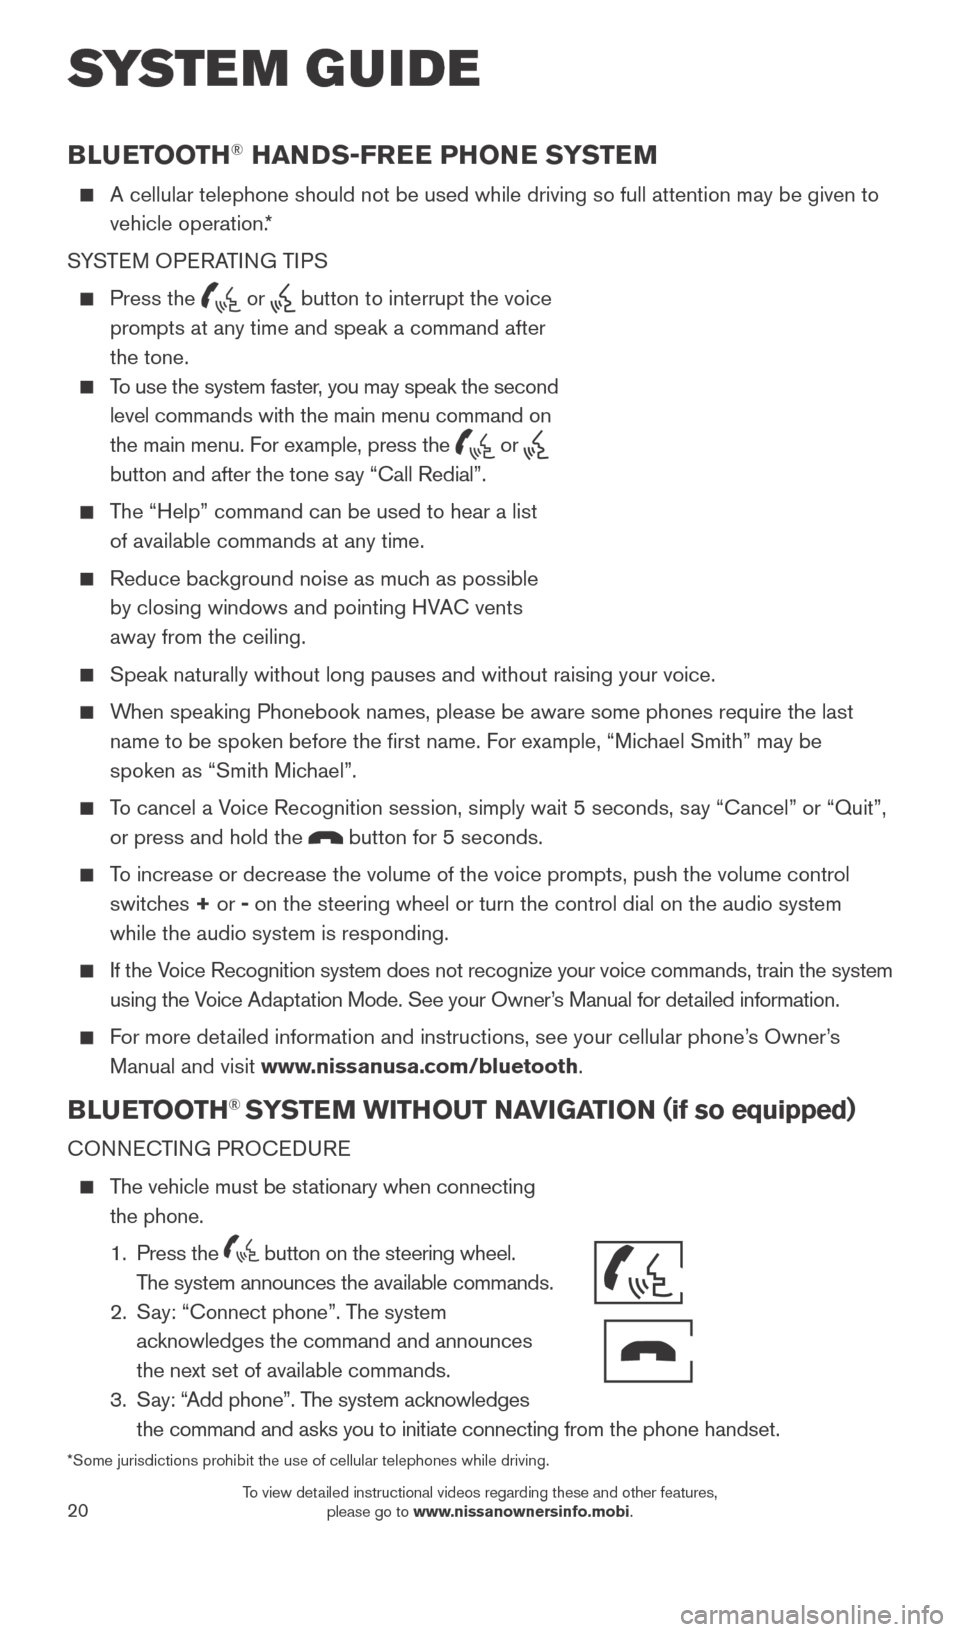
Press the
button on the steering wheel.
The system announces the available commands.
2.
S
ay: “Connect phone”. The system
acknowledges the command and announces
the next set of available commands.
3.
S
ay: “Add phone”. The system acknowledges
the command and asks you to initiate connecting from the phone handset.
*Some jurisdictions prohibit the use of cellular telephones while drivin\
g.
SYSTEM GUIDE
Bluetooth®
Controls
Microphone
1789594_15b_Leaf_QRG_063014.indd 206/30/14 1:29 PM
To view detailed instructional videos regarding these and other features, please go to www.nissanownersinfo.mobi.