2015 NISSAN LEAF warning
[x] Cancel search: warningPage 111 of 412
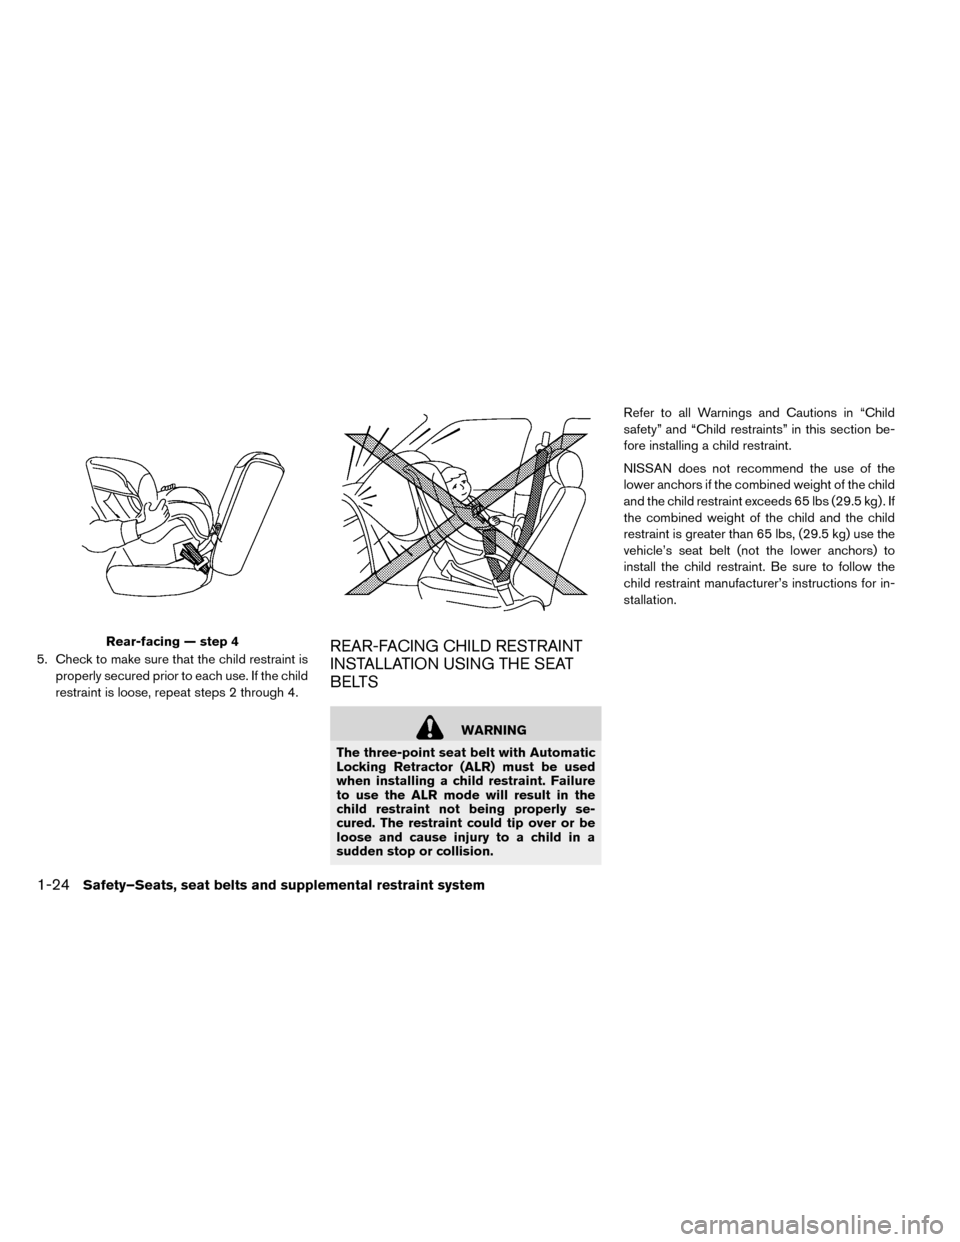
5. Check to make sure that the child restraint isproperly secured prior to each use. If the child
restraint is loose, repeat steps 2 through 4.REAR-FACING CHILD RESTRAINT
INSTALLATION USING THE SEAT
BELTS
WARNING
The three-point seat belt with Automatic
Locking Retractor (ALR) must be used
when installing a child restraint. Failure
to use the ALR mode will result in the
child restraint not being properly se-
cured. The restraint could tip over or be
loose and cause injury to a child in a
sudden stop or collision. Refer to all Warnings and Cautions in “Child
safety” and “Child restraints” in this section be-
fore installing a child restraint.
NISSAN does not recommend the use of the
lower anchors if the combined weight of the child
and the child restraint exceeds 65 lbs (29.5 kg) . If
the combined weight of the child and the child
restraint is greater than 65 lbs, (29.5 kg) use the
vehicle’s seat belt (not the lower anchors) to
install the child restraint. Be sure to follow the
child restraint manufacturer’s instructions for in-
stallation.
Rear-facing — step 4
1-24Safety–Seats, seat belts and supplemental restraint system
Page 114 of 412
FORWARD-FACING CHILD
RESTRAINT INSTALLATION USING
LATCH
Refer to all Warnings and Cautions in “Child
safety” and “Child restraints” in this section be-
fore installing a child restraint.
NISSAN does not recommend the use of the
lower anchors if the combined weight of the child
and the child restraint exceeds 65 lbs (29.5 kg) . If
the combined weight of the child and the child
restraint is greater than 65 lbs, (29.5 kg) use the
vehicle’s seat belt (not the lower anchors) to
install the child restraint. Be sure to follow the
child restraint manufacturer’s instructions for in-
stallation.Follow these steps to install a forward-facing
child restraint using the LATCH system.
1. Position the child restraint on the seat. Always
follow the child restraint manufacturer’s
instructions.
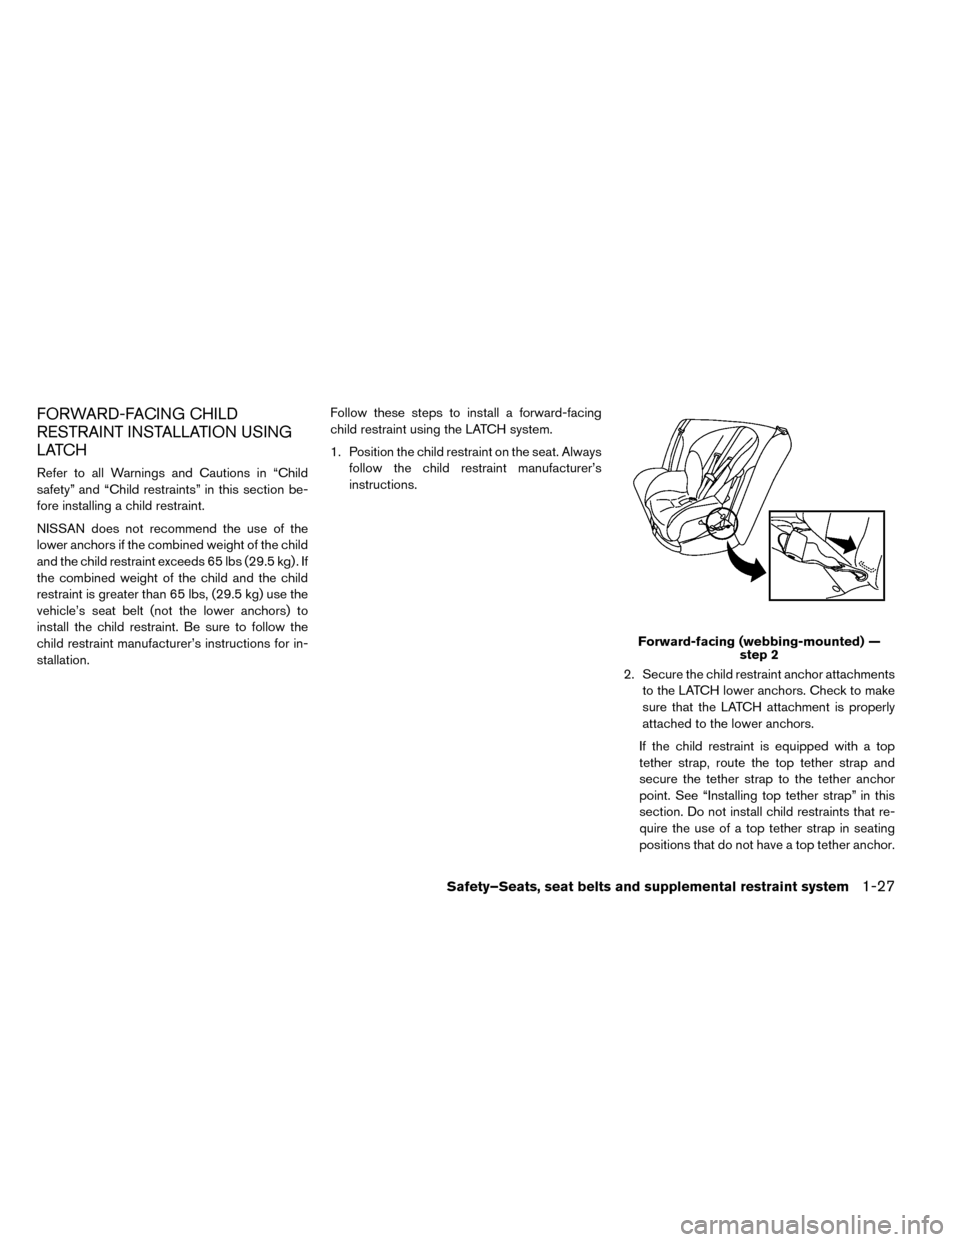
2. Secure the child restraint anchor attachmentsto the LATCH lower anchors. Check to make
sure that the LATCH attachment is properly
attached to the lower anchors.
If the child restraint is equipped with a top
tether strap, route the top tether strap and
secure the tether strap to the tether anchor
point. See “Installing top tether strap” in this
section. Do not install child restraints that re-
quire the use of a top tether strap in seating
positions that do not have a top tether anchor.
Forward-facing (webbing-mounted) — step 2
Safety–Seats, seat belts and supplemental restraint system1-27
Page 116 of 412
7. Check to make sure the child restraint is prop-erly secured prior to each use. If the child
restraint is loose, repeat steps 1 through 6.
FORWARD-FACING CHILD
RESTRAINT INSTALLATION USING
THE SEAT BELTS
WARNING
The three-point seat belt with Automatic
Locking Retractor (ALR) must be used
when installing a child restraint. Failure
to use the ALR mode will result in the
child restraint not being properly se-
cured. The restraint could tip over or be
loose and cause injury to a child in a
sudden stop or collision. Also, it can
change the operation of the front passen-
ger air bag. See “Front passenger air bag
and status light” in this section. Refer to all Warnings and Cautions in “Child
safety” and “Child restraints” in this section be-
fore installing a child restraint.
NISSAN does not recommend the use of the
lower anchors if the combined weight of the child
and the child restraint exceeds 65 lbs (29.5 kg) . If
the combined weight of the child and the child
restraint is greater than 65 lbs, (29.5 kg) use the
vehicle’s seat belt (in place of not the lower
anchors) to install the child restraint. Be sure to
follow the child restraint manufacturer’s instruc-
tions for installation. Follow these steps to install a forward-facing
child restraint using the vehicle seat belt in the
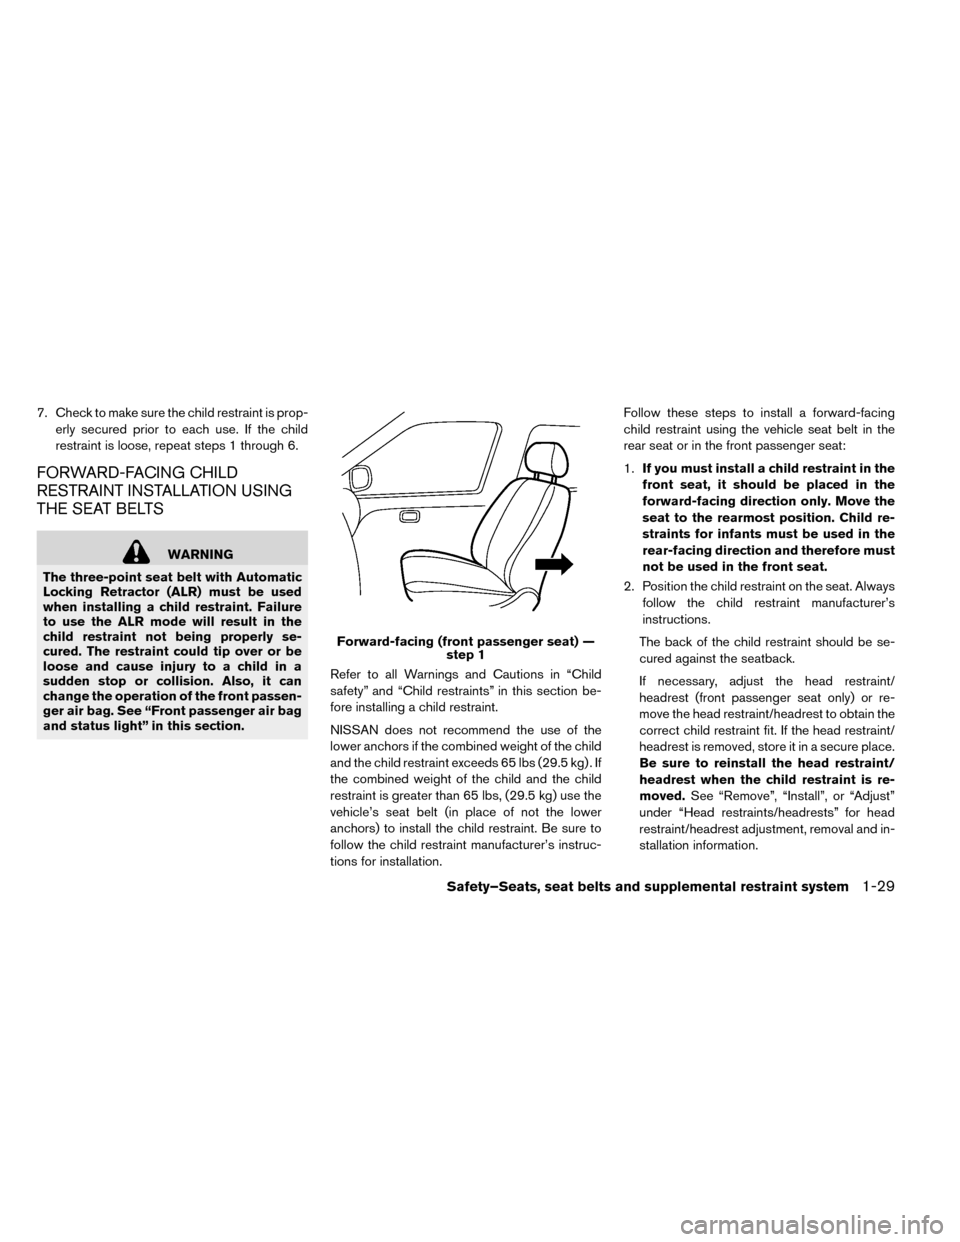
rear seat or in the front passenger seat:
1.
If you must install a child restraint in the
front seat, it should be placed in the
forward-facing direction only. Move the
seat to the rearmost position. Child re-
straints for infants must be used in the
rear-facing direction and therefore must
not be used in the front seat.
2. Position the child restraint on the seat. Always follow the child restraint manufacturer’s
instructions.
The back of the child restraint should be se-
cured against the seatback.
If necessary, adjust the head restraint/
headrest (front passenger seat only) or re-
move the head restraint/headrest to obtain the
correct child restraint fit. If the head restraint/
headrest is removed, store it in a secure place.
Be sure to reinstall the head restraint/
headrest when the child restraint is re-
moved. See “Remove”, “Install”, or “Adjust”
under “Head restraints/headrests” for head
restraint/headrest adjustment, removal and in-
stallation information.
Forward-facing (front passenger seat) — step 1
Safety–Seats, seat belts and supplemental restraint system1-29
Page 119 of 412
After the child restraint is removed and the seat
belt is fully retracted, the ALR mode (child re-
straint mode) is canceled.INSTALLING TOP TETHER STRAP
WARNING
• Child restraint anchorages are de- signed to withstand only those loads
imposed by correctly fitted child re-
straints. Under no circumstances are
they to be used to attach adult seat
belts, or other items or equipment to
the vehicle. Doing so could damage
the child restraint anchorages. The
child restraint will not be properly in-
stalled using the damaged anchorage,
and a child could be seriously injured
or killed in a collision. • Do not allow anything to come in con-
tact with the strap, when the top tether
strap is in use. Doing so may result in
the strap being damaged in a collision.
Your child could be seriously injured or
killed in a collision if the child restraint
top tether strap is damaged.
First, secure the child restraint with the LATCH
lower anchors (rear outboard seat positions only)
or the seat belt, as applicable.
1. Flip up the anchor cover from the anchor point which is located on the back side of the
seatbacks.
2. If necessary, raise or remove the head restraint/headrest to position the top tether
strap over the top of the seatback. If the head
restraint/headrest is removed, store it in a
secure place. Be sure to reinstall the head
restraint/headrest when the child restraint is
removed.
See “Remove”, “Install”, or “Adjust” under
“Head restraints/headrests” for head restraint/
headrest adjustment, removal and installation
information.
Position the top tether strap over the top of the
seatback.
1-32Safety–Seats, seat belts and supplemental restraint system
Page 120 of 412
WARNING
Do not pass the tether strap through
strap will be not be properly routed. Your
child could be seriously injured or killed
in a collision if the child restraint top
tether strap is not properly routed (mod-
els without rear seat) .
3. Secure the tether strap to the tether anchor point on the seatback.
4. Refer to the appropriate child restraint instal- lation procedure steps in this section before
tightening the tether strap.
If you have any questions when installing a
top tether strap, consult your NISSAN cer-
tified LEAF dealer for details.
PRECAUTIONS ON BOOSTER
SEATS
WARNING
If a booster seat and seat belt are not
used properly, the risk of a child being
injured in a sudden stop or collision
greatly increases:
• Make sure the shoulder portion of the
belt is away from the child’s face and
neck and the lap portion of the belt
does not cross the stomach.
• Make sure the shoulder belt is not be-
hind the child or under the child’s arm.
• A booster seat must only be installed
in a seating position that has a lap/
shoulder belt. • Booster seat anchorages are designed
to withstand only those loads imposed
by correctly fitted booster seats. Under
no circumstances are they to be used
to attach adult seat belts or other
items or equipment to the vehicle. Do-
ing so could damage the booster seat
anchorages. The booster seat will not
be properly installed using the dam-
aged anchorage, and a child could be
seriously injured or killed in a collision.
BOOSTER SEATS
Safety–Seats, seat belts and supplemental restraint system1-33
Page 122 of 412
BOOSTER SEAT INSTALLATION
CAUTION
Do not use the lap/shoulder belt Auto-
matic Locking Retractor (ALR) mode
when using a booster seat with the seat
belts.
Refer to all Warnings and Cautions in “Child
safety”, “Child restraints” and “Booster seats” in
this section before installing a child restraint.
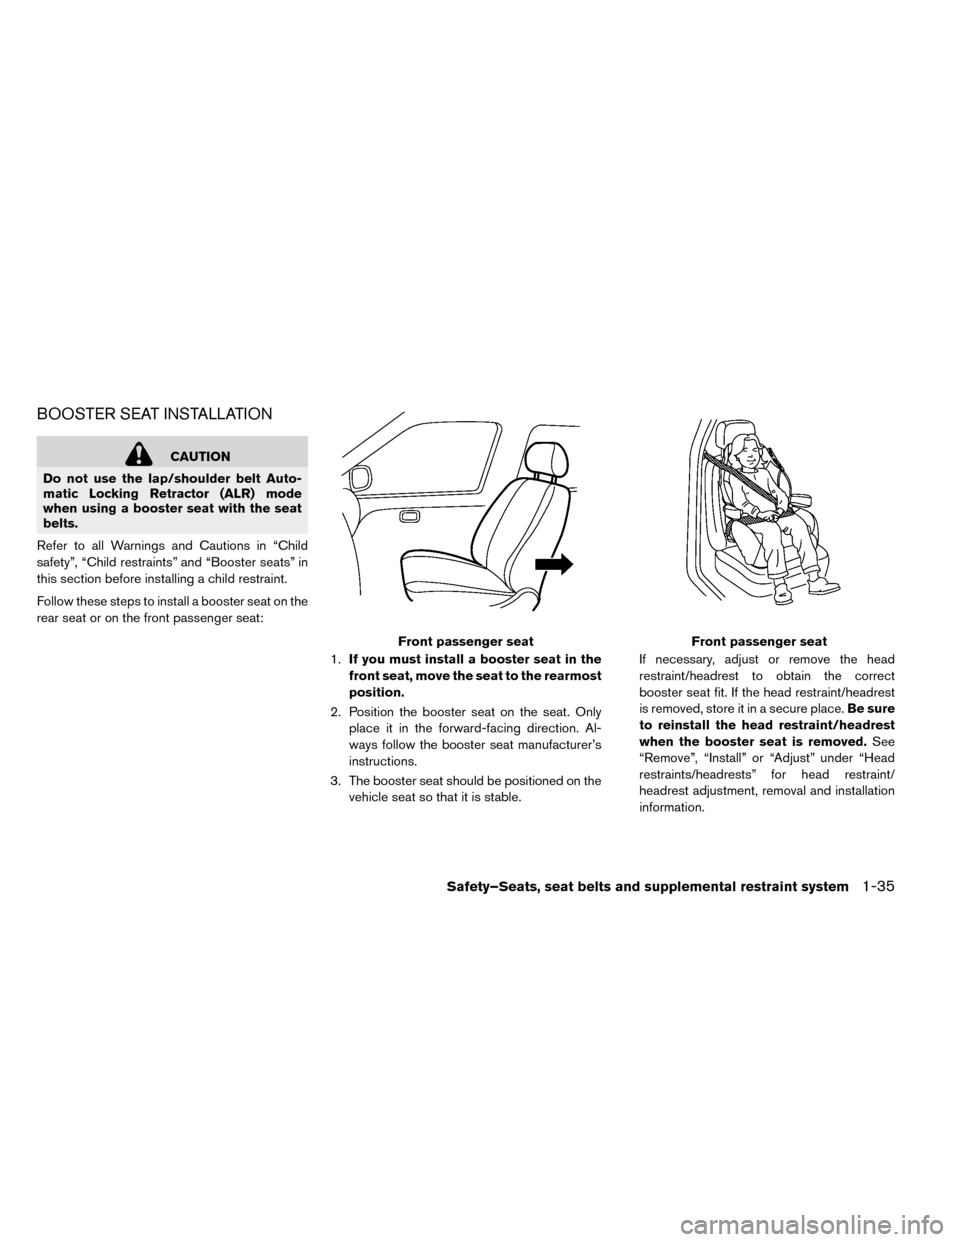
Follow these steps to install a booster seat on the
rear seat or on the front passenger seat:
1.If you must install a booster seat in the
front seat, move the seat to the rearmost
position.
2. Position the booster seat on the seat. Only place it in the forward-facing direction. Al-
ways follow the booster seat manufacturer’s
instructions.
3. The booster seat should be positioned on the vehicle seat so that it is stable. If necessary, adjust or remove the head
restraint/headrest to obtain the correct
booster seat fit. If the head restraint/headrest
is removed, store it in a secure place.
Be sure
to reinstall the head restraint/headrest
when the booster seat is removed. See
“Remove”, “Install” or “Adjust” under “Head
restraints/headrests” for head restraint/
headrest adjustment, removal and installation
information.
Front passenger seatFront passenger seat
Safety–Seats, seat belts and supplemental restraint system1-35
Page 123 of 412
If the seating position does not have an adjust-
able head restraint/headrest and it is interfer-
ing with the proper booster seat fit, try another
seating position or a different booster seat.
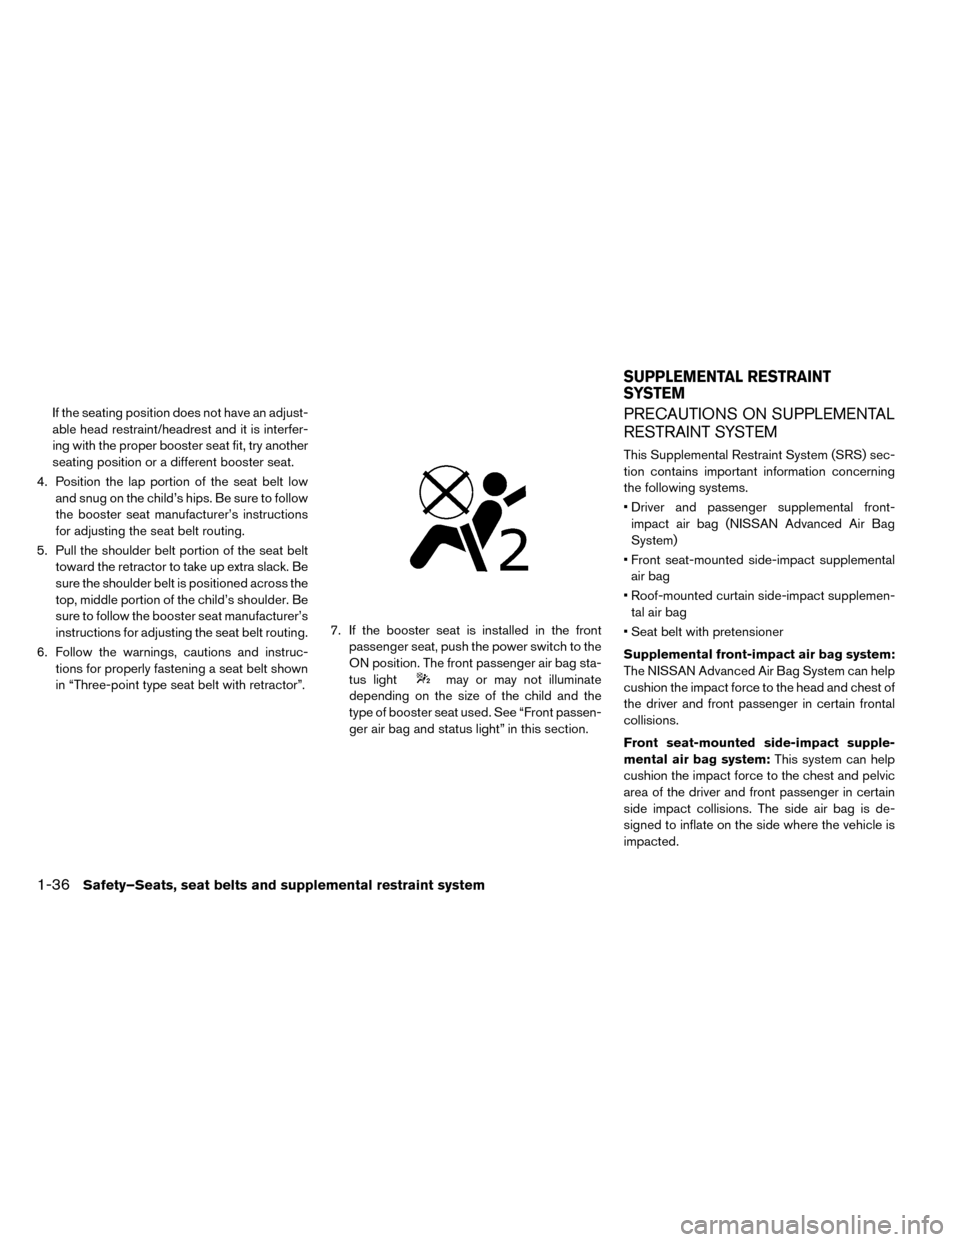
4. Position the lap portion of the seat belt low and snug on the child’s hips. Be sure to follow
the booster seat manufacturer’s instructions
for adjusting the seat belt routing.
5. Pull the shoulder belt portion of the seat belt toward the retractor to take up extra slack. Be
sure the shoulder belt is positioned across the
top, middle portion of the child’s shoulder. Be
sure to follow the booster seat manufacturer’s
instructions for adjusting the seat belt routing.
6. Follow the warnings, cautions and instruc- tions for properly fastening a seat belt shown
in “Three-point type seat belt with retractor”. 7. If the booster seat is installed in the front
passenger seat, push the power switch to the
ON position. The front passenger air bag sta-
tus light
may or may not illuminate
depending on the size of the child and the
type of booster seat used. See “Front passen-
ger air bag and status light” in this section.
PRECAUTIONS ON SUPPLEMENTAL
RESTRAINT SYSTEM
This Supplemental Restraint System (SRS) sec-
tion contains important information concerning
the following systems.
• Driver and passenger supplemental front- impact air bag (NISSAN Advanced Air Bag
System)
• Front seat-mounted side-impact supplemental air bag
• Roof-mounted curtain side-impact supplemen- tal air bag
• Seat belt with pretensioner
Supplemental front-impact air bag system:
The NISSAN Advanced Air Bag System can help
cushion the impact force to the head and chest of
the driver and front passenger in certain frontal
collisions.
Front seat-mounted side-impact supple-
mental air bag system: This system can help
cushion the impact force to the chest and pelvic
area of the driver and front passenger in certain
side impact collisions. The side air bag is de-
signed to inflate on the side where the vehicle is
impacted.
SUPPLEMENTAL RESTRAINT
SYSTEM
1-36Safety–Seats, seat belts and supplemental restraint system
Page 124 of 412
Roof-mounted curtain side-impact supple-
mental air bag system:This system can help
cushion the impact force to the head of occu-
pants in front and rear outboard seating positions
in certain side impact collisions. In a side impact,
the curtain air bags are designed to inflate on the
side where the vehicle is impacted.
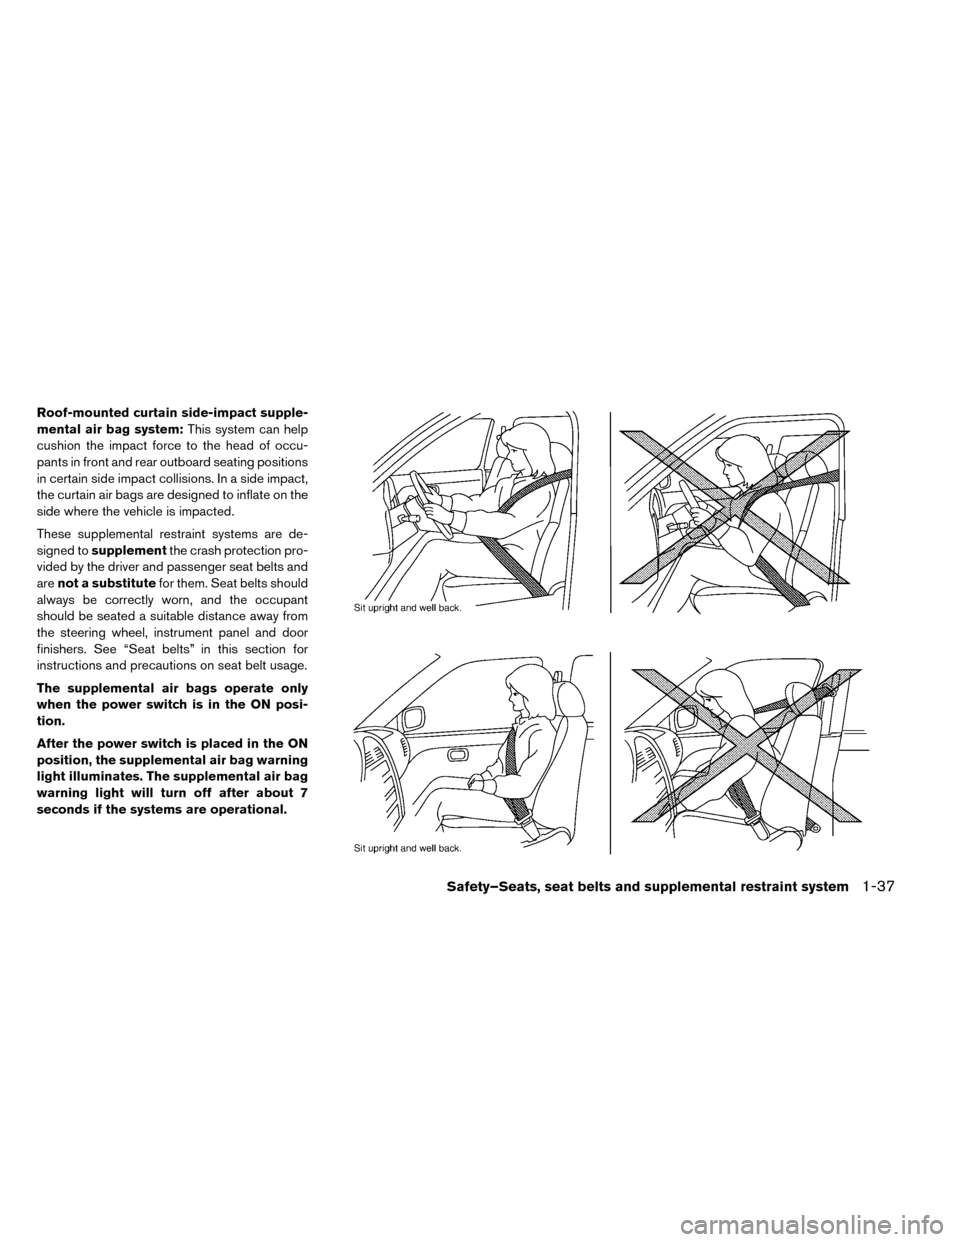
These supplemental restraint systems are de-
signed to supplement the crash protection pro-
vided by the driver and passenger seat belts and
are not a substitute for them. Seat belts should
always be correctly worn, and the occupant
should be seated a suitable distance away from
the steering wheel, instrument panel and door
finishers. See “Seat belts” in this section for
instructions and precautions on seat belt usage.
The supplemental air bags operate only
when the power switch is in the ON posi-
tion.
After the power switch is placed in the ON
position, the supplemental air bag warning
light illuminates. The supplemental air bag
warning light will turn off after about 7
seconds if the systems are operational.
Safety–Seats, seat belts and supplemental restraint system1-37