Page 207 of 412

CHILD SAFETY REAR DOOR LOCK
Child safety rear door locks help prevent the rear
doors from being opened accidentally, especially
when small children are in the vehicle.
When the levers are in the lock position
�1,
the rear doors can be opened only from the
outside.
To disengage, move the levers to the unlock
position
�2.
WARNING
• Radio waves could adversely affect electric medical equipment. Those
who use a pacemaker should contact
the electric medical equipment manu-
facturer for the possible influences be-
fore use.
• The Intelligent Key transmits radio waves when the buttons are pushed.
The FAA advises that the radio waves
may affect aircraft navigation and
communication systems. Do not oper-
ate the Intelligent Key while on an air-
plane. Make sure the buttons are not
operated unintentionally when the unit
is stored during a flight.
The Intelligent Key system can operate all the
door and the rear hatch locks by using the remote
controller function or pushing the request switch
on the vehicle without taking the key out from a
pocket or purse. The operating environment
and/or conditions may affect the Intelligent Key
system operation.
Be sure to read the following items before using
the Intelligent Key system.CAUTION
• Be sure to carry the Intelligent Key with you when operating the vehicle.
• Never leave the Intelligent Key in the vehicle when you leave the vehicle.
The Intelligent Key is always communicating with
the vehicle because it receives radio waves. The
Intelligent Key system transmits weak radio
waves. Environmental conditions may interfere
with the operation of the Intelligent Key system
under the following operating conditions.
• When operating near a location where strong radio waves are transmitted, such as a TV tower,
power station or broadcasting station.
• When in possession of wireless equipment, such as a cellular phone, transceiver or CB
radio.
• When the Intelligent Key is in contact with or covered by metallic materials.
• When any type of radio wave remote control is used nearby.
• When the Intelligent Key is placed near an elec- tric appliance such as a personal computer.
• When the vehicle is parked near a parking meter.
NISSAN INTELLIGENT KEY® SYSTEM
3-6Pre-driving checks and adjustments
Page 214 of 412

HOW TO USE REMOTE KEYLESS
ENTRY FUNCTION
WARNING
• Radio waves could adversely affect electric medical equipment. Those
who use a pacemaker should contact
the electric medical equipment manu-
facturer for the possible influences be-
fore use.
• The Intelligent Key transmits radio waves when the buttons are pushed.
The FAA advises that the radio waves
may affect aircraft navigation and
communication systems. Do not oper-
ate the Intelligent Key while on an air-
plane. Make sure the buttons are not
operated unintentionally when the unit
is stored during a flight.
CAUTION
• Do not allow the Intelligent Key, which contains electrical components, to
come into contact with water or salt
water. This could affect the system
function.
• Do not drop the Intelligent Key.
• Do not strike the Intelligent Key sharply against another object.
• Do not change or modify the Intelligent Key.
• Wetting may damage the Intelligent Key. If the Intelligent Key gets wet,
immediately wipe until it is completely
dry.
• Do not place the Intelligent Key for an extended period in an area where tem-
peratures exceed 140°F (60°C) .
• Do not attach the Intelligent Key with a key holder that contains a magnet.
• Do not place the Intelligent Key near equipment that produces a magnetic
field, such as a TV, audio equipment,
personal computers or cellular phone. The remote keyless entry function can operate all
door locks using the remote keyless entry func-
tion of the Intelligent Key. The remote keyless
entry function can operate at a distance of ap-
proximately 33 ft (10 m) from the vehicle. (The
operating distance depends upon the conditions
around the vehicle.)
The remote keyless entry function will not oper-
ate:
• When the Intelligent Key is not within the opera-
tional range.
• When the doors are open or not closed securely.
• When the Intelligent Key battery is discharged.
The remote keyless entry function can also oper-
ate the vehicle alarm.
Pre-driving checks and adjustments3-13
Page 228 of 412

4 Display screen, heater, air conditioner,
audio and phone systems
Rearview monitor...................... .4-2
How to read the displayed lines .............4-3
Difference between predicted and actual
distances ......................... .4-3
Adjusting the screen .................. .4-5
Adjusting the brightness setting ............4-6
RearView monitor brightness control ..........4-7
Operating tips ...................... .4-7
Vents ............................. .4-8
Center vents ....................... .4-8
Side vents ........................ .4-8
Climate control system ................... .4-9
Automatic climate control (models without
Navigation System) .................. .4-12
Automatic climate control (models with Navigation
System) ......................... .4-20
Audio system (models without Navigation System). . .4-28 Radio .......................... .4-28
FM radio reception .................. .4-29
AM radio reception .................. .4-29
Satellite radio reception ................4-29 Audio operation precautions
..............4-30
FM-AM-SAT radio with compact disc (CD) player
(models without Navigation System) .........4-36
USB connection port operation ............4-41
iPod® player operation ................4-42
CD Care and cleaning ................ .4-44
Steering wheel switch for audio control .......4-44
Antenna ......................... .4-46
Car phone or CB radio ................ .4-46
Bluetooth® hands-free phone system without
navigation system ..................... .4-47
Regulatory information ................ .4-48
Using the system ................... .4-49
Control buttons .................... .4-51
Getting started ..................... .4-51
List of voice commands ................4-53
Voice adaptation (VA) mode ..............4-57
Manual control ......................4-58
T roubleshooting
guide ................ .4-59
Page 229 of 412
 position, the monitor display shows a rear-
ward view from the vehicle.
WARNING
Failure to follow the warnings and in-
structions for proper use")
When the shift lever is shifted into the R (Re-
verse) position, the monitor display shows a rear-
ward view from the vehicle.
WARNING
Failure to follow the warnings and in-
structions for proper use of the Rear View
Monitor could result in serious injury or
death.
• The RearView Monitor is a conve- nience but it is not a substitute for
proper backing. Always turn and look
out the windows, and check mirrors to
be sure that it is safe to move before
operating the vehicle. Always back up
slowly.
• The system is designed as an aid to the driver in showing large stationary ob-
jects directly behind the vehicle, to
help avoid damaging the vehicle.
• The system will not detect small ob- jects below the bumper, and may not
detect objects close to the bumper or
on the ground.
• The system cannot completely elimi- nate blind spots and may not show
every object. • Underneath the bumper and the corner
areas of the bumper cannot be viewed
on the RearView Monitor because of
its monitoring range limitation. The
system will not show objects below
the bumper, and may not show objects
close to the bumper or on the ground.
• Objects viewed in the RearView Moni- tor differ from actual distance because
a wide-angle lens is used.
• Objects in the RearView Monitor will appear visually opposite than when
viewed in the rear view and outside
mirrors.
• Make sure that the hatch is securely closed when backing up.
• Do not put anything on the rearview camera. The rearview camera is in-
stalled on top of the hatch.
• When washing the vehicle with high pressure water, be sure not to spray it
around the camera. Otherwise, water
may enter the camera unit causing wa-
ter condensation on the lens, a mal-
function, fire or an electric shock.
• Do not strike the camera. It is a preci- sion instrument. Otherwise, it may
malfunction or cause damage result-
ing in a fire or an electric shock.
CAUTION
There is a plastic cover over the camera.
Do not scratch the cover when cleaning
dirt or snow from the cover.
REARVIEW MONITOR
4-2Display screen, heater, air conditioner, audio and phone systems
Page 230 of 412

HOW TO READ THE DISPLAYED
LINES
Guiding lines which indicate the vehicle width
and distances to objects with reference to the
vehicle body line
�Aare displayed on the monitor.
Distance guide lines:
Indicate distances from the vehicle body.
• Red line
�1: approx. 1.5 ft (0.5 m)
• Yellow line
�2: approx. 3 ft (1 m)
• Green line
�3: approx. 7 ft (2 m)
• Green line
�4: approx. 10 ft (3 m)
DIFFERENCE BETWEEN
PREDICTED AND ACTUAL
DISTANCES
The distance guide line and the vehicle width
guide line should be used as a reference only
when the vehicle is on a level, paved surface. The
distance viewed on the monitor is for reference
only and may be different than the actual distance
between the vehicle and displayed objects.
Backing up on a steep uphill
When backing up the vehicle up a hill, the dis-
tance guide lines and the vehicle width guide
lines are shown closer than the actual distance.
For example, the display shows 3 ft (1.0 m) to the
place
�A, but the actual 3 ft (1.0 m) distance on
Display screen, heater, air conditioner, audio and phone systems4-3
Page 231 of 412
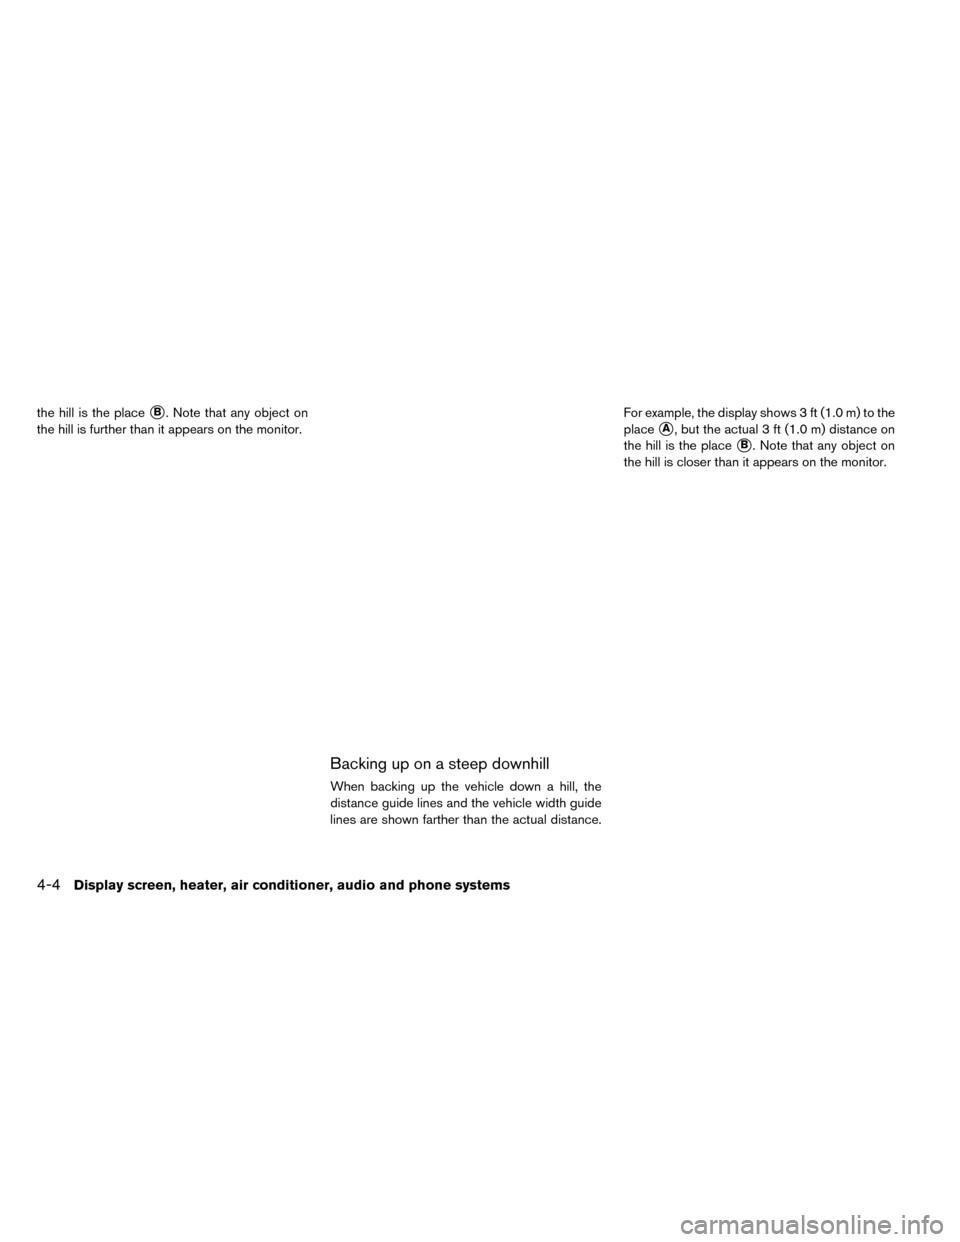
the hill is the place�B. Note that any object on
the hill is further than it appears on the monitor.
Backing up on a steep downhill
When backing up the vehicle down a hill, the
distance guide lines and the vehicle width guide
lines are shown farther than the actual distance. For example, the display shows 3 ft (1.0 m) to the
place
�A, but the actual 3 ft (1.0 m) distance on
the hill is the place
�B. Note that any object on
the hill is closer than it appears on the monitor.
4-4Display screen, heater, air conditioner, audio and phone systems
Page 232 of 412
Backing up behind a projecting object
The position�Cis shown farther than the position
�Bin the display. However, the position�Cis
actually at the same distance as the position
�A.
The vehicle may hit the object when backing up to the position
�Aif the object projects over the
actual backing up course.
ADJUSTING THE SCREEN
The procedure for adjusting the quality of the
screen differs depending on the type of screen
present on the vehicle.
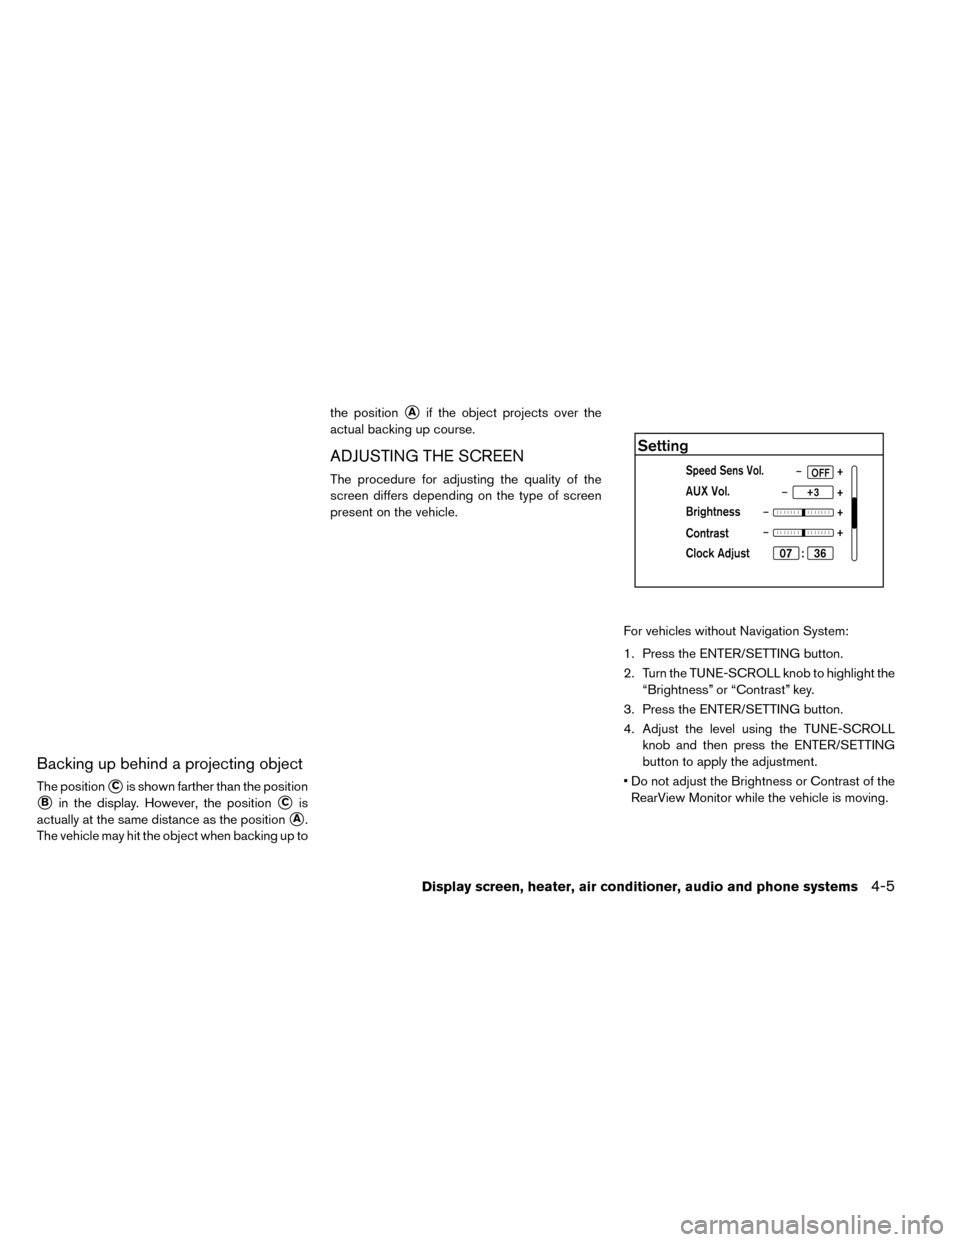
For vehicles without Navigation System:
1. Press the ENTER/SETTING button.
2. Turn the TUNE-SCROLL knob to highlight the“Brightness” or “Contrast” key.
3. Press the ENTER/SETTING button.
4. Adjust the level using the TUNE-SCROLL knob and then press the ENTER/SETTING
button to apply the adjustment.
• Do not adjust the Brightness or Contrast of the RearView Monitor while the vehicle is moving.
Display screen, heater, air conditioner, audio and phone systems4-5
Page 233 of 412
ADJUSTING THE BRIGHTNESS
SETTING
For vehicles with Navigation System:
1. Touch [SETTINGS] on the display screen.
2. Touch [DISPLAY].3. Select [BRIGHTNESS] or [CONTRAST] to
adjust the brightness setting.
4. Touch the “+” or “-” icons to adjust the Bright- ness or Contrast of the display screen.
Note
When the headlights are in the ON po-
sition, the display screen will automati-
cally default to the night screen (dark) .
4-6Display screen, heater, air conditioner, audio and phone systems
![NISSAN LEAF 2015 1.G Owners Manual ADJUSTING THE BRIGHTNESS
SETTING
For vehicles with Navigation System:
1. Touch [SETTINGS] on the display screen.
2. Touch [DISPLAY].3. Select [BRIGHTNESS] or [CONTRAST] to
adjust the brightness settin](/manual-img/5/431/w960_431-232.png "NISSAN LEAF 2015 1.G Owners Manual ADJUSTING THE BRIGHTNESS
SETTING
For vehicles with Navigation System:
1. Touch [SETTINGS] on the display screen.
2. Touch [DISPLAY].3. Select [BRIGHTNESS] or [CONTRAST] to
adjust the brightness settin")