2015 NISSAN GT-R instrument panel
[x] Cancel search: instrument panelPage 136 of 298

DVD (Digital Versatile Disc) PLAYER
OPERATION
Precautions
Start the engine when using the DVD entertain-
ment system.
Movies will not be shown on the front display
while the vehicle is in any drive position to
reduce driver distraction. Audio is available
when a movie is played. To view movies in the
front display, stop the vehicle in a safe location,
move the shift lever to the P (Park) position and
apply the parking brake.
WARNING
.The driver must not attempt to
operate the DVD system or wear
the headphones while the vehicle is
in motion so that full attention may
be given to vehicle operation.
. Do not attempt to modify the system
to display a movie on the front
screen while the vehicle is being
driven. Doing so may distract the
driver and may cause a collision and
serious personal injury or death.
CAUTION
.Only operate the DVD while the
vehicle engine is running. Operating
the DVD for extended periods of
time with the engine OFF can dis-
charge the vehicle battery.
. Do not allow the system to get wet.
Excessive moisture such as spilled
liquids may cause the system to
malfunction.
. While playing VIDEO-CD media, this
DVD player does not guarantee
complete functionality of all VI-
DEO-CD formats.
Display settings
To adjust the front display mode, push
select [Others] and then select [Display].
To adjust the display ON/OFF, brightness, tint,
color and contrast, select [Display Adjustment]
and then select each key.
Then you can adjust each item using the center
dial. After changes have been made push
Playing a DVD
DISC·AUX button:
Park the vehicle in a safe location for the
front seat occupants to operate the DVD
drive while watching the images.
Push
and turn the display to the DVD mode.
When a DVD is loaded, it will be replayed
automatically.
The operation screen will be turned on when
is pushed while a DVD is being played, and it
will turn off automatically after a period of time.
To turn it on again, push
DVD operation keys:
When the DVD is playing without the operation
screen being shown, you may use the touch
screen to select items from the displayed video.
You may also use the center dial to select an
Audio system3-15
Page 153 of 298
![NISSAN GT-R 2015 R35 Multi Function Display Owners Manual 4-6Bluetooth®Hands-Free Phone System
The following editing items are available:
.[Entry #]:
Changes the displayed number of the
selected entry.
. [Name]:
Edit the name of the entry using the keypad
d NISSAN GT-R 2015 R35 Multi Function Display Owners Manual 4-6Bluetooth®Hands-Free Phone System
The following editing items are available:
.[Entry #]:
Changes the displayed number of the
selected entry.
. [Name]:
Edit the name of the entry using the keypad
d](/manual-img/5/423/w960_423-152.png)
4-6Bluetooth®Hands-Free Phone System
The following editing items are available:
.[Entry #]:
Changes the displayed number of the
selected entry.
. [Name]:
Edit the name of the entry using the keypad
displayed on the screen.
. [Number]:
Edit the phone number using the keypad
displayed on the screen.
. [Type]:
Select an icon from the icon list.
. [Voicetag]:
Confirm and store the voicetag. Voicetags
allow easy dialing using the NISSAN Voice
Recognition system.
“8. Voice recognition”
To delete an entry, select [Delete] at step 3.
MAKING A CALL
To make a call, follow this procedure.
1. Push
>. The “PHONE”
screen will appear on the display.
2. Select [Phonebook] on the “PHONE” menu.
3. Select the desired entry from the list.
4. Confirm the correct entry by selecting for the correct number from the list.
There are different methods to make a call.
Select one of the following options instead of
[Phonebook] in step 2 above.
. [Quick Dial]:
Select an entry stored in the quick dial.
. [Call History]:
Select an outgoing, incoming or missed call
downloaded from your cell phone (depend-
ing on your phone’s compatibility) . .
[Dial Number]:
Input the phone number manually using the
keypad displayed on the screen.
“How to input letters and numbers”
(page 1-14)
RECEIVING A CALL
When you hear a phone ring, the display will
change to the incoming call mode. To receive a
call, perform one of the following procedures
listed below.
1. Select [Answer].
2. Push
3. Push <
>on the steering wheel.
There are some options available when receiving
a call. Select one of the following displayed on
the screen.
Page 154 of 298
![NISSAN GT-R 2015 R35 Multi Function Display Owners Manual .[Answer]:
Accept an incoming call to talk.
. [Hold Call]:
Put an incoming call on hold.
. [Reject Call]:
Reject an incoming call.
To finish the call, perform one of the
following procedures listed be NISSAN GT-R 2015 R35 Multi Function Display Owners Manual .[Answer]:
Accept an incoming call to talk.
. [Hold Call]:
Put an incoming call on hold.
. [Reject Call]:
Reject an incoming call.
To finish the call, perform one of the
following procedures listed be](/manual-img/5/423/w960_423-153.png)
.[Answer]:
Accept an incoming call to talk.
. [Hold Call]:
Put an incoming call on hold.
. [Reject Call]:
Reject an incoming call.
To finish the call, perform one of the
following procedures listed below.
1. Select [Hang up].
2. Push
3. Push <
>on the steering wheel.
DURING A CALL
There are some options available during a call.
Select one of the following displayed on the
screen if necessary.
. [Hang up]:
Finish the call. .
[Use Handset]:
Transfer the call to the cellular phone.
. [Mute]:
Mute your voice to the person.
. [Keypad]:
Using the touch tone, send digits to the
connected party for using services such as
voicemail.
. [Cancel Mute]:
This will appear after [Mute] is selected.
Mute will be canceled.
PHONE SETTING
To set up the Bluetooth®Hands-Free Phone
System to your preferred settings, push
Edit Quick Dial
Quick dial registration and editing/deleting the
registered quick dial can be performed.
Delete Quick Dial
The quick dial entries can be deleted all at the
same time or one by one.
Download Phonebook
Download the contacts registered in a Blue-
tooth®cellular phone. Availability of this function
depends on each cellular phone. The memory
downloading procedure from the cellular phone
also varies according to each cellular phone.
See cellular phone Owner’s Manual for details.
Volume & Ringtone
The following kinds of phone volume can be set.
Pushing
Ringtone] can also operate the same settings.
. [Ringtone]/[Incoming Call]/[Outgoing
Call]:
To increase or decrease the volume, select
[Ringtone], [Incoming Call] or [Outgoing
Call] and adjust it with the center dial.
. [Automatic Hold]:
When this function is activated, an incoming
phone call is automatically held.
Bluetooth®Hands-Free Phone System4-7
Page 161 of 298

5-6Heater and air conditioner
Push
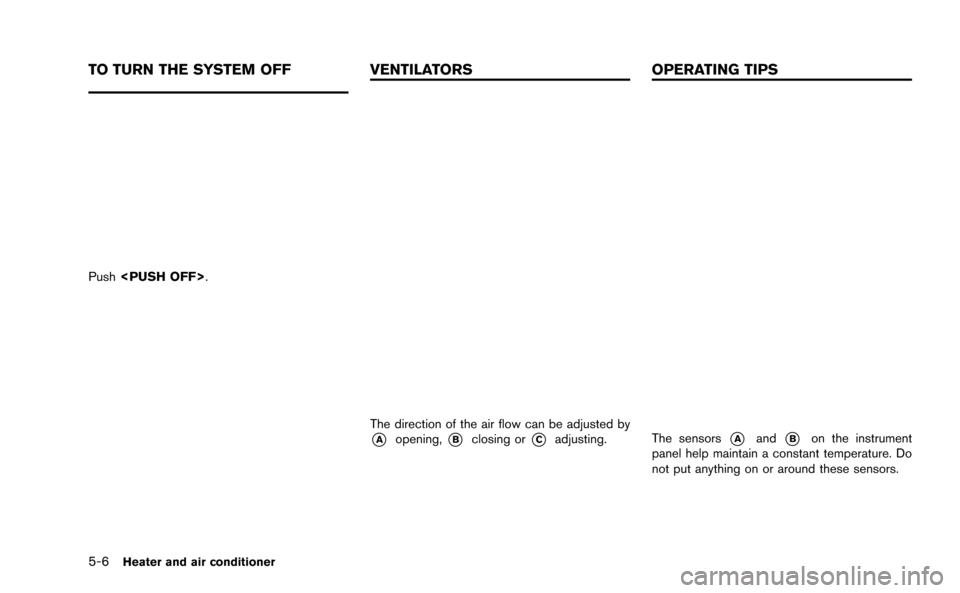
The direction of the air flow can be adjusted by
*Aopening,*Bclosing or*Cadjusting.The sensors*Aand*Bon the instrument
panel help maintain a constant temperature. Do
not put anything on or around these sensors.
TO TURN THE SYSTEM OFF VENTILATORS OPERATING TIPS
Page 264 of 298

*In a canyon
INFO:
The GPS antenna is located on the instrument
panel inside the vehicle. Do not place any
objects, especially mobile phones or transcei-
vers, on the instrument panel. Because the
strength of the GPS signal is approximately one
billionth of that of TV waves, phones and
transceivers will affect or may totally disrupt
the signal.
Display of GPS information
GPS information can be displayed.“Viewing GPS current location informa-
tion” (page 6-22)
NOTICE
Route guidance provided by the naviga-
tion system does not take carpool lane
driving into consideration, especially
when carpool lanes are separated from
other road lanes.
INCORRECT DISPLAY OF VEHICLE
POSITION
The following cases may affect the display
accuracy of the vehicle’s position or traveling
direction. The accuracy will return to normal if
the driving conditions return to normal.
*When there is a similar road nearby.
*When the vehicle is traveling in an area with a
grid pattern road system.
General system information11-3
Page 283 of 298

12-4Troubleshooting guide
VEHICLE ICON
SymptomPossible cause Possible solution
Names of roads and locations differ
between Plan View and Birdview
TM. This is because the quantity of the displayed information is reduced so that
the screen does not become too crowded. There is also a chance that
names of the roads or locations may be displayed multiple times, and the
names appearing on the screen may be different because of a processing
procedure. This is not a malfunction.
The vehicle icon is not displayed in the
correct position. The vehicle was transported after the ignition switch was pushed off, for
example, by a ferry or car transporter. Drive the vehicle for a while on a road where GPS
signals can be received.
The position and direction of the vehicle icon may be incorrect depending
on the driving environments and the levels of positioning accuracy of the
navigation system. This is not a malfunction. Drive the vehicle for a while
to automatically correct the position and direction of
the vehicle icon.
“Current vehicle location” (page 11-2)
When the vehicle is traveling on a new
road, the vehicle icon is located on
another road nearby. Because the new road is not stored in the map data, the system
automatically places the vehicle icon on the nearest road available.
Updated road information will be included in the next
version of the map data.
The screen does not switch to the night
screen even after turning on the head-
lights. The daytime screen was set the last time the headlights were turned on. Set the screen to the night screen mode using
<
OFF>when turning on the headlights.“Display settings” (page 7-4)
The map does not scroll even when the
vehicle is moving. The current location map screen is not displayed.
Push