2015 NISSAN GT-R language
[x] Cancel search: languagePage 127 of 298

3-6Audio system
Parental level (parental control):
DVDs with the parental control setting can be
played with this system. Please use your own
judgement to set the parental control with the
system.
Disc selection:
The following disc formats can be played with
the DVD drive.
.DVD-VIDEO
. VIDEO-CD
. CD-DA (Conventional Compact Disc)
. DTS-CD
USB (Universal Serial Bus)
WARNING
Do not connect, disconnect or operate
the USB device while driving. Doing so
can be a distraction. If distracted you
could lose control of your vehicle and
cause an accident or serious injury.
CAUTION
.Do not force the USB device into the
USB port. Inserting the USB device
tilted or up-side-down into the port
may damage the port. Make sure
that the USB device is connected
correctly into the USB port.
. Do not grab the USB port cover (if
so equipped) when pulling the USB
device out of the port. This could
damage the port and the cover.
. Do not leave the USB cable in a
place where it can be pulled unin-
tentionally. Pulling the cable may
damage the port.
The vehicle is not equipped with a USB device.
USB devices should be purchased separately
as necessary.
This system cannot be used to format USB
devices. To format a USB device, use a personal
computer.
In some states/area, the USB device for the
front seats plays only sound without images for
regulatory reasons, even when the vehicle is
parked.
This system supports various USB devices, USB hard drives and iPod
®players. Some
USB devices may not be supported by this
system.
. Partitioned USB devices may not be played
correctly.
. Some characters used in other languages
(Chinese, Japanese, etc.) are not displayed
properly on display. Using English language
characters with a USB device is recom-
mended.
General notes for USB use:
Refer to your device manufacturer’s owner
information regarding the proper use and care
of the device.
Notes for iPod
®use:
iPod®is a trademark of Apple Inc., registered in
the U.S. and other countries.
. Improperly plugging in the iPod
®may cause
a checkmark to be displayed on and off
(flickering) . Always make sure that the iPod
®
is connected properly.
. An iPod nano®(1st Generation) may remain
in fast forward or rewind mode if it is
connected during a seek operation. In this
case, please manually reset the iPod
®.
Page 138 of 298

Angle Mark (DVD-VIDEO):
When this item is turned on, an angle mark will
be shown on the bottom of the screen if the
scene can be seen from a different angle.
Menu Skip (DVD-VIDEO):
DVD menus are automatically configured and
the contents will be played directly when [Menu
Skip] is turned on. Note that some discs may not
be played directly even if this item is turned on.
CM Skip (DVD-VIDEO):
Select [CM Skip]. Choose the setting time from
15, 30 or 60 seconds by selecting the [+] side
or [−] side.
DRC (DVD-VIDEO, DVD-VR):
DRC (Dynamic Range Compression) automati-
cally adjusts the soundtrack volume level to
maintain a more even sound to the speakers.
DVD Language (DVD-VIDEO, VIDEO-CD):
Select [DVD Language] to open the number
entry screen. Input the number corresponding to
the preferred language and select [OK]. The
DVD top menu language will be changed to the
one specified.Display:
To adjust the image quality of the screen, select
the preferred adjustment items.
Audio:
Select the preferred language for audio.
Subtitle (DVD-VIDEO, DVD-VR):
Select the preferred language for subtitles.
Display Mode (DVD-VIDEO, VIDEO-CD,
DVD-VR):
Select from the “Full”, “Wide”, “Normal” or
“Cinema” modes.
Title List (DVD-VR):
Select the preferred title from the list.
Play Mode:
Select the preferred play mode.
PG/PL Mode (DVD-VR):
Select the “PG” or “PL” mode.USB DEVICE OPERATION
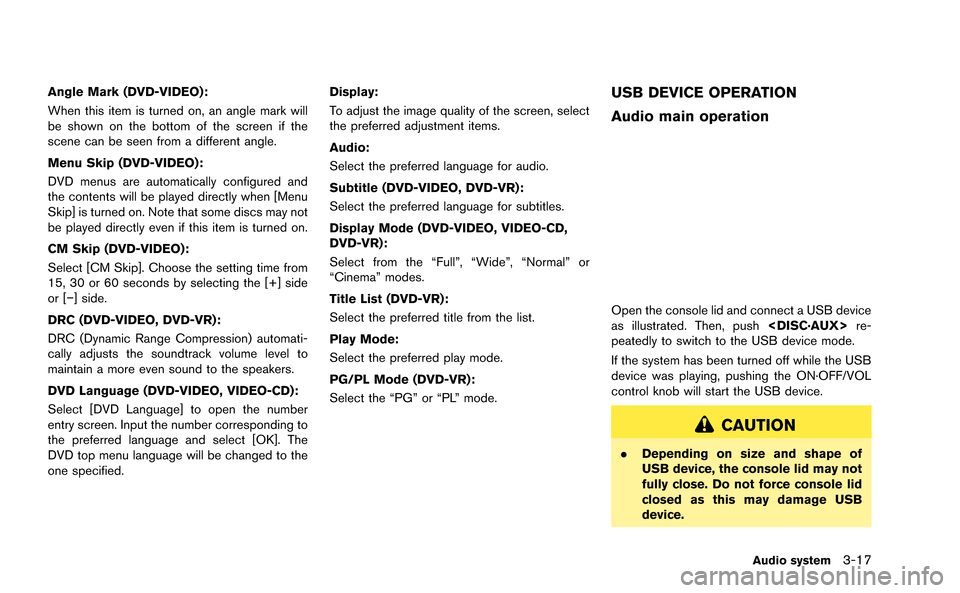
Audio main operation
Open the console lid and connect a USB device
as illustrated. Then, push
peatedly to switch to the USB device mode.
If the system has been turned off while the USB
device was playing, pushing the ON·OFF/VOL
control knob will start the USB device.
CAUTION
. Depending on size and shape of
USB device, the console lid may not
fully close. Do not force console lid
closed as this may damage USB
device.
Audio system3-17
Page 141 of 298
![NISSAN GT-R 2015 R35 Multi Function Display Owners Manual 3-20Audio system
Example
Settings:
Select[Settings] to adjust the following set-
tings.
. Audio File Playback
Switch to the audio playback mode. This
item is displayed only when the USB device
contain NISSAN GT-R 2015 R35 Multi Function Display Owners Manual 3-20Audio system
Example
Settings:
Select[Settings] to adjust the following set-
tings.
. Audio File Playback
Switch to the audio playback mode. This
item is displayed only when the USB device
contain](/manual-img/5/423/w960_423-140.png)
3-20Audio system
Example
Settings:
Select[Settings] to adjust the following set-
tings.
. Audio File Playback
Switch to the audio playback mode. This
item is displayed only when the USB device
contains the audio files.
. Play Mode
Select the “Normal” or “1 Track Repeat” play
mode.
. 10 Key Search
Select [10 Key Search] to open the number
entry screen.
Input the number to be searched and select
[OK].
The specified folder/file will be played. .
Display
To adjust the image quality of the screen,
select the preferred adjustment items.
. DRC
DRC (Dynamic Range Compression) auto-
matically adjusts the soundtrack volume
level to maintain a more even sound to the
speakers.
. Audio
Select the preferred language for audio.
. Subtitle
Select the preferred language for subtitle.
. Display Mode
Select the “Normal”, “Wide”, “Cinema” or
“Full” mode.
BLUETOOTH®STREAMING AUDIO
Your vehicle is equipped with Bluetooth®
Streaming Audio. If you have a compatible
Bluetooth®device with streaming audio (A2DP
profile) , you can set up the wireless connection
between your Bluetooth
®device and the in-
vehicle audio system. This connection allows
you to listen to the audio from the Bluetooth
®
device using your vehicle speakers. It also may
allow basic control of the device for playing and
skipping audio files using the AVRCP Blue-
tooth
®profile. All Bluetooth®Devices do not
have the same level of controls for AVRCP.
Please consult the manual for your Bluetooth
®
Device for more details.
Once your Bluetooth®device is connected to
the in-vehicle audio system, it will automatically
reconnect whenever the device is present in the
vehicle and you select Bluetooth
®Audio from
your audio system. You do not need to manually
reconnect for each usage.
Regulatory information
FCC Regulatory information:
. CAUTION: To maintain compliance with
FCC’s RF exposure guidelines, use only
the supplied antenna. Unauthorized antenna,
modification, or attachments could damage
the transmitter and may violate FCC regula-
Page 188 of 298

7 Other settings
Settings screen ........................................................................\
.. 7-2Basic operation .................................................................... 7-2
Audio settings ........................................................................\
..... 7-3
Display settings ........................................................................\
.. 7-4 Basic operation .................................................................... 7-4
Display adjustment .............................................................. 7-4
Setting color theme ............................................................. 7-5
Volume adjustment .................................................................... 7-6 Basic operation .................................................................... 7-6 Clock settings ........................................................................\
.... 7-7
Basic operation .................................................................. 7-7
Comfort settings........................................................................\
7-8
Language and unit settings .................................................... 7-8 Language settings ............................................................. 7-8
Unit settings ........................................................................\
7-9
Unit settings (Tire Pressure) ........................................ 7-10
Image viewer ........................................................................\
... 7-10 Full screen display .......................................................... 7-11
Setting the image viewer .............................................. 7-11
Page 189 of 298

7-2Other settings
The navigation system can be customized to
make it easier for you to use.
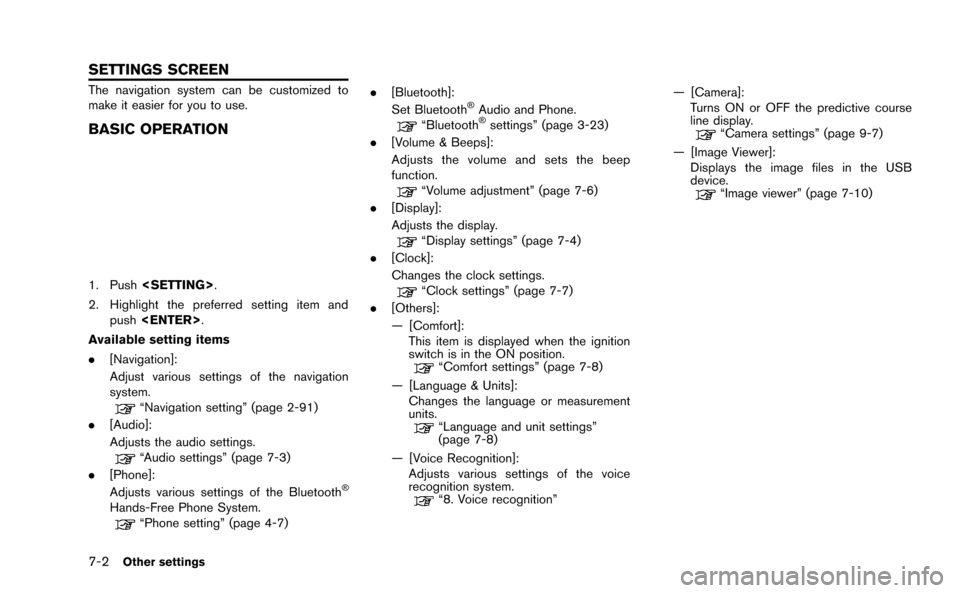
BASIC OPERATION
1. Push
2. Highlight the preferred setting item and push
Available setting items
. [Navigation]:
Adjust various settings of the navigation
system.
“Navigation setting” (page 2-91)
. [Audio]:
Adjusts the audio settings.
“Audio settings” (page 7-3)
. [Phone]:
Adjusts various settings of the Bluetooth
®
Hands-Free Phone System.“Phone setting” (page 4-7) .
[Bluetooth]:
Set Bluetooth
®Audio and Phone.“Bluetooth®settings” (page 3-23)
. [Volume & Beeps]:
Adjusts the volume and sets the beep
function.
“Volume adjustment” (page 7-6)
. [Display]:
Adjusts the display.
“Display settings” (page 7-4)
. [Clock]:
Changes the clock settings.
“Clock settings” (page 7-7)
. [Others]:
— [Comfort]:
This item is displayed when the ignition
switch is in the ON position.
“Comfort settings” (page 7-8)
— [Language & Units]: Changes the language or measurement
units.
“Language and unit settings”
(page 7-8)
— [Voice Recognition]: Adjusts various settings of the voice
recognition system.
“8. Voice recognition” — [Camera]:
Turns ON or OFF the predictive course
line display.
“Camera settings” (page 9-7)
— [Image Viewer]: Displays the image files in the USB
device.
“Image viewer” (page 7-10)
SETTINGS SCREEN
Page 195 of 298
![NISSAN GT-R 2015 R35 Multi Function Display Owners Manual 7-8Other settings
This key does not appear on the display until the
ignition switch is pushed to the ON position.
1. Push<SETTING>.
2. Highlight [Comfort] and push <ENTER>.
3. Highlight the preferred NISSAN GT-R 2015 R35 Multi Function Display Owners Manual 7-8Other settings
This key does not appear on the display until the
ignition switch is pushed to the ON position.
1. Push<SETTING>.
2. Highlight [Comfort] and push <ENTER>.
3. Highlight the preferred](/manual-img/5/423/w960_423-194.png)
7-8Other settings
This key does not appear on the display until the
ignition switch is pushed to the ON position.
1. Push
2. Highlight [Comfort] and push
3. Highlight the preferred setting item and push
selected item illuminates.
4. After setting, push
to apply the setting.
5. Push
screen. Push
Page 196 of 298
![NISSAN GT-R 2015 R35 Multi Function Display Owners Manual 5. Highlight the preferred setting item andpush <ENTER>. The indicator light of the
selected item illuminates.
Available languages
.[English]
.[Franc¸ ais]
.[Espan ˜
ol]
NOTICE
Do not change the ign NISSAN GT-R 2015 R35 Multi Function Display Owners Manual 5. Highlight the preferred setting item andpush <ENTER>. The indicator light of the
selected item illuminates.
Available languages
.[English]
.[Franc¸ ais]
.[Espan ˜
ol]
NOTICE
Do not change the ign](/manual-img/5/423/w960_423-195.png)
5. Highlight the preferred setting item andpush
selected item illuminates.
Available languages
.[English]
.[Franc¸ ais]
.[Espan ˜
ol]
NOTICE
Do not change the ignition switch
position while changing the language.
Doing so may cause a system malfunc-
tion.
UNIT SETTINGS
1. Push
2. Highlight [Others] and push
3. Highlight [Language & Units] and push
4. Highlight [Select Units] and push
5. Highlight the preferred unit and push
unit illuminates.
Available units
.US:
mile, MPH, 8F, MPG
.Metric:
km, km/h, 8C, L/100 km
6. Push
screen. Push
Page 197 of 298
![NISSAN GT-R 2015 R35 Multi Function Display Owners Manual 7-10Other settings
UNIT SETTINGS (Tire Pressure)
1. Push<SETTING>.
2. Highlight [Others] and push <ENTER>.
3. Highlight [Language/Units] and push <ENTER>.
4. Highlight [Select Units (Tire Pressure)] a NISSAN GT-R 2015 R35 Multi Function Display Owners Manual 7-10Other settings
UNIT SETTINGS (Tire Pressure)
1. Push<SETTING>.
2. Highlight [Others] and push <ENTER>.
3. Highlight [Language/Units] and push <ENTER>.
4. Highlight [Select Units (Tire Pressure)] a](/manual-img/5/423/w960_423-196.png)
7-10Other settings
UNIT SETTINGS (Tire Pressure)
1. Push
2. Highlight [Others] and push
3. Highlight [Language/Units] and push
4. Highlight [Select Units (Tire Pressure)] andpush
5. Highlight the preferred unit and push
unit illuminates.
Available units
.psi
.kPa
6. Push
screen.
The image files in the USB device will be
displayed.
1. Press
2. Select [Others] and press
3. Select [Image Viewer] and press
The image of the selected file is displayed on the
right side of the screen.
When a number of folders are included in the
USB device, select a folder from the list and
push
IMAGE VIEWER