Page 133 of 510
Lane change signal
�2Move the lever up or down until the turn
signal begins to flash, but the lever does not
latch, to signal a lane change. Hold the lever
until the lane change is completed.
Move the lever up or down until the turn
signal begins to flash, but the lever does not
latch, and release the lever. The turn signal
will automatically flash three times.
Choose the appropriate method to signal a lane
change based on road and traffic conditions.
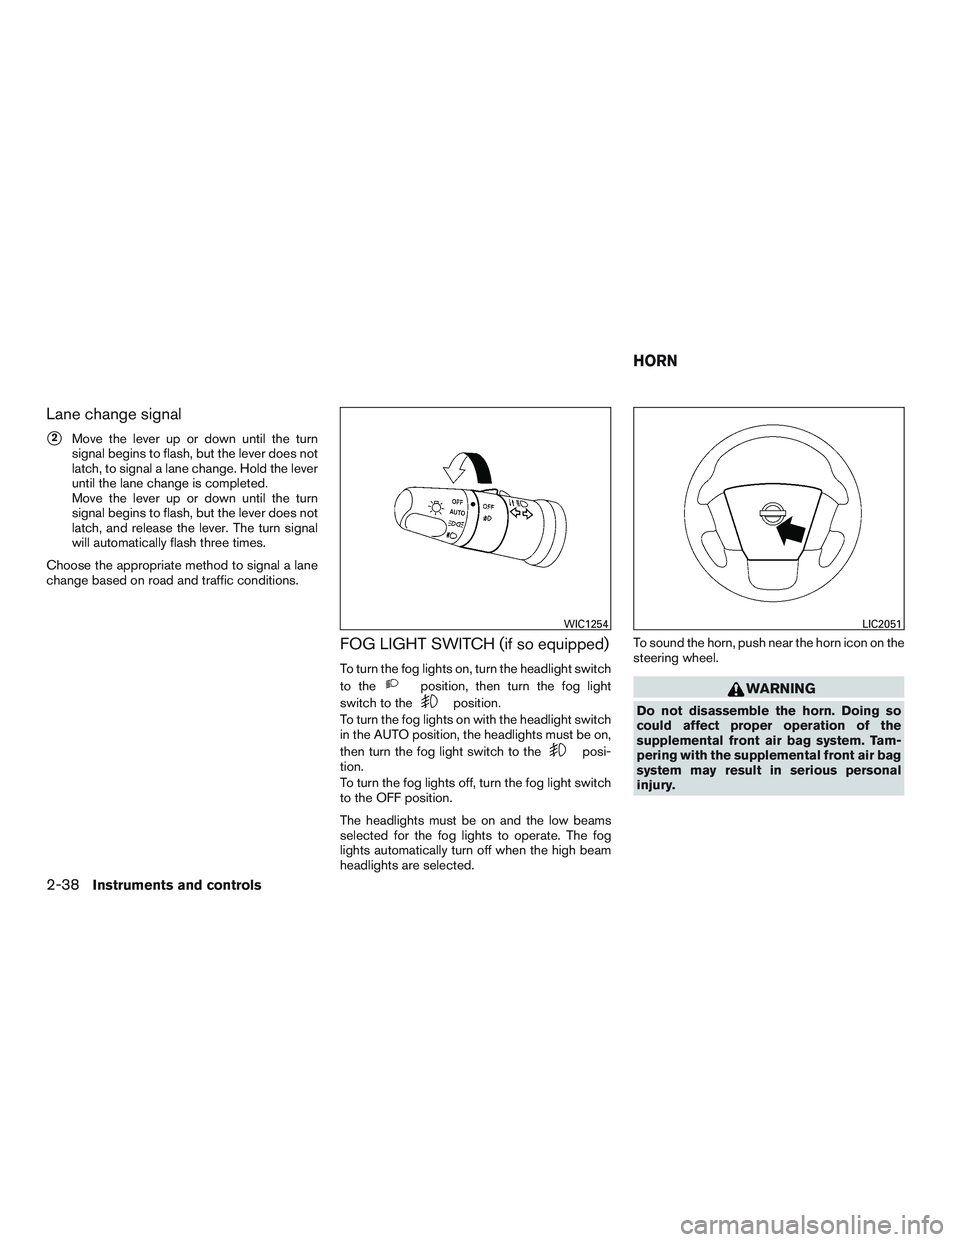
FOG LIGHT SWITCH (if so equipped)
To turn the fog lights on, turn the headlight switch
to the
Page 212 of 510
 button (P. 4-11)
11. STATUS button (P. 4-14)
12. MAP button*
*For additional information, refer to the separate
Navigation System Owner’s Manual regarding
Naviga")
9. VOICE button*
10. BACK (previous) button (P. 4-11)
11. STATUS button (P. 4-14)
12. MAP button*
*For additional information, refer to the separate
Navigation System Owner’s Manual regarding
Navigation system control buttons.
**For additional information, refer to “Bluetooth®
Hands-Free Phone System with Navigation Sys-
tem” regarding the PHONE button in this section.
When you use this system, make sure the engine
is running.
If you use the system with the engine not
running (ignition ON or ACC) for a long
time, it will discharge the battery, and the
engine will not start.
Reference symbols:
ENTER button — This is a button on the control
panel.
“Example” — Words marked in quotes refer to a
key shown only on the display. These keys can be
selected by touching the screen or using the
NISSAN controller.
HOW TO USE THE NISSAN
CONTROLLER
Use the NISSAN controller to choose an item on
the display screen. Highlight an item on the dis-
play using the main directional buttons
�3(cer-
tain Navigation System functions use the addi-
tional directional buttons) or the center dial
�1.
Then press the ENTER button
�2to select the
item or perform the action.
The BACK button
�5has two functions:
● Go back to the previous display (cancel) .
If you press the BACK button
�5during setup,
the setup will be canceled and/or the display will
return to the previous screen. ●
Finish setup.
In some screens, pressing the BACK button
�5
accepts the changes made during setup.
For the VOICE button
�4functions, refer to the
separate Navigation System Owner’s Manual.
HOW TO USE THE TOUCH-
SCREEN
Page 222 of 510
Slideshow speed
To change the interval of time at which images are
changed during a slideshow, select the desired
interval key. The indicator light to the right of the
interval will come on to show that it is selected.
If the option “No Auto Change” is chosen, the
slideshow will not change images automatically.
The slideshow can then only be operated using
the manual controls.
To return to the slideshow screen, select the
“Back” key or press the BACK button on the
control panel.Slideshow order
Select the “Random” key to display the images in
a random order during a slideshow. Select the
“Order List” key to display the images in the order
in which they are stored on the storage device.
Select the “Back” key or press the BACK button
on the control panel to return to the slideshow
screen.When the shift lever is shifted into the R (Re-
verse) position, the monitor display shows the
view to the rear of the vehicle.
Page 284 of 510

WARNING
●The Mobile Entertainment System is
designed for rear seat passenger view-
ing only.
● It is unlawful in most jurisdictions for a
person to drive a motor vehicle which is
equipped with a television viewer or
screen that is located in the motor ve-
hicle at any point forward of the back of
the driver’s seat, or that is visible, di-
rectly or indirectly, to the driver while
operating the vehicle.
● In the interest of safety, the monitors
should never be installed where they
will be visible, directly or indirectly, by
the operator of the motor vehicle.
● If your vehicle is equipped with a wire-
less rear seat audio system or any other
wireless infrared device, make sure it is
powered off when operating the Rear
Seat Entertainment System. If both sys-
tems are powered on at the same time,
the two systems may obstruct each
other, possibly creating undesirable au-
dio interference through the wireless
headphones. ●
For safety reasons, when changing
video discs it is recommended that the
vehicle is not in motion, and that you do
not allow children to unfasten safety
belts to change discs or make any ad-
justments to the system. System adjust-
ments can be accomplished using the
remote control unit, while safety belts
remain fastened.
Page 425 of 510
CAUTION
Oil level should be checked regularly. Op-
erating the engine with an insufficient
amount of oil can damage the engine, and
such damage is not covered by warranty.
CHANGING ENGINE OIL
1. Park the vehicle on a level surface and applythe parking brake.
2. Start the engine and let it idle until it reaches operating temperature, then turn it off. 3. Remove the oil filler cap
�Bby turning it
counterclockwise.
4. Place a large drain pan under the drain plug
�A.
5. Remove the drain plug
�Awith a wrench by
turning it counterclockwise and completely
drain the oil.
If the oil filter is to be changed, remove and
replace it at this time. For additional informa-
tion, refer to “Changing engine oil filter” in
this section.
● Waste oil must be disposed of prop-
erly.
● Check your local regulations.