Page 369 of 441
QR25DE engine
1. Power steering fluid reservoir
2. Engine coolant reservoir
3. Engine oil filler cap
4. Brake fluid reservoir
5. Air cleaner
6. Fuse block/Fusible links
7. Battery
8. Engine oil dipstick
9. Radiator cap
10. Drive belt location
11. Windshield-washer fluid reservoir
LDI2111
ENGINE COMPARTMENT CHECK
LOCATIONS
Maintenance and do-it-yourself8-7
Page 370 of 441
VQ35DE engine
1. Power steering fluid reservoir
2. Engine coolant reservoir
3. Engine oil filler cap
4. Brake fluid reservoir
5. Air cleaner
6. Fuse block/Fusible links
7. Battery
8. Engine oil dipstick
9. Radiator cap
10. Drive belt location
11. Windshield-washer fluid reservoir
LDI2112
8-8Maintenance and do-it-yourself
Page 374 of 441

CAUTION
●Oil level should be checked regularly.
Operating the engine with an insuffi-
cient amount of oil can damage the
engine, and such damage is not covered
by warranty.
● It is normal to add some oil between oil
maintenance intervals or during the
break-in period, depending on the se-
verity of operating conditions.
CHANGING ENGINE OIL
1. Park the vehicle on a level surface and apply
the parking brake.
2. Start the engine and let it idle until it reaches operating temperature, then turn it off. 3. Remove the oil filler cap
�Bby turning it
counterclockwise.
4. Place a large drain pan under the drain plug
�A.
5. Remove the drain plug
�Awith a wrench by
turning it counterclockwise and completely
drain the oil.
If the oil filter is to be changed, remove and
replace it at this time. For additional informa-
tion, refer to “Changing engine oil filter” in
this section.
● Waste oil must be disposed of prop-
erly.
● Check your local regulations.
WARNING
●Prolonged and repeated contact with
used engine oil may cause skin cancer.
● Try to avoid direct skin contact with
used oil. If skin contact is made, wash
thoroughly with soap or hand cleaner as
soon as possible.
● Keep used engine oil out of reach of
children.
LDI2338
8-12Maintenance and do-it-yourself
Page 376 of 441

4. Remove pins�Cfrom the right engine pro-
tector located inside right wheel well, re-
move protector. Remove oil filter
�Bwith an
oil filter wrench by turning it counterclock-
wise. Then remove the oil filter by turning it
by hand.
CAUTION
Be careful not to burn yourself. The engine
oil may be hot.
5. Wipe the engine oil filter sealing surface with a clean rag.
CAUTION
●Be sure to remove any old gasket
material remaining on the sealing
surface of the engine. Failure to do
so could lead to an oil leak and en-
gine damage.
● The dipstick must be inserted in
place to prevent oil spillage from the
dipstick hole when filling the engine
with oil.
6. Coat the gasket on the new filter with clean engine oil.
7. Screw on the oil filter until a slight resistance is felt, then tighten an additional 2/3 turn. 8. Start the engine and check for leakage
around the oil filter. Correct as required.
9. Turn the engine off and wait more than 10 minutes. Check the oil level. Add engine
oil if necessary.
CAUTION
●NISSAN recommends using Genuine
NISSAN CVT Fluid NS-3 ONLY in
NISSAN CVTs. Do not mix with other
fluids.
● Do not use Automatic transmission
fluid (ATF) or Manual transmission fluid
in a NISSAN CVT, as it may damage the
CVT. Damage caused by the use of flu-
ids other than as recommended is not
covered under NISSAN’s New Vehicle
Limited Warranty.
● Using fluids that are not equivalent to
Genuine NISSAN CVT Fluid NS-3 may
also damage the CVT. Damage caused
by the use of fluids other than as recom-
mended is not covered under NISSAN’s
New Vehicle Limited Warranty.
When checking or replacement of CVT fluid is
required, we recommend a NISSAN dealer for
servicing.
CONTINUOUSLY VARIABLE
TRANSMISSION (CVT) FLUID
8-14Maintenance and do-it-yourself
Page 381 of 441

Vehicles operated in high temperatures or under
severe conditions require frequent checks of the
battery fluid level.
JUMP STARTING
If jump starting is necessary, refer to “Jump start-
ing” in the “In case of emergency” section of this
manual. If the engine does not start by jump
starting, the battery may have to be replaced.
Contact a NISSAN dealer.
CAUTION
●Do not ground accessories directly to
the battery terminal. Doing so will by-
pass the variable voltage control sys-
tem and the vehicle battery may not
charge completely.
● Use electrical accessories with the en-
gine running to avoid discharging the
vehicle battery. Your vehicle is equipped with a variable voltage
control system. This system measures the
amount of electrical discharge from the battery
and controls voltage generated by the generator.
The current sensor is located near the battery
along the negative battery cable. If you add elec-
trical accessories to your vehicle, be sure to
ground them to a suitable body ground such as
the frame or engine block area.
LDI2132
VARIABLE VOLTAGE CONTROL
SYSTEM
Maintenance and do-it-yourself8-19
Page 382 of 441
1. Crankshaft pulley
2. Drive belt automatic tensioner pulley
3. Water pump pulley
4. Generator pulley
5. Air compressor pulley
WARNING
Be sure the ignition switch is placed in the
OFF or LOCK position before servicing
drive belt. The engine could rotate
unexpectedly.1. Visually inspect the belt for signs of unusual
wear, cuts, fraying or looseness. If the belt is
in poor condition or is loose, have it replaced
or adjusted by a NISSAN dealer.
2. Have the belt checked regularly for condi- tion and tension in accordance with the
maintenance schedule found in the
“NISSAN Service and Maintenance Guide”.
1. Crankshaft pulley
2. Drive belt automatic tensioner pulley
3. Generator pulley
4. Air compressor pulley
QR25DE engine
LDI2130
VQ35DE engine
LDI2131
DRIVE BELT
8-20Maintenance and do-it-yourself
Page 387 of 441
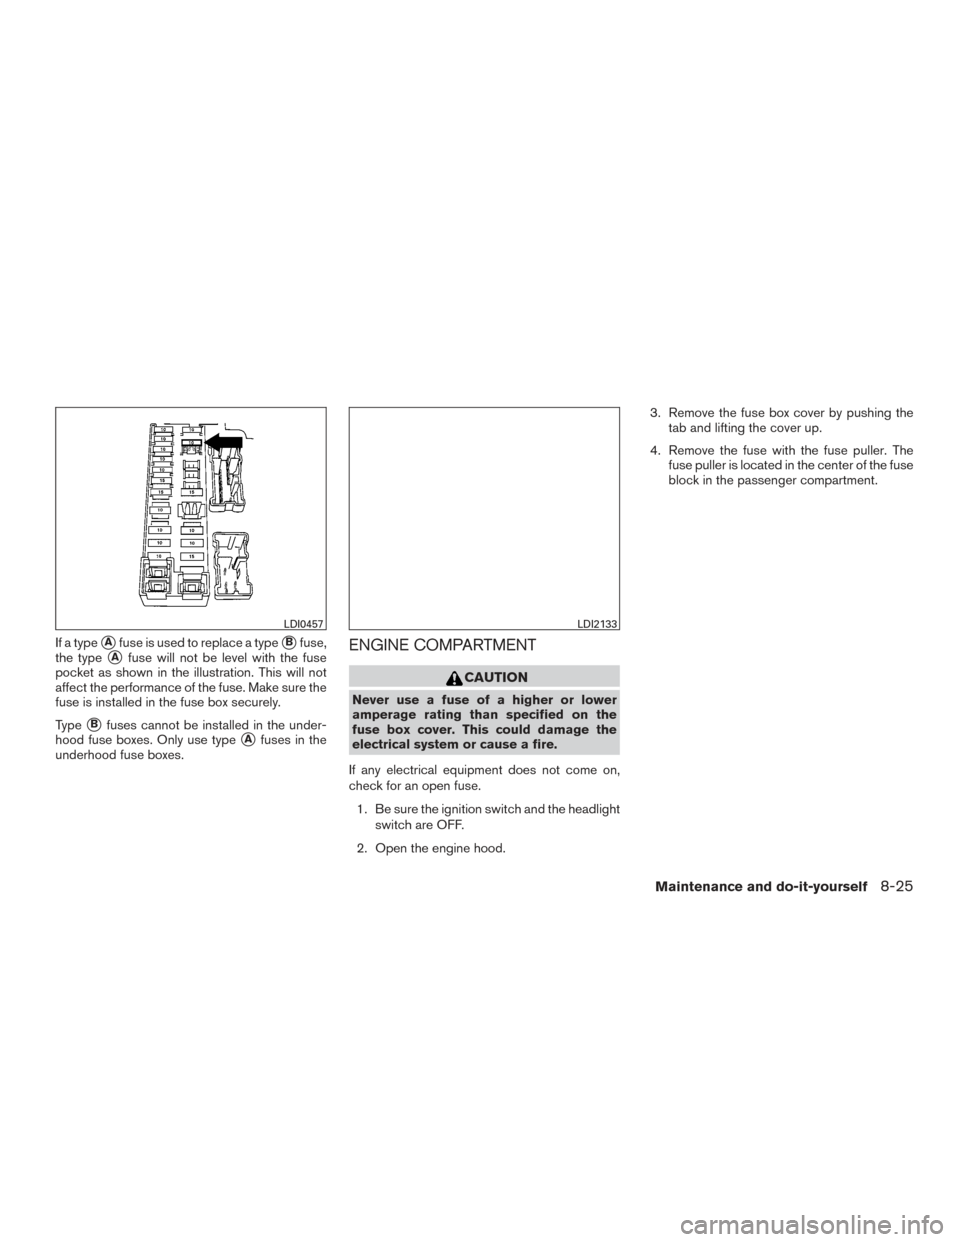
If a type�Afuse is used to replace a type�Bfuse,
the type
�Afuse will not be level with the fuse
pocket as shown in the illustration. This will not
affect the performance of the fuse. Make sure the
fuse is installed in the fuse box securely.
Type
�Bfuses cannot be installed in the under-
hood fuse boxes. Only use type
�Afuses in the
underhood fuse boxes.
ENGINE COMPARTMENT
CAUTION
Never use a fuse of a higher or lower
amperage rating than specified on the
fuse box cover. This could damage the
electrical system or cause a fire.
If any electrical equipment does not come on,
check for an open fuse. 1. Be sure the ignition switch and the headlight switch are OFF.
2. Open the engine hood. 3. Remove the fuse box cover by pushing the
tab and lifting the cover up.
4. Remove the fuse with the fuse puller. The fuse puller is located in the center of the fuse
block in the passenger compartment.
LDI0457LDI2133
Maintenance and do-it-yourself8-25
Page 390 of 441
How to remove the extended storage switch:1. To remove the extended storage switch, be sure the ignition switch is in the OFF or
LOCK position.
2. Be sure the headlight switch is in the OFF position.
3. Remove the fuse box cover.
4. Pinch the locking tabs
�1found on each
side of the storage switch.
5. Pull the storage switch straight out from the fuse box
�2.
CAUTION
Be careful not to allow children to swallow
the battery or removed parts.
LDI2001
BATTERY REPLACEMENT
8-28Maintenance and do-it-yourself