Page 340 of 446

Operation Keys
Comfort controls 7-25
7
Turn the power on, and resume playback from the previous status.2. Press the PWR/VOL key. Turn the power OFF.
N00716500023
1. Turn the PWR/VOL key to adjust the vol-ume.
Turn the PWR/VOL key clockwise to increase, and counter- clockwise todecrease the volume.
N00716600024
1. Insert the disc into
the disc slot with the
label surface up.
Push the disc in a certain amount, and the product will pull the disc in, and playbackwill start. 2. Press the key. This will eject the disc from the product, so remove the disc.
NOTE
Hold down the steering MODE key to also turn the audio function ON/OFF.
Adjust Volume
NOTE
The maximum value for volume is 45, and the minimum is 0. The initial setting for volume is “17”.
Insert/Eject Discs
CAUTIONWhen replacing discs, first ensure that the vehicle is stopped in an
area in which stop-
ping is permitted. Do not insert your hand, fingers, or foreign objects into the disc slot. This may lead toinjury, smoking, or fire. 3 inches (8 cm) CDs are not supported.Disc * Label side
Disc slot
BK0211800US.book 25 ページ 2014年3月12日 水曜日 午後2時42分
Page 357 of 446

System Settings 7-42 Comfort controls
7
N00718500043
Change system settings
such as product time.
1. Press the MENU key. 2. Press the /SEL key to select settings items.
Each time the /SEL key is pressed, this switches in the order Satellite radio set- tings*
1, Gracenote DB*
2, PHONE set-
tings, Adjust time, and Cancel. 3. Turn the /SEL key to set.4. Press the /SEL key to determine. This completes settings, and displays the next setti
ngs item.
Adjust- ment items
Turn counter- clockwise
Turn clockwise
BASS -6 to 0
(low low-pass volume)
0 to +6 (high low-pass volume)
TRE- BLE
-6 to 0 (Low high-pass volume)
0 to +6 (High high-pass volume)
FADER CENTER to
REAR 11 (emphasize REAR)
FRONT 11 to CENTER (emphasize FRONT)
BAL- ANCE
LEFT 11 to CENTER (emphasize LEFT)
CENTER to RIGHT 11 (emphasize RIGHT)
SCV OFF, LOW
(Low vehicle compensated volume effect)
MID, HIGH (High vehicle compensated volume effect)
System Settings
*1: Displayed when a sate
llite tuner is con-
nected.
*2: Displayed when playi
ng back audio files
(vehicles with a Bluetooth
® 2.0 interface).
BK0211800US.book 42 ページ 2014年3月12日 水曜日 午後2時42分
Page 362 of 446

Antenna
Comfort controls 7-47
7
Here is a list of symptoms, causes and respons
es if you think something
is not working properly.
N00734201494
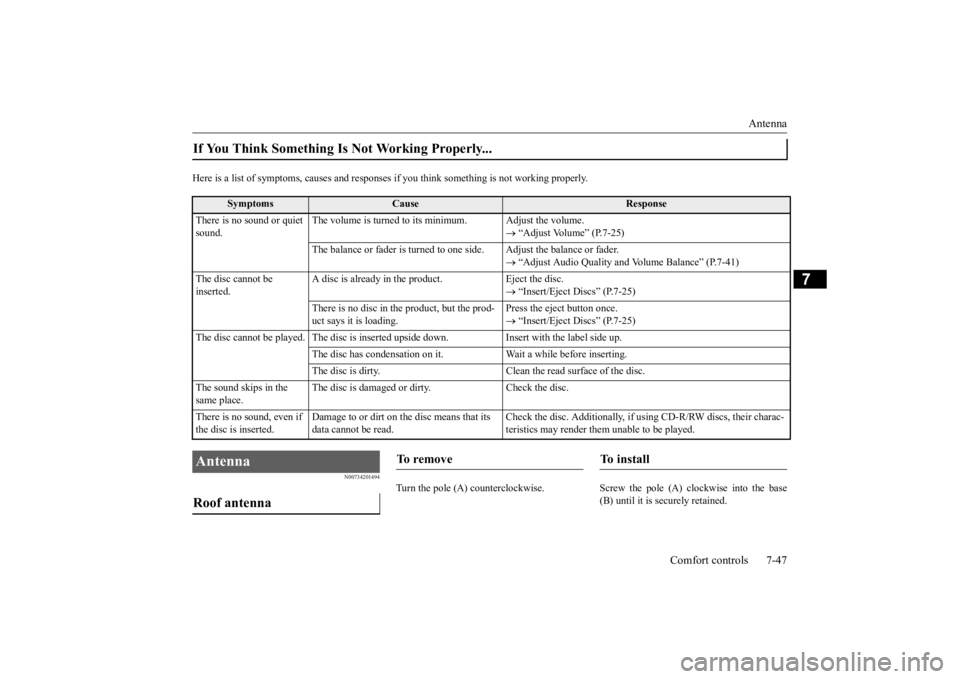
Turn the pole (A) countercl
ockwise. Screw the pole (A) clockwise into the base
(B) until it is securely retained.
If You Think Something Is Not Working Properly...
Symptoms
Cause
Response
There is no sound or quiet sound.
The volume is turned to its minimum. Adjust the volume.
“Adjust Volume” (P.7-25)
The balance or fader is turned to
one side. Adjust the balance or fader.
“Adjust Audio Quality and
Volume Balance” (P.7-41)
The disc cannot be inserted.
A disc is already in the product. Eject the disc.
“Insert/Eject Discs” (P.7-25)
There is no disc in
the product, but the prod-
uct says it is loading.
Press the eject button once. “Insert/Eject Discs” (P.7-25)
The disc cannot be played. The
disc is inserted up
side down. Insert with
the label side up.
The disc has condensation on it
. Wait a while before inserting.
The disc is dirty. Clean the
read surface of the disc.
The sound skips in the same place.
The disc is damaged or dirty. Check the disc.
There is no sound, even if the disc is inserted.
Damage to or dirt on the disc means that its data cannot be read.
Check the disc. Additionally, if using CD-R/RW discs, their charac- teristics may render them
unable to be played.
Antenna Roof antenna
To r e m o v e
To install
BK0211800US.book 47 ページ 2014年3月12日 水曜日 午後2時42分
Page 414 of 446

Replacement of light bulbs
Vehicle care and maintenance 9-33
9
N00900301139
Do not attempt to disass
emble or repair head-
lights, and do not attempt to replace their bulbs.
N00901901099
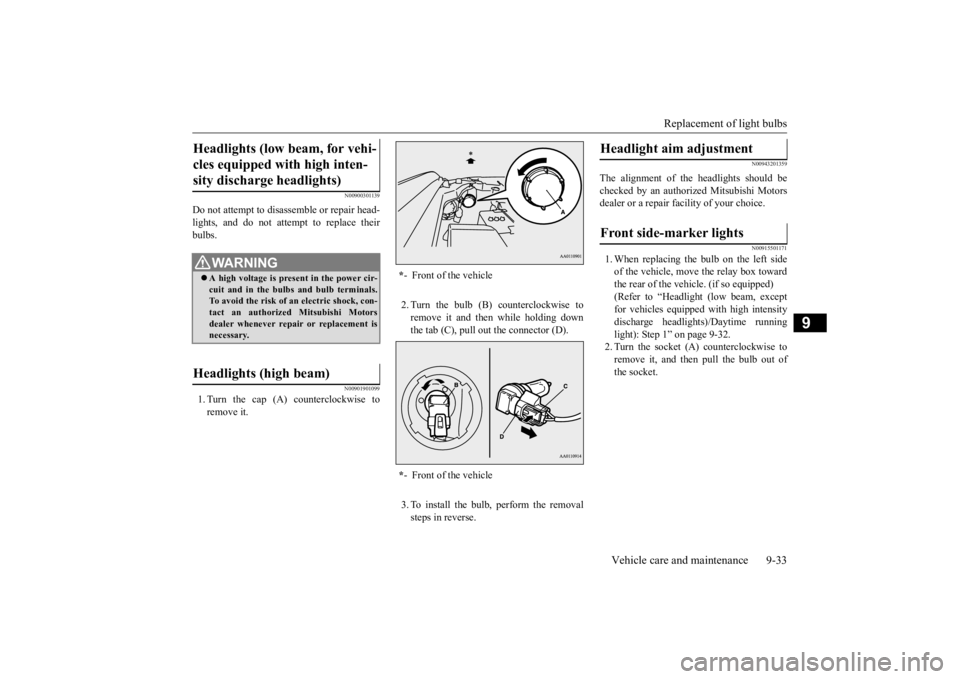
1. Turn the cap (A) counterclockwise toremove it.
2. Turn the bulb (B) counterclockwise to remove it and then while holding down the tab (C), pull out the connector (D). 3. To install the bulb, perform the removal steps in reverse.
N00943201359
The alignment of the headlights should be checked by an authorized Mitsubishi Motors dealer or a repair fa
cility of your choice.
N00915501171
1. When replacing the bulb on the left side of the vehicle, move the relay box toward the rear of the vehicle. (if so equipped) (Refer to “Headlight
(low beam, except
for vehicles equipped with high intensity discharge headlights)/Daytime running light): Step 1” on page 9-32.2. Turn the socket (A
) counterclockwise to
remove it, and then pull the bulb out of the socket.
Headlights (low beam, for vehi- cles equipped with high inten-sity discharge headlights)
WA R N I N G A high voltage is present in the power cir- cuit and in the bulbs and bulb terminals. To avoid the risk of an electric shock, con-tact an authorized
Mitsubishi Motors
dealer whenever repair or replacement is necessary.
Headlights (high beam)
* - Front of the vehicle * - Front of the vehicle
Headlight aim adjustment Front side-marker lights
BK0211800US.book 33 ページ 2014年3月12日 水曜日 午後2時42分
Page 417 of 446
Replacement of light bulbs 9-36 Vehicle care and maintenance
9
2. Remove the 3 screws (B) and remove the light unit.
3. Turn the socket counterclockwise to remove it.
4. While holding down th
e tab (F), pull out
the bulb (G). 5. To install the bulb, perform the removal steps in reverse.
N00943701543
1. Open the liftgate.2. Remove the screws
(A), and then move
the light unit toward the rear of the vehi-cle to unfix the notch (B) and pins (C).
NOTE
When unfastening the screws or the fog light, be careful not to move the beam posi- tion adjustment screw (C).
D- Front fog light E- Daytime running lightType 1 Type 2 Type 3
Rear combination lights Front fog light Daytime running light
BK0211800US.book 36 ページ 2014年3月12日 水曜日 午後2時42分