2015 MINI Hardtop 2 Door inflation pressure
[x] Cancel search: inflation pressurePage 190 of 244

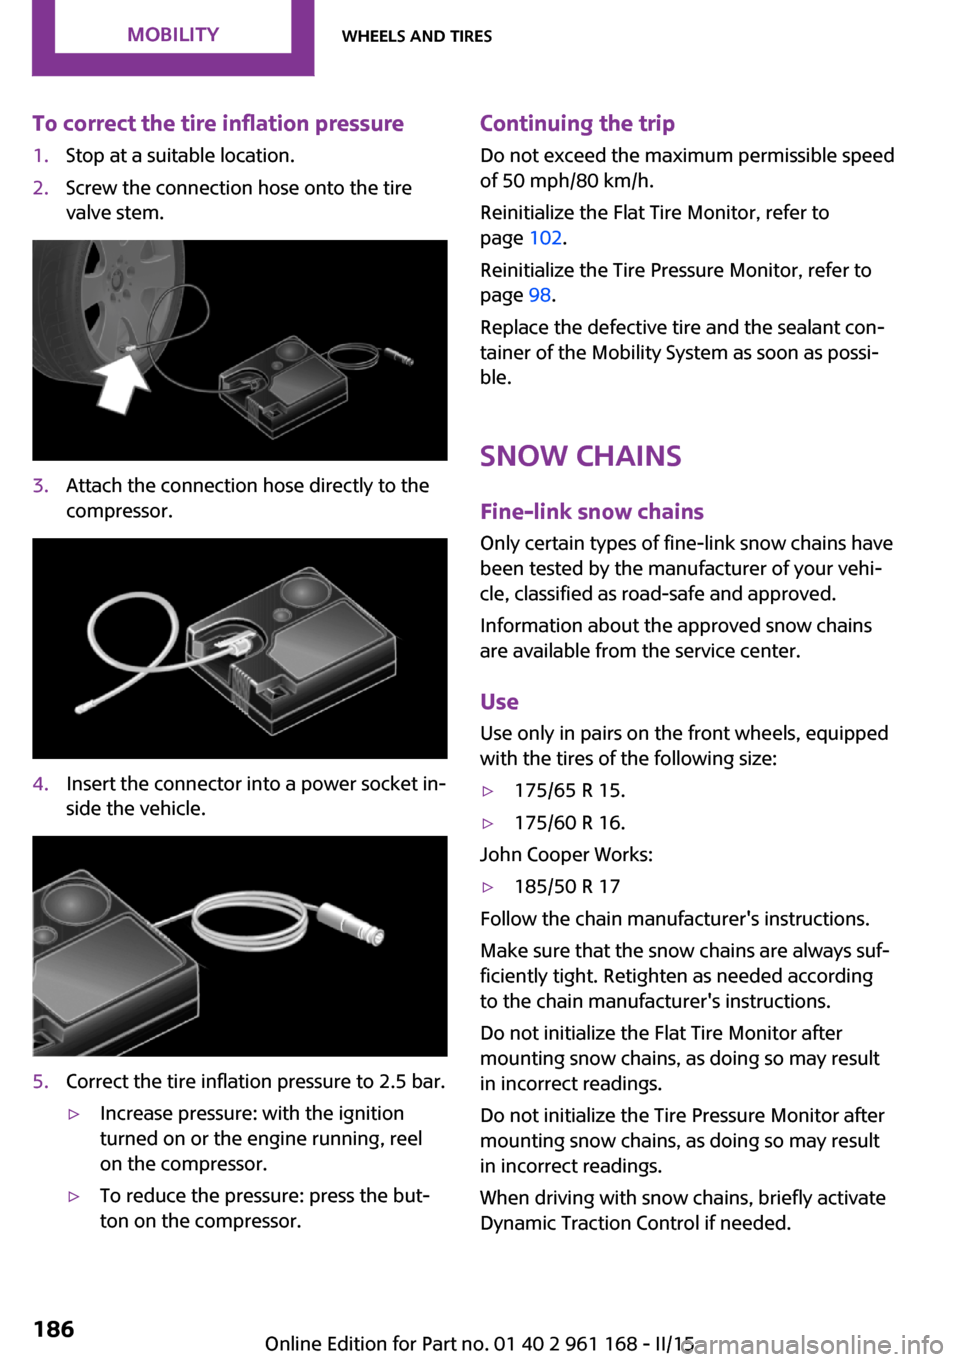
To correct the tire inflation pressure1.Stop at a suitable location.2.Screw the connection hose onto the tire
valve stem.3.Attach the connection hose directly to the
compressor.4.Insert the connector into a power socket in‐
side the vehicle.5.Correct the tire inflation pressure to 2.5 bar.▷Increase pressure: with the ignition
turned on or the engine running, reel
on the compressor.▷To reduce the pressure: press the but‐
ton on the compressor.Continuing the trip
Do not exceed the maximum permissible speed
of 50 mph/80 km/h.
Reinitialize the Flat Tire Monitor, refer to
page 102.
Reinitialize the Tire Pressure Monitor, refer to
page 98.
Replace the defective tire and the sealant con‐
tainer of the Mobility System as soon as possi‐
ble.
Snow chains Fine-link snow chains
Only certain types of fine-link snow chains have
been tested by the manufacturer of your vehi‐
cle, classified as road-safe and approved.
Information about the approved snow chains
are available from the service center.
Use Use only in pairs on the front wheels, equipped
with the tires of the following size:▷175/65 R 15.▷175/60 R 16.
John Cooper Works:
▷185/50 R 17
Follow the chain manufacturer's instructions.
Make sure that the snow chains are always suf‐
ficiently tight. Retighten as needed according
to the chain manufacturer's instructions.
Do not initialize the Flat Tire Monitor after
mounting snow chains, as doing so may result
in incorrect readings.
Do not initialize the Tire Pressure Monitor after
mounting snow chains, as doing so may result
in incorrect readings.
When driving with snow chains, briefly activate
Dynamic Traction Control if needed.
Seite 186MOBILITYWheels and tires186
Online Edition for Part no. 01 40 2 961 168 - II/15
Page 211 of 244

The defective wheel cannot be stored in the
emergency wheel bracket because of its
size.3.Check tire inflation pressure at the next op‐
portunity and correct as needed.4.Reinitialize the Flat Tire Monitor, refer to
page 102.
Reinitialize the Tire Pressure Monitor, refer
to page 99.5.Replace the damaged tires as soon as pos‐
sible.
Driving with emergency wheel
Watch the speed when driving with the
emergency wheel
Drive conservatively and do not exceed a speed
of 50 mph/80 km/h; otherwise, changed driving
characteristics such as reduced lane stability
while braking, extended braking distance and
changed self-steering properties in the limit
area. ◀
Mount one emergency wheel only
Only a single emergency wheel may be
mounted. Reinstall wheels and tires of the orig‐
inal size as quickly as possible; otherwise, there
is a safety risk. ◀
Vehicle battery
Maintenance
The battery is maintenance-free, i.e., the elec‐
trolyte will last for the life of the battery.
Your service center will be glad to advise you
on questions regarding the battery.
Battery replacement Use approved vehicle batteries only
Only use vehicle batteries that have been
approved for your vehicle by the manufacturer;
otherwise, the vehicle could be damaged and
systems or functions may not be fully availa‐
ble. ◀
After a battery replacement, have the battery
registered on the vehicle by your service center
to ensure that all comfort features are fully
available and that any Check Control messages
are no longer displayed.
Charging the battery
General information Make sure that the battery is always sufficiently
charged to guarantee that the battery remains
usable for its full service life.
The battery may need to be charged in the fol‐
lowing cases:▷When making frequent short-distance
drives.▷If the vehicle is not used for prolonged peri‐
ods, longer than a month.▷Steptronic transmission: when parked for
long periods of time in selector lever posi‐
tion D, R or N.
Note
Do not connect charging devices to the
12 volt socket in the vehicle
Do not connect battery chargers to the factory-
installed 12 volt sockets in the vehicle as this
may damage the vehicle battery due to an in‐ creased power consumption. ◀
Starting aid terminals In the vehicle, only charge the battery via the
starting aid terminals, refer to page 210, in the
engine compartment with the engine off.
Power failure
After a temporary power loss, some equipment
needs to be reset.
Individual settings need to be reprogrammed:
▷Time: update.Seite 207Replacing componentsMOBILITY207
Online Edition for Part no. 01 40 2 961 168 - II/15
Page 237 of 244

Floor mats, care 217
Fogged up windows 133
Folding back rear seat back‐ rests 145
Fold-out position, windshield wipers 67
Foot brake 155
Front airbags 95
Front-end collision warning with City Braking func‐
tion 105
Front fog lights 93
front-seat passenger airbags, automatic deactivation 97
Front-seat passenger airbags, indicator lamp 97
FTM Flat Tire Monitor 102
Fuel 172
Fuel consumption, current 78
Fuel consumption, refer to Average fuel consump‐
tion 82
Fuel filler flap 170
Fuel gauge 77
Fuel lid 170
Fuel quality 172
Fuel recommendation 172
Fuel, tank capacity 224
Fuse 208
G Garage door opener, refer to Universal Integrated Remote
Control 139
Gasoline 172
Gear change, Steptronic trans‐ mission 69
Gear shift indicator 79
General driving notes 154
Glare shield 143
Glass sunroof, refer to Panor‐ amic glass sunroof 46
Glove compartment 147
GREEN mode 162 GREEN mode, bonus
range 164
GREEN mode driving style analysis 166
GREEN mode indicator 162
GREEN - program, driving dy‐ namics 113
GREEN tip 164
Gross vehicle weight, ap‐ proved 221
Ground clearance 156
H Halogen headlights 199
Handbrake, refer to parking brake 64
Hand-held transmitter, alter‐ nating code 140
Hazard warning flashers 209
Head airbags 95
Headlight control, auto‐ matic 91
Headlight courtesy delay fea‐ ture 91
Headlight flasher 65
Headlight glass 198
Headlights, care 215
Head restraints 48
Head restraints, front 51
Head restraints, rear 52
Head-up Display 86
Head-up Display, standard view 87
Heavy cargo, stowing 158
High-beam Assistant 92
High beams 65
High beams/low beams, refer to High-beam Assistant 92
Hills 156
Hill start assistant, refer to Drive-off assistant 114
Hints 6
Holder for beverages 148
Homepage 6
Hood 188 Horn 14
Hot exhaust system 155
HUD Head-up Display 86
Hydroplaning 155
I
Ice warning, see External tem‐ perature warning 77
Icy roads, see External tem‐ perature warning 77
Identification marks, tires 178
Identification number, see ve‐ hicle identification number 9
Ignition key, refer to Remote control 34
Ignition off 60
Ignition on 60
Illuminated ring, central in‐ strument cluster 85
Indication of a flat tire 99, 102
Indicator lamp, see Check Control 73
Individual air distribu‐ tion 133, 136
Individual settings, refer to Personal Profile 35
Inflation pressure, tires 174
Inflation pressure warning, tires 102
Info display, refer to On-Board computer 81
Initialize, Tire Pressure Moni‐ tor TPM 99
Initializing, Flat Tire Monitor FTM 102
Instrument cluster 72
Instrument cluster, electronic displays 73
Instrument lighting 93
Integrated key 34
Integrated Owner's Manual in the vehicle 30
Intelligent Safety 103
Intensity, AUTO program 136 Seite 233Everything from A to ZREFERENCE233
Online Edition for Part no. 01 40 2 961 168 - II/15
Page 241 of 244

Switch for Dynamic Driv‐ing 113
Switch-on times, parked-car ventilation 138
Switch, refer to Cockpit 14
Symbols 6
Symbols in the status field 23
T Tachometer 77
Tailgate 40
Tailgate via remote control 38
Tail lights 201
Technical changes, refer to Safety 7
Technical data 220
Temperature, air condi‐ tioner 133
Temperature, automatic cli‐ mate control 135
Temperature display for exter‐ nal temperature 77
Temperature, engine 82
Tempomat, see Camera- based cruise control 115
Terminal, starting aid 210
Text messages, supplemen‐ tary 76
Theft alarm system, refer to Alarm system 43
Thigh support 49
Tilt alarm sensor 44
Time of arrival 82
Tire damage 180
Tire identification marks 178
Tire inflation pressure 174
Tire inflation pressure moni‐ tor, refer to FTM 102
Tire Pressure Monitor TPM 98
Tires, changing 181
Tire sealant 183
Tires, everything on wheels and tires 174
Tires, run-flat tires 182
Tire tread 180 Tone, refer to Integrated
Owner's Manual
Tools 197
Total vehicle weight 221
Touchpad 21
Tow fitting 212
Towing 211
Tow-starting 211
TPM Tire Pressure Monitor 98
Traction control 112
TRACTION drive mode, driving dynamics 112
Transmission lock, releasing manually 70
Transmission, manual trans‐ mission 68
Transmission, see Steptronic transmission 68
Transporting children safely 56
Tread, tires 180
Trip computer 82
Triple turn signal activa‐ tion 65
Trip odometer 77
Turning circle lines, rearview camera 126
Turn signal, front 199
Turn signal, side 204
Turn signals, operation 65
Turn signals, rear, bulb re‐ placement 201
U
Unintentional alarm 44
Units of measure 85
Universal remote control 139
Unlock button, Steptronic transmission 69
Unlocking/locking via door lock 39
Unlocking/locking with re‐ mote control 37
Unlocking, settings 42 Updates made after the edito‐
rial deadline 7
Upholstery care 216
USB interface 144
V Vanity mirror 143
Vehicle battery 207
Vehicle battery, replacing 207
Vehicle, break-in 154
Vehicle care 215
Vehicle features and op‐ tions 6
Vehicle identification num‐ ber 9
Vehicle jack 205
Vehicle paint 215
Vehicle storage 217
Vehicle wash 214
Ventilation 138
Ventilation, refer to Parked- car ventilation 138
VIN, see vehicle identification number 9
Voice activation system 27
W Warning and indicator lamps, see Check Control 73
Warning displays, see Check Control 73
Warning messages, see Check Control 73
Warning triangle 209
Warranty 7
Washer fluid 67
Washer nozzles, wind‐ shield 67
Washer system 65
Washing, vehicle 214
Water on roads 155
Weights 221
Welcome lamps during un‐ locking 37 Seite 237Everything from A to ZREFERENCE237
Online Edition for Part no. 01 40 2 961 168 - II/15