2015 MINI Countryman language
[x] Cancel search: languagePage 111 of 283

Right-hand/left-hand steering
The digital compass is set for right-hand or left-
hand steering at the factory.
Setting the language
Press the adjustment button for 12‑13 seconds.
Briefly press the adjustment button again to
switch between English "E" and German "O".
The setting is automatically saved after approx.
10 seconds.
Cupholders and ashtray/
lighter
Cupholders
Two cupholders are located in the center con‐
sole in the front.
MINI Countryman: two additional cupholders
are located at the end of the center console in
the rear. Additional cupholders can be installed
on the center rail.
MINI Paceman: additional cupholders are lo‐
cated in the console between the rear seats.
Depending on the equipment, additional cu‐
pholders can be installed on the center rail.
Shatter-proof containers and no hot
drinks
Use light and shatter-proof containers and do
not transport hot drinks. Otherwise, there is the
increased danger of injury in an accident. ◀
Unsuitable containers
Do not forcefully push unsuitable contain‐
ers into the cupholders. This may result in dam‐
age. ◀
Ashtray The ashtray is located in one of the cupholders
in the center console at the front.
Emptying Take out the entire ashtray, arrow.
When installing, ensure that the ashtray is in‐
serted in the cupholder with the adapter.
Lighter
With the engine running or the ignition
switched on, press in the cigarette lighter.
Seite 109Interior equipmentCONTROLS109
Online Edition for Part no. 01 40 2 961 110 - II/15
Page 142 of 283

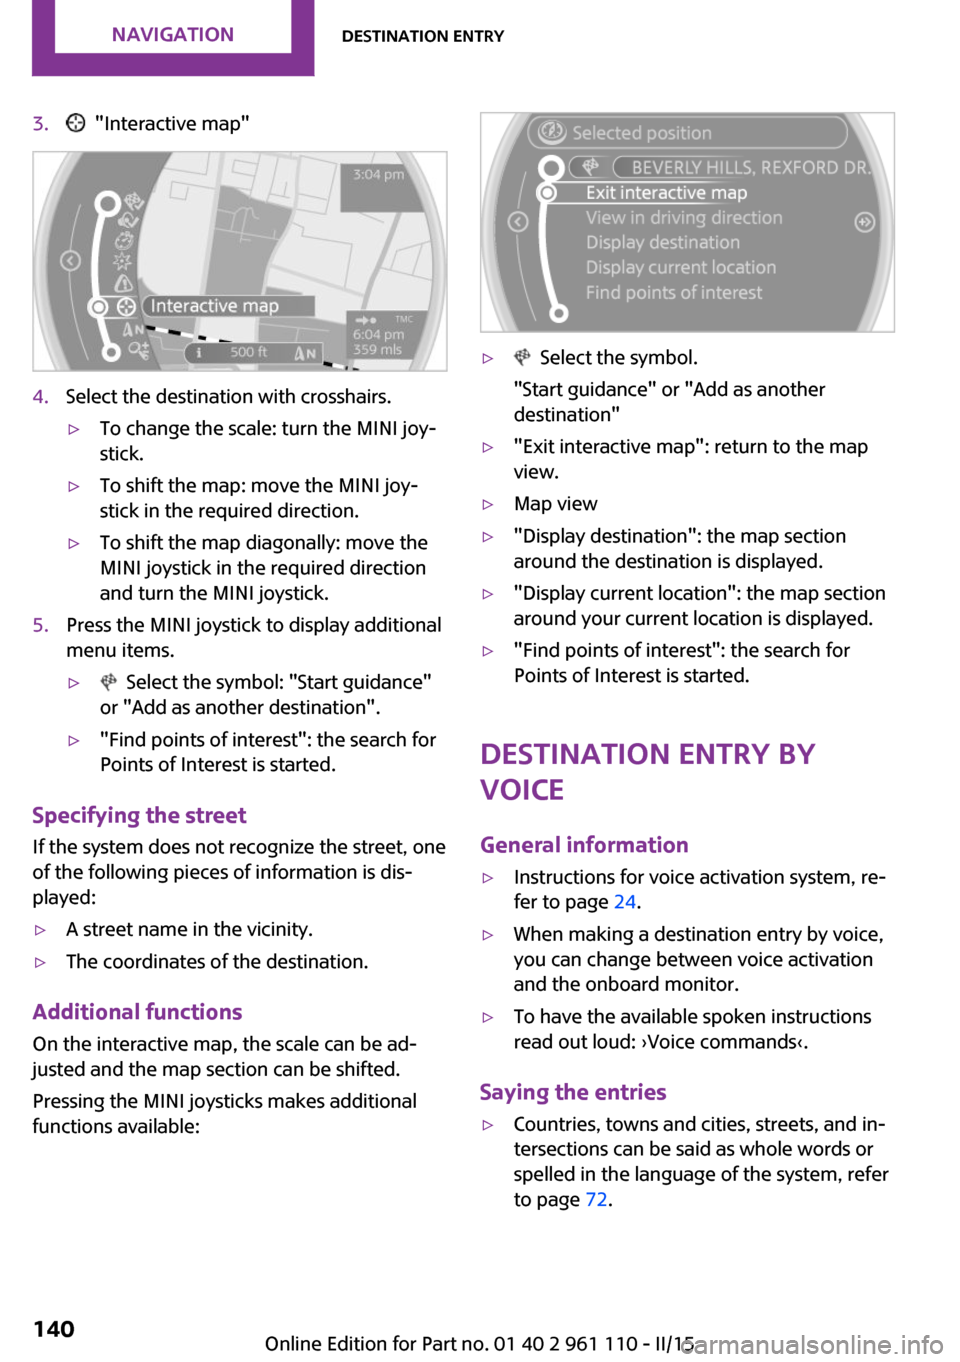
3. "Interactive map"4.Select the destination with crosshairs.▷To change the scale: turn the MINI joy‐
stick.▷To shift the map: move the MINI joy‐
stick in the required direction.▷To shift the map diagonally: move the
MINI joystick in the required direction
and turn the MINI joystick.5.Press the MINI joystick to display additional
menu items.▷ Select the symbol: "Start guidance"
or "Add as another destination".▷"Find points of interest": the search for
Points of Interest is started.
Specifying the street
If the system does not recognize the street, one
of the following pieces of information is dis‐
played:
▷A street name in the vicinity.▷The coordinates of the destination.
Additional functions
On the interactive map, the scale can be ad‐
justed and the map section can be shifted.
Pressing the MINI joysticks makes additional
functions available:
▷ Select the symbol.
"Start guidance" or "Add as another
destination"▷"Exit interactive map": return to the map
view.▷Map view▷"Display destination": the map section
around the destination is displayed.▷"Display current location": the map section
around your current location is displayed.▷"Find points of interest": the search for
Points of Interest is started.
Destination entry by
voice
General information
▷Instructions for voice activation system, re‐
fer to page 24.▷When making a destination entry by voice,
you can change between voice activation
and the onboard monitor.▷To have the available spoken instructions
read out loud: ›Voice commands‹.
Saying the entries
▷Countries, towns and cities, streets, and in‐
tersections can be said as whole words or
spelled in the language of the system, refer
to page 72.Seite 140NAVIGATIONDestination entry140
Online Edition for Part no. 01 40 2 961 110 - II/15
Page 143 of 283

Example: to enter a town/city in a US states
as a whole word, the language of the sys‐
tem must be English.▷Spell the entry if the spoken language and
the language of the system differ.▷Say the letters smoothly, and avoid exag‐
gerating the pronunciation and inserting
lengthy pauses between the letters.▷The methods of entry depend on the navi‐
gation data in use and the country and lan‐
guage settings.
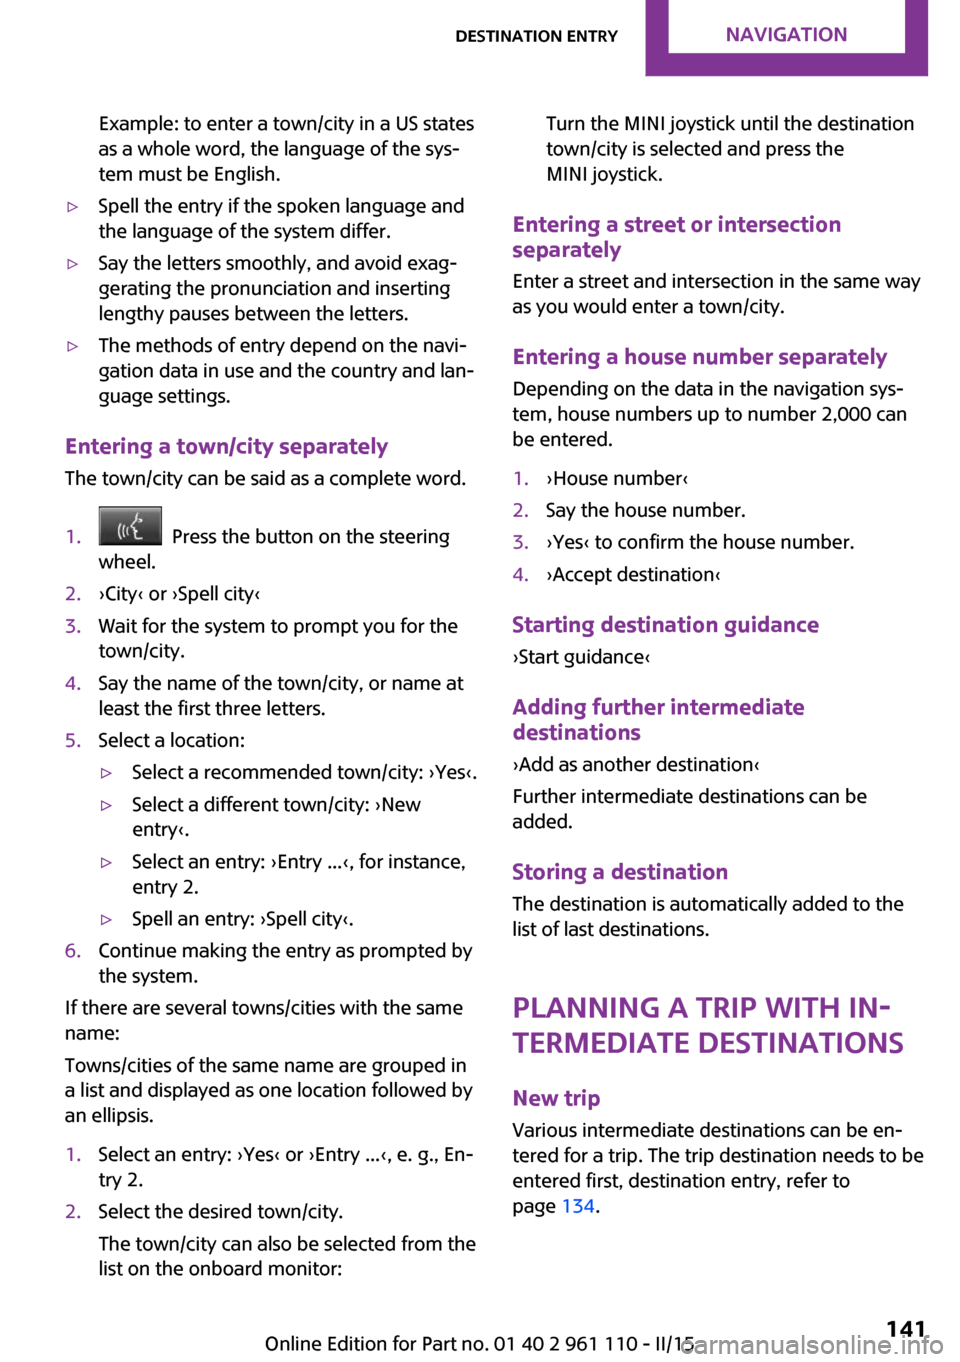
Entering a town/city separately
The town/city can be said as a complete word.
1. Press the button on the steering
wheel.2.›City‹ or ›Spell city‹3.Wait for the system to prompt you for the
town/city.4.Say the name of the town/city, or name at
least the first three letters.5.Select a location:▷Select a recommended town/city: ›Yes‹.▷Select a different town/city: ›New
entry‹.▷Select an entry: ›Entry ...‹, for instance,
entry 2.▷Spell an entry: ›Spell city‹.6.Continue making the entry as prompted by
the system.
If there are several towns/cities with the same
name:
Towns/cities of the same name are grouped in
a list and displayed as one location followed by
an ellipsis.
1.Select an entry: ›Yes‹ or ›Entry ...‹, e. g., En‐
try 2.2.Select the desired town/city.
The town/city can also be selected from the
list on the onboard monitor:Turn the MINI joystick until the destination
town/city is selected and press the
MINI joystick.
Entering a street or intersection
separately
Enter a street and intersection in the same way
as you would enter a town/city.
Entering a house number separately Depending on the data in the navigation sys‐
tem, house numbers up to number 2,000 can
be entered.
1.›House number‹2.Say the house number.3.›Yes‹ to confirm the house number.4.›Accept destination‹
Starting destination guidance
›Start guidance‹
Adding further intermediate
destinations
›Add as another destination‹
Further intermediate destinations can be
added.
Storing a destination The destination is automatically added to the
list of last destinations.
Planning a trip with in‐termediate destinations
New trip
Various intermediate destinations can be en‐
tered for a trip. The trip destination needs to be
entered first, destination entry, refer to
page 134.
Seite 141Destination entryNAVIGATION141
Online Edition for Part no. 01 40 2 961 110 - II/15
Page 264 of 283

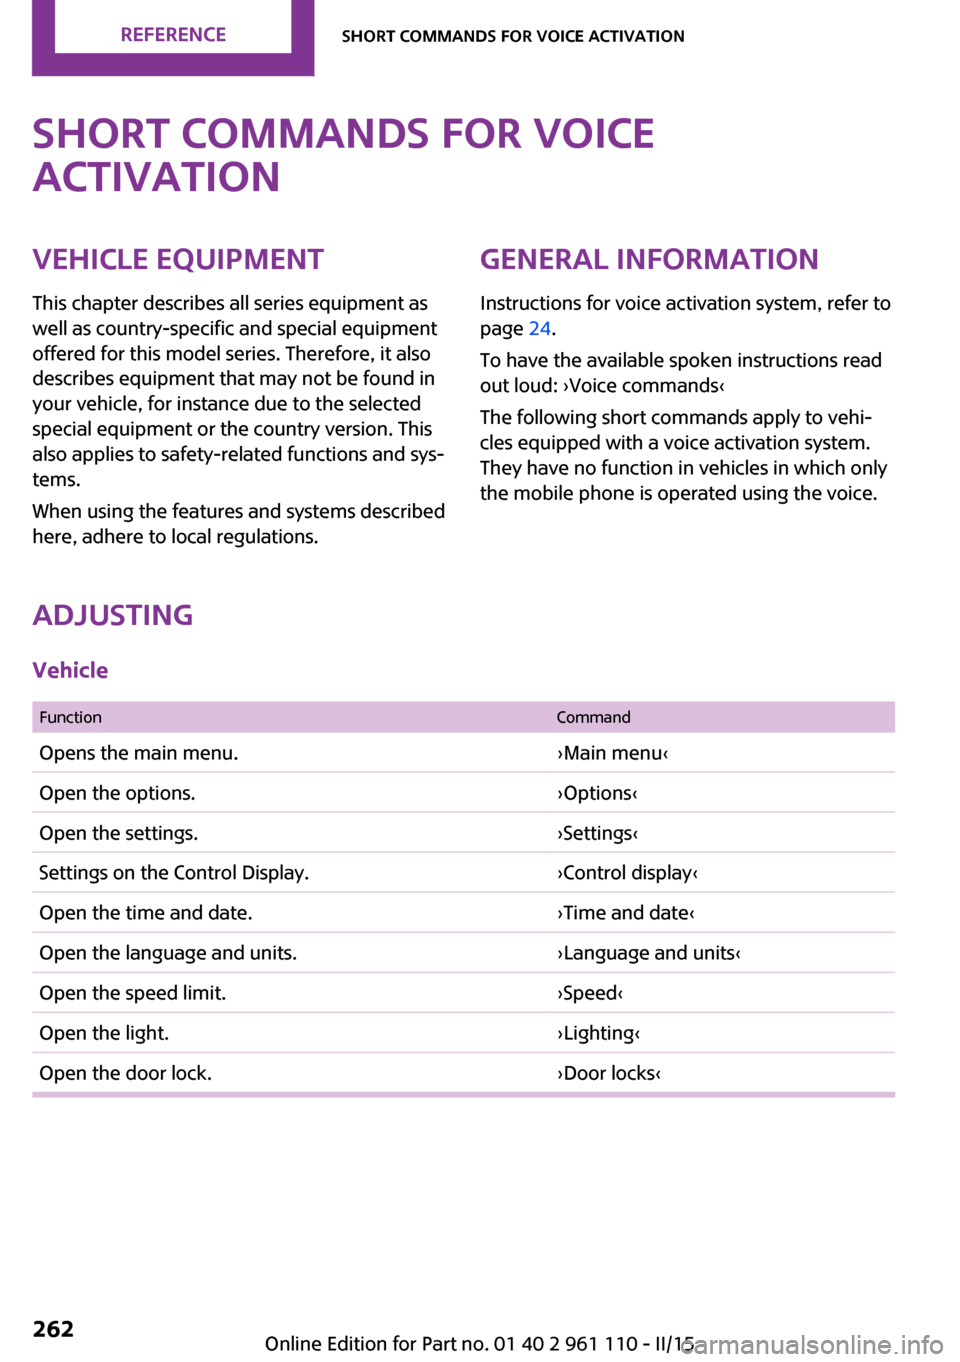
Short commands for voice
activationVehicle equipment
This chapter describes all series equipment as
well as country-specific and special equipment
offered for this model series. Therefore, it also
describes equipment that may not be found in
your vehicle, for instance due to the selected
special equipment or the country version. This
also applies to safety-related functions and sys‐
tems.
When using the features and systems described
here, adhere to local regulations.General information
Instructions for voice activation system, refer to
page 24.
To have the available spoken instructions read
out loud: ›Voice commands‹
The following short commands apply to vehi‐
cles equipped with a voice activation system.
They have no function in vehicles in which only
the mobile phone is operated using the voice.
Adjusting
Vehicle
FunctionCommandOpens the main menu.›Main menu‹Open the options.›Options‹Open the settings.›Settings‹Settings on the Control Display.›Control display‹Open the time and date.›Time and date‹Open the language and units.›Language and units‹Open the speed limit.›Speed‹Open the light.›Lighting‹Open the door lock.›Door locks‹Seite 262REFERENCEShort commands for voice activation262
Online Edition for Part no. 01 40 2 961 110 - II/15
Page 275 of 283

iDrive, changing the units ofmeasure and display for‐
mat 71
iDrive, setting the bright‐ ness 73
Ignition 58
Ignition key position 1, refer to Radio ready state 57
Ignition key position 2, refer to Ignition on 58
Ignition key, refer to Remote control with integrated
key 30
Ignition lock 57
Ignition, switched off 58
Ignition, switched on 58
Indicator and warning lamps, Tire Pressure Monitor
TPM 87
Indicator and warning lights 15
Individual air distribution 100
Inflation pressure monitor, re‐ fer to Flat Tire Monitor 84
Inflation pressure monitor, re‐ fer to Tire Pressure Monitor
TPM 86
Inflation pressure, refer to Tire inflation pressure 216
Information on the navigation data 132
Initializing, compass, refer to Calibrating 108
Initializing, Flat Tire Monitor FTM 85
Initializing, glass sunroof, electrical 41
Initializing, refer to Setting the time and date 71
Instrument cluster, refer to Displays 14
Instrument lighting 79
Instruments, refer to Cock‐ pit 12
Integrated key 30 Integrated universal remote
control 105
Interactive map 139
Interior equipment 105
Interior lights 80
Interior lights, remote con‐ trol 33
Interior mirror 50
Interior motion sensor 40
Interior rearview mirror, com‐ pass 107
Interior temperature, setting, air conditioner 99
Interior temperature, setting, automatic climate con‐
trol 101
Internet page 6
Intersection, entering for navi‐ gation 135
J
Jump-starting 245
K Keyless Go, refer to Comfort Access 37
Keyless opening and closing, refer to Comfort Access 37
Key Memory, refer to Personal Profile 30
Key, refer to Remote control with integrated key 30
Kickdown, Steptronic trans‐ mission 65
Knee airbag 81
Knocking control 214
L Lamp and bulb replacement, bulb replacement 236
Lamp, replacing, refer to Lamp and bulb replace‐
ment 236 Lamps 77
Lamps, automatic headlight control 77
Language, changing on the Control Display 72
Lap-and-shoulder belt, refer to Safety belts 46
LATCH child restraint fixing system 53
Leather, care 252
Leather care 252
LEDs, light-emitting di‐ odes 236
Letters and numbers, enter‐ ing 22
License plate light, bulb re‐ placement 240
Light-alloy wheels, care 253
Light-emitting diodes, LEDs 236
Lighter, socket 109
Lighting, instruments 79
Lighting, lamp and bulb re‐ placement 236
Lighting, vehicle, refer to Lamps 77
Lights, parking lamps/low beams 77
Light switch 77
Limit, refer to Speed limit 90
Lock buttons on doors, refer to Locking 35
Locking from the inside 35
Locking, from the outside 33
Locking, setting the confirma‐ tion signal 33
Locking the vehicle from the inside 34
Locking vehicle, from the out‐ side 32
Locking without remote con‐ trol, refer to Comfort Ac‐
cess 37
Longlife oils, alternative oil types 231 Seite 273Everything from A to ZREFERENCE273
Online Edition for Part no. 01 40 2 961 110 - II/15
Page 278 of 283

Remote control, servicedata 233
Remote control, univer‐ sal 105
Remote inquiry, hands-free system 181
Remote inquiry, mobile phone preparation package 193
Replacement remote con‐ trol 30
Replacing wheels/tires 223
Reporting safety defects 9
Reserve warning, refer to Fuel gauge 68
Reservoir for washer fluid, re‐ fer to Washer fluid reser‐
voir 63
Restraining systems, refer to Safety belts 46
Restraint systems for chil‐ dren 52
Retreaded tires 223
Reverse gear, manual trans‐ mission 64
Road, avoiding 143
Road detour 143
Roadside Assistance 245
Roadside parking light, bulb replacement 238
Roadside parking lights 78
RON recommended fuel grade 214
RON, refer to Fuel quality 214
Route 144
Route criteria, route 143
Route, displaying 144
Route section, bypassing 144
Rubber seals, care 253
Run-flat tires 224
Run-flat tires, flat tire 85
Run-flat tires, tire inflation pressure 216
S
Safe braking 121 Safety 6
Safety belts 46
Safety belts, care 253
Safety belts, damage 48
Safety belts, indicator/warning lamp 48
Safety belts, rear center safety belt 47
Safety belts, reminder 48
Safety systems, airbags 81
Safety systems, safety belts 46
Satellite radio 158
Saving fuel 128
Scale, changing during navi‐ gation 147
Screen, see Control Display 18
Seat adjustment 45
Seat adjustment, manual 44
Seat heating 46
Seats 44
Seats, adjusting 44
Seats, heating 46
Seats, sitting safely 44
Selector lever lock, overrid‐ ing 66
Selector lever lock, refer to Se‐ lector level positions, chang‐
ing, shiftlock 64
Selector lever positions, Step‐ tronic transmission 64
Selector lever, Steptronic transmission 64
Service and warranty 7
Service data in the remote control 233
Service interval display, refer to Condition Based Service
CBS 233
Service interval display, refer to Service requirements 73
Service requirements 73
Service requirements, CBS Condition Based Service 233
Settings and information 70 Settings, changing on the
Control Display 72
Settings, clock, 12h/24h mode 71
Settings, configuring, refer to Personal Profile 30
Settings, language 72
Shifting, manual transmis‐ sion 63
Shifting, Steptronic transmis‐ sion 65
Shift lever, Steptronic trans‐ mission 64
Shift paddles on the steering wheel 65
Short commands, voice acti‐ vation 262
Side airbags 81
Side windows, refer to Win‐ dows 41
Sitting safely 44
Sliding/tilting sunroof, refer to Glass sunroof, electrical 40
Slot for remote control 57
Snap-in adapter, mobile phone 198
Snow chains 227
Socket, OBD Onboard Diagno‐ sis 234
Software applications, iPhone 207
Software part number, hands- free system 178
Software part number, mobile phone preparation 188
Software update 174
Special destinations, naviga‐ tion 138
Special equipment, series equipment 6
Speed, average 69
Speed limit 90
Speed limit, setting 90
Speedometer 14
Speed, with winter tires 224 Seite 276REFERENCEEverything from A to Z276
Online Edition for Part no. 01 40 2 961 110 - II/15