2015 MERCEDES-BENZ S-Class Rear seat
[x] Cancel search: Rear seatPage 329 of 502
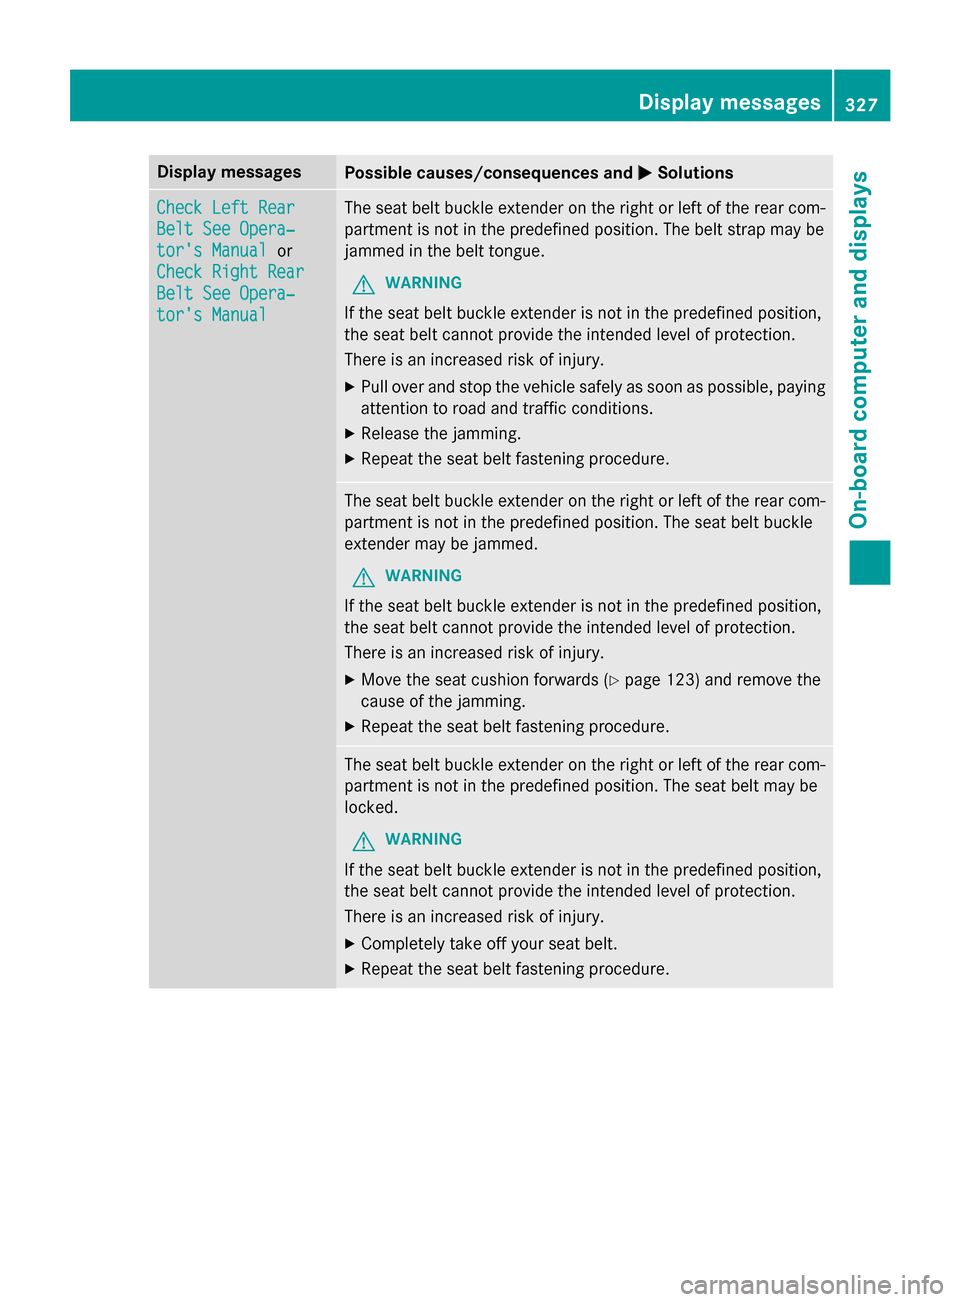
Display messages
Possible causes/consequences and
M
MSolutions Check Left Rear
Check Left Rear
Belt See Opera‐ Belt See Opera‐
tor's Manual tor's Manual
or
Check Right Rear
Check Right Rear
Belt See Opera‐ Belt See Opera‐
tor's Manual tor's Manual The seat belt buckle extender on the right or left of the rear com-
partment is not in the predefined position. The belt strap may be
jammed in the belt tongue.
G WARNING
If the seat belt buckle extender is not in the predefined position,
the seat belt cannot provide the intended level of protection.
There is an increased risk of injury. X Pull over and stop the vehicle safely as soon as possible, paying
attention to road and traffic conditions.
X Release the jamming.
X Repeat the seat belt fastening procedure. The seat belt buckle extender on the right or left of the rear com-
partment is not in the predefined position. The seat belt buckle
extender may be jammed.
G WARNING
If the seat belt buckle extender is not in the predefined position,
the seat belt cannot provide the intended level of protection.
There is an increased risk of injury. X Move the seat cushion forwards (Y page 123) and remove the
cause of the jamming.
X Repeat the seat belt fastening procedure. The seat belt buckle extender on the right or left of the rear com-
partment is not in the predefined position. The seat belt may be
locked.
G WARNING
If the seat belt buckle extender is not in the predefined position,
the seat belt cannot provide the intended level of protection.
There is an increased risk of injury. X Completely take off your seat belt.
X Repeat the seat belt fastening procedure. Display
messages
327On-board computer and displays Z
Page 330 of 502
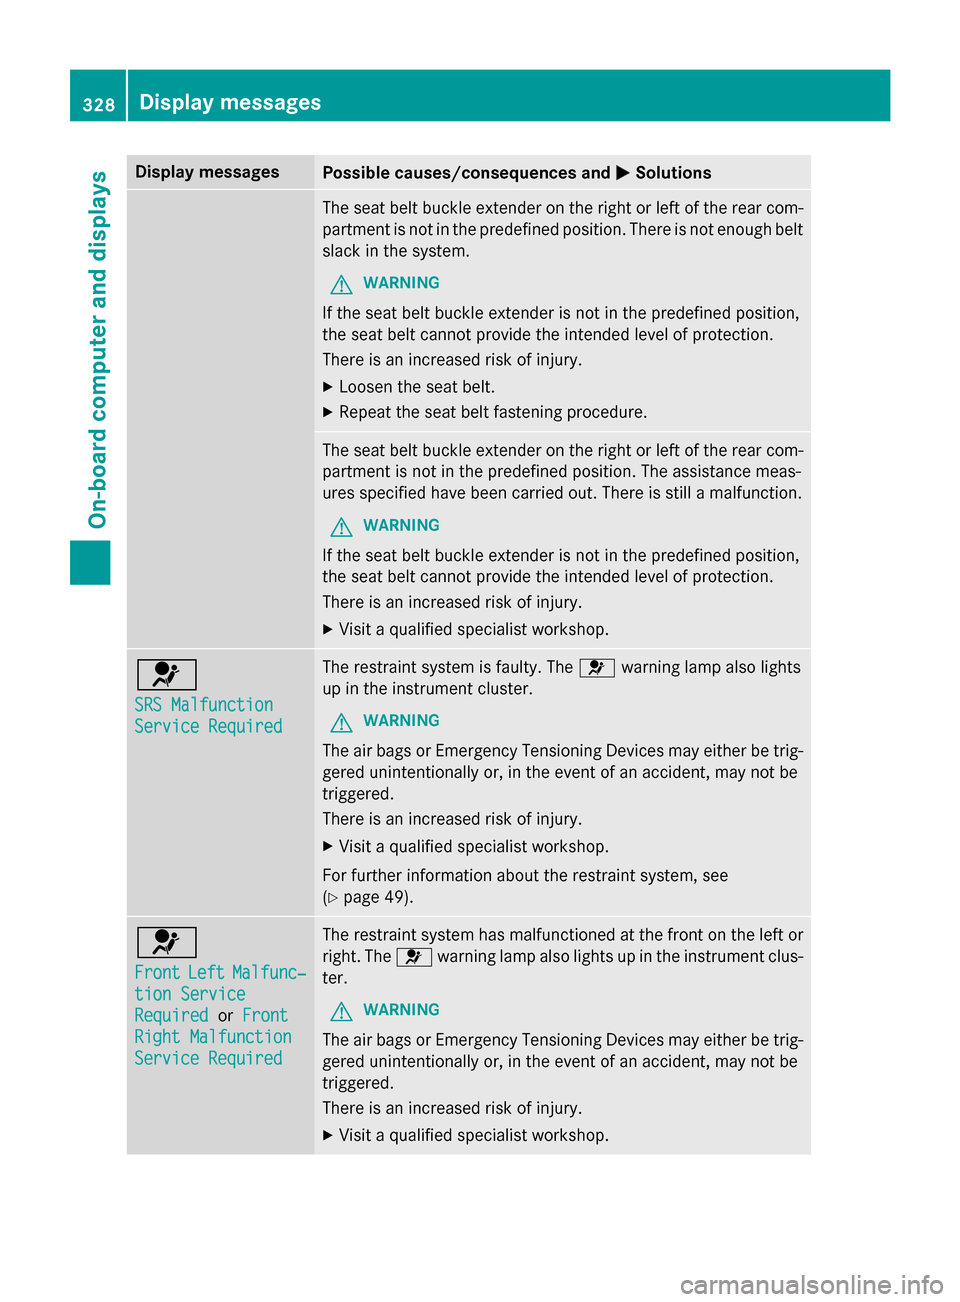
Display messages
Possible causes/consequences and
M
MSolutions The seat belt buckle extender on the right or left of the rear com-
partment is not in the predefined position. There is not enough belt slack in the system.
G WARNING
If the seat belt buckle extender is not in the predefined position,
the seat belt cannot provide the intended level of protection.
There is an increased risk of injury. X Loosen the seat belt.
X Repeat the seat belt fastening procedure. The seat belt buckle extender on the right or left of the rear com-
partment is not in the predefined position. The assistance meas-
ures specified have been carried out. There is still a malfunction.
G WARNING
If the seat belt buckle extender is not in the predefined position,
the seat belt cannot provide the intended level of protection.
There is an increased risk of injury. X Visit a qualified specialist workshop. 6
SRS Malfunction SRS Malfunction
Service Required Service Required The restraint system is faulty. The
6warning lamp also lights
up in the instrument cluster.
G WARNING
The air bags or Emergency Tensioning Devices may either be trig- gered unintentionally or, in the event of an accident, may not be
triggered.
There is an increased risk of injury.
X Visit a qualified specialist workshop.
For further information about the restraint system, see
(Y page 49). 6
Front Front
Left
LeftMalfunc‐
Malfunc‐
tion Service
tion Service
Required Required orFront
Front
Right Malfunction
Right Malfunction
Service Required Service Required The restraint system has malfunctioned at the front on the left or
right. The 6warning lamp also lights up in the instrument clus-
ter.
G WARNING
The air bags or Emergency Tensioning Devices may either be trig- gered unintentionally or, in the event of an accident, may not be
triggered.
There is an increased risk of injury.
X Visit a qualified specialist workshop. 328
Display
messagesOn-board computer and displays
Page 331 of 502

Display messages
Possible causes/consequences and
M
MSolutions 6
Rear Left Malfunc‐ Rear Left Malfunc‐
tion Service tion Service
Required Required
orRear
Rear
Right Malfunction
Right Malfunction
Service Required Service Required The restraint system has malfunctioned at the rear on the left or
right. The 6warning lamp also lights up in the instrument clus-
ter.
G WARNING
The air bags or Emergency Tensioning Devices may either be trig- gered unintentionally or, in the event of an accident, may not be
triggered.
There is an increased risk of injury.
X Visit a qualified specialist workshop. 6
Rear Left Malfunc‐ Rear Left Malfunc‐
tion Service tion Service
Required Required
orRear
Rear
Right Malfunction
Right Malfunction
Service Required Service Required G
WARNING
If the seat belt buckle extender is not in the predefined position,
the seat belt cannot provide the intended level of protection.
There is an increased risk of injury. X Pull over and stop the vehicle safely as soon as possible, paying
attention to road and traffic conditions.
X Perform the specified assistance measures when display mes-
sage Check Left Rear Belt See Operator's Manual Check Left Rear Belt See Operator's Manual or
Check
Check Right
RightRear
RearBelt
Belt See
SeeOperator's
Operator's Manual
Manualis shown
(Y page 327).
If the display message does not disappear:
X Visit a qualified specialist workshop immediately. 6
Rear Center Mal‐ Rear Center Mal‐
function Service function Service
Required Required The restraint system has malfunctioned at the rear center. The
6 warning lamp also lights up in the instrument cluster.
G WARNING
The air bags or Emergency Tensioning Devices may either be trig- gered unintentionally or, in the event of an accident, may not be
triggered.
There is an increased risk of injury.
X Visit a qualified specialist workshop. Display
messages
329On-board computer and displays Z
Page 335 of 502

Display messages
Possible causes/consequences and
M
MSolutions Disabled
Disabled
See
SeeOperator's
Operator's Manual
Manualmust not appear in the
multifunction display.
X Wait for a period of at least 60 seconds until the necessary sys-
tem checks have been completed.
X Make sure that the display messages do not appear in the mul-
tifunction display.
If these conditions are fulfilled, the front-passenger seat can be
occupied again. Whether the PASSENGER AIR BAG OFF or ON
indicator lamp remains lit or goes out depends on how OCS clas- sifies the occupant.
If the conditions are not fulfilled, the system is not operating cor-rectly.
X Visit a qualified specialist workshop immediately.
For further information about the Occupant Classification System, see (Y page 60). Lights
i Vehicles with LED bulbs in the lamp units:
The display message for the corresponding light will only appear if all the LEDs have failed. Display messages
Possible causes/consequences and
M MSolutions b
Check Left Corner‐ Check Left Corner‐
ing Light ing Light
orCheck
Check
Right Cornering
Right Cornering
Light Light The left or right-hand cornering light is defective.
X Visit a qualified specialist workshop. b
Check Left Low Check Left Low
Beam Beam
orCheck
Check
Right Low Beam
Right Low Beam The left or right-hand low-beam headlamp is defective.
X Visit a qualified specialist workshop. b
Check Rear Left Check Rear Left
Turn Signal Turn Signal
or
Check Rear Right
Check Rear Right
Turn Signal Turn Signal The rear left-hand or rear right-hand turn signal is defective.
X Visit a qualified specialist workshop. Display
messages
333On-board computer and displays Z
Page 355 of 502
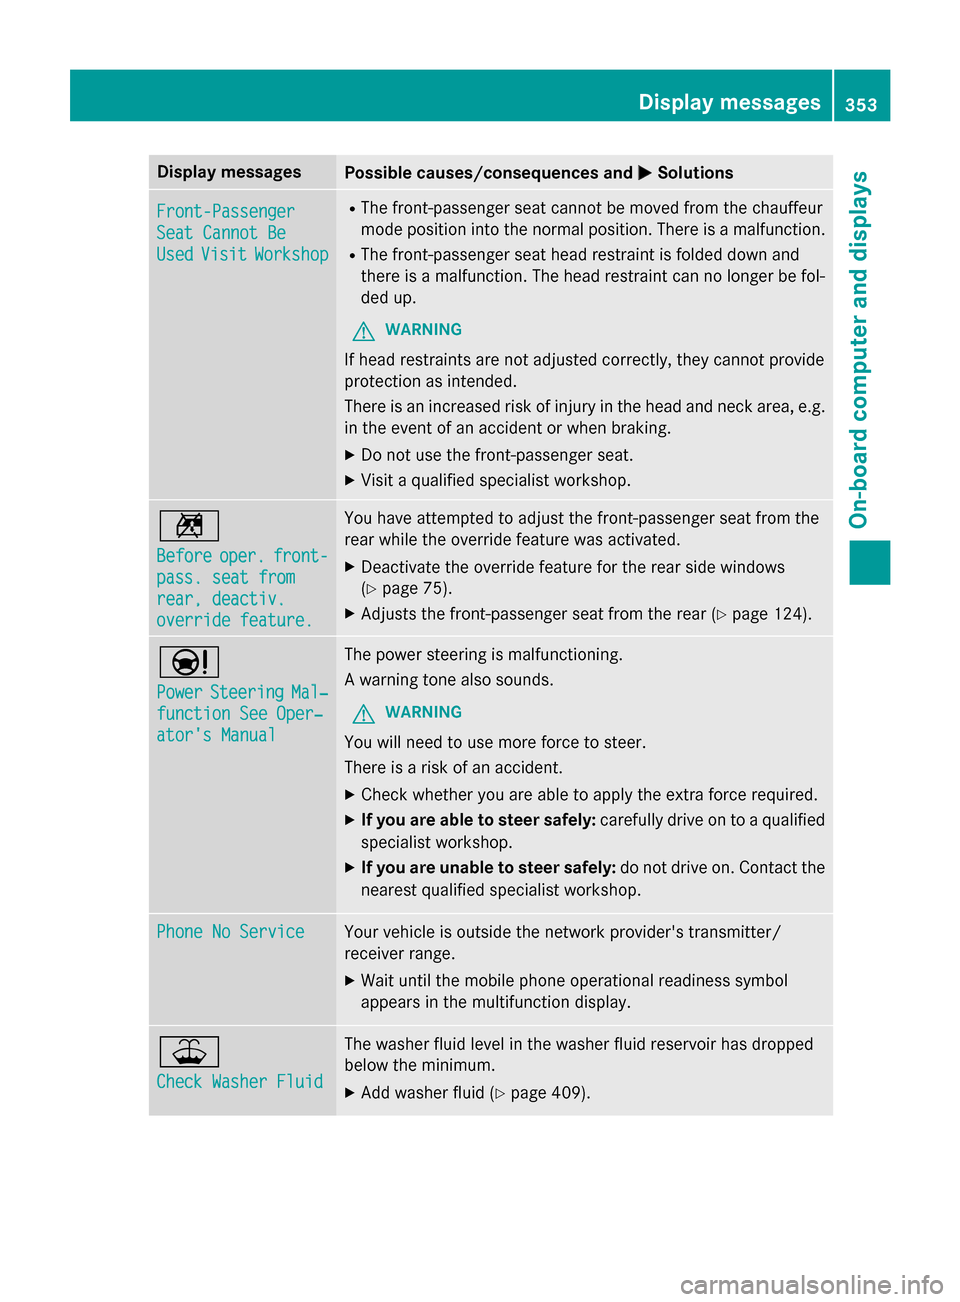
Display messages
Possible causes/consequences and
M
MSolutions Front-Passenger
Front-Passenger
Seat Cannot Be Seat Cannot Be
Used Used
Visit
Visit Workshop
Workshop R
The front-passenger seat cannot be moved from the chauffeur
mode position into the normal position. There is a malfunction.
R The front-passenger seat head restraint is folded down and
there is a malfunction. The head restraint can no longer be fol-
ded up.
G WARNING
If head restraints are not adjusted correctly, they cannot provide
protection as intended.
There is an increased risk of injury in the head and neck area, e.g. in the event of an accident or when braking.
X Do not use the front-passenger seat.
X Visit a qualified specialist workshop. n
Before Before
oper.
oper.front-
front-
pass. seat from
pass. seat from
rear, deactiv. rear, deactiv.
override feature. override feature. You have attempted to adjust the front-passenger seat from the
rear while the override feature was activated.
X Deactivate the override feature for the rear side windows
(Y page 75).
X Adjusts the front-passenger seat from the rear (Y page 124).Ð
Power Power
Steering
Steering Mal‐
Mal‐
function See Oper‐
function See Oper‐
ator's Manual ator's Manual The power steering is malfunctioning.
A warning tone also sounds.
G WARNING
You will need to use more force to steer.
There is a risk of an accident. X Check whether you are able to apply the extra force required.
X If you are able to steer safely: carefully drive on to a qualified
specialist workshop.
X If you are unable to steer safely: do not drive on. Contact the
nearest qualified specialist workshop. Phone No Service Phone No Service Your vehicle is outside the network provider's transmitter/
receiver range.
X Wait until the mobile phone operational readiness symbol
appears in the multifunction display. ¥
Check Washer Fluid Check Washer Fluid The washer fluid level in the washer fluid reservoir has dropped
below the minimum.
X Add washer fluid (Y page 409). Display
messages
353On-board computer and displays Z
Page 376 of 502
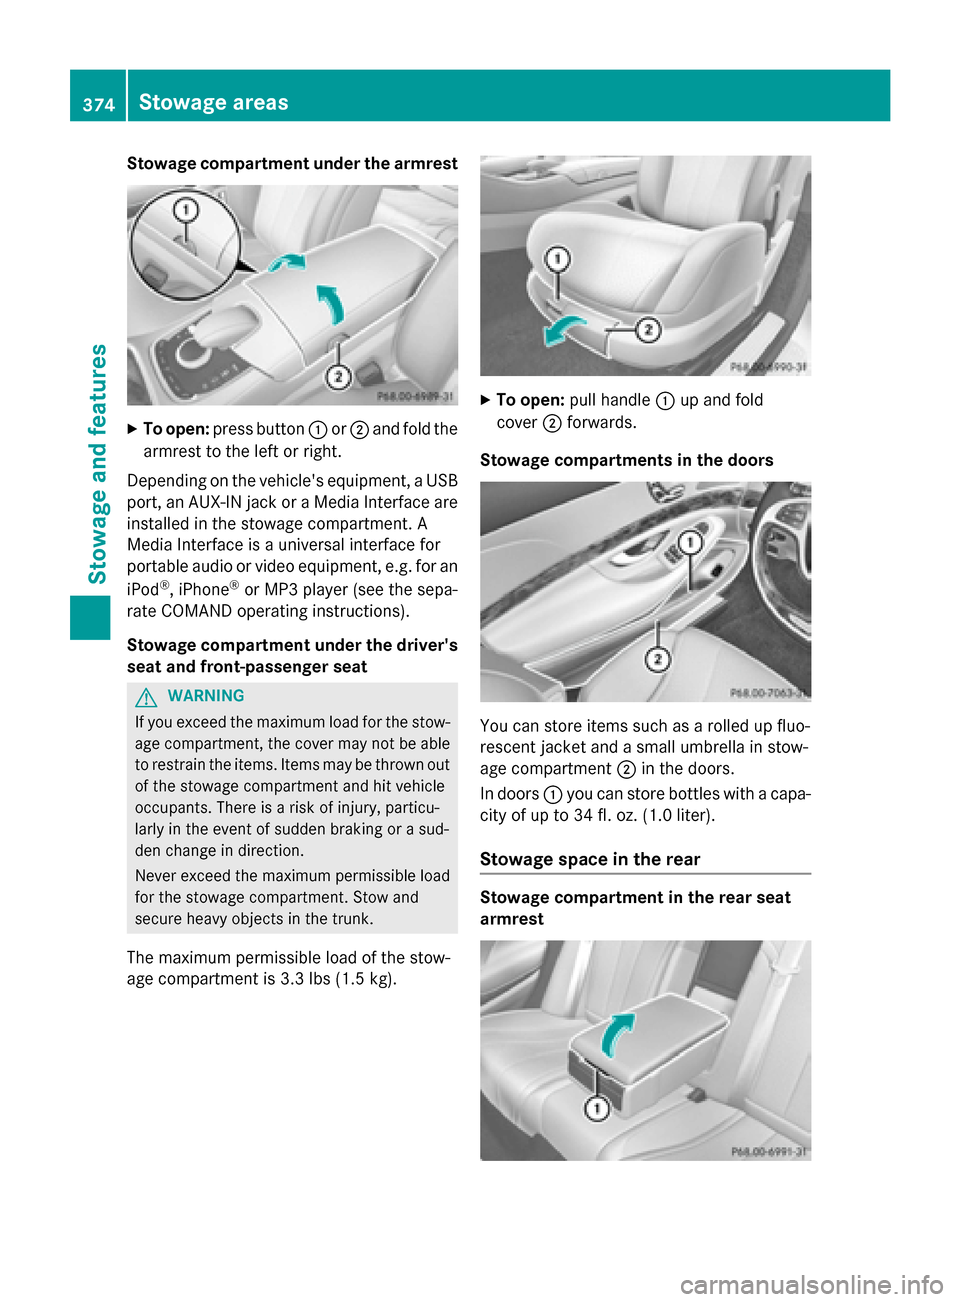
Stowage compartment under the armrest
X
To open: press button :or; and fold the
armrest to the left or right.
Depending on the vehicle's equipment, a USB port, an AUX-IN jack or a Media Interface areinstalled in the stowage compartment. A
Media Interface is a universal interface for
portable audio or video equipment, e.g. for an
iPod ®
, iPhone ®
or MP3 player (see the sepa-
rate COMAND operating instructions).
Stowage compartment under the driver's seat and front-passenger seat G
WARNING
If you exceed the maximum load for the stow- age compartment, the cover may not be ableto restrain the items. Items may be thrown out
of the stowage compartment and hit vehicle
occupants. There is a risk of injury, particu-
larly in the event of sudden braking or a sud-
den change in direction.
Never exceed the maximum permissible load
for the stowage compartment. Stow and
secure heavy objects in the trunk.
The maximum permissible load of the stow-
age compartment is 3.3 lbs (1.5 kg). X
To open: pull handle :up and fold
cover ;forwards.
Stowage compartments in the doors You can store items such as a rolled up fluo-
rescent jacket and a small umbrella in stow-
age compartment
;in the doors.
In doors :you can store bottles with a capa-
city of up to 34 fl. oz. (1.0 liter).
Stowage space in the rear Stowage compartment in the rear seat
armrest374
Stowage areasStowage and features
Page 377 of 502
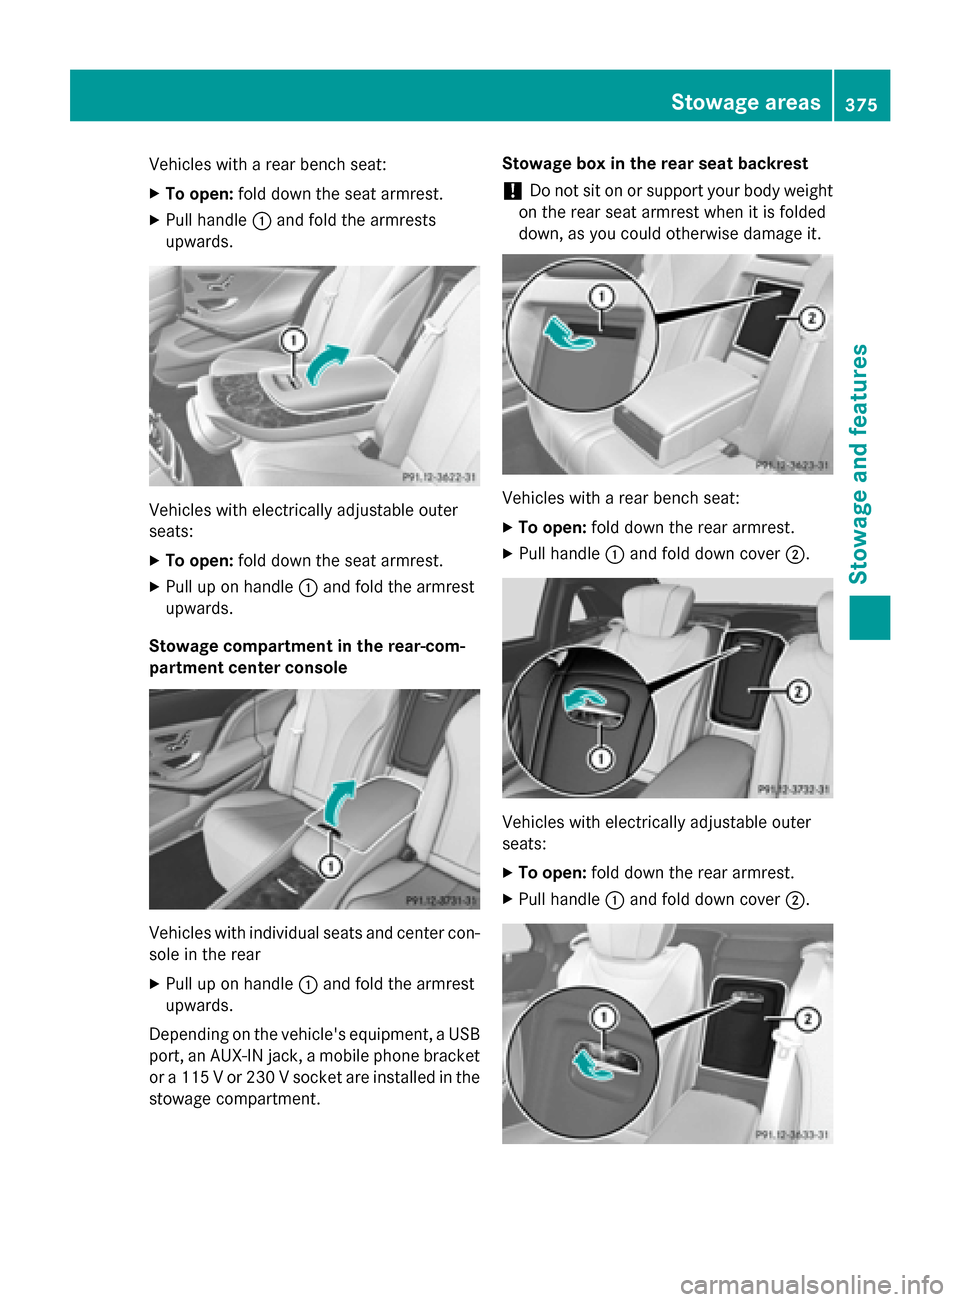
Vehicles with a rear bench seat:
X To open: fold down the seat armrest.
X Pull handle :and fold the armrests
upwards. Vehicles with electrically adjustable outer
seats:
X To open: fold down the seat armrest.
X Pull up on handle :and fold the armrest
upwards.
Stowage compartment in the rear-com-
partment center console Vehicles with individual seats and center con-
sole in the rear
X Pull up on handle :and fold the armrest
upwards.
Depending on the vehicle's equipment, a USB port, an AUX-IN jack, a mobile phone bracketor a 115 V or 230 V socket are installed in the
stowage compartment. Stowage box in the rear seat backrest
! Do not sit on or support your body weight
on the rear seat armrest when it is folded
down, as you could otherwise damage it. Vehicles with a rear bench seat:
X To open: fold down the rear armrest.
X Pull handle :and fold down cover ;. Vehicles with electrically adjustable outer
seats:
X To open: fold down the rear armrest.
X Pull handle :and fold down cover ;. Stowage areas
375Stowage and features Z
Page 378 of 502
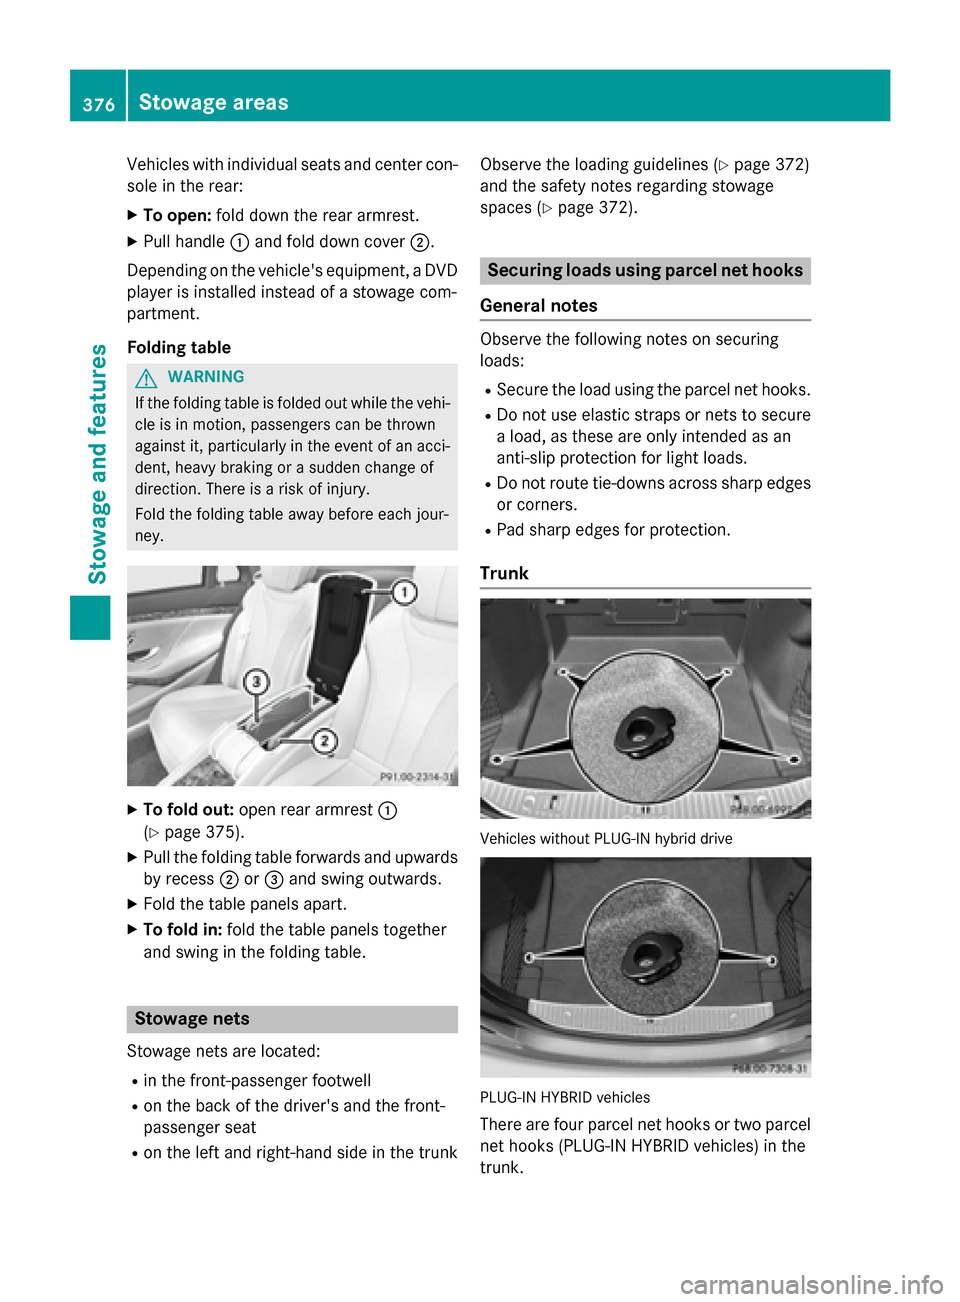
Vehicles with individual seats and center con-
sole in the rear:
X To open: fold down the rear armrest.
X Pull handle :and fold down cover ;.
Depending on the vehicle's equipment, a DVD player is installed instead of a stowage com-
partment.
Folding table G
WARNING
If the folding table is folded out while the vehi- cle is in motion, passengers can be thrown
against it, particularly in the event of an acci- dent, heavy braking or a sudden change of
direction. There is a risk of injury.
Fold the folding table away before each jour-
ney. X
To fold out: open rear armrest :
(Y page 375).
X Pull the folding table forwards and upwards
by recess ;or= and swing outwards.
X Fold the table panels apart.
X To fold in: fold the table panels together
and swing in the folding table. Stowage nets
Stowage nets are located: R in the front-passenger footwell
R on the back of the driver's and the front-
passenger seat
R on the left and right-hand side in the trunk Observe the loading guidelines (Y
page 372)
and the safety notes regarding stowage
spaces (Y page 372). Securing loads using parcel net hooks
General notes Observe the following notes on securing
loads:
R Secure the load using the parcel net hooks.
R Do not use elastic straps or nets to secure
a load, as these are only intended as an
anti-slip protection for light loads.
R Do not route tie-downs across sharp edges
or corners.
R Pad sharp edges for protection.
Trunk Vehicles without PLUG-IN hybrid drive
PLUG-IN HYBRID vehicles
There are four parcel net hooks or two parcel net hooks (PLUG-IN HYBRID vehicles) in the
trunk. 376
Stowage areasStowage and features