2015 MERCEDES-BENZ S-Class set tv
[x] Cancel search: set tvPage 273 of 298

the remote control and press the
008Bbutton
to confirm.
You will see a menu with the available vehi-
cle functions.
X Select Vehicle Settings
Vehicle Settings orSeat Set‐ Seat Set‐
tings
tings using the 00590065 buttons.
X Press the 008Bbutton on the remote control.
Further information on seat settings
(Y page 63).
Further information on panel heating
(Y page 59).
i The panel heating in the rear compart-
ment is available if the key in the ignition
lock is in position 1or 2. Navigation mode
Navigation functions such as the compass
can be used in the rear compartment.
Calling up Drive Information
X Press the 00BEbutton on the remote
control.
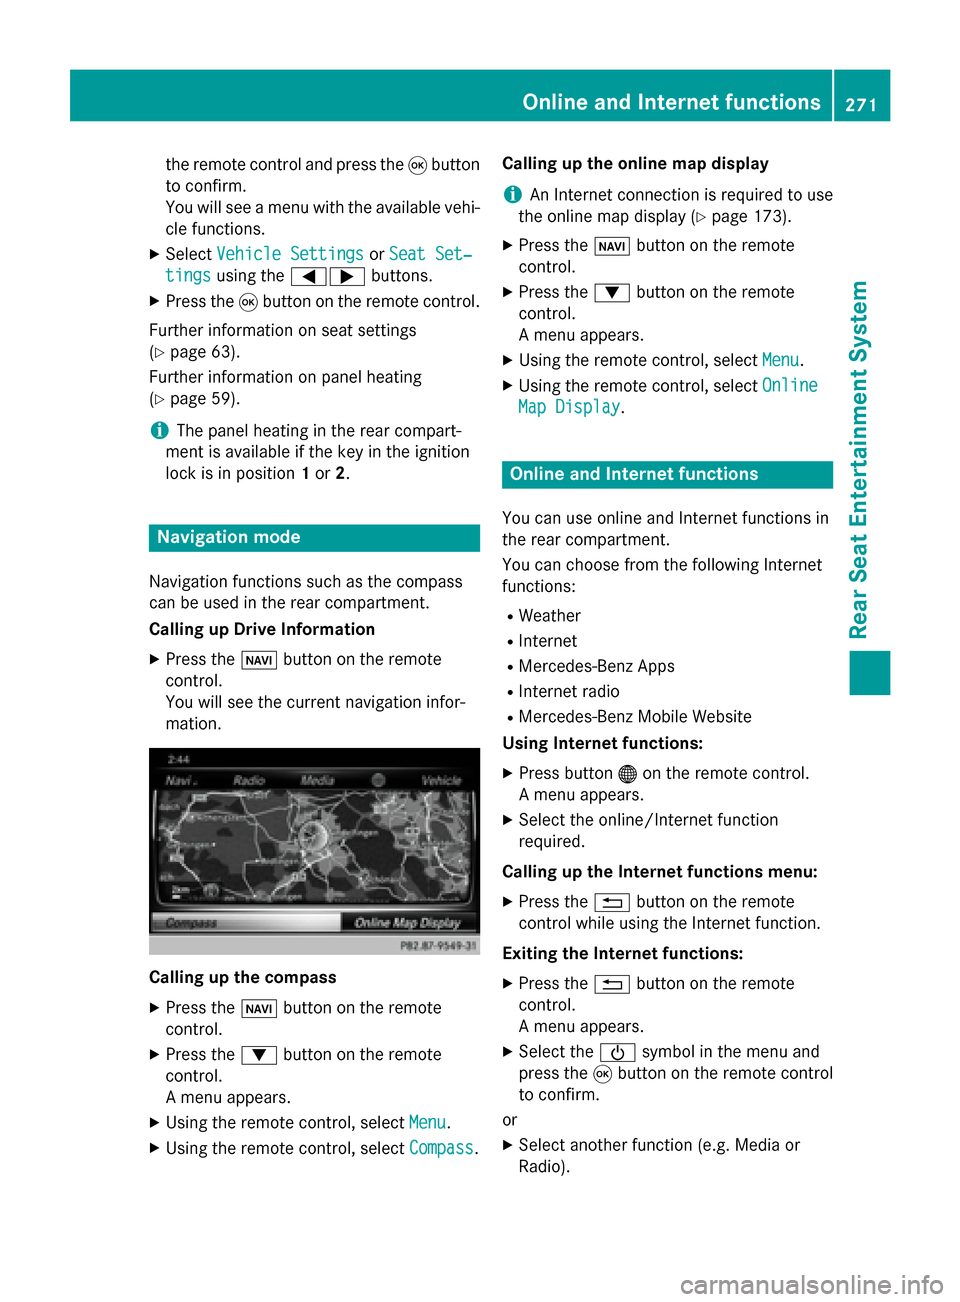
You will see the current navigation infor-
mation. Calling up the compass
X
Press the 00BEbutton on the remote
control.
X Press the 0064button on the remote
control.
A menu appears.
X Using the remote control, select Menu
Menu.
X Using the remote control, select Compass Compass.Calling up the online map display
i
An Internet connection is required to use
the online map display (Y page 173).
X Press the 00BEbutton on the remote
control.
X Press the 0064button on the remote
control.
A menu appears.
X Using the remote control, select Menu Menu.
X Using the remote control, select Online
Online
Map Display
Map Display. Online and Internet functions
You can use online and Internet functions in
the rear compartment.
You can choose from the following Internet
functions:
R Weather
R Internet
R Mercedes-Benz Apps
R Internet radio
R Mercedes-Benz Mobile Website
Using Internet functions:
X Press button 00A7on the remote control.
A menu appears.
X Select the online/Internet function
required.
Calling up the Internet functions menu:
X Press the 0038button on the remote
control while using the Internet function.
Exiting the Internet functions: X Press the 0038button on the remote
control.
A menu appears.
X Select the 00D0symbol in the menu and
press the 008Bbutton on the remote control
to confirm.
or
X Select another function (e.g. Media or
Radio). Online and Internet functions
271Rear Seat Entertainment System Z
Page 274 of 298

Radio mode
X To switch on: press the002Abutton on
the remote control.
Radio mode starts.
Further information on radio mode
(Y page 198). Media mode
Activating media mode
There are several ways to activate media
sources using COMAND.
The relevant sections of the Operator's Man-
ual describe the simplest way to activate a
media source.
This section describes all options for activat-
ing media sources. Using the MEDIA button
X Press the 00FDbutton on the remote
control.
The menu for the last accessed media
source appears.
X To select the media source: keep press-
ing the 00FDbutton on the remote control
until the required media source has been
set.
If playable music files are found, they will be
played by COMAND. Switching on automatically
If COMAND is only active at one operating
position in the rear compartment, the respec-
tive medium will switch on automatically once connected/inserted.
If a media function is already switched on in
COMAND, this will be interrupted and the
basic display of the newly connected/
inserted medium will appear.
If COMAND is being operated in another func-
tion, such as navigation, when an external media source is connected/inserted, the
basic display will not change. Only the music
from the newly connected data carrier will
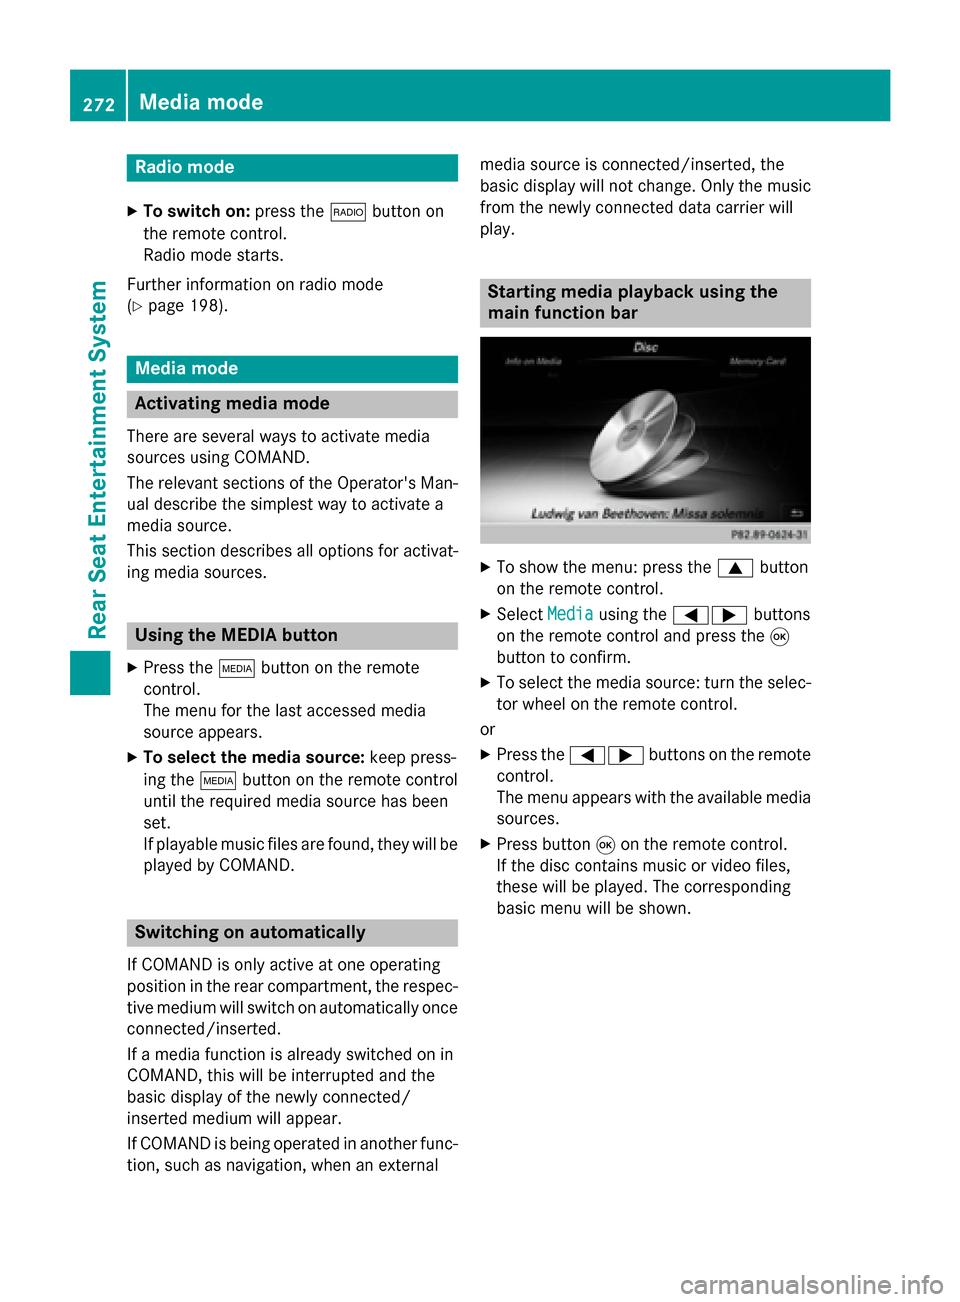
play. Starting media playback using the
main function bar
X
To show the menu: press the 0063button
on the remote control.
X Select Media Mediausing the 00590065 buttons
on the remote control and press the 008B
button to confirm.
X To select the media source: turn the selec-
tor wheel on the remote control.
or
X Press the 00590065 buttons on the remote
control.
The menu appears with the available media
sources.
X Press button 008Bon the remote control.
If the disc contains music or video files,
these will be played. The corresponding
basic menu will be shown. 272
Media modeRear Seat Entertainment System
Page 275 of 298

Starting media using the device list
X
Press the 00FDbutton on the remote
control.
X To show the menu: press the 0064button
on the remote control.
X Using the 006400590065 buttons on the
remote control, select Devices
Devices.
The discs/devices available are shown. The 003B dot indicates the current setting.
X Select the device/disc using the 00640063
buttons and press the 008Bbutton to confirm.
If the device/disc contains music or video
files, these will be played. Music search
The media source has already been
selected:
X Press button 0064on the remote control.
The menu is shown.
X Select Search Search using the 00590065 buttons
on the remote control and press the 008B
button to confirm.
The media source has not been selected
yet:
X To select the media source: keep pressing
the 00FD button on the remote control until
the desired media source has been set.
X Press button 0064on the remote control.
The menu is shown.
X Select Search Search using the 00590065 buttons
on the remote control and press the 008B
button to confirm. Further information on the music search
(Y
page 220). Audio/video mode
Important safety notes
G
WARNING
The CD/DVD drive is a class 1 laser product. If you open the housing of the CD/DVD drive,
there is a risk of exposure to invisible laser
radiation. This laser radiation could damage
your retina. There is a risk of injury.
Never open the housing. Always have main-
tenance and repair work carried out at a quali- fied specialist workshop. General notes
You will find information on the following top- ics in the Audio section:
R notes on CDs/DVDs (Y page 220)
R notes on MP3 mode (Y page 219)
R notes on copyright (Y page 220) Inserting a CD/DVD
0043
Disc slot
0044 Disc eject button Audio/video mode
273Rear Seat Entertainment System Z
Page 280 of 298

X
Option 1: while the film is playing, press
the 007E button on the remote control.
X Press the corresponding number key, such
as 5.
X Option 2: while the film is playing, press
the 008Bbutton on the remote control and
show the menu.
X Select Menu
Menu and press the 008Bbutton to
confirm.
The DVD menu appears.
X Select Scene
Scene Selection Selection and press the 008B
button to confirm.
X Using button 0063or0064, select 5
5and
press the 008Bbutton to confirm.
In both cases, playback will begin from the 5th scene/chapter after a brief pause. Selecting a film/track
Option 1:
X Press the 008Bbutton on the remote control
and show the menu.
X Select Menu
Menuusing the 0063006400590065
buttons on the remote control and press
the 008Bbutton to confirm.
The DVD menu appears.
X Select Track Selection
Track Selection using the
0063006400590065 buttons on the
remote control and press the 008Bbutton to
confirm.
X To call up the selection list: press the008B
button.
X Select a film/track.
Option 2:
Example: selecting film 2
X Press button 2.
After a brief pause, the second film is
played. DVD menu
Calling up the DVD menu The DVD menu is the menu stored on the DVD
itself. It is structured in various ways accord-
ing to the individual DVD and permits certain
actions and settings.
In the case of multi-language DVDs, for exam- ple, you can change the DVD language in the
DVD menu.
X Press the 008Bbutton on the remote control
and show the menu.
X Select Menu Menuusing the 0063006400590065
buttons on the remote control and press
the 008Bbutton to confirm.
The DVD menu appears.
Selecting menu items in the DVD menu X
Select a menu item using the
0063006400590065 buttons on the
remote control and press the 008Bbutton to
confirm.
X Select Select Select using the
0063006400590065 buttons on the
remote control and press the 008Bbutton to
confirm.
The system executes the function or shows a submenu.
X If available, additional options can now be
selected.
The system then switches back to the DVD
menu.
i Menu items which cannot be selected are
shown in gray.
i Depending on the DVD, certain menu
items may not function. For example, the
menu items:
R Back (to film) Back (to film)
R Play
Play
R Stop
Stop
R 0048
R 0049
R Go Up
Go Up. 278
Video DVD modeRear Seat Entertainment System
Page 281 of 298

To indicate this, the
0047symbol appears in
the display.
Stopping a film or skipping to the begin-
ning or end of a scene X
Select any menu item from the DVD menu.
The menu appears.
X To stop the film: select theStop
Stopmenu
item and press the 008Bbutton on the remote
control to confirm.
X To skip to the end of a scene: select the
0049 menu item and press 008Bto confirm.
X To skip to the start of a scene: select the
0048 menu item and press 008Bto confirm.
Moving up one level in the DVD menu X
Show the DVD menu.
X Press the 0038back button on the remote
control or select the corresponding menu
item in the DVD menu.
Back to the film X
Press the 0038back button repeatedly
until you see the movie. Setting the audio format
This function is not available on all DVDs. If it
is available, you can set the audio language or the audio format. The number of settings is
determined by the DVD content. It may also
be possible to access the settings from the
DVD menu.
X Press the 008Bbutton on the remote control
and show the menu.
X Select DVD-Video
DVD-Video using the
0063006400590065 buttons on the
remote control and press the 008Bbutton to
confirm.
X Select DVD Functions
DVD Functions and press the008B
button to confirm. X
Select Audio Language Audio Language and press the008B
button to confirm.
A menu appears after a short while. The 003B
dot in front of an entry indicates the cur-
rently selected language.
X Select the language using the 00630064
buttons and press the 008Bbutton to confirm.
X To exit the menu: press the0059or0065
button. Subtitles and camera angle
These functions are not available on all DVDs.
The number of subtitle languages and camera
angles available depends on the content of
the DVD. It may also be possible to access the settings from the DVD menu.
X Press the 008Bbutton on the remote control
and show the menu.
X Select DVD-Video DVD-Video using the
0063006400590065 buttons on the
remote control and press the 008Bbutton to
confirm.
X Select DVD Functions
DVD Functions and press the008B
button to confirm.
X Select Subtitles
Subtitles orCamera Angle
Camera Angle and
press the 008Bbutton to confirm.
In both cases, a menu appears after a few
seconds. The 003Bdot in front of an entry indi-
cates the current setting.
X Select the setting using the 00630064but-
tons and press the 008Bbutton to confirm.
X To exit the menu: press the0059or0065
button. Interactive content
DVDs can also contain interactive content
(e.g. a video game). In a video game, you may be able to influence events by selecting and
triggering actions. The type and number of
actions depend on the DVD. Video DVD mode
279Rear Seat Entertainment System Z
Page 287 of 298

ter bar. You can limit the search using the
character bar.
X To select state/province or city: enter the
first few letters by turning and pressing the
controller.
X To switch to the list without the character
bar: slide 5or select ok
ok.
X To delete an entry: select 0084in the char-
acter bar and press the controller.
Pressing briefly deletes the last letter
entered.
Pressing and holding longer deletes the
entire entry.
X To select the state/province or city from
the list: turn and press the controller.
After selecting a state (or province) the list of locations appears.
After selecting a location, the information
chart displays the weather forecast for the
selected location. The data is supplied by
the nearest weather station.
Option 2: selecting the area in the
weather map X
Call up the weather map (Y page 286).
X Move the weather map so that the cross-
hair is over the desired area (Y page 286).
X Press the controller.
The information chart shows the weather
forecast for the selected area. The data is
supplied by the nearest weather station. Memory functions
Storing the area in the weather memory You can save locations that are called up fre-
quently in ten preset positions (0, 1-9) in the
weather memory. X
In the weather memory: select the area
for the weather forecast (Y page 283).
The selected location appears at the top in
the status bar.
X To select Position Position in the information
chart: turn and press the controller.
X Select Presets
Presets.
X Select a preset using the controller.
X Press and hold the controller until you hear
a tone.
The area is entered on the selected preset.
Equipment with telephone keypad
X To store rapidly: in the daily forecast
(Y page 282 )press and hold a number key,
e.g. 0082, until the preset position number
is shown in the status bar in front of the
area name.
i You can also use this function in the five-
day forecast (Y page 282), and in the
detailed information view (Y page 283).
Selecting an area from the weather
memory X
Directly from the weather memory:
select Position Position from the information
chart: turn and press the controller.
X Select Presets Presets.
X Select the memory position which contains
the location you require.
The weather data for the selected area is
displayed.
Equipment with telephone keypad X Quick select: if a location is stored in the
weather memory, for example when the
current forecast display is active, briefly
press a number key, e.g. 0082.
The weather data for the selected area is
displayed. SIRIUS Weather
285SIRIUS Weather
Page 288 of 298

Weather map
Calling up the weather map X
To select Map
Mapin the information chart: turn
and press the controller.
The weather map is shown on a 500-mi
(500-km) scale.
Moving the weather map X
Slide 4 or1 the controller.
The weather map moves in the correspond-
ing direction under the crosshair.
Changing the scale X
Turn the controller.
The scale bar appears.
X Turn until the desired scale is set.
Showing/hiding the menu in the
weather map X
To show: press the controller.
X To hide: slide5the controller.
Selecting a weather station in the map X
Move the weather map and crosshair to the
desired position (Y page 286).
X To show the menu: press the controller.
X To select Weather Table
Weather Table : press the con-
troller.
COMAND receives the weather data for the
selected position from the nearest weather
station and displays it automatically as a
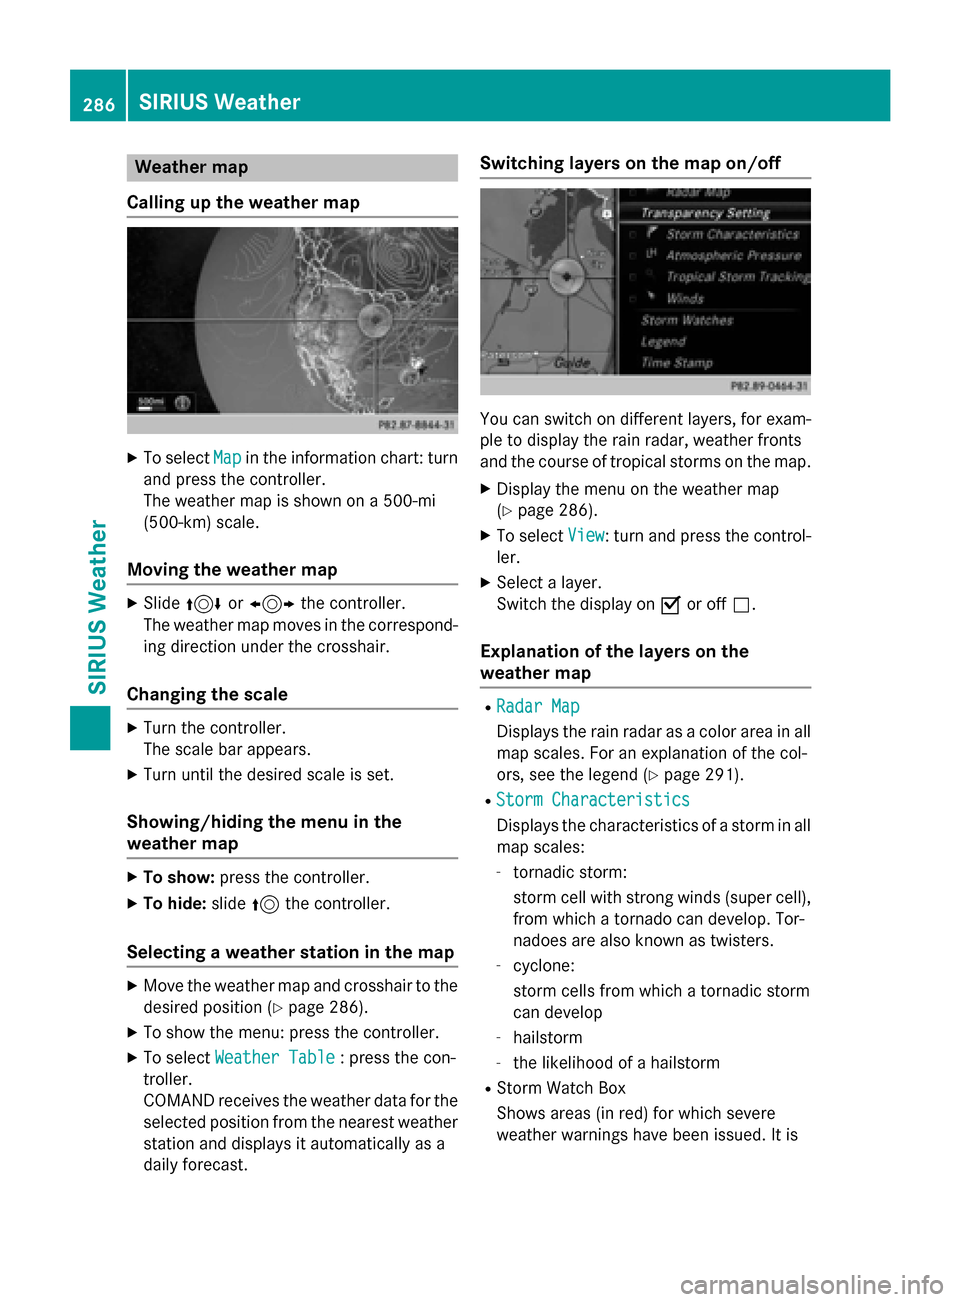
daily forecast. Switching layers on the map on/off
You can switch on different layers, for exam-
ple to display the rain radar, weather fronts
and the course of tropical storms on the map.
X Display the menu on the weather map
(Y page 286).
X To select View View: turn and press the control-
ler.
X Select a layer.
Switch the display on 0073or off 0053.
Explanation of the layers on the
weather map R
Radar Map Radar Map
Displays the rain radar as a color area in all
map scales. For an explanation of the col-
ors, see the legend (Y page 291).
R Storm Characteristics Storm Characteristics
Displays the characteristics of a storm in all
map scales:
- tornadic storm:
storm cell with strong winds (super cell),
from which a tornado can develop. Tor-
nadoes are also known as twisters.
- cyclone:
storm cells from which a tornadic storm
can develop
- hailstorm
- the likelihood of a hailstorm
R Storm Watch Box
Shows areas (in red) for which severe
weather warnings have been issued. It is 286
SIRIUS WeatherSIRIUS Weather
Page 294 of 298

Storm Watch Box
Storm watch areas for which there are storm advisories are displayed as red areas on the
weather map.
To activate/deactivate the display of areas in red:
X To call up the menu from the weather map display: press the controller.
X To select View
View: turn and press the controller.
The list of display levels appears.
X Select Severe Weather Warnings
Severe Weather Warnings.
X Select Show Symbols for Storm Areas On Map Show Symbols for Storm Areas On Map.
Depending on the previous setting, activate 0073or deactivate 0053the display of areas in red.
Activating/deactivating the automatic display of warning popups:
X Select Show Automatic Storm Watch Popups
Show Automatic Storm Watch Popups.
Depending on the previous setting, activate 0073or deactivate 0053the automatic display of
warning popups.
Setting the radius for the popups:
X Select 5 miles
5 miles (5 km5 km), 50 miles
50 miles (50 km50 km) or 200 miles
200 miles (200 km200 km).
Storm Guide Displaying the Storm Guide:
X Display the menu on the weather map
(Y page 286).
X To select Guide
Guide: turn and press the con-
troller.
A menu appears. The current storm is high- lighted. There is information about the
storm in the status bar. 292
SIRIUS WeatherSIRIUS Weather