2015 MERCEDES-BENZ GLK-CLASS SUV steering
[x] Cancel search: steeringPage 212 of 386
Active Lane Keeping Assist
General notes
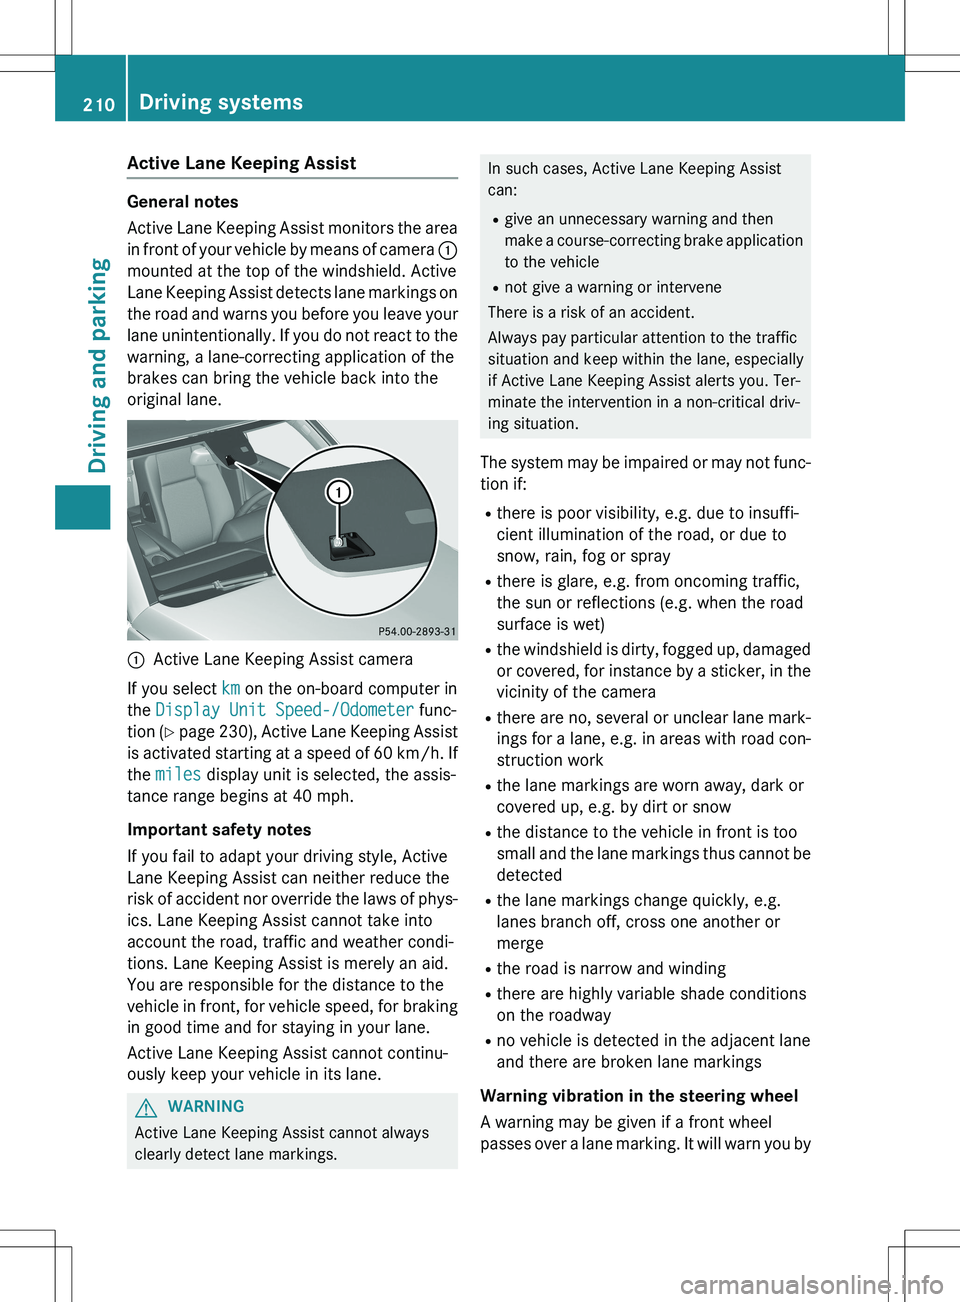
Active Lane Keeping Assist monitors the area
in front of your vehicle by means of camera :
mounted at the top of the windshield. Active
Lane Keeping Assist detects lane markings on
the road and warns you before you leave your
lane unintentionally. If you do not react to the
warning, a lane-correcting application of the
brakes can bring the vehicle back into the
original lane.
:Active Lane Keeping Assist camera
If you select
km on the on-board computer in
the
Display Unit Speed-/Odometer func-
tion ( Y page 230), Active Lane Keeping Assist
is activated starting at a speed of 60 km/h. If
the
miles display unit is selected, the assis-
tance range begins at 40 mph.
Important safety notes
If you fail to adapt your driving style, Active
Lane Keeping Assist can neither reduce the
risk of accident nor override the laws of phys-
ics. Lane Keeping Assist cannot take into
account the road, traffic and weather condi-
tions. Lane Keeping Assist is merely an aid.
You are responsible for the distance to the
vehicle in front, for vehicle speed, for braking in good time and for staying in your lane.
Active Lane Keeping Assist cannot continu-
ously keep your vehicle in its lane.
GWARNING
Active Lane Keeping Assist cannot always
clearly detect lane markings.
In such cases, Active Lane Keeping Assist
can:
R give an unnecessary warning and then
make a course-correcting brake application
to the vehicle
R not give a warning or intervene
There is a risk of an accident.
Always pay particular attention to the traffic
situation and keep within the lane, especially
if Active Lane Keeping Assist alerts you. Ter-
minate the intervention in a non-critical driv-
ing situation.
The system may be impaired or may not func-
tion if:
R there is poor visibility, e.g. due to insuffi-
cient illumination of the road, or due to
snow, rain, fog or spray
R there is glare, e.g. from oncoming traffic,
the sun or reflections (e.g. when the road
surface is wet)
R the windshield is dirty, fogged up, damaged
or covered, for instance by a sticker, in the
vicinity of the camera
R there are no, several or unclear lane mark-
ings for a lane, e.g. in areas with road con- struction work
R the lane markings are worn away, dark or
covered up, e.g. by dirt or snow
R the distance to the vehicle in front is too
small and the lane markings thus cannot be
detected
R the lane markings change quickly, e.g.
lanes branch off, cross one another or
merge
R the road is narrow and winding
R there are highly variable shade conditions
on the roadway
R no vehicle is detected in the adjacent lane
and there are broken lane markings
Warning vibration in the steering wheel
A warning may be given if a front wheel
passes over a lane marking. It will warn you by
210Driving systems
Driving and parking
Page 213 of 386
means of intermittent vibration in the steer-
ing wheel for up to 1.5 seconds.
In order that you are warned only when nec-
essary and in good time if you cross the lanemarking, the system recognizes certain con-
ditions and warns you accordingly.
The warning vibration occurs earlier if:
R you approach the outer lane marking on a
bend.
R the road has very wide lanes, e.g. a high-
way.
R the system recognizes solid lane markings.
The warning vibration occurs later if:
R the road has narrow lanes.
R you cut the corner on a bend.
Lane-correcting brake application
GWARNING
A lane-correcting brake application cannot
always bring the vehicle back into the original lane. There is a risk of an accident.
Always steer, brake or accelerate yourself,
especially if Active Lane Keeping Assist warns
you or makes a lane-correcting brake appli-
cation.
GWARNING
Active Lane Keeping Assist does not detect
traffic conditions or road users. In very rare
cases, the system may make an inappropriatebrake application, e.g. after intentionally driv-
ing over a solid lane marking. There is a risk of an accident.
An inappropriate brake application may be
interrupted at any time if you steer slightly in
the opposite direction. Always make sure that
there is sufficient distance on the side for
other traffic or obstacles.
If you leave your lane, under certain circum-
stances the vehicle will brake briefly on one
side. This is meant to assist you in bringing
the vehicle back to the original lane. This function is available in the range between
40 mph and 120 mph (60 km/h and
200 km/h).
A lane-correcting brake application can only
be made after driving over a solid, recogniz-
able lane marking. Before this, a warning
must be given by means of intermittent vibra-
tion in the steering wheel. In addition, a lane
with lane markings on both sides must be
recognized. The brake application also
slightly reduces vehicle speed.
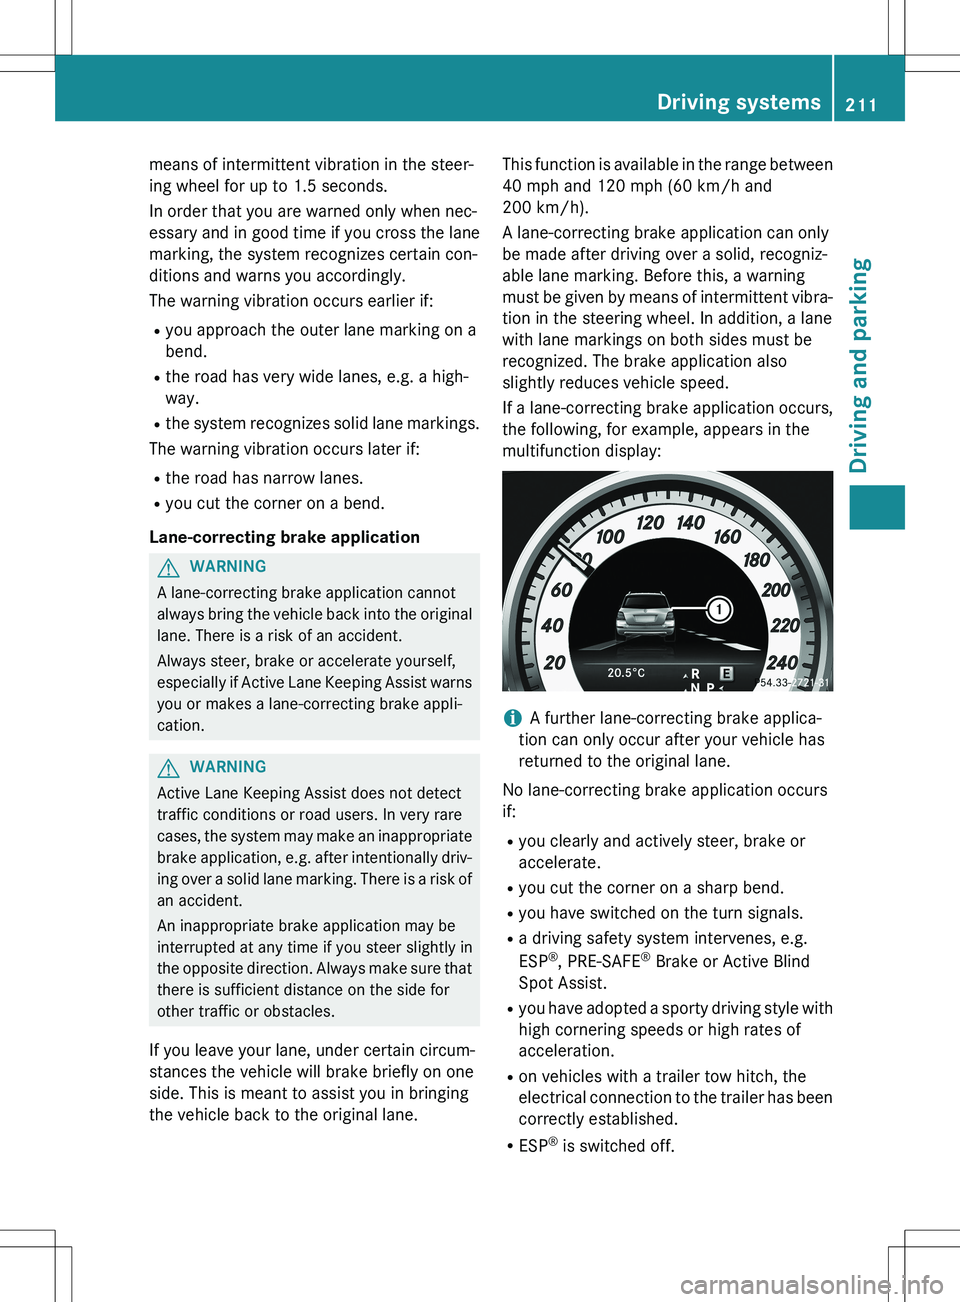
If a lane-correcting brake application occurs,
the following, for example, appears in the
multifunction display:
iA further lane-correcting brake applica-
tion can only occur after your vehicle has
returned to the original lane.
No lane-correcting brake application occurs
if: R you clearly and actively steer, brake or
accelerate.
R you cut the corner on a sharp bend.
R you have switched on the turn signals.
R a driving safety system intervenes, e.g.
ESP ®
, PRE-SAFE ®
Brake or Active Blind
Spot Assist.
R you have adopted a sporty driving style with
high cornering speeds or high rates of
acceleration.
R on vehicles with a trailer tow hitch, the
electrical connection to the trailer has been
correctly established.
R ESP ®
is switched off.
Driving systems211
Driving and parking
Z
Page 215 of 386

The applicable permissible values, which
must not be exceeded, can be found:
R in the vehicle documents
R on the identification plates of the trailer tow
hitch, the trailer and the vehicle
If the values differ, the lowest value applies.
You will find the values approved by the man-
ufacturer on the vehicle identification plates
and those for the towing vehicle under "Tech- nical data" ( Y page 381).
When towing a trailer, your vehicle's handling
characteristics will be different in comparison with when driving without a trailer.
The vehicle/trailer combination:
R is heavier
R is restricted in its acceleration and gradi-
ent-climbing capability
R has an increased braking distance
R is affected more by strong crosswinds
R demands more sensitive steering
R has a larger turning radius
This could impair the handling characteris-
tics.
When towing a trailer, always adjust your
speed to the current road and weather con-
ditions. Do not exceed the maximum permis- sible speed for your vehicle/trailer combina-
tion.
General notes
R Do not exceed the legally prescribed max-
imum speed for vehicle/trailer combina-
tions in the relevant country.
This lowers the risk of an accident.
R Only install an approved trailer coupling on
your vehicle.
Further information on availability and on
installation is available from any authorized
Mercedes-Benz Center.
R The bumpers of your vehicle are not suita-
ble for installing detachable trailer cou-
plings. R
Do not install hired trailer couplings or
other detachable trailer couplings on the
bumpers of your vehicle.
R To reduce the risk of damage to the ball
coupling, remove it from the ball coupling
recess when not in use.
iWhen towing a trailer, set the tire pres-
sure on the rear axle of the towing vehicle
for a maximum load; see the tire pressure
table in the fuel filler flap ( Y page 352).
Please note that when towing a trailer,
PARKTRONIC ( Y page 186) is only available
with limitations or not at all.
iOn vehicles without level control, the
height of the ball coupling will alter accord-
ing to the load placed on the vehicle. If nec- essary, use a trailer with a height-adjusta-
ble drawbar.
You will find installation dimensions and loads
under "Technical data" ( Y page 381).
Driving tips
iObserve the notes on ESP ®
trailer stabi-
lization ( Y page 72).
The maximum permissible speed for vehicle/
trailer combinations depends on the type of
trailer. Before beginning the journey, check
the trailer's documents to see what the max- imum permissible speed is. Observe the
legally prescribed maximum speed in the rel-evant country.
For certain Mercedes-Benz vehicles, the max-
imum permissible rear axle load is increased
when towing a trailer. Refer to the "Technical
data" section to find out whether this applies
to your vehicle.
If you utilize any of the added maximum rear
axle load when towing a trailer, the vehicle/
trailer combination may not exceed a maxi-
mum speed of 60 mph (100 km/h) for rea-
sons concerning the operating permit. This
also applies in countries in which the permis-
sible maximum speed for vehicle/trailer com- binations is above 60 mph (100 km/h).
Towing a trailer213
Driving and parking
Z
Page 217 of 386
be fastened to the vehicle's trailer cou-
pling, not to the bumper or the axle.
Leave enough play in the chains to make
tight cornering possible.
R a separate brake system for certain types
of trailer.
R a safety switch for braked trailers. Check
the specific legal requirements applicable
to your state.
If the trailer detaches from the towing vehi-
cle, the safety switch applies the trailer's
brakes.
! Do not connect the trailer's brake system
(if featured) to the hydraulic brake system
of the towing vehicle, as the latter is equip- ped with an anti-lock brake system. Doing
so will result in a loss of function of the
brake systems of both the vehicle and the
trailer.
iThe vehicle's wiring harness features a
connection to the brake indicator lamp.
X Make sure that the automatic transmission
is set to position P.
X Apply the vehicle's parking brake.
X Close all doors and the tailgate.
X Couple up the trailer.
X Establish all electrical connections.
Towing a trailer
There are numerous legal requirements con-
cerning the towing of a trailer, e.g. speed
restrictions. Make sure that your car/trailer
combination complies with the local regula-
tions:
R in your place of residence
R in the location to which you are driving
The police and local authorities can provide
reliable information.
Observe the following when towing a trailer:
R To gain driving experience and to become
accustomed to the new handling charac- teristics, you should practice the following
in a traffic-free location:
- cornering
- stopping
- backing up
R Before driving, check:
- the trailer tow hitch
- the safety switch for braked trailers
- the safety chains
- electrical connections
- the lights
- the wheels
R Adjust the exterior mirrors to provide an
unobstructed view of the rear section of the
trailer.
R If the trailer has electronically controlled
brakes, pull away carefully. Brake manually
using the brake controller and check
whether the brakes function correctly.
R Secure any objects on the trailer to prevent
the cargo from slipping when the vehicle is
in motion.
R When you couple up a trailer, check at reg-
ular intervals that the load is firmly secured. If the trailer is equipped with trailer lights
and brakes, check the trailer to ensure that
these are working.
R Bear in mind that the handling will be less
stable when towing a trailer than when driv-
ing without one. Avoid sudden steering
movements.
R The vehicle/trailer combination is heavier,
accelerates more slowly, has a decreased
gradient climbing capability and a longer
braking distance.
It is more susceptible to side winds and
requires more careful steering.
R If possible, avoid abrupt braking. Depress
the brake pedal moderately at first, so that
the trailer can activate its own brakes. Thenincrease the pressure on the brake pedal.
R If the automatic transmission repeatedly
shifts between gears on uphill or downhill
Towing a trailer215
Driving and parking
Z
Page 218 of 386

gradients, shift to a lower gear using the
left-hand steering wheel paddle shifter.
A lower gear and lower speed reduce the
risk of engine failure.
R When driving downhill, shift to a lower gear
to utilize the engine's braking effect.
Avoid continuous brake application as this
may overheat the vehicle brakes and, if
installed, the trailer brakes.
R If the coolant temperature increases dra-
matically while the air-conditioning system
is switched on, switch off the air-condition-
ing system.
Coolant heat can additionally be dissipated
by opening the windows and by setting the blower fan and the interior temperature to
maximum.
R When overtaking, pay particular attention
to the extended length of your vehicle/
trailer combination.
Due to the length of the vehicle/trailer
combination, you require additional road
space in relation to the vehicle you are
overtaking, before you can change back to
the original lane.
Decoupling a trailer
GWARNING
If you uncouple a trailer with the overrun
brake engaged, you could trap your hand
between the vehicle and the trailer drawbar.
There is a risk of injury.
Do not uncouple a trailer if the overrun brake is engaged.
! Do not disconnect a trailer with an
engaged overrun brake. Otherwise, your
vehicle could be damaged by the rebound- ing of the overrun brake.
X Make sure that the automatic transmission
is set to position P.
X Apply the vehicle's parking brake. X
Close all doors and the tailgate.
X Apply the trailer's parking brake.
X Remove the trailer cable and decouple the
trailer.
Permissible trailer loads and drawbar
loads
Weight specifications
The gross trailer weight is calculated by add-
ing the weight of the trailer to the weight of
the load and equipment on the trailer.
You will find installing dimensions and loads
under "Technical data" ( Y page 381).
Loading a trailer
R
When loading the trailer, make sure that
neither the permissible gross weight of the
trailer nor the gross vehicle weight is
exceeded. The permissible gross vehicle
weight is indicated on the identification
plate on the B-pillar on the driver's side of
the vehicle.
You can find the maximum permissible val-
ues on the type plates of your vehicle and
the trailer. When calculating how much
weight the vehicle and trailer may carry,
pay attention to the respective lowest val-
ues.
R The trailer drawbar load on the ball coupling
must be added to the rear axle load to avoid exceeding the permissible gross axle
weight. The permissible gross vehicle
weight is indicated on the identification
plate on the B-pillar on the driver's side of
the vehicle.
iMercedes-Benz recommends a trailer
load where the trailer drawbar noseweight
accounts for 8% to 15% of the trailer's per-
missible gross weight.
216Towing a trailer
Driving and parking
Page 223 of 386
Outside temperature display
You should pay special attention to road con-
ditions when temperatures are around freez-
ing point.
Bear in mind that the outside temperature
display indicates the temperature measured
and does not record the road temperature.
The outside temperature display is in the mul- tifunction display ( Y page 222).
Changes in the outside temperature are dis-
played after a short delay.
Speedometer with segments
The segments in the speedometer indicate
which speed range is available.
R Cruise control activated ( Y page 175):
The segments light up from the stored
speed to the maximum speed.
R DISTRONIC PLUS activated ( Y page 176):
One or two segments in the set speed
range light up.
R DISTRONIC PLUS detects a vehicle in front
that is driving at a slower speed than the
stored speed:
The segments between the speed of the
vehicle in front and the stored speed light
up.
Operating the on-board computer
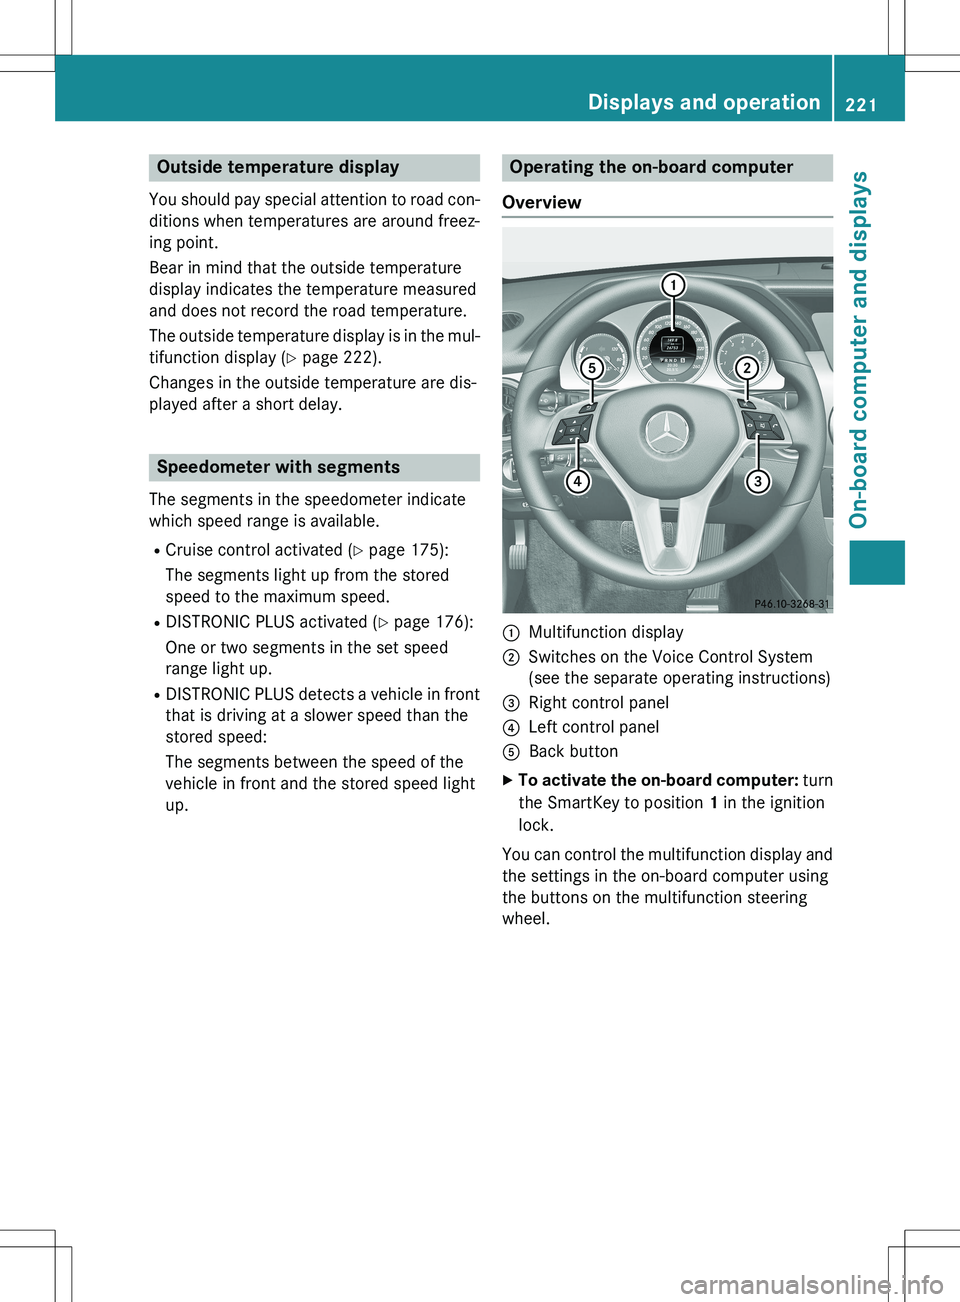
Overview
:Multifunction display
;Switches on the Voice Control System
(see the separate operating instructions)
=Right control panel
?Left control panel
ABack button
X To activate the on-board computer: turn
the SmartKey to position 1 in the ignition
lock.
You can control the multifunction display and
the settings in the on-board computer using
the buttons on the multifunction steering
wheel.
Displays and operation221
On-board computer and displays
Z
Page 225 of 386

XTo display menu bar ;: press the =
or ; button on the steering wheel.
Menu bar ; disappears after a few sec-
onds.
Text field : shows the selected menu or
submenu as well as display messages.
iYou can set the time using the Audio sys-
tem or COMAND (see the separate operat-
ing instructions).
The following messages may appear in the
multifunction display: Z Gearshift recommendation when
shifting manually ( Y page 160)
X j Y
Active Parking Assist ( Y page 189)
CRUISECruise control ( Y page 175)
¤ ECO start/stop function
(Y page 152)
ë HOLD function ( Y page 184)
Menus and submenus
Menu overview
Operating the on-board computer
(Y page 221).
Depending on the equipment installed in the
vehicle, you can call up the following menus:
R
Trip menu ( Y page 223)
R
Navi menu (navigation instructions)
( Y page 225)
R
Audio menu ( Y page 226)
R
Tel menu (telephone) ( Y page 227)
R
DriveAssist menu (assistance)
( Y page 228)
R
Serv. menu ( Y page 230)
R
Sett. menu (settings) ( Y page 230)
The
Audio, Navi and Tel menus differ slightly
in vehicles with an audio system and in vehi-
cles with COMAND. The examples given in
this Operator's Manual apply to vehicles
equipped with COMAND.
Trip menu
Standard display
X Press and hold the % button on the
steering wheel until the
Trip menu with
trip odometer : and odometer ; is
shown.
Trip computer "From Start" or "From
Reset"
Example: trip computer "From Start" :
Distance
;Driving time
=Average speed
?Average fuel consumption
X Press the = or ; button on the steer-
ing wheel to select the
Trip menu.
X Press the 9 or : button to select
From Start or From Reset.
The values in the
From Start submenu are
calculated from the start of a journey,
whereas the values in the
From Reset sub-
menu are calculated from the last time the
submenu was reset ( Y page 224).
The
From Start trip computer is automati-
cally reset if:
R the ignition has been switched off for more
than four hours.
R 999 hours have been exceeded.
R 9,999 miles have been exceeded.
Menus and submenus223
On-board computer and displays
Z
Page 229 of 386
XTo select the next/previous track:
briefly press the 9 or : button.
X To select a track from the track list
(rapid scrolling): press and hold the 9
or : button until desired track has been
reached.
If you press and hold 9 or : , the rapid
scrolling speed is increased. Not all audio
drives or data carriers support this function.
If track information is stored on the audio
device or medium, the multifunction display
will show the number and name of the track.
Video DVD operation
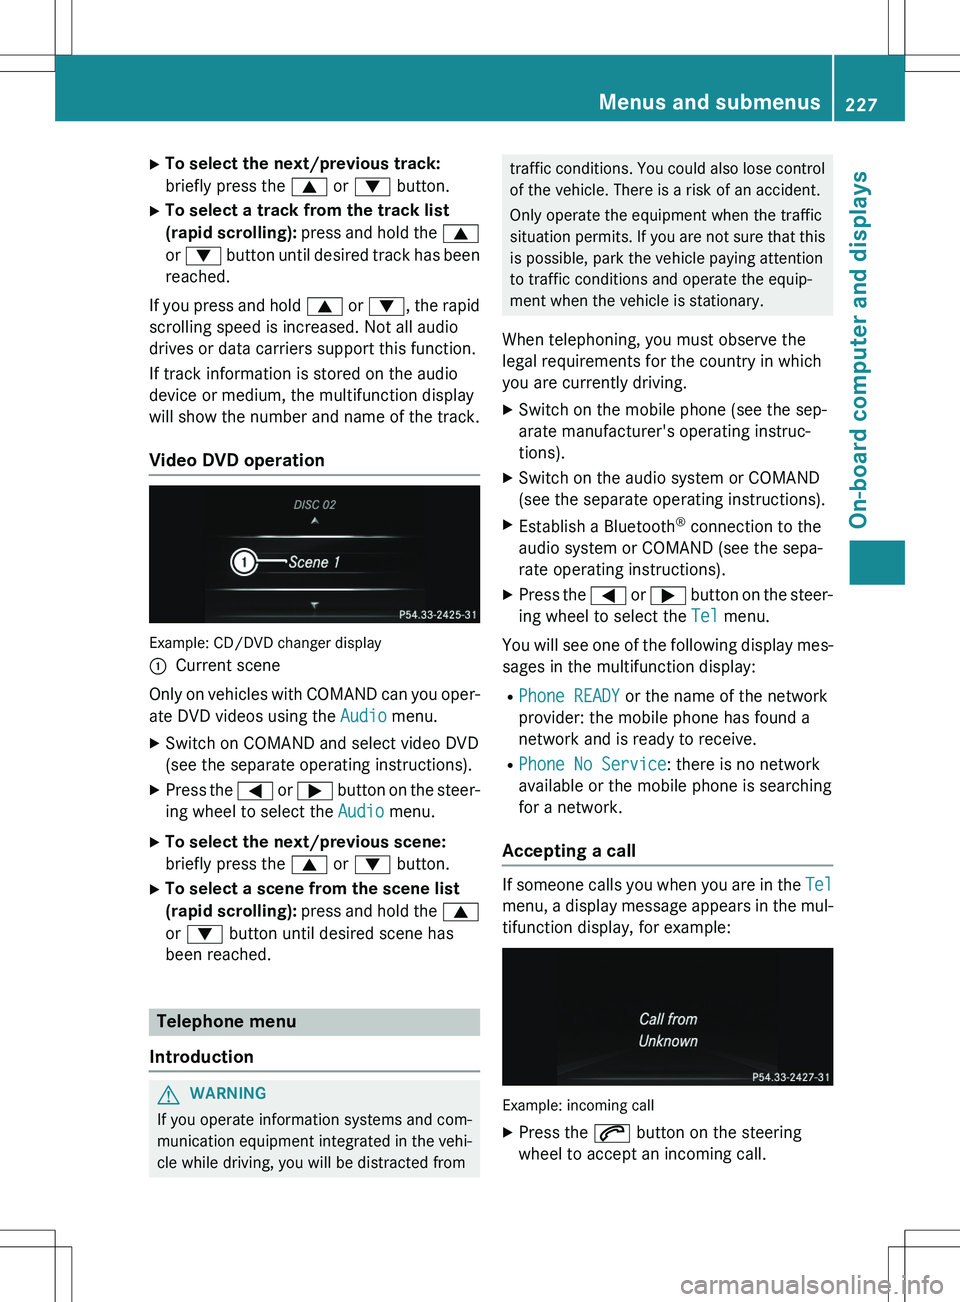
Example: CD/DVD changer display :
Current scene
Only on vehicles with COMAND can you oper-
ate DVD videos using the
Audio menu.
X Switch on COMAND and select video DVD
(see the separate operating instructions).
X Press the = or ; button on the steer-
ing wheel to select the
Audio menu.
X To select the next/previous scene:
briefly press the 9 or : button.
X To select a scene from the scene list
(rapid scrolling): press and hold the 9
or : button until desired scene has
been reached.
Telephone menu
Introduction
GWARNING
If you operate information systems and com-
munication equipment integrated in the vehi- cle while driving, you will be distracted from
traffic conditions. You could also lose controlof the vehicle. There is a risk of an accident.
Only operate the equipment when the traffic
situation permits. If you are not sure that this is possible, park the vehicle paying attention
to traffic conditions and operate the equip-
ment when the vehicle is stationary.
When telephoning, you must observe the
legal requirements for the country in which
you are currently driving.
X Switch on the mobile phone (see the sep-
arate manufacturer's operating instruc-
tions).
X Switch on the audio system or COMAND
(see the separate operating instructions).
X Establish a Bluetooth ®
connection to the
audio system or COMAND (see the sepa-
rate operating instructions).
X Press the = or ; button on the steer-
ing wheel to select the
Tel menu.
You will see one of the following display mes-
sages in the multifunction display: R
Phone READY or the name of the network
provider: the mobile phone has found a
network and is ready to receive.
R
Phone No Service: there is no network
available or the mobile phone is searching
for a network.
Accepting a call
If someone calls you when you are in the Tel
menu, a display message appears in the mul- tifunction display, for example:
Example: incoming call
X Press the 6 button on the steering
wheel to accept an incoming call.
Menus and submenus227
On-board computer and displays
Z