2015 MERCEDES-BENZ E-CLASS SALOON warning
[x] Cancel search: warningPage 271 of 497

The maximum permissible speed for vehicle/
trailer combinations depends on the type of
trailer. Before beginnin gthe journey, check
the trailer's document stosee what the max-
imum permitted speed is. Observe the legally
prescribed maximum speed in the relevant
country.
For certain Mercedes-Benz vehicles, the max-
imum permissible rear axle load is increased
when towing atrailer. See the "Technical
data" section to find out whether this applies to your vehicle (Y page 484). If you utilise any
of the added maximum rear axle load when
towing atrailer, the vehicle/trailer combina-
tion may not exceed amaximum speed of
100 km/hf or reasons concerning the oper-
ating permit. This also applie sincountrie sin
which the permissible maximu mspee dfor
vehicle/trailer combinations is above
100 km/h.
When towing atrailer, you rvehicle's handling
characteristics wil lbedifferent in comparison
to whe ndriving without atrailer and it will
consume more fuel.
Change into alower gea ringood time on long
and steep downhill gradients.
i This also applie
sifyou have activated
cruis econtrol, SPEEDTRONIC or
DISTRONIC PLUS.
This wil luse the braking effect of the engine,
so less braking wil lberequired to maintain
vehicle speed. This relieves the loa donthe
brake system and prevents the brake sfrom
overheating and wearing too quickly. If you
need additiona lbraking, depress the brake
pedal repeatedl yrather than continuously.
Driving tips If the trailer swings from side to side:
X Do not accelerate.
X Do not countersteer.
X Brake if necessary. R
Maintain agreater distance to the vehicle in
front than whe ndriving without atrailer.
R Avoid braking abruptly .Ifpossible ,brake
gently at first to allow the trailer to run on.
Then, increase the braking force rapidly.
R The values give nfor gradient-climbing
capabilities from astandstil lrefer to sea
level. When driving in mountainous areas,
note that the power outpu tofthe engine,
and consequently the vehicle's gradient-
climbing capability, decrease with increas-
ing altitude. Foldin
gout the ball coupling G
WARNING
If the bal lcoupling is not correctly engaged,
the trailer can detach .There is arisk of an
accident.
Always engag ethe bal lcoupling as described. G
WARNING
If you release the bal lcoupling or it does not
engag ecorrectly whe nfolding in, it wil lswing
out. Withi npivoting range of the bal lcoupling,
there is an increased risk of an accident and
injury.
Only release the bal lcoupling if the pivoting
range is unobstructed. Always make sure that the bal lcoupling engages whe nfolding in. Saloon
Before you can tow
atrailer with you rvehicle,
you must fold out the bal lcoupling. 268
Towing
atrailerDriving and parking
Page 273 of 497
X
Pull the ball coupling in the direction of the
arrow until it engages in avertical position.
Indicator lamp =goes out. The trailer
power socket is integrated in the ball cou-
pling and swivels out with it.
Saloon: indicator lamp ?goes out.
Estate: indicator lamp =goes out.
The multifunction display shows the
Trailer Trailer hitch
hitch Check
Checklock
lockmech.
mech. mes-
sage until the ball coupling is engaged.
X Remove the protective coverin gfrom the
ball coupling and store it in asafe place.
X Make sure that the ball of the ball coupling
is clean and greased.
HYBRID vehicles :make sure that you read
the "HYBRID" Supplement included in the
vehicle literature. Otherwise, you may not
recognise dangers. Coupling up
atrailer
X Make sure that the transmission is in posi-
tion P.
X Apply the parking brake.
X Position the trailer horizontally behind the
vehicle.
X Couple up the trailer.
X Establish the electric connection between
the vehicle and the trailer.
X Check that the trailer lighting system is
working.
Ac onnected trailer is only recognised when
the electrical connection is established
correctly and when the lighting system is
working properly. The function of other sys-
tems, such as ESP ®
,P ARKTRONIC and
Active Parking Assist also depends on this. Uncoupling
atrailer G
WARNING
If you uncouple atrailer with an engaged over-
run brake, you could trap your hand between the vehicle and the trailer drawbar. This poses
ar isk of injury.
Do not uncouple atrailer with an engaged
overrun brake. G
WARNING
Vehicles with level control:
If you disconnect the trailer cable, the vehicle is lowered. This can cause you or others to
become trapped between the vehicle body
and tyres, or underneat hthe vehicle. This
poses arisk of injury.
Make sure that no-one is in the immediate
vicinit yofthe wheel arch or underneat hthe
vehicle when disconnectin gthe trailer cable.
! Do not disconnect
atrailer with an
engaged overrun brake. Otherwise, your
vehicle could be damaged by the rebound- ing of the overrun brake.
X Make sure that the transmission is in posi-
tion P.
X Apply the parking brake.
X Secure the trailer against rolling away.
X Remove the trailer cable and decouple the
trailer. Folding in the ball coupling
G
WARNING
If you release the ball coupling or it does not
engage correctly when folding in, it will swing out. Within pivoting range of the ball coupling,
there is an increased risk of an accident and
injury.
Only release the ball coupling if the pivoting
range is unobstructed. Always make sure that the ball coupling engages when folding in.
X Place the protective coverin gonthe ball
coupling. 270
Towing
atrailerDriving and parking
Page 278 of 497
Useful information
............................276
Importan tsafet ynotes ..................... 276
Displays and operation ....................276
Menus and submenus ......................279
Display messages ............................. 299
Warning and indicator lamp sinthe
instrument cluster ............................329 275On-boar
dcomputer and displays
Page 279 of 497
Useful information
i This Owner's Manual describes all mod-
els, series and optional equipment for your
vehicle that were available at the time of
going to press. National variation sare pos-
sible. Not ethat your vehicle may not be
equipped with all of the function sdescri-
bed. This is also the case for system sand
function srelevan ttosafety.
i Read the information on qualified special-
ist workshops: (Y page 27). Important safet
ynotes G
WARNING
Operating the integrated information systems and communications equipment in the vehicle
while drivin gwill distract you from traffic con-
ditions. You could then lose contro lofthe
vehicle. There is arisk of an accident.
Only operate thes edevices if road traffic con-
dition spermit .Ifyou are unsure about the
surrounding conditions, pull over to asafe
locatio nand make entries only while the vehi-
cle is stationary.
You must observ ethe legal requirements for
the country in which you are currently driving when operatin gthe on-board computer. G
WARNING
If the instrumen tcluster has failed or mal-
functioned, you may not recognise function
restrictions relevan ttosafety. The operating
safet yofy our vehicle may be impaired. There
is ar isk of an accident.
Driv eonc arefully. Have the vehicle checked
at aq ualified specialist workshop immedi-
ately.
The on-board computer only shows messages
or warnings from certain system sinthe mul-
tifunction display. You should therefore make
sure your vehicle is operatin gsafely at all
times. If the operatin
gsafet yofy our vehicle is
impaired, park the vehicle safely as soon as
possible. Contact aqualified specialist work-
shop.
HYBRID vehicles :make sure that you read the
"HYBRID "Supplement. You could otherwise
fail to recognise dangers ,e.g. due to high
voltage.
For an overview; see the instrumen tcluster
illustration (Y page 34). Displays and operation
Coolant temperatureg
auge G
WARNING
If you open the bonnet while the engin eis
overheating or while ther eisafire in the
engin ecompartment, you could come into
contact with hot gases or other leaking ser-
vice products. There is adanger of injury.
Allow an overheating engin etocool down
before openin gthe bonnet. If ther eisafire in
the engin ecompartment, leave the bonnet
closed and notify the fire brigade.
The coolan ttemperature gauge is in the
instrumen tcluster on the left-hand side
(Y page 34).
Under normal operatin gcondition sand with
the specified coolan tlevel, the coolan ttem-
perature may rise to 120 †.
At high outside temperature sand when driv-
ing uphill, the coolan ttemperature may rise
to the end of the scale. Rev counter
! Do not drive in the overrevvin
grange.
Doin gsow ill damage the engine.
The red band in the rev counter indicates the
engine's overrevvin grange.
The fuel supply is interrupted to protect the
engin ewhen the red band is reached. 276
Displays and operationOn-boar
dcomputer and displays
Page 287 of 497
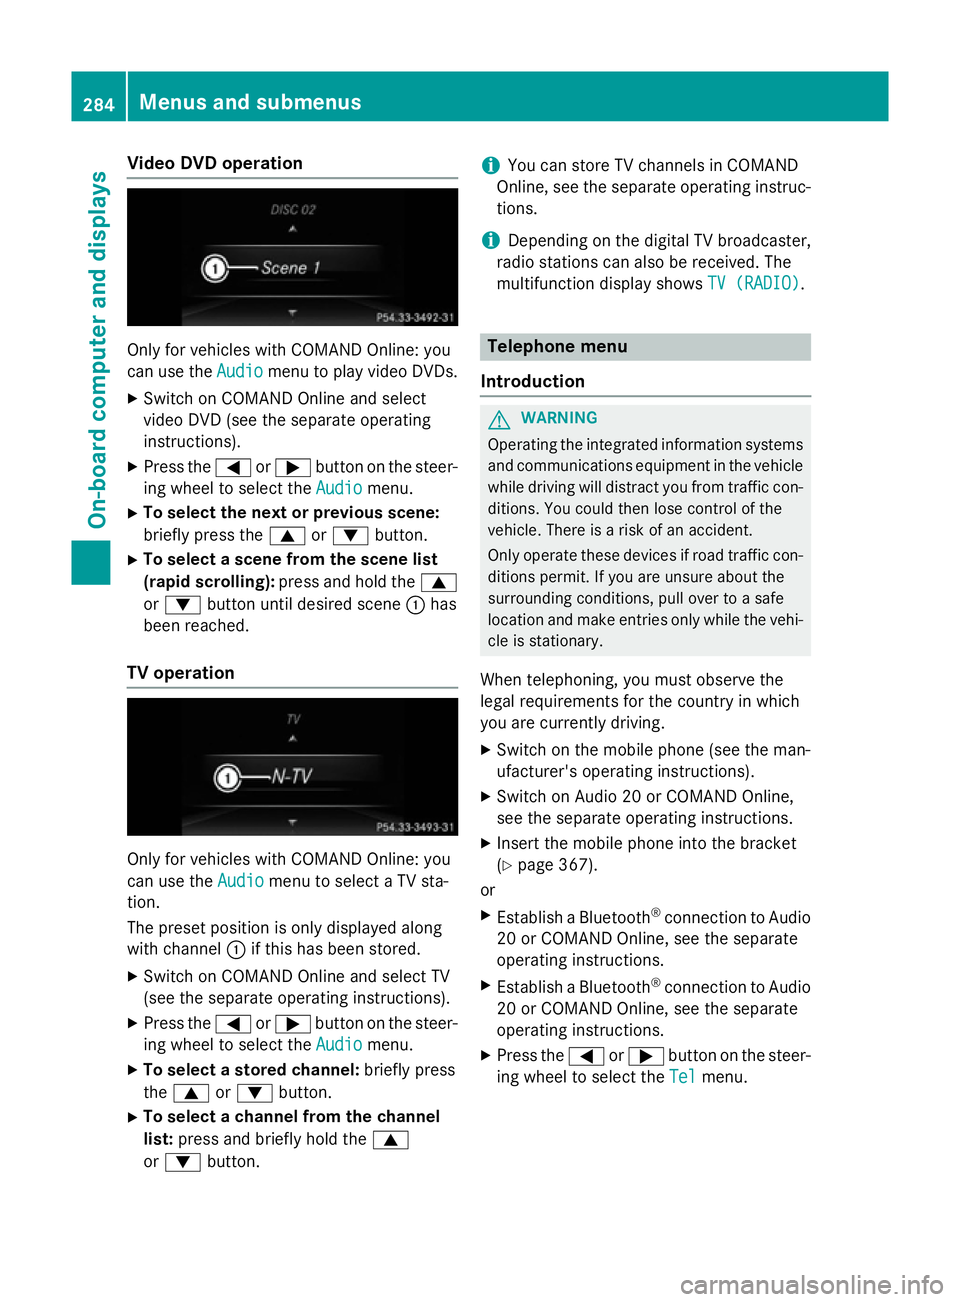
Vide
oDVD operation Onl
yfor vehicles with COMAND Online :you
can us ethe Audio
Audio menu to play video DVDs.
X Switch on COMAND Online and select
video DVD (se ethe separate operating
instructions).
X Press the =or; button on the steer-
ing whee ltoselect the Audio
Audio menu.
X To select the next or previous scene:
briefl ypress the 9or: button.
X To select ascene from the scen elist
(rapi dscrolling): press and hol dthe 9
or : button unti ldesir ed scene :has
been reached.
TV operation Onl
yfor vehicles with COMAND Online :you
can us ethe Audio
Audio menu to select aTVsta-
tion.
The preset positio niso nlyd isplayed along
with channel :if this ha sbeens tored.
X Switch on COMAND Online and select TV
(se ethe separate operating instructions).
X Press the =or; button on the steer-
ing whee ltoselect the Audio
Audio menu.
X To select astored channel: brieflypress
the 9 or: button.
X To select achannel from the channel
list: press and briefl yholdt he 9
or : button. i
Yo
uc an stor eTVchannel sinCOMAND
Online ,see the separate operating instruc-
tions.
i Depending on the digital TV broadcaster,
radi ostations can also be received. The
multifunctio ndisplay shows TV (RADIO)
TV (RADIO). Telephone menu
Introduction G
WARNING
Operating the integrated informatio nsystems
and communications equipment in the vehicle
whil edriving will distract yo ufrom traffic con-
ditions. Yo ucould then lose contro lofthe
vehicle. There is ariskofana ccident.
Onl yoperate thes edevice sifr oadt raffic con-
ditions permit. If yo uare unsur eabout the
surrounding conditions, pull ove rtoasafe
location and make entries onl ywhile the vehi-
cle is stationary.
Whe ntelephoning, yo umusto bserve the
lega lrequirements for the country in which
yo ua recurrentl ydriving.
X Switch on the mobil ephone (se ethe man-
ufacturer' soperating instructions).
X Switch on Audio 20 or COMAND Online,
see the separate operating instructions.
X Insert the mobil ephone into the bracket
(Y page 367).
or
X Establis haBluetooth ®
connectio ntoAudio
20 or COMAND Online ,see the separate
operating instructions.
X Establis haBluetooth ®
connectio ntoAudio
20 or COMAND Online ,see the separate
operating instructions.
X Press the =or; button on the steer-
ing whee ltoselect the Tel Telmenu. 284
Menus and submenusOn-board computer and displays
Page 290 of 497
X
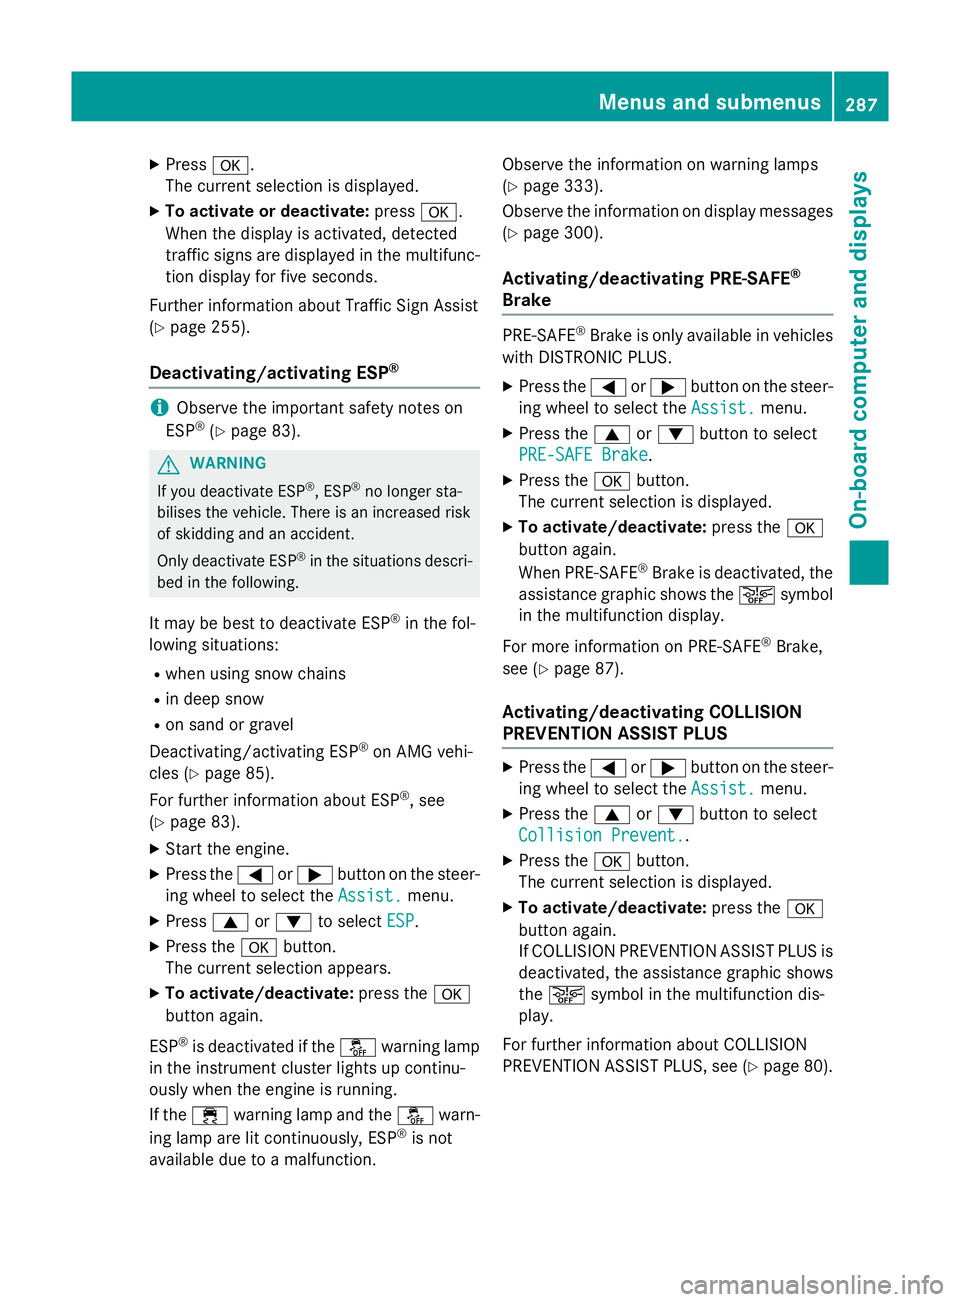
Press a.
The curren tselection is displayed.
X To activat eordeactivate: pressa.
When the display is activated, detected
traffic signs are displaye dinthe multifunc-
tion display for five seconds.
Further information about Traffic Sign Assist
(Y page 255).
Deactivating/activating ESP ®i
Observe the importan
tsafety notes on
ESP ®
(Y page 83). G
WARNING
If you deactivat eESP®
,E SP ®
no longer sta-
bilises the vehicle. There is an increased risk
of skidding and an accident.
Only deactivate ESP ®
in the situations descri-
bed in the following.
It may be best to deactivate ESP ®
in the fol-
lowing situations:
R when using snow chains
R in deep snow
R on sand or gravel
Deactivating/activating ESP ®
on AMG vehi-
cles (Y page 85).
For further information about ESP ®
,s ee
(Y page 83).
X Start the engine.
X Press the =or; button on the steer-
ing wheel to select the Assist.
Assist.menu.
X Press 9or: to select ESP
ESP.
X Press the abutton.
The curren tselection appears.
X To activate/deactivate: press thea
button again.
ESP ®
is deactivated if the åwarning lamp
in the instrument cluster lights up continu-
ously when the engine is running.
If the ÷ warning lamp and the åwarn-
ing lamp are lit continuously, ESP ®
is not
availabl edue to amalfunction. Observe the information on warning lamps
(Y
page 333).
Observe the information on display messages (Y page 300).
Activating/deactivating PRE-SAFE ®
Brake PRE‑SAFE
®
Brake is only availabl einvehicles
with DISTRONIC PLUS.
X Press the =or; button on the steer-
ing wheel to select the Assist. Assist.menu.
X Press the 9or: button to select
PRE-SAFE Brake
PRE-SAFE Brake.
X Press the abutton.
The curren tselection is displayed.
X To activate/deactivate: press thea
button again.
When PRE-SAFE ®
Brake is deactivated, the
assistanc egraphic shows the æsymbol
in the multifunction display.
For more information on PRE‑SAFE ®
Brake,
see (Y page 87).
Activating/deactivating COLLISION
PREVENTION ASSIST PLUS X
Press the =or; button on the steer-
ing wheel to select the Assist. Assist.menu.
X Press the 9or: button to select
Collision Prevent.
Collision Prevent..
X Press the abutton.
The curren tselection is displayed.
X To activate/deactivate: press thea
button again.
If COLLISION PREVENTION ASSIST PLUS is deactivated, the assistanc egraphic shows
the æ symbol in the multifunction dis-
play.
For further information about COLLISION
PREVENTION ASSIST PLUS, see (Y page 80). Menus and submenus
287On-board computer and displays Z
Page 292 of 497
R
Callin gupd isplay message sinthemes-
sage memory (Y page 299)
R Restarting th etyrep ressur eloss warning
system (Y page 422)
R Checkin gthe tyrep ressur eelectronically
(Y page 423)
R Callin gupt heservic edue date
(Y page 384) Settings menu
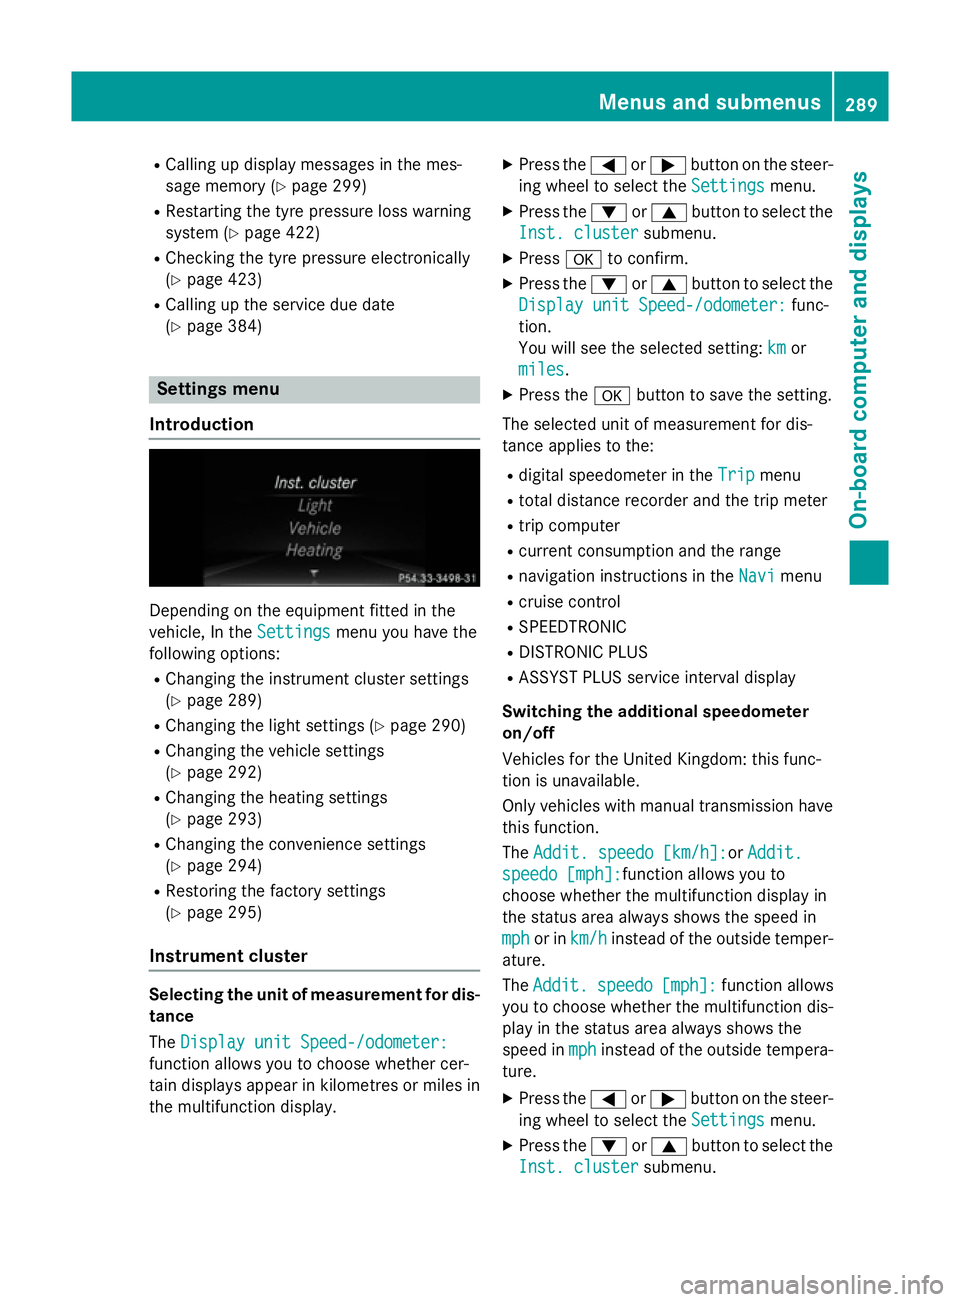
Introduction Dependin
gontheequipmen tfitte dint he
vehicle ,Int he Settings
Settings menuyou have the
followin goptions:
R Changin gthe instrumen tcluste rsettings
(Y page 289)
R Changin gthe light settings (Y page 290)
R Changin gthe vehicle settings
(Y page 292)
R Changin gthe heating settings
(Y page 293)
R Changin gthe convenience settings
(Y page 294)
R Restoring th efactory settings
(Y page 295)
Instrumen tcluster Selecting th
eunitofm easurement for dis-
tance
The Displa yunitS peed-/odometer:
Displa yunitS peed-/odometer:
function allows you to choos ewhether cer-
tai nd isplays appear in kilometres or mile sin
th em ultifunction display. X
Press the =or; buttononthesteer-
ing wheel to select the Settings Settingsmenu.
X Press the :or9 buttontoselect the
Inst. cluster Inst. cluster submenu.
X Press ato confirm.
X Press the :or9 buttontoselect the
Displa yunitS peed-/odometer:
Displa yunitS peed-/odometer: func-
tion.
You will see th eselected setting: km kmor
miles
miles.
X Press the abuttontos ave th esetting.
The selected unit of measuremen tfor dis-
tance applie stothe:
R digital speedometer in the Trip
Trip menu
R total distanc erecorder and th etripm eter
R trip computer
R curren tconsum ption and th erange
R navigation instruction sintheNavi
Navi menu
R cruise control
R SPEEDTRONIC
R DISTRONI CPLUS
R ASSYS TPLUSs ervic einterval display
Switchin gthe additiona lspe edometer
on/off
Vehicle sfor th eUnite dKingdom :thisf unc-
tion is unavailable.
Only vehicle swithm anual transmission have
this function.
The Addit. speedo [km/h]: Addit. speedo [km/h]:or Addit.
Addit.
speedo [mph]:
speedo [mph]: function allows you to
choos ewhether th emultifunction display in
th es tatus area always shows th espee din
mph
mph or in km/h
km/h instead of th eoutside temper-
ature.
The Addit. Addit. speedo
speedo[mph]:
[mph]:function allows
you to choos ewhether th emultifunction dis-
play in th estatus area always shows the
spee dinmph
mph instead of th eoutside tempera-
ture.
X Press the =or; buttononthesteer-
ing wheel to select the Settings
Settingsmenu.
X Press the :or9 buttontoselect the
Inst. cluster
Inst. cluster submenu. Menu
sand submenus
289On-boardcomputer and displays Z
Page 296 of 497
ting switches permanent SPEEDTRONIC
off.
X Press the abutton to store the entry.
Observe the additional information on per-
manent SPEEDTRONIC (Y page 217).
Activating/deactivating the automatic
lockin gfeature
X Press the =or; button on the steer-
ing whee ltoselect theSettings Settings menu.
X Press the :or9 button to select the
Vehicle
Vehicle submenu.
X Press ato confirm.
X Press the :or9 button to select the
Auto. doo rlocks
Auto. doo rlocks function.
When the Auto. doo rlocks
Auto. doo rlocks functio nis
switched on, the vehicl edoors ar edis-
played in orange in the multifunctio ndis-
play.
X Press the abutton to save the setting.
If yo uactivate the Auto. doorlocks
Auto. doo rlocks func-
tion, the vehicl eiscentrally locked above a
spee dofa round 15 km/h.
Furthe rinformation on the automatic locking
featur e(Ypage 102).
Activating/deactivating the acoustic
lockin gconfirmation
If yo uswitch on the Acoustic
Acoustic Lock Lockfunction,
an acoustic signa lsou nd sw heny ou lock the
vehicle.
X Press the =or; button on the steer-
ing whee ltoselect theSettings
Settings menu.
X Press the :or9 button to select the
Vehicle
Vehicle submenu.
X Press ato confirm.
X Press the :or9 button to select the
Acoustic Lock
Acoustic Lock function.
If the Acoustic
Acoustic Lock
Lockfunctio nisa ctivated,
the & symbo linthe multifunctio ndis-
play lights up orange.
X Press the abutton to save the setting. Heating Auxiliary heating departure time
G
DANGER
If the exhaust pipe is blocke dorsufficient
ventilation is not possible, toxi cexhaust
fumes can ente rthe vehicle, especiall ycar-
bo nm onoxide. This is the case, e.g .in
enclose dspaces, or if the vehicl eisstuck in
snow. There is ariskoff atal injuries.
Yo us houl dswitch off the auxiliary heating in
enclose dspacesw hich do not have an extrac-
tio ns ystem, e.g .agarage. If the vehicl eis
stuck in sno wand yo umustleave the auxiliary
heating running ,kee pt he exhaust pipe and
the area around the vehicl eclear of snow. To
guarante easufficient supply of fresh air, open
aw indo wont he side of the vehicl eawayfrom
the wind. G
WARNING
When the auxiliary heating is switched on,
parts of the vehicl ecan becom everyh ot.
Flammabl ematerial ssuchasl eaves, grass or
twigs ma yign ite if the ycom einto contact
with:
R ho tp arts of the exhaust system
R the exhaust ga sitself
There is ariskoff ire.
When the auxiliary heating is switched on,
make sure that:
R no flammabl ematerial scom einto contact
with ho tvehicl ecomponents
R the exhaust ga scan escap efromt he
exhaust pipe unhindered
R the exhaust ga sdoesn ot com einto contact
with flammabl ematerials.
! Operating the auxiliary heating/ventila-
tio nd raws on the vehicl ebattery .After you
have heate dorventilated the vehicl ea
maximum of two times ,drive for alon ger
distance.
Onl yvehicles with auxiliary heating have this
function. Menus and submenus
293On-board computer and displays Z