Page 115 of 544
Features of your vehicle
38
4
To close the sunshade when the
sunroof glass is closed
- Press the sunshade close button (2).
❈ When you press the sunshade
close button(2) with the sunroof
glass opened
Type A The sunshade will be closed
halfway.
Type B The sunshade will be closed
halfway, then sunroof glass will be
closed and then sunshade will be
fully closed finally.
- Push the sunroof control lever for- ward or pull it down.
To stop the sliding at any point, press
the sunshade control switch momen-
tarily.
✽ ✽ NOTICE
Wrinkles formed on the sunshade as
material characteristic are normal.
Resetting the sunroof
Whenever the vehicle battery is dis-
connected or discharged, you must
reset your sunroof system as follows:
1.Turn the ignition switch to the ON
position.
2.Close the sunshade and sunroof completely if opened.
3.Release the sunroof control lever.
4.Push the sunroof control lever for- ward in the direction of close (about
10 seconds) until the sunroof moves
a little. Then, release the lever.
CAUTION- Automatic
sunroof shade
Do not pull or push the sun- shade by hand as such actionmay damage the sunshade orcause it to malfunction.
Close the sunroof when driv- ing in dusty environments.Dust may cause a malfunctionof the vehicle system.
Page 116 of 544
439
Features of your vehicle
5.Push the sunroof control lever for-ward in the direction of close, until
the sunroof operates as follows
again:
The sunshade and sunroof glass
slide open → The sunroof glass
slide close → The sunshade close
Then, release the lever.
When this is complete, the sunroof
system has been reset.
✽ ✽ NOTICE
If you do not reset the sunroof, it
may not work properly.
Page 144 of 544
467
Features of your vehicle
Sunroof Open (if equipped)
The warning message illuminatesif you turn off the engine when the
sunroof is open.
Turn on "FUSE SWITCH"
(if equipped)
This warning message illuminates if the fuse switch on the fuse box is
OFF. The "FUSE" and "on" warning
messages are displayed alternate-
ly. (for Type A)
It means that you should turn the fuse switch on.
For more details, refer to “Fuses” in
chapter 7.
OPS043120
OPS044309L
OPS043405L
■Type A
■ Type B
Page 156 of 544
479
Features of your vehicle
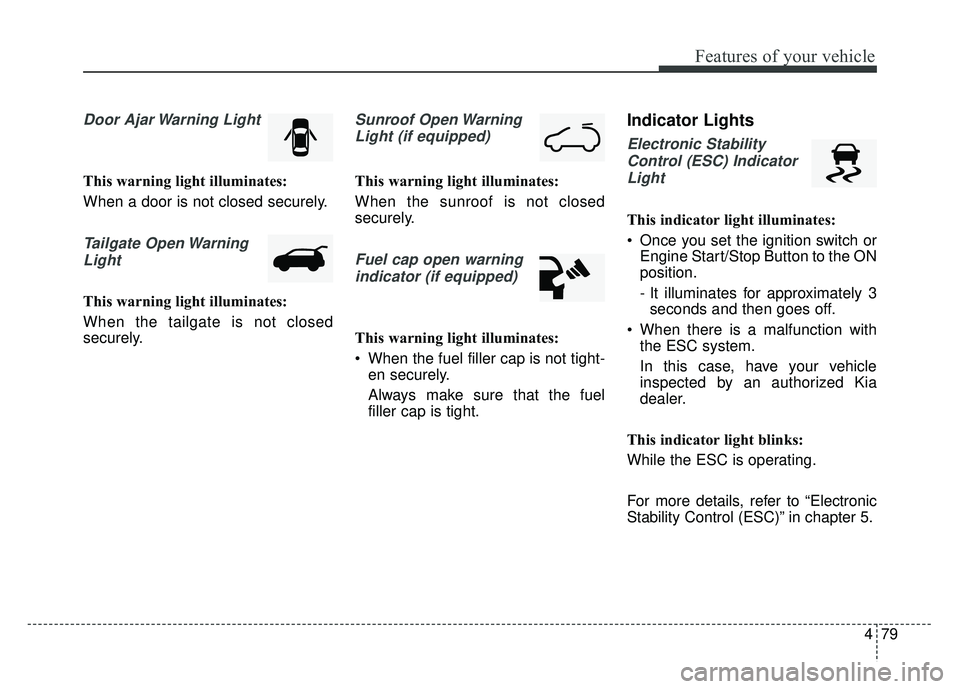
Door Ajar Warning Light
This warning light illuminates:
When a door is not closed securely.
Tailgate Open WarningLight
This warning light illuminates:
When the tailgate is not closed
securely.
Sunroof Open WarningLight (if equipped)
This warning light illuminates:
When the sunroof is not closed
securely.
Fuel cap open warningindicator (if equipped)
This warning light illuminates:
When the fuel filler cap is not tight- en securely.
Always make sure that the fuel
filler cap is tight.
Indicator Lights
Electronic Stability
Control (ESC) IndicatorLight
This indicator light illuminates:
Once you set the ignition switch or Engine Start/Stop Button to the ON
position.
- It illuminates for approximately 3seconds and then goes off.
When there is a malfunction with the ESC system.
In this case, have your vehicle
inspected by an authorized Kia
dealer.
This indicator light blinks:
While the ESC is operating.
For more details, refer to “Electronic
Stability Control (ESC)” in chapter 5.
Page 218 of 544
4141
Features of your vehicle
EXTERIOR FEATURES
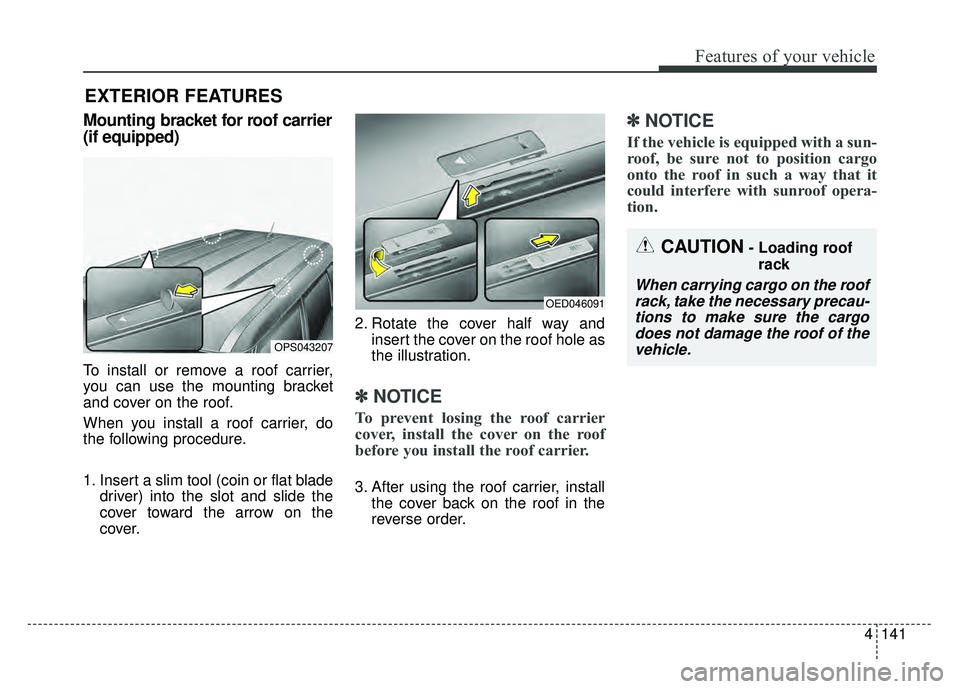
Mounting bracket for roof carrier
(if equipped)
To install or remove a roof carrier,
you can use the mounting bracket
and cover on the roof.
When you install a roof carrier, do
the following procedure.
1. Insert a slim tool (coin or flat bladedriver) into the slot and slide the
cover toward the arrow on the
cover. 2. Rotate the cover half way and
insert the cover on the roof hole as
the illustration.
✽ ✽NOTICE
To prevent losing the roof carrier
cover, install the cover on the roof
before you install the roof carrier.
3. After using the roof carrier, install
the cover back on the roof in the
reverse order.
✽ ✽NOTICE
If the vehicle is equipped with a sun-
roof, be sure not to position cargo
onto the roof in such a way that it
could interfere with sunroof opera-
tion.
OPS043207
OED046091
CAUTION- Loading roof
rack
When carrying cargo on the roofrack, take the necessary precau-tions to make sure the cargodoes not damage the roof of thevehicle.
Page 232 of 544
4155
Features of your vehicle
Park the vehicle when connectingthe head unit with the mobile
phone.
Bluetooth®connection may
become intermittently disconnect-
ed in some mobile phones. Follow
these steps to try again.
1. Within the mobile phone, turn the
Bluetooth®function off/on
and try again.
2. Turn the mobile phone power Off/On and try again.
3. Reboot the audio system and try again.
4. Delete all paired devices, pair and try again.
Handsfree call quality and volume may differ depending on the model
of your mobile phone.
Voice Recognition
When using the voice recognitionfeature, only commands listed
within the user's manual are sup-
ported.
Be aware that during the operation of the voice recognition system,
pressing any key other than the key terminate voice recogni-
tion mode.
For superior voice recognition per- formance, position the microphone
used for voice recognition above
the head of the driver’s seat and
maintain a proper position when
saying commands.
Within the following situations, voice recognition may not function
properly due to external sound.
- When the windows and sunroof are open
- When the blower AC/heater is set to high
- When entering and passing through tunnels
(Continued)(Continued)
- When driving on rugged and uneven roads
- During severe rain (heavy rains, windstorms)
Phone related voice commands can be used only when a
Bluetooth®Wireless Technology
device is connected.
When making calls by stating a name, the corresponding contact
must be downloaded and stored
within the audio system.
After downloading the
Bluetooth®
Wireless Technology phone book,
it takes some times to convert the
phone book data into voice infor-
mation. During this time, voice
recognition may not properly oper-
ate.
Pronounce the voice commands naturally and clearly as if in a nor-
mal conversation.
Page 465 of 544
745
Maintenance
When recharging the battery,
observe the following precautions:
The battery must be removed fromthe vehicle and placed in an area
with good ventilation.
Do not allow cigarettes, sparks, or flame near the battery.
Watch the battery during charging, and stop or reduce the charging
rate if the battery cells begin
gassing (boiling) violently or if the
temperature of the electrolyte of
any cell exceeds 120°F (49°C).
Wear eye protection when check- ing the battery during charging.
Disconnect the battery charger in the following order. 1.Turn off the battery charger main
switch.
2.Unhook the negative clamp from the negative battery terminal.
3.Unhook the positive clamp from the positive battery terminal.
Before performing maintenance or recharging the battery, turn off all
accessories and stop the engine.
The negative battery cable must be removed first and installed last
when the battery is disconnected.Reset items
Items should be reset after the bat-
tery has been discharged or the bat-
tery has been disconnected.
Auto up/down window (See chapter 4)
Sunroof (See chapter 4)
Trip computer (See chapter 4)
Climate control system (See chapter 4)
Clock (See chapter 4)
Audio (See chapter 4)
Page 487 of 544
767
Maintenance
Inner fuse panel
Description Fuse ratingProtected component
POWER OUTLET 2 20A P_OUTLET
ACC 10AO_S_MIRR_SW, AMP, AUDIO/UVO/AVN 4.0_HEAD UNIT, BCM, TMU, MOOD_LAMP_UNIT,
SMK_UNIT, LDC_AMP(400W), LDC_AMP(200W)
POWER OUTLET 1 25A C/LIGHT, REAR_P_OUTLET
DRL 10A BCM(DAY_RUNNNIG_LIGHT_LAMP_POWER)
MODULE 6 7.5ASUNROOF_MOTOR, LUGGAGE_PORTABLE_LAMP(CHARGE_POWER), SEAT_EXTN_DRV(HEAT-
ED), REAR_SEAT(IGN2)
WIPER FRT 2 25A FRONT_WIPER_MOTOR(POWER), FRONT_WIPER_RLY(LOW)
WIPER RR 15AREAR_WIPER_MOTOR, MULTI_FUNCTION_SW(WIPER), REAR_WIPER_RLY,
REAR_WIPER_RLY_COIL,
AMP 30A AMP, LDC_AMP(400W)
MODULE 5 7.5A BCM, SMK_UNIT
WIPER FRT 1 10A MULTI_FUNCTION_SW(WIPER), BCM(WASHER_MOTOR_POWER), HTD STRG 15A STEERING_HEATED
A/CON 1 7.5A AIR_CONTROL_UNIT(MANUAL, AUTO), IONIZER, PTC_RLY_COIL, BLOWER_RLY_COIL
HTD MIRR 10AOUTSIDE_MIRROR(HEATED), ECU(ELEC. LOAD DEFROST),
AIR_CONTROL_UNIT_MANUAL/AUTO(HEATED_SIGNAL)