Page 494 of 544

Maintenance
74
7
LIGHT BULBS
Use only the bulbs of the specified
wattage.
If you don’t have necessary tools, the correct bulbs and the expertise,
consult an authorized Kia dealer. In
many cases, it is difficult to replace
vehicle light bulbs because other
parts of the vehicle must be
removed before you can get to the
bulb. This is especially true if you
have to remove the headlight
assembly to get to the bulb(s).
Removing/installing the headlight
assembly can result in damage to
the vehicle.
Do not install additional bulb or LED. If you install that, the lamp
may not be operated properly and
fuse box or electric wiring system
may have problem.
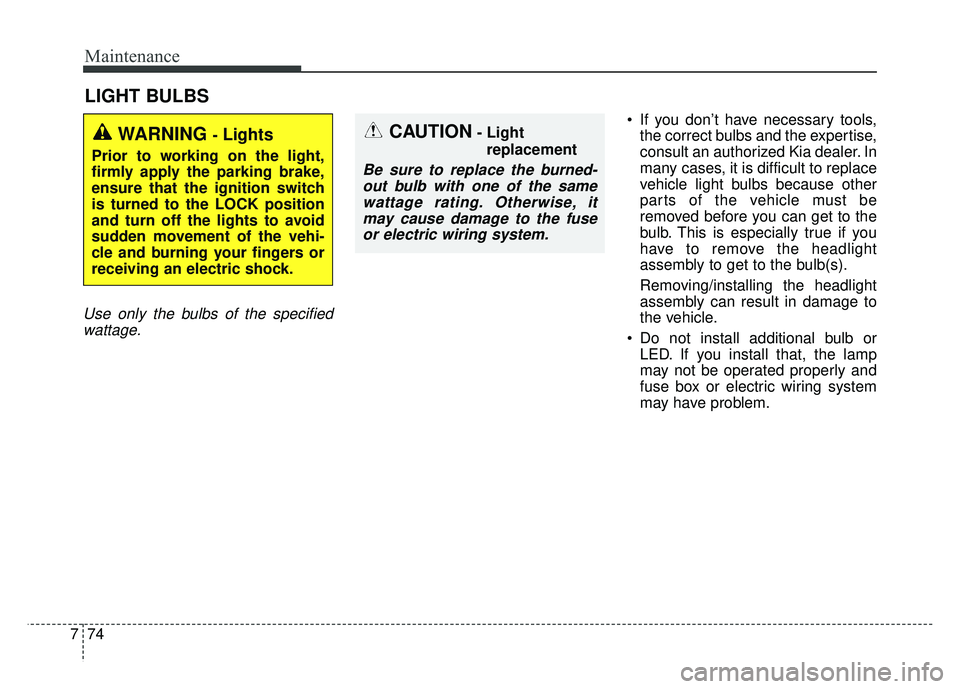
WARNING - Lights
Prior to working on the light,
firmly apply the parking brake,
ensure that the ignition switch
is turned to the LOCK position
and turn off the lights to avoid
sudden movement of the vehi-
cle and burning your fingers or
receiving an electric shock.
CAUTION- Light
replacement
Be sure to replace the burned-out bulb with one of the samewattage rating. Otherwise, itmay cause damage to the fuseor electric wiring system.
Page 495 of 544
775
Maintenance
Headlight, position light, turn
signal light, side marker light
and front fog light bulb
replacement(1) Headlight (High)
(2) Headlight (Low)
(3) Front side marker light
(4) Front turn signal
(5) Front position light
(6) Front fog light (if equipped)
If the headlight aiming adjustment is
necessary after the headlight
assembly is reinstalled, consult an
authorized Kia dealer.
OPS073020
■Type A
OPS073021
■Type B
OHD076046
WARNING- Halogen
bulbs
Handle halogen bulbs with care.
Halogen bulbs contain pres- surized gas that will produce
flying pieces of glass if bro-
ken.
Page 496 of 544

Maintenance
76
7
Always handle them carefully, and
avoid scratches and abrasions. If
the bulbs are lit, avoid contact with
liquids. Never touch the glass with
bare hands. Residual oil may
cause the bulb to overheat and
burst when lit. A bulb should be
operated only when installed in a
headlight.
If a bulb becomes damaged or cracked, replace it immediately
and carefully dispose of it.
Wear eye protection when chang- ing a bulb. Allow the bulb to cool
down before handling it.
Headlight (HID type)
If the light bulb is not operating, have
the vehicle checked by an authorized
Kia dealer.
✽ ✽ NOTICE
HID lamps have superior perform-
ance vs. halogen bulbs. HID lamps
are estimated by the manufacturer
to last twice as long or longer than
halogen bulbs depending on their
frequency of use. They will probably
require replacement at some point
in the life of the vehicle. Cycling the
headlamps on and off more than
typical use will shorten HID lamps
life. HID lamps do not fail in the
same manner as halogen incandes-
cent lamps. If a headlamp goes out
after a period of operation but will
immediately relight when the head-
lamp switch is cycled it is likely the
HID lamp needs to be replaced. HID
lighting components are more com-
plex than conventional halogen
bulbs thus have higher replacement
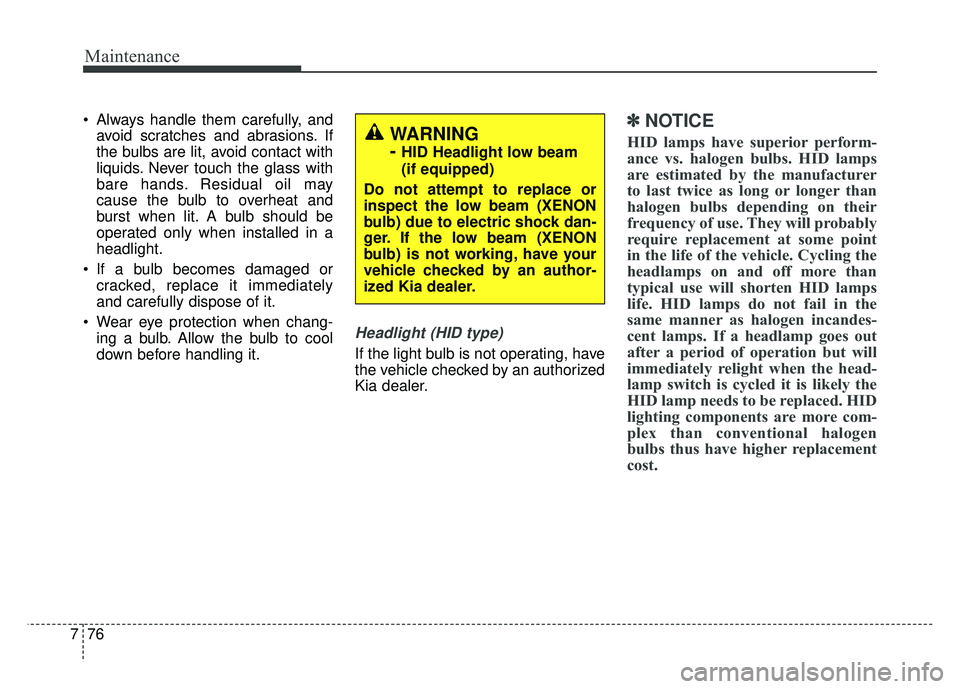
cost.WARNING
-
HID Headlight low beam
(if equipped)
Do not attempt to replace or
inspect the low beam (XENON
bulb) due to electric shock dan-
ger. If the low beam (XENON
bulb) is not working, have your
vehicle checked by an author-
ized Kia dealer.
Page 497 of 544
777
Maintenance
1. Turn off the engine and open thehood. Disconnect the negative
battery cable.
2. Disconnect the power connector from the back of the headlight
assembly.
3. Loosen the retaining bolts. 4. Pull out the end of the front
bumper.
5. Remove the headlight assembly from the body of the vehicle.
If you can reach the bulb without
removing the headlight assembly,
you do not need to do step 3,4 and 5.
Headlight bulb (High)
Follow the steps 1 to 5 from the pre-
vious page.
6.Remove the headlight bulb cover by turning it counterclockwise.
7.Disconnect the headlight bulb socket-connector.
OPS073046
OPS073051
OPS073028
OPS073047
OPS073026
■ Type A
■Type B
Page 498 of 544
Maintenance
78
7
8.Unsnap the headlight bulb retain-
ing wire by depressing the end and
pushing it upward.
9.Remove the bulb from the head- light assembly.
10. Install a new headlight bulb and snap the headlight bulb retaining
wire into position by aligning the
wire with the groove on the bulb.
11. Connect the headlight bulb sock- et connector.
12. Install the headlight bulb cover by turning it clockwise.
13. Connect the power connector to the back of the headlight assem-
bly.
14. Reinstall the headlight assembly to the body of the vehicle.Headlight bulb (Low)
Follow the steps 1 to 5 from the pre-
vious page.
6.Remove the headlight bulb coverby turning it counterclockwise.
7.Remove the bulb from the assem- bly by turning it counterclockwise. 8.Insert a new bulb by inserting it into
the housing and rotating in until it
locks into place.
9.Install the headlight bulb cover by turning it clockwise.
OPS073047
OPS073023
■ Type A
■Type B
Low
High
Page 499 of 544
779
Maintenance
Front turn signal/position lightBulb type
Follow the steps 1 to 5 from the pre-
vious page.
6. Remove the socket from theassembly by turning the socket
counterclockwise until the tabs on
the socket align with the slots on
the assembly.
7. Remove the bulb from the socket by pressing it in and rotating it
counterclockwise until the tabs on
the bulb align with the slots in the
socket.
8. Insert a new bulb by inserting it into the socket and rotating it until
it locks into place.
9. Install the socket in the assembly by aligning the tabs on the socket
with the slots in the assembly and
turning the socket clockwise.
10. Reinstall the light assembly to the body of the vehicle. LED type
If the light bulb is not operating, have
the vehicle checked by an authorized
Kia dealer.
■
Type A
■Type BOPS073049
Turn signal
OPS073024
Turn signal
PositionOPS073048
Page 500 of 544

Maintenance
80
7
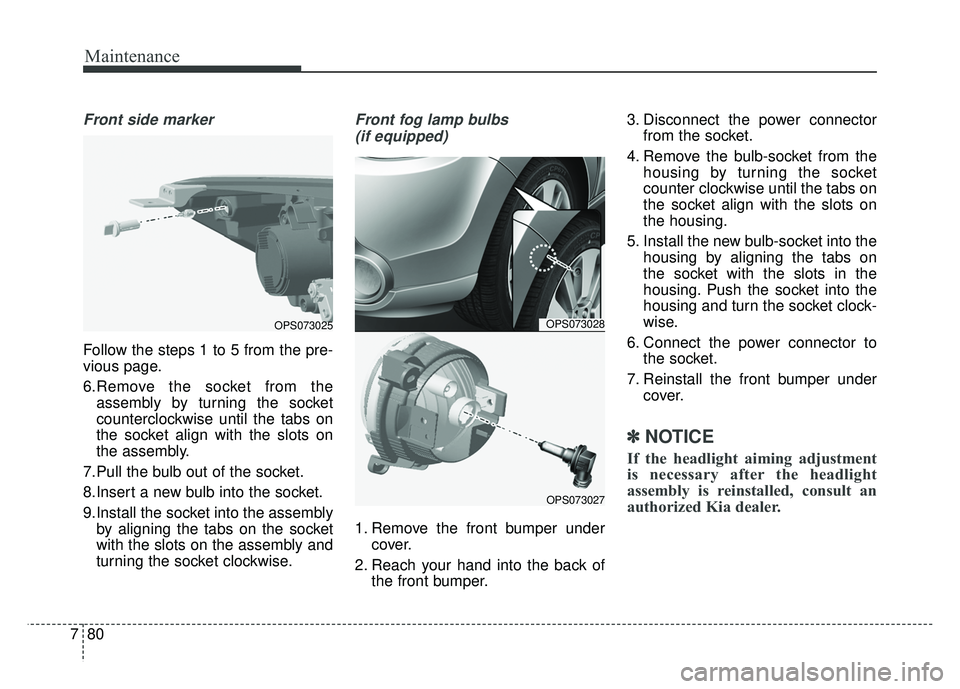
Front side marker
Follow the steps 1 to 5 from the pre-
vious page.
6.Remove the socket from the
assembly by turning the socket
counterclockwise until the tabs on
the socket align with the slots on
the assembly.
7.Pull the bulb out of the socket.
8.Insert a new bulb into the socket.
9.Install the socket into the assembly by aligning the tabs on the socket
with the slots on the assembly and
turning the socket clockwise.
Front fog lamp bulbs
(if equipped)
1. Remove the front bumper under cover.
2. Reach your hand into the back of the front bumper. 3. Disconnect the power connector
from the socket.
4. Remove the bulb-socket from the housing by turning the socket
counter clockwise until the tabs on
the socket align with the slots on
the housing.
5. Install the new bulb-socket into the housing by aligning the tabs on
the socket with the slots in the
housing. Push the socket into the
housing and turn the socket clock-
wise.
6. Connect the power connector to the socket.
7. Reinstall the front bumper under cover.
✽ ✽NOTICE
If the headlight aiming adjustment
is necessary after the headlight
assembly is reinstalled, consult an
authorized Kia dealer.
OPS073028
OPS073027
OPS073025
Page 501 of 544
781
Maintenance
Side repeater light bulb
replacement (if equipped)
If the light bulb is not operating, have
the vehicle checked by an authorized
Kia dealer.
Rear combination light bulb
replacement
(1) Tail light and side marker
(2) Rear turn signal light
(3) Back-up light(4) Stop and tail light
(5) Tail light
(6) Tail/Stop light and side marker
(LED)
OPS073035
OPS073030
OPS073029
■Type A
■Type B