2015 KIA Soul EV radio
[x] Cancel search: radioPage 78 of 407
Features of your vehicle
84
Smart key precautions
The smart key will not work if anyof the following occur:
- The smart key is close to a radio transmitter such as a radio sta-
tion or an airport which can inter-
fere with normal operation of the
smart key.
- The smart key is near a mobile two way radio system or a cellu-
lar phone.
- Another vehicle’s smart key is being operated close to your
vehicle.
When the smart key does not work correctly, open and close the door
with the mechanical key and contact
an authorized Kia dealer. If the smart key is in close proximity
to your cell phone or smart phone,
the signal from the smart key could
be blocked by normal operation of
your cell phone or smart phone.
This is especially important when
the phone is active such as making
a call, receiving calls, text messag-
ing, and/or sending/receiving
emails. Avoid placing the smart key
and your cell phone or smart phone
in the same pants or jacket pocket
and maintain adequate distance
between the two devices.
✽ ✽ NOTICE
If the smart key is inoperative due to
exposure to water or liquids, it will
not be covered by your manufactur-
er’s vehicle warranty.
Smart key immobilizer system
Your vehicle is equipped with an elec-
tronic immobilizer system to reduce
the risk of unauthorized vehicle use.
Your immobilizer system is com-
prised of a small transponder in the
smart key and electronic devices
inside the vehicle.
With the immobilizer system, when-
ever you turn the POWER button to
the ON position by pressing the but-
ton while carrying the smart key, it
checks and determines and verifies if
the smart key is valid or not.
If the key is determined to be valid,
the vehicle will start.
If the key is determined to be invalid,
the vehicle will not start.
CAUTION
Keep the smart key away from
water or any liquid as it canbecome damaged and not func-tion properly.
Page 187 of 407
4117
Features of your vehicle
Audio remote control
(if equipped)
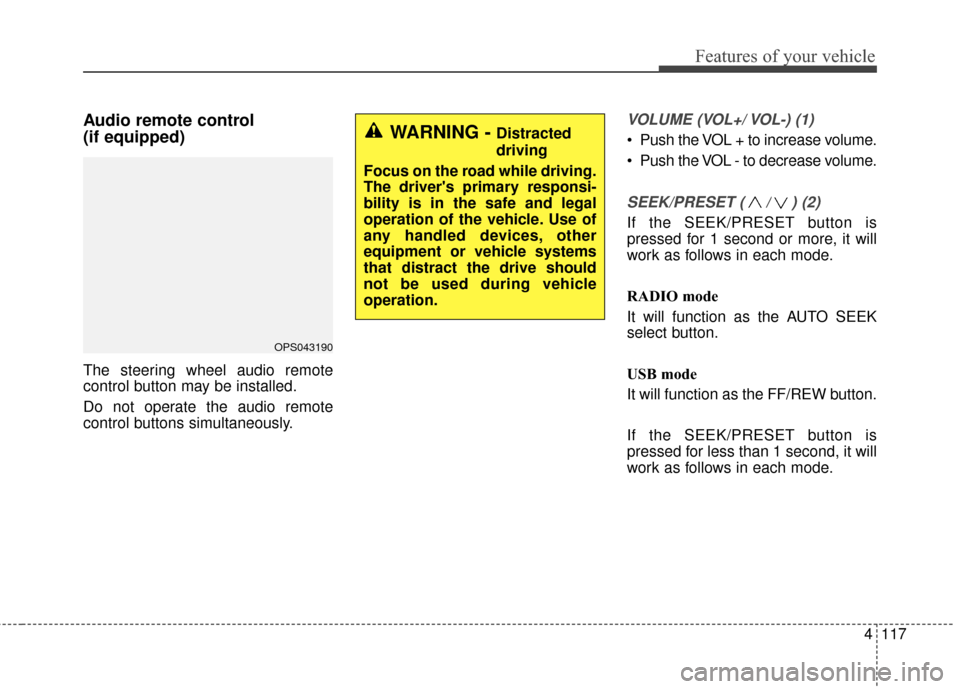
The steering wheel audio remote
control button may be installed.
Do not operate the audio remote
control buttons simultaneously.
VOLUME (VOL+/ VOL-) (1)
Push the VOL + to increase volume.
Push the VOL - to decrease volume.
SEEK/PRESET ( / ) (2)
If the SEEK/PRESET button is
pressed for 1 second or more, it will
work as follows in each mode.
RADIO mode
It will function as the AUTO SEEK
select button.
USB mode
It will function as the FF/REW button.
If the SEEK/PRESET button is
pressed for less than 1 second, it will
work as follows in each mode.
OPS043190
WARNING - Distracted
driving
Focus on the road while driving.
The driver's primary responsi-
bility is in the safe and legal
operation of the vehicle. Use of
any handled devices, other
equipment or vehicle systems
that distract the drive should
not be used during vehicle
operation.
Page 188 of 407
Features of your vehicle
118
4
RADIO mode
It will function as the PRESET STA-
TION select buttons.
USB mode
It will function as the FILE UP/DOWN
button.
MODE (3)
Press the button to select Radio,
USB or AUX.
Detailed information for audio control
buttons is described in the following
pages in this section.
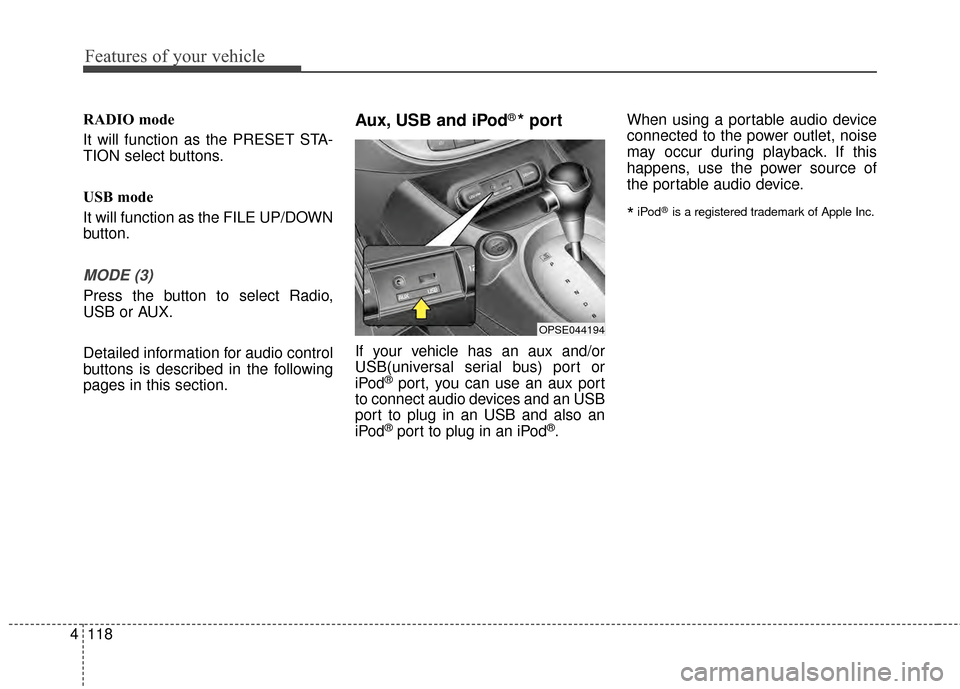
Aux, USB and iPod®* port
If your vehicle has an aux and/or
USB(universal serial bus) port or
iPod
®port, you can use an aux port
to connect audio devices and an USB
port to plug in an USB and also an
iPod
®port to plug in an iPod®. When using a portable audio device
connected to the power outlet, noise
may occur during playback. If this
happens, use the power source of
the portable audio device.
*iPod®is a registered trademark of Apple Inc.
OPSE044194
Page 251 of 407
611
What to do in an emergency
TPMS (Tire Pressure
Monitoring System)
malfunction indicator
The TPMS malfunction indicator will
illuminate after it blinks for approxi-
mately one minute when there is a
problem with the Tire Pressure
Monitoring System. Have the system
checked by an authorized Kia dealer
as soon as possible to determine the
cause of the problem.
The TPMS malfunction indicatormay blink for approximately 1
minute and then remain continuous-
ly illuminated if the vehicle is moving
around electric power supply cables
or radios transmitters such as at
police stations, government and
public offices, broadcasting sta-
tions, military installations, airports,
or transmitting towers, etc. This can
interfere with normal operation of
the Tire Pressure Monitoring
System (TPMS). The TPMS malfunction indicator
may blink for approximately 1
minute and then remain continuous-
ly illuminated if snow chains are
used or some separate electronic
devices such as notebook comput-
er, mobile charger, remote starter or
navigation etc., are used in the vehi-
cle. This can interfere with normal
operation of the Tire Pressure
Monitoring System (TPMS).
WARNING- Low pressure
damage
Do not drive on low pressure
tires. Significantly low tire pres-
sure can cause the tires to over-
heat and fail making the vehicle
unstable resulting in increased
braking distances and a loss of
vehicle control.
Page 368 of 407

23
You can start charging when thePower button is in the OFF posi-
tion and the shift lever is in P
(Park). After charging has started,
you can use electrical compo-
nents such as the radio by press-
ing the Power button to the ACC or
ON position.
If you move the shift lever from P (Park) to R (Rear), N (Neutral), D
(Drive), charging stops immedi-
ately. If you want to start charging
again, place the shift lever to P
(Park) and press the Power button
to the OFF position. Unplug and
reconnect the charging cable to
start charging again. 9. After charging has started, the
estimated charging time is dis-
played on the instrument cluster
for about 1 minute.
If you open the driver seat door
while charging, the estimated
charging time is also displayed on
the instrument cluster for about 1
minute.
When reserved charging is set,
the estimated charging time is
displayed as “--" . Depending on the condition and
durability of the high voltage battery,
charger specifications, and ambient
temperature, the time required for
charging the battery may vary.
CHARGING ELECTRIC VEHICLE
(NORMAL CHARGE)
OPSE044044L
Page 374 of 407
29
❈During cold weather, quick charg-
ing may not be available to prevent
high voltage battery degradation.
You can start charging when the Power button is in the OFF posi-
tion and the shift lever is in P
(Park).
After charging has started, you
can use electrical components
such as the radio by pressing the
Power button to ACC or ON posi-
tion.
If you move the shift lever from P (Park) to R (Reverse), N (Neutral),
D (Drive), charging stops immedi-
ately. If you want to start charging
again, place the shift lever to P
(Park) and press the Power button
to the OFF position. Unplug and
reconnect the charging cable to
start charging again.
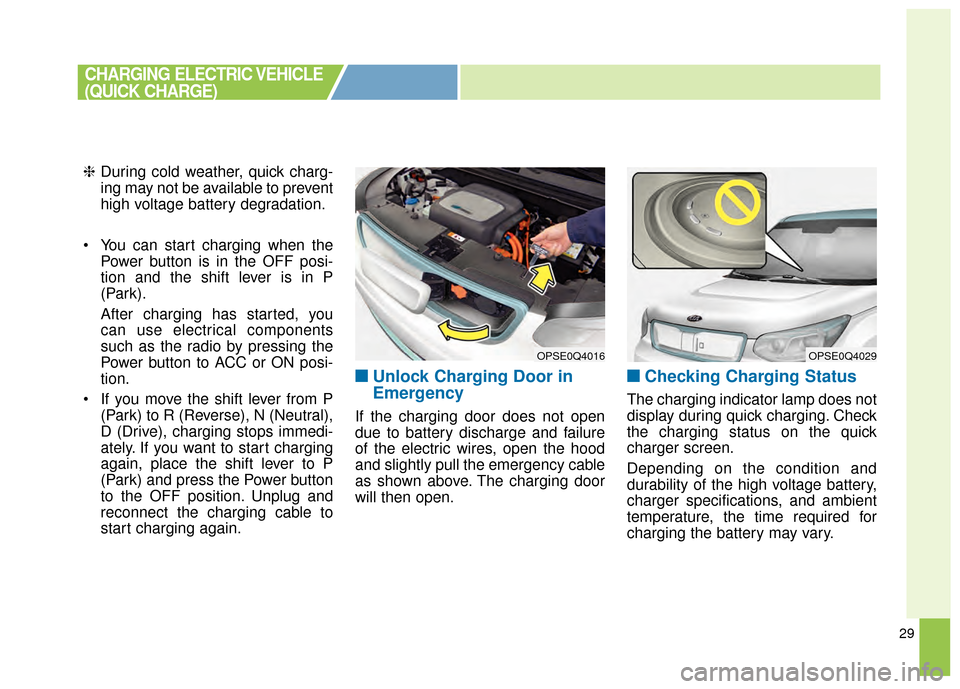
■ ■Unlock Charging Door in
Emergency
If the charging door does not open
due to battery discharge and failure
of the electric wires, open the hood
and slightly pull the emergency cable
as shown above. The charging door
will then open.
■ ■Checking Charging Status
The charging indicator lamp does not
display during quick charging. Check
the charging status on the quick
charger screen.
Depending on the condition and
durability of the high voltage battery,
charger specifications, and ambient
temperature, the time required for
charging the battery may vary.
OPSE0Q4016OPSE0Q4029
CHARGING ELECTRIC VEHICLE
(QUICK CHARGE)
Page 379 of 407
34
You can start charging when thePower button is in the OFF posi-
tion and the shift lever is in P
(Park).
After charging has started, you
can use electrical components
such as the radio by pressing the
Power button to ACC or ON posi-
tion.
If you move the shift lever from P (Park) to R (Reverse), N (Neutral),
D (Drive), charging stops immedi-
ately. If you want to start charging
again, place the shift lever to P
(Park) and press the Power button
to the OFF position. Unplug and
reconnect the charging cable to
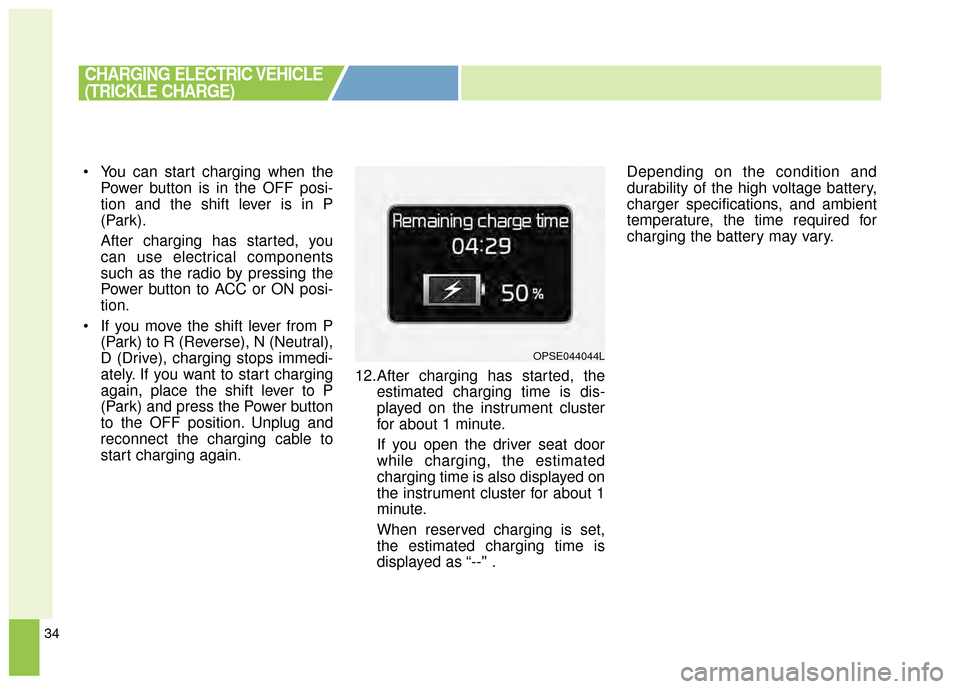
start charging again. 12.After charging has started, the
estimated charging time is dis-
played on the instrument cluster
for about 1 minute.
If you open the driver seat door
while charging, the estimated
charging time is also displayed on
the instrument cluster for about 1
minute.
When reserved charging is set,
the estimated charging time is
displayed as “--" . Depending on the condition and
durability of the high voltage battery,
charger specifications, and ambient
temperature, the time required for
charging the battery may vary.
CHARGING ELECTRIC VEHICLE
(TRICKLE CHARGE)
OPSE044044L