Page 18 of 407

35
Safety features of your vehicle
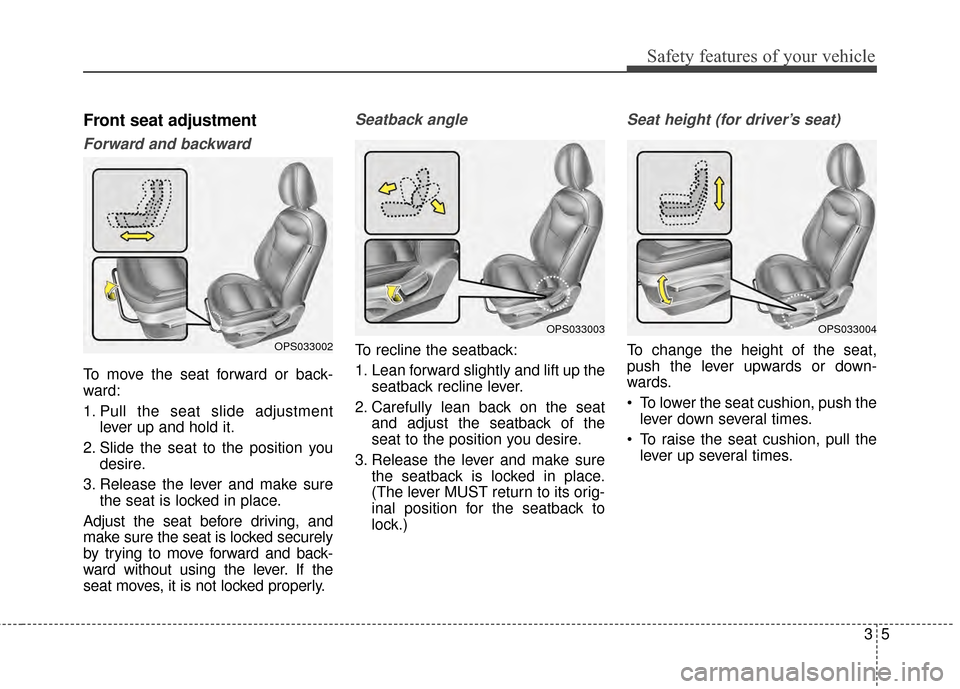
Front seat adjustment
Forward and backward
To move the seat forward or back-
ward:
1. Pull the seat slide adjustmentlever up and hold it.
2. Slide the seat to the position you desire.
3. Release the lever and make sure the seat is locked in place.
Adjust the seat before driving, and
make sure the seat is locked securely
by trying to move forward and back-
ward without using the lever. If the
seat moves, it is not locked properly.
Seatback angle
To recline the seatback:
1. Lean forward slightly and lift up the seatback recline lever.
2. Carefully lean back on the seat and adjust the seatback of the
seat to the position you desire.
3. Release the lever and make sure the seatback is locked in place.
(The lever MUST return to its orig-
inal position for the seatback to
lock.)
Seat height (for driver’s seat)
To change the height of the seat,
push the lever upwards or down-
wards.
To lower the seat cushion, push thelever down several times.
To raise the seat cushion, pull the lever up several times.OPS033002
OPS033003OPS033004
Page 19 of 407

Safety features of your vehicle
63
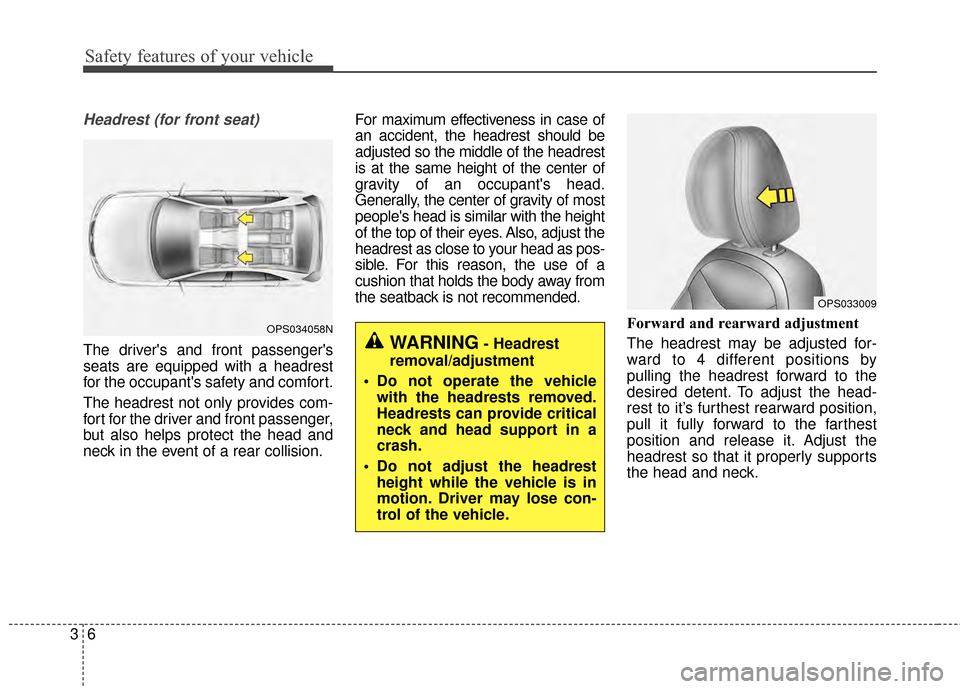
Headrest (for front seat)
The driver's and front passenger's
seats are equipped with a headrest
for the occupant's safety and comfort.
The headrest not only provides com-
fort for the driver and front passenger,
but also helps protect the head and
neck in the event of a rear collision.For maximum effectiveness in case of
an accident, the headrest should be
adjusted so the middle of the headrest
is at the same height of the center of
gravity of an occupant's head.
Generally, the center of gravity of most
people's head is similar with the height
of the top of their eyes. Also, adjust the
headrest as close to your head as pos-
sible. For this reason, the use of a
cushion that holds the body away from
the seatback is not recommended.
Forward and rearward adjustment
The headrest may be adjusted for-
ward to 4 different positions by
pulling the headrest forward to the
desired detent. To adjust the head-
rest to it’s furthest rearward position,
pull it fully forward to the farthest
position and release it. Adjust the
headrest so that it properly supports
the head and neck.
OPS034058N
WARNING- Headrest
removal/adjustment
Do not operate the vehicle with the headrests removed.
Headrests can provide critical
neck and head support in a
crash.
Do not adjust the headrest height while the vehicle is in
motion. Driver may lose con-
trol of the vehicle.
OPS033009
Page 23 of 407

Safety features of your vehicle
10
3
WARNING- Headrest
removal/adjustment
Do not operate the vehicle with the headrests removed.
Headrests can provide critical
neck and head support in a
crash.
Do not adjust the headrest height while the vehicle is in
motion. Driver may lose con-
trol of the vehicle.
Make sure the vehicle is off, the
reduction gear is in P (Park) position,
and the parking brake is securely
applied whenever loading or unload-
ing cargo. Failure to take these steps
may allow the vehicle to move if the
shift lever is inadvertently moved to
another position.
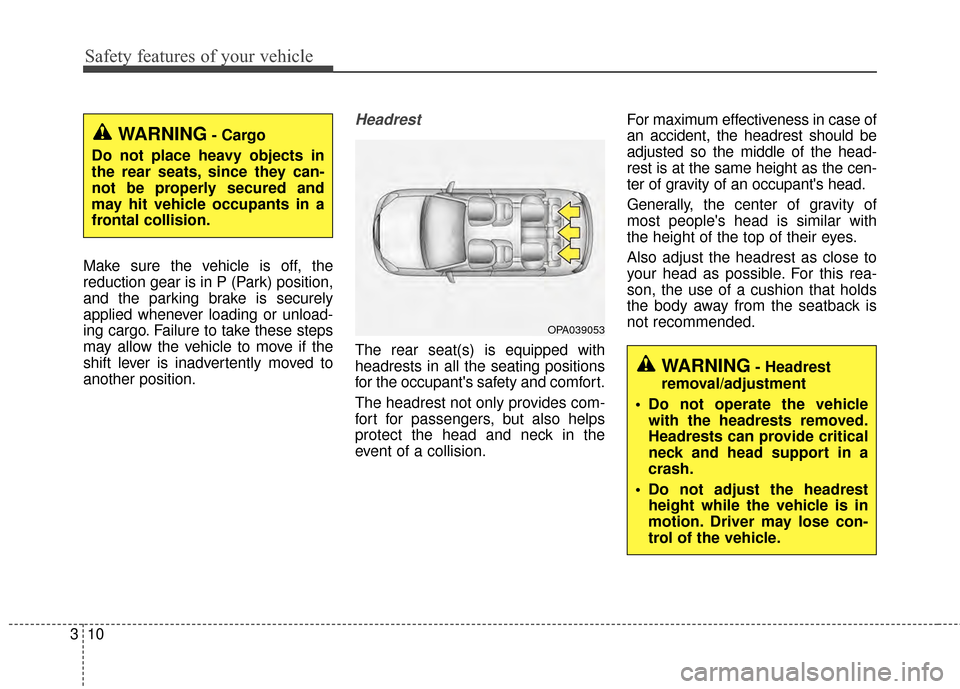
Headrest
The rear seat(s) is equipped with
headrests in all the seating positions
for the occupant's safety and comfort.
The headrest not only provides com-
fort for passengers, but also helps
protect the head and neck in the
event of a collision. For maximum effectiveness in case of
an accident, the headrest should be
adjusted so the middle of the head-
rest is at the same height as the cen-
ter of gravity of an occupant's head.
Generally,
the center of gravity of
most people's head is similar with
the height of the top of their eyes.
Also adjust the headrest as close to
your head as possible. For this rea-
son, the use of a cushion that holds
the body away from the seatback is
not recommended.
OPA039053
WARNING- Cargo
Do not place heavy objects in
the rear seats, since they can-
not be properly secured and
may hit vehicle occupants in a
frontal collision.
Page 99 of 407

429
Features of your vehicle
MIRRORS
Inside rearview mirror
Adjust the rearview mirror so that the
center view through the rear window
is seen. Make this adjustment before
you start driving.
Do not place objects in the rear seat or
cargo area which would interfere with
your vision through the rear window.
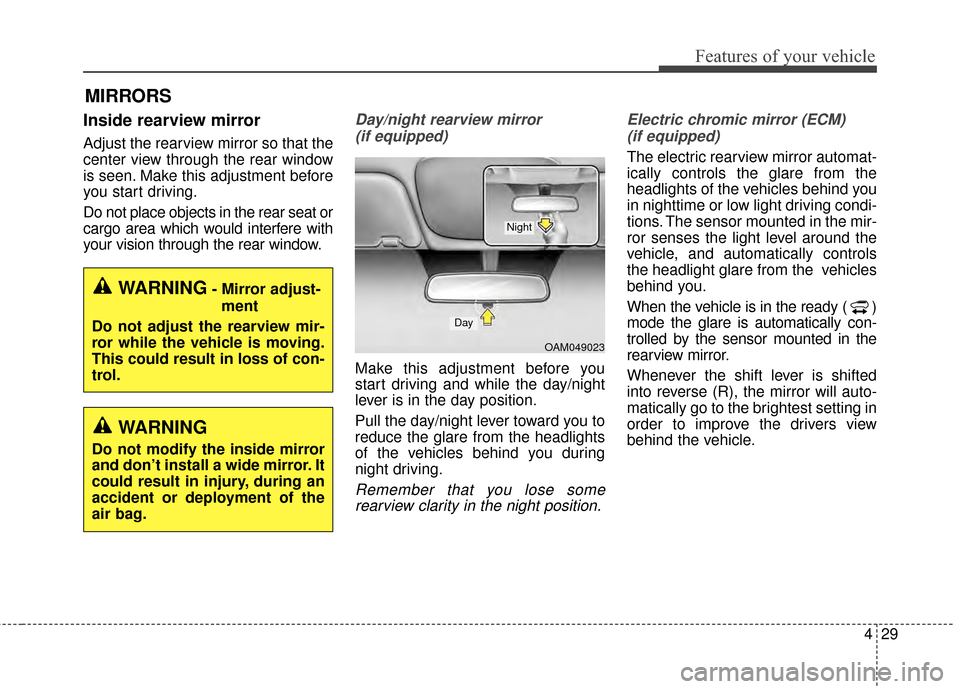
Day/night rearview mirror (if equipped)
Make this adjustment before you
start driving and while the day/night
lever is in the day position.
Pull the day/night lever toward you to
reduce the glare from the headlights
of the vehicles behind you during
night driving.
Remember that you lose somerearview clarity in the night position. Electric chromic mirror (ECM)
(if equipped)
The electric rearview mirror automat-
ically controls the glare from the
headlights of the vehicles behind you
in nighttime or low light driving condi-
tions. The sensor mounted in the mir-
ror senses the light level around the
vehicle, and automatically controls
the headlight glare from the vehicles
behind you.
When the vehicle is in the ready ( )
mode the glare is automatically con-
trolled by the sensor mounted in the
rearview mirror.
Whenever the shift lever is shifted
into reverse (R), the mirror will auto-
matically go to the brightest setting in
order to improve the drivers view
behind the vehicle.
OAM049023
Day
Night
WARNING- Mirror adjust- ment
Do not adjust the rearview mir-
ror while the vehicle is moving.
This could result in loss of con-
trol.
WARNING
Do not modify the inside mirror
and don’t install a wide mirror. It
could result in injury, during an
accident or deployment of the
air bag.