2015 KIA PICANTO tyre pressure
[x] Cancel search: tyre pressurePage 747 of 846

625
What to do in an emergency
Changing a tyre with TPMS
If you have a flat tyre, the Low Tyre
Pressure telltale will come on. Werecommend that the system be
checked by an authorised Kia dealer. Each wheel is equipped with a tyre pressure sensor mounted inside the
tyre behind the valve stem. You must
use TPMS specific wheels. It is rec-
ommended that you always have
your tyres serviced by an authorisedKia dealer or other repair shops that
use qualified technicians.Even if you replace the low pressure
tyre with the spare tyre, the Low TyrePressure telltale will remain on until
the low pressure tyre is repaired and
placed on the vehicle.
After you replace the low pressure
tyre with the spare tyre, the TPMS
malfunction indicator may illuminate
after a few minutes because theTPMS sensor mounted on the sparewheel is not initiated.
Once the low pressure tyre is rein- flated to the recommended pressure
and installed on the vehicle or theTPMS sensor mounted on the
replaced spare wheel is initiated by
an authorised Kia dealer or otherrepair shops that use qualified tech-
nicians, the TPMS malfunction indi-
cator and the low tyre pressure tell-
tale will extinguish within a few min-
utes of driving.
If the indicator is not extinguished
after a few minutes of driving, werecommend that the system be
checked by an authorised Kia dealer.CAUTION
If a original mounted tyre is
replaced with the spare tyre, theTPMS sensor on the replaced spare wheel should be initiatedand the TPMS sensor on theoriginal mounted wheel should be deactivated. If the TPMS sen-sor on the original mountedwheel located in the spare tyre carrier still activates, the tyrepressure monitoring systemmay not operate properly. Have the tyre with TPMS serviced orreplaced by an authorised Kiadealer or other repair shops that use qualified technicians.
CAUTION
Never use a puncture-repairingagent not approved by Kia torepair and/or inflate a low pres- sure tyre. The tyre sealant notapproved by Kia may damagethe tyre pressure sensor.
The sealant on the tyre pressuresensor and wheel shall be elem- inated when you replace thetyre with a new one.
Page 748 of 846

What to do in an emergency
26
6
You may not be able identify a low
tyre by simply looking at it. Alwaysuse a good quality tyre pressuregauge to measure the tyre's inflation
pressure. Please note that a tyre that
is hot (from being driven) will have ahigher pressure measurement than atyre that is cold.
A cold tyre means the vehicle has
been sitting for 3 hours and driven forless than 1 mile (1.6 km) in that 3
hour period.
Allow the tyre to cool before measur-
ing the inflation pressure. Always be
sure the tyre is cold before inflating
to the recommended pressure.
CAUTION
We recommend that you use the
tyre sealant approved by Kia ifyour vehicle is equipped with a Tyre Pressure MonitoringSystem. The liquid sealant candamage the tyre pressure sen- sors.
WARNING - Protecting
TPMS
Tampering with, modifying, or
disabling the Tyre PressureMonitoring System (TPMS) com-
ponents may interfere with thesystem's ability to warn the driv-
er of low tyre pressure condi-
tions and/or TPMS malfunctions.
Tampering with, modifying, or
disabling the Tyre PressureMonitoring System (TPMS) com-
ponents may void the warranty
for that portion of the vehicle.
WARNING - TPMS
The TPMS cannot alert you to severe and sudden tyre dam-
age caused by external factors
such as nails or road debris.
If you feel any vehicle instabil- ity, immediately take your foot
off the accelerator, apply the
brakes gradually and with
light force, and slowly move to
a safe position off the road.WARNING - For EUROPE
Do not modify the vehicle, it may interfere with the TPMS function.
The wheels on the market do not have a TPMS sensor.
For your safety, we recom-
mend that you use parts for
replacement from an autho-
rised Kia dealer.
If you use the wheels on the market, use a TPMS sensor
approved by a Kia dealer.
If your vehicle is not equipped
with a TPMS sensor or TPMS
does not work properly, you
may fail the periodic vehicle
inspection conducted in your
country.
❈
❈ All vehicles sold in the
EUROPE market during
below period must be
equipped with TPMS.
- New model vehicle : Nov. 1, 2012 ~
- Current model vehicle : Nov. 1, 2014~ (Based on vehicleregistrations)
Page 753 of 846

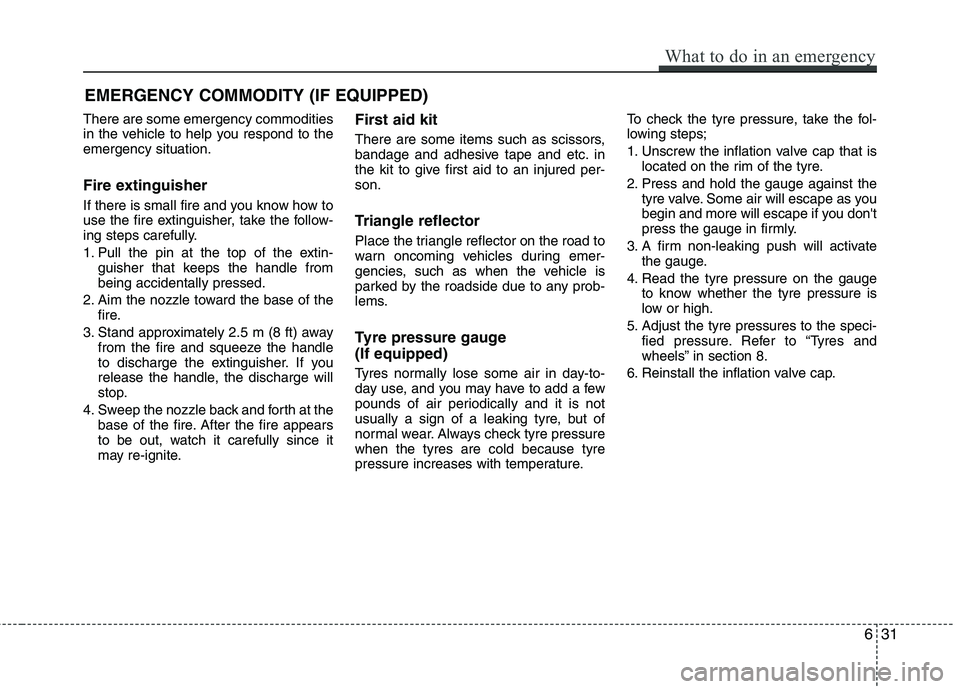
EMERGENCY COMMODITY (IF EQUIPPED)
There are some emergency commodities
in the vehicle to help you respond to theemergency situation.
Fire extinguisher
If there is small fire and you know how to
use the fire extinguisher, take the follow-
ing steps carefully.
1. Pull the pin at the top of the extin- guisher that keeps the handle from being accidentally pressed.
2. Aim the nozzle toward the base of the fire.
3. Stand approximately 2.5 m (8 ft) away from the fire and squeeze the handle
to discharge the extinguisher. If you
release the handle, the discharge will
stop.
4. Sweep the nozzle back and forth at the base of the fire. After the fire appears
to be out, watch it carefully since it
may re-ignite. First aid kit
There are some items such as scissors,
bandage and adhesive tape and etc. in
the kit to give first aid to an injured per-son.
Triangle reflector
Place the triangle reflector on the road to
warn oncoming vehicles during emer-
gencies, such as when the vehicle is
parked by the roadside due to any prob-
lems.
Tyre pressure gauge (If equipped)
Tyres normally lose some air in day-to-
day use, and you may have to add a few
pounds of air periodically and it is not
usually a sign of a leaking tyre, but of
normal wear. Always check tyre pressurewhen the tyres are cold because tyre
pressure increases with temperature. To check the tyre pressure, take the fol-
lowing steps;
1. Unscrew the inflation valve cap that is
located on the rim of the tyre.
2. Press and hold the gauge against the tyre valve. Some air will escape as you
begin and more will escape if you don't
press the gauge in firmly.
3. A firm non-leaking push will activate the gauge.
4. Read the tyre pressure on the gauge to know whether the tyre pressure is
low or high.
5. Adjust the tyre pressures to the speci- fied pressure. Refer to “Tyres and
wheels” in section 8.
6. Reinstall the inflation valve cap.
What to do in an emergency
31
6
Page 757 of 846

Maintenance
4
7
OWNER MAINTENANCE
The following lists are vehicle checks and
inspections that should be performed by
the owner or an authorised Kia dealer atthe frequencies indicated to help ensure
safe, dependable operation of your vehi-
cle.
Any adverse conditions should be
brought to the attention of your dealer as
soon as possible.
These Owner Maintenance Checks are
generally not covered by warranties and
you may be charged for labour, parts and
lubricants used. Owner maintenance schedule
When you stop for fuel:
Check the engine oil level.
Check coolant level in coolant reser-
voir.
Check the windscreen washer fluid level.
Look for low or under-inflated tyres.
Check the radiator and condenser. Check if the front of the radiator and
condenser are clean and not blocked
with leaves, dirt or insects etc.
If any of the above parts are extremely
dirty or you are not sure of their condi-
tion, take your vehicle to an authorised
Kia dealer.
WARNING - Maintenance
work
Performing maintenance work on a vehicle can be dangerous. You
can be seriously injured whilst
performing some maintenance
procedures. If you lack sufficient
knowledge and experience or the
proper tools and equipment to do
the work, have it done by an
authorised Kia dealer.
Working under the bonnet with the engine running is dangerous.
It becomes even more dangerous
when you wear jewelry or loose
clothing. These can become
entangled in moving parts and
result in injury. Therefore, if you
must run the engine whilst work-
ing under the bonnet, make cer-
tain that you remove all jewelry
(especially rings, bracelets,
watches, and necklaces) and all
neckties, scarves, and similar
loose clothing before gettingnear the engine or cooling fans.
WARNING
Be careful when checking your
engine coolant level when the
engine is hot. Scalding hot coolant
and steam may blow out under
pressure. This could cause burns
or other serious injury.
Page 758 of 846

75
Maintenance
While operating your vehicle:
Note any changes in the sound of theexhaust or any smell of exhaust fumes
in the vehicle.
Check for vibrations in the steering wheel. Notice any increased steering
effort or looseness in the steering
wheel, or change in its straight-aheadposition.
Notice if your vehicle constantly turns slightly or “pulls” to one side when trav-
elling on smooth, level road.
When stopping, listen and check for unusual sounds, pulling to one side,
increased brake pedal travel or “hard-
to-push” brake pedal.
If any slipping or changes in the oper- ation of your transaxle occurs, check
the transaxle fluid level.
Check manual transaxle operation, including clutch operation.
Check automatic transaxle P (Park) function.
Check parking brake.
Check for fluid leaks under your vehicle (water dripping from the air condition-
ing system during or after use is nor-mal).
At least monthly:
Check coolant level in the enginecoolant reservoir.
Check the operation of all exterior lights, including the stoplights, turn sig-
nals and hazard warning flashers.
Check the inflation pressures of all tyres including the spare.
At least twice a year
(i.e., every Spring and Fall):
Check radiator, heater and air condi- tioning hoses for leaks or damage.
Check windscreen washer spray and wiper operation. Clean wiper blades
with clean cloth dampened with wash-er fluid.
Check headlight alignment.
Check muffler, exhaust pipes, shields and clamps.
Check the lap/shoulder belts for wear and function.
Check for worn tyres and loose wheel lug nuts.
At least once a year:
Clean body and door drain holes.
Lubricate door hinges and checks, andbonnet hinges.
Lubricate door and bonnet locks and latches.
Lubricate door rubber weatherstrips.
Check the air conditioning system.
Inspect and lubricate automatic transaxle linkage and controls.
Clean battery and terminals.
Check the brake fluid level.
Page 761 of 846

Maintenance
8
7
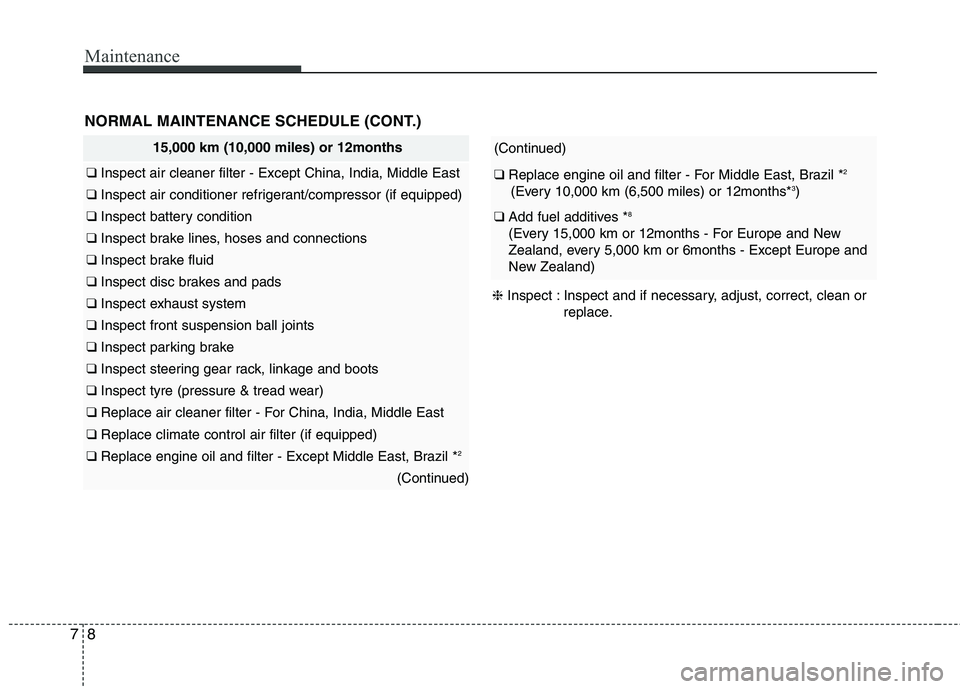
NORMAL MAINTENANCE SCHEDULE (CONT.)
(Continued)
❑ Replace engine oil and filter - For Middle East, Brazil * 2
(Every 10,000 km (6,500 miles) or 12months* 3
)
❑ Add fuel additives * 8
(Every 15,000 km or 12months - For Europe and New
Zealand, every 5,000 km or 6months - Except Europe and
New Zealand)
15,000 km (10,000 miles) or 12months
❑ Inspect air cleaner filter - Except China, India, Middle East
❑ Inspect air conditioner refrigerant/compressor (if equipped)
❑ Inspect battery condition
❑ Inspect brake lines, hoses and connections
❑ Inspect brake fluid
❑ Inspect disc brakes and pads
❑ Inspect exhaust system
❑ Inspect front suspension ball joints
❑ Inspect parking brake
❑ Inspect steering gear rack, linkage and boots
❑ Inspect tyre (pressure & tread wear)
❑ Replace air cleaner filter - For China, India, Middle East
❑ Replace climate control air filter (if equipped)
❑ Replace engine oil and filter - Except Middle East, Brazil * 2
(Continued)
❈
Inspect : Inspect and if necessary, adjust, correct, clean or
replace.
Page 762 of 846

79
Maintenance
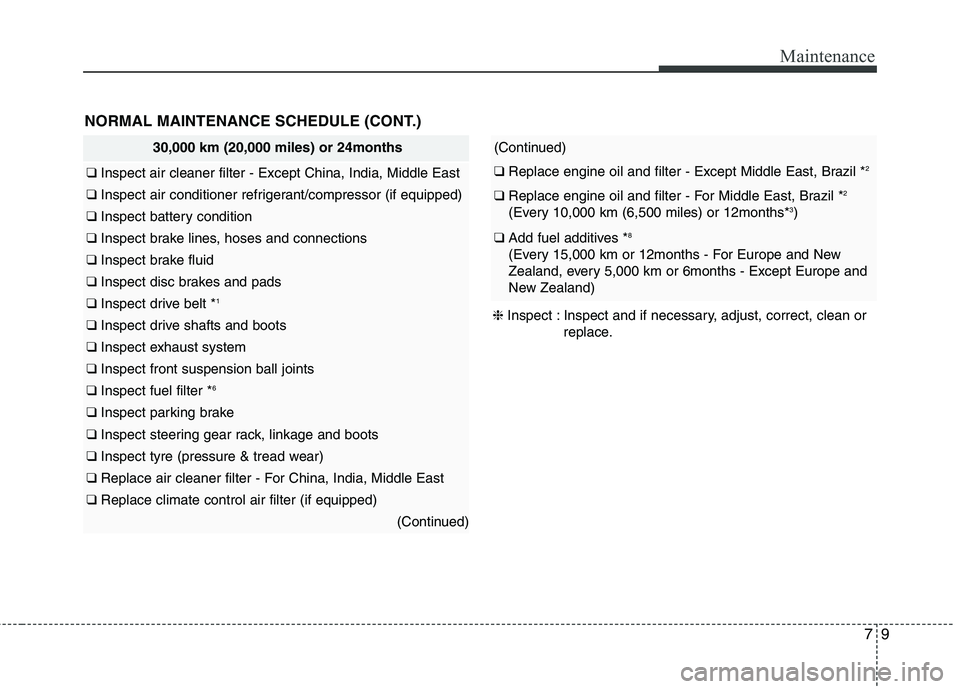
30,000 km (20,000 miles) or 24months
❑ Inspect air cleaner filter - Except China, India, Middle East
❑ Inspect air conditioner refrigerant/compressor (if equipped)
❑ Inspect battery condition
❑ Inspect brake lines, hoses and connections
❑ Inspect brake fluid
❑ Inspect disc brakes and pads
❑ Inspect drive belt * 1
❑
Inspect drive shafts and boots
❑ Inspect exhaust system
❑ Inspect front suspension ball joints
❑ Inspect fuel filter * 6
❑
Inspect parking brake
❑ Inspect steering gear rack, linkage and boots
❑ Inspect tyre (pressure & tread wear)
❑ Replace air cleaner filter - For China, India, Middle East
❑ Replace climate control air filter (if equipped)
(Continued)
NORMAL MAINTENANCE SCHEDULE (CONT.)
(Continued)
❑ Replace engine oil and filter - Except Middle East, Brazil * 2
❑
Replace engine oil and filter - For Middle East, Brazil * 2
(Every 10,000 km (6,500 miles) or 12months* 3
)
❑ Add fuel additives * 8
(Every 15,000 km or 12months - For Europe and New
Zealand, every 5,000 km or 6months - Except Europe and
New Zealand)
❈ Inspect : Inspect and if necessary, adjust, correct, clean or
replace.
Page 763 of 846

Maintenance
10
7
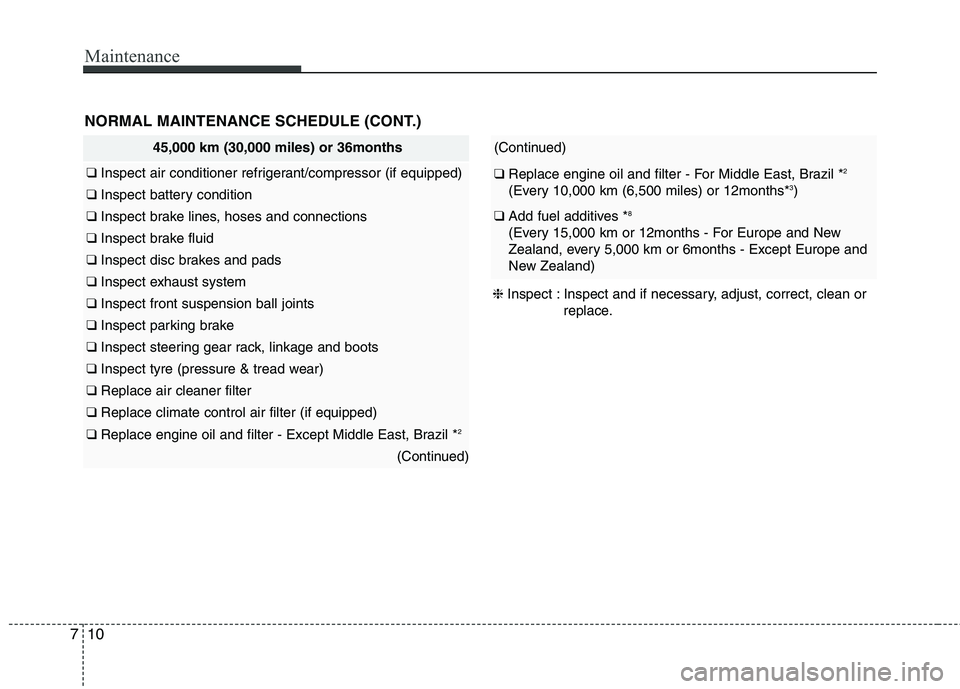
45,000 km (30,000 miles) or 36months
❑ Inspect air conditioner refrigerant/compressor (if equipped)
❑ Inspect battery condition
❑ Inspect brake lines, hoses and connections
❑ Inspect brake fluid
❑ Inspect disc brakes and pads
❑ Inspect exhaust system
❑ Inspect front suspension ball joints
❑ Inspect parking brake
❑ Inspect steering gear rack, linkage and boots
❑ Inspect tyre (pressure & tread wear)
❑ Replace air cleaner filter
❑ Replace climate control air filter (if equipped)
❑ Replace engine oil and filter - Except Middle East, Brazil * 2
(Continued)
NORMAL MAINTENANCE SCHEDULE (CONT.)
(Continued)
❑
Replace engine oil and filter - For Middle East, Brazil * 2
(Every 10,000 km (6,500 miles) or 12months* 3
)
❑ Add fuel additives * 8
(Every 15,000 km or 12months - For Europe and New
Zealand, every 5,000 km or 6months - Except Europe and
New Zealand)
❈ Inspect : Inspect and if necessary, adjust, correct, clean or
replace.