Page 189 of 695

The power inverter is designed with built-in overload
protection. If the power rating of 150 Watts is exceeded,
the power inverter will automatically shut down. Once
the electrical device has been removed from the outlet the
inverter should automatically reset. If the power rating
exceeds approximately 170 Watts, the power inverter
may have to be reset manually. To reset the inverter
manually push the power inverter button OFF and ON.
To avoid overloading the circuit, check the power ratings
on electrical devices prior to using the inverter.
The power inverter switch is located
on the instrument panel below the
climate controls. To turn on the power
outlet, push the switch once. The indi-
cator light will illuminate. Push the
switch a second time to turn the power
inverter outlet off.
NOTE:When the power inverter switch is pushed, there
will be a delay of approximately one second before the
inverter indicator light turns ON.
Power Inverter
3
UNDERSTANDING THE FEATURES OF YOUR VEHICLE 187
Page 191 of 695
Rear Cupholders
The rear cupholders are located on the back of the center
console.
STORAGE
Glove Compartment
The lockable glove compartment is located on the pas-
senger side of the lower instrument panel. Pull outward
on the handle/latch to open the glove compartment.
Console Storage Compartment
To lock or unlock the storage compartment, insert the
ignition key and turn. To open the storage compartment,
press the latch and lift the cover.
Rear Cupholders
3
UNDERSTANDING THE FEATURES OF YOUR VEHICLE 189
Page 303 of 695
UNDERSTANDING YOUR INSTRUMENT PANEL
CONTENTS
!INSTRUMENT PANEL FEATURES..........304
!INSTRUMENT CLUSTER.................305
!INSTRUMENT CLUSTER DESCRIPTIONS.....306
!COMPASS AND TRIP COMPUTER — IF
EQUIPPED...........................322
▫Control Buttons.......................323
▫Compass/Temperature Display............324
▫Trip Conditions.......................326
!ELECTRONIC VEHICLE INFORMATION CENTER
(EVIC) — IF EQUIPPED..................327
▫Electronic Vehicle Information Center (EVIC)
Displays............................330
▫Oil Change Required..................331
▫EVIC Main Menu.....................332
▫Compass, Outside Temperature Display / ECO
(Fuel Saver Mode) — If Equipped.........333
▫Average Fuel Economy..................336
▫Distance To Empty (DTE)................336
▫Elapsed Time........................336
▫EVIC Units Selection (UNITS IN Display) . . . .337
4
Page 304 of 695

▫Advanced EVIC Messages (Customer Information
Features)............................337
▫System Status........................337
▫Personal Settings (Customer-Programmable
Features)...........................338
!Uconnect® 230 – AM/FM STEREO RADIO AND
6–DISC CD/DVD CHANGER (MP3/WMA AUX
JACK)..............................342
▫Operating Instructions — Radio Mode.......342
▫Operation Instructions — DISC Mode For CD And
MP3/WMA Audio Play, DVD – Video.......350
▫Notes On Playing MP3/WMA Files.........352
▫LIST Button — DISC Mode For MP3/WMA
Play...............................355
▫INFO Button — DISC Mode For MP3/WMA
Play...............................355
▫Uconnect® (Satellite Radio) — If Equipped . . .358
!Uconnect® 730N/430/430N CD/DVD/HDD/NAV
— IF EQUIPPED.......................362
▫Operating Instructions (Voice Command System)
— If Equipped.......................362
▫Operating Instructions (Uconnect® Phone) — If
Equipped...........................362
!Uconnect® 130........................362
▫Operating Instructions — Radio Mode.......363
▫Operation Instructions — CD MODE For CD And
MP3 Audio Play......................366
▫Notes On Playing MP3 Files..............368
▫Operation Instructions — Auxiliary Mode . . . .371
302 UNDERSTANDING YOUR INSTRUMENT PANEL
Page 305 of 695

!Uconnect® 130 WITH SATELLITE RADIO.....372
▫Operating Instructions — Radio Mode......372
▫Operation Instructions — CD MODE For CD And
MP3 Audio Play......................378
▫Notes On Playing MP3 Files.............380
▫LIST Button — CD Mode For MP3 Play......383
▫INFO Button — CD Mode For MP3 Play.....384
▫Uconnect® (Satellite Radio) — If Equipped . . .384
!iPod®/USB/MP3 CONTROL — IF EQUIPPED . .389
▫Connecting The iPod® Or External USB
Device.............................389
▫Using This Feature.....................390
▫Controlling The iPod® Or External USB Device
Using Radio Buttons...................390
▫Play Mode..........................390
▫List Or Browse Mode...................392
▫Bluetooth® Streaming Audio (BTSA).......394
!STEERING WHEEL AUDIO CONTROLS......396
▫Radio Operation......................397
▫CD Player...........................397
!CD/DVD DISC MAINTENANCE...........397
!RADIO OPERATION AND MOBILE PHONES . . .398
▫Regulatory And Safety Information.........398
!CLIMATE CONTROLS...................400
▫Manual Heating And Air Conditioning......400
▫Automatic Temperature Control (ATC) — If
Equipped...........................404
▫Operating Tips.......................412
4
UNDERSTANDING YOUR INSTRUMENT PANEL 303
Page 306 of 695
INSTRUMENT PANEL FEATURES
1 — Air Outlet7 — Climate Controls2 — Instrument Cluster8 — Power Outlet3—Radio9—LowerSwitchBank4 — Assist Handle10 — Power Mirror Switch — If Equipped5—GloveCompartment11 — H o r n6—PowerWindowSwitches
304 UNDERSTANDING YOUR INSTRUMENT PANEL
Page 307 of 695
INSTRUMENT CLUSTER
4
UNDERSTANDING YOUR INSTRUMENT PANEL 305
Page 308 of 695

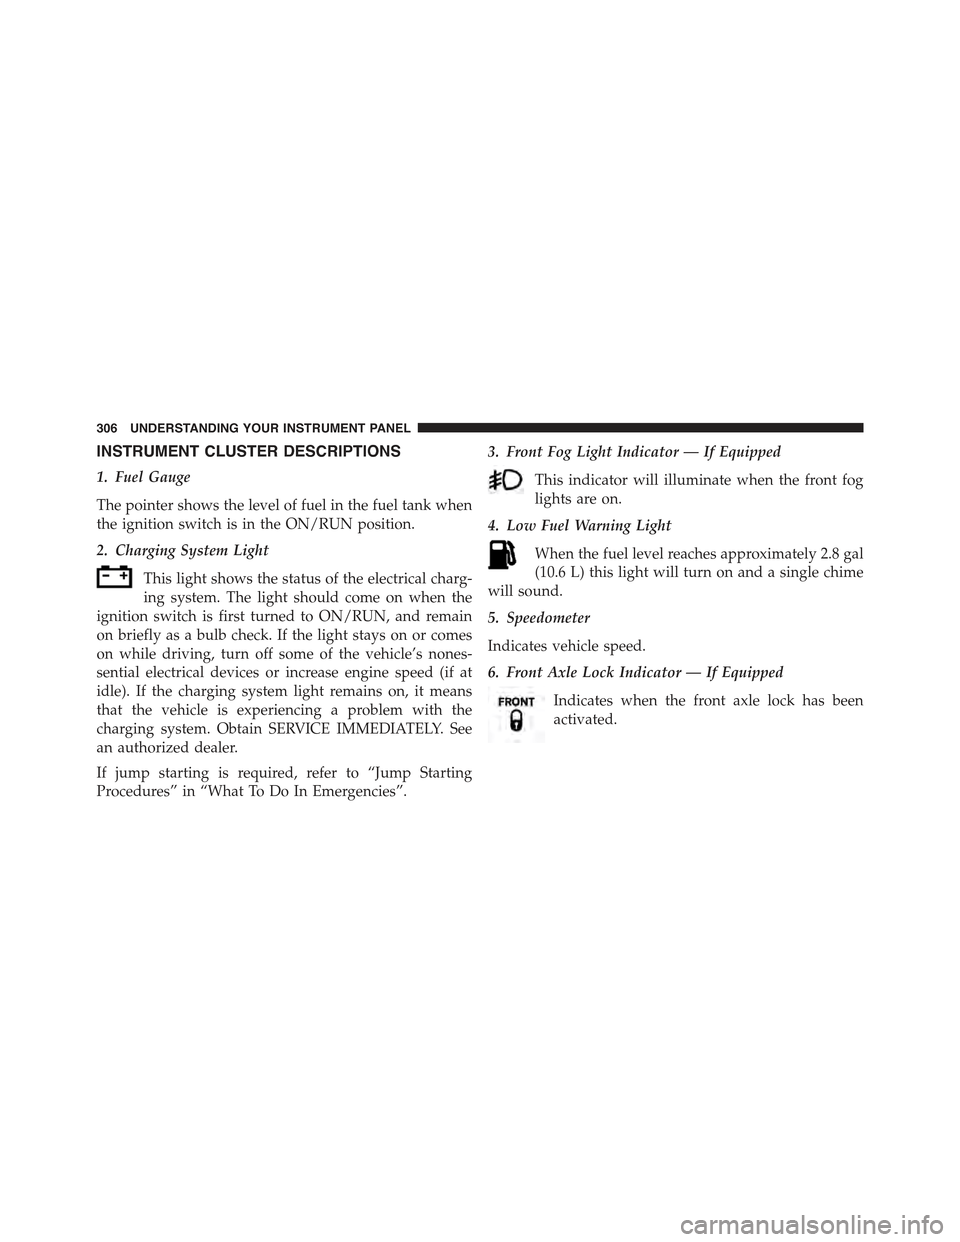
INSTRUMENT CLUSTER DESCRIPTIONS
1. Fuel Gauge
The pointer shows the level of fuel in the fuel tank when
the ignition switch is in the ON/RUN position.
2. Charging System Light
This light shows the status of the electrical charg-
ing system. The light should come on when the
ignition switch is first turned to ON/RUN, and remain
on briefly as a bulb check. If the light stays on or comes
on while driving, turn off some of the vehicle’s nones-
sential electrical devices or increase engine speed (if at
idle). If the charging system light remains on, it means
that the vehicle is experiencing a problem with the
charging system. Obtain SERVICE IMMEDIATELY. See
an authorized dealer.
If jump starting is required, refer to “Jump Starting
Procedures” in “What To Do In Emergencies”.
3. Front Fog Light Indicator — If Equipped
This indicator will illuminate when the front fog
lights are on.
4. Low Fuel Warning Light
When the fuel level reaches approximately 2.8 gal
(10.6 L) this light will turn on and a single chime
will sound.
5. Speedometer
Indicates vehicle speed.
6. Front Axle Lock Indicator — If Equipped
Indicates when the front axle lock has been
activated.
306 UNDERSTANDING YOUR INSTRUMENT PANEL