Page 184 of 572
WARNING!
Electronic Speed Control can be dangerous where the
system cannot maintain a constant speed. Your ve-
hicle could go too fast for the conditions, and you
could lose control and have an accident. Do not use
Electronic Speed Control in heavy traffic or on roads
that are winding, icy, snow-covered or slippery.
GARAGE DOOR OPENER — IF EQUIPPED
HomeLink® replaces up to three hand-held transmitters
that operate devices such as garage door openers, motor-
ized gates, lighting or home security systems. The
HomeLink® unit is powered by your vehicles 12 Volt
battery.
The HomeLink® buttons, located on either the overhead
console, headliner or sunvisor, designate the three differ-
ent HomeLink® channels. The HomeLink® indicator is
located above the center button.
HomeLink® Buttons/Overhead Consoles
182 UNDERSTANDING THE FEATURES OF YOUR VEHICLE
Page 185 of 572

HomeLink® Buttons/Sunvisor/Headliner
NOTE:HomeLink® is disabled when the Vehicle Secu-
rity Alarm is active.
Before You Begin Programming HomeLink®
Be sure that your vehicle is parked outside of the garage
before you begin programming.
For more efficient programming and accurate transmis-
sion of the radio-frequency signal it is recommended that
a new battery be placed in the hand-held transmitter of
the device that is being programmed to the HomeLink®
system.
To erase the channels place the ignition in the ON/RUN
position and push and hold the two outside HomeLink®
buttons (I and III) for up 20 seconds or until the red
indicator flashes.
NOTE:
•Erasing all channels should only be performed when
programming HomeLink® for the first time. Do not
erase channels when programming additional buttons.
•If you have any problems, or require assistance, please
call toll-free 1-800-355-3515 or, on the Internet at
HomeLink.com for information or assistance.
3
UNDERSTANDING THE FEATURES OF YOUR VEHICLE 183
Page 191 of 572

3.Without releasing the buttonproceed with
“Canadian/Gate Operator Programming” step 2 and
follow all remaining steps.
Using HomeLink®
To operate, push and release the programmed
HomeLink® button. Activation will now occur for the
programmed device (i.e., garage door opener, gate opera-
tor, security system, entry door lock, home/office light-
ing, etc.,). The hand-held transmitter of the device may
also be used at any time.
Security
It is advised to erase all channels before you sell or turn
in your vehicle.
To do this, push and hold the two outside buttons for 20
seconds until the red indicator flashes. Note that all
channels will be erased. Individual channels cannot be
erased.
The HomeLink® Universal Transceiver is disabled when
the Vehicle Security Alarm is active.
Troubleshooting Tips
If you are having trouble programming HomeLink®,
here are some of the most common solutions:
•Replace the battery in the original hand-held transmit-
ter.
•Push the LEARN button on the Garage Door Opener
to complete the training for a Rolling Code.
•Did you unplug the device for programming and
remember to plug it back in?
If you have any problems, or require assistance, please
call toll-free 1-800-355-3515 or, on the Internet at
HomeLink.com for information or assistance.
3
UNDERSTANDING THE FEATURES OF YOUR VEHICLE 189
Page 198 of 572
WARNING!
To avoid serious injury or death:
•Only devices designed for use in this type of outlet
should be inserted into any 12 Volt outlet.
(Continued)
WARNING!(Continued)
•Do not touch with wet hands.
•Close the lid when not in use and while driving the
vehicle.
•If this outlet is mishandled, it may cause an electric
shock and failure.
CAUTION!
•Many accessories that can be plugged in draw
power from the vehicle’s battery, even when not in
use (i.e., cellular phones, etc.). Eventually, if
plugged in long enough, the vehicle’s battery will
discharge sufficiently to degrade battery life and/or
prevent the engine from starting.
(Continued)
Power Outlet Fuse Location
196 UNDERSTANDING THE FEATURES OF YOUR VEHICLE
Page 199 of 572

CAUTION!(Continued)
•Accessories that draw higher power (i.e., coolers,
vacuum cleaners, lights, etc.) will degrade the bat-
tery even more quickly. Only use these intermit-
tently and with great caution.
•After the use of high power draw accessories, or
long periods of the vehicle not being started (with
accessories still plugged in), the vehicle must be
driven a sufficient length of time to allow the
generator to recharge the vehicle’s battery.
POWER INVERTER — IF EQUIPPED
A 115 Volt (150 Watt) AC power inverter is located on the
front of the center console for added convenience. This
outlet can power mobile phones, electronics and other
low power devices requiring power up to 150 Watts.
Certain high-end video games, such as Playstation®3
and XBox360 will exceed this power limit, as will most
power tools.
The power inverter is designed with built-in overload
protection. If the power rating of 150 Watts is exceeded,
the power inverter will automatically shut down. Once
the electrical device has been removed from the outlet the
inverter should automatically reset. If the power rating
exceeds approximately 170 Watts, the power inverter
may have to be reset manually. To reset the inverter
manually, unplug the device and plug it in again. To
avoid overloading the circuit, check the power ratings on
electrical devices prior to using the inverter.
3
UNDERSTANDING THE FEATURES OF YOUR VEHICLE 197
Page 200 of 572
WARNING!
To avoid serious injury or death:
•Do not use a three-prong adaptor.
•Do not insert any objects into the receptacles.
•Do not touch with wet hands.
•Close the lid when not in use.
•If this outlet is mishandled, it may cause an electric
shock and failure.
CAUTION!
•Many accessories that can be plugged in draw
power from the vehicle’s battery, even when not in
use (i.e., cellular phones, etc.). Eventually, if
plugged in long enough, the vehicle’s battery will
discharge sufficiently to degrade battery life and/or
prevent engine starting.
(Continued)
115 Volt Power Outlet
198 UNDERSTANDING THE FEATURES OF YOUR VEHICLE
Page 201 of 572
CAUTION!(Continued)
•Accessories that draw higher power (i.e., coolers,
vacuum cleaners, lights, etc.) will degrade the bat-
tery even more quickly. Only use these intermit-
tently and with great caution.
•After the use of high power draw accessories, or
long periods of the vehicle not being started (with
accessories still plugged in), the vehicle must be
driven a sufficient length of time to allow the
generator to recharge the vehicle’s battery.
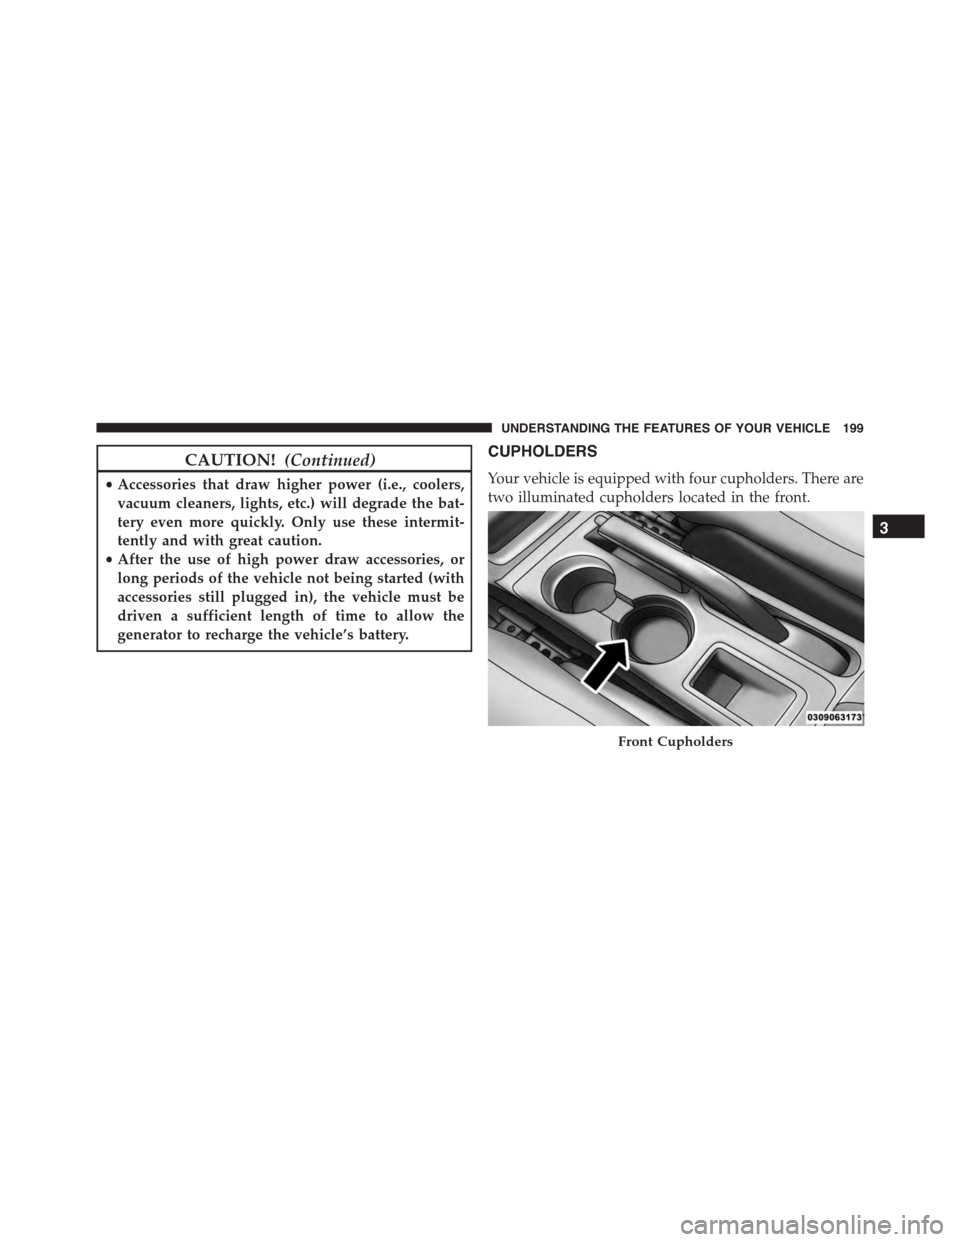
CUPHOLDERS
Your vehicle is equipped with four cupholders. There are
two illuminated cupholders located in the front.
Front Cupholders
3
UNDERSTANDING THE FEATURES OF YOUR VEHICLE 199
Page 211 of 572

NOTE:The rear wiper operates in an intermittent mode
only.
Rotate the center portion of the lever past the
first detent to activate the rear washer. The
washer pump and the wiper will continue to
operate as long as the switch is held (for a
maximum of 10 seconds). Upon release, the wiper will
continue to cycle two times before returning to the set
position.
If the rear wiper is operating when the ignition is turned
OFF, the wiper will automatically return to the “park”
position if power accessory delay is active. Power acces-
sory delay can be cancelled by opening the door, if this
happens the rear wiper will stop at its current position
and will not go to “park”.
Rear Window Defroster
The rear window defroster button is located on
the climate controls mode control knob. Push the
button to turn on the rear window defroster and the
heated outside mirrors (if equipped). An indicator in the
button will illuminate when the rear window defroster is
on. The rear window defroster automatically turns off
after approximately 10 minutes. For an additional five
minutes of operation, push the button a second time.
NOTE:To prevent excessive battery drain, use the rear
window defroster only when the engine is operating.
3
UNDERSTANDING THE FEATURES OF YOUR VEHICLE 209