Page 291 of 636

CAUTION!
Driving with a hot engine cooling system could
damage your vehicle. If the temperature gauge reads
“H” pull over and stop the vehicle. Idle the vehicle
with the air conditioner turned off until the pointer
drops back into the normal range. If the pointer
remains on the “H” and you hear continuous chimes,
turn the engine off immediately and call an autho-
rized dealer for service.
WARNING!
A hot engine cooling system is dangerous. You or
others could be badly burned by steam or boiling
coolant. You may want to call an authorized dealer
for service if your vehicle overheats. If you decide to
look under the hood yourself, see “Maintaining Your
(Continued)
WARNING!(Continued)
Vehicle”. Follow the warnings under the Cooling
System Pressure Cap paragraph.
12. Brake Warning Light
This light monitors various brake functions,
including brake fluid level and parking brake
application. If the brake light turns on it may
indicate that the parking brake is applied, that
the brake fluid level is low, or that there is a problem with
the anti-lock brake system reservoir.
If the light remains on when the parking brake has been
disengaged, and the fluid level is at the full mark on the
master cylinder reservoir, it indicates a possible brake
hydraulic system malfunction or that a problem with the
Brake Booster has been detected by the Anti-Lock Brake
System (ABS) / Electronic Stability Control (ESC) system.
In this case, the light will remain on until the condition
4
UNDERSTANDING YOUR INSTRUMENT PANEL 289
Page 293 of 636

The light also will turn on when the parking brake is
applied with the ignition switch in the ON/RUN posi-
tion.
NOTE:This light shows only that the parking brake is
applied. It does not show the degree of brake application.
13. Fuel Gauge/Fuel Door Reminder
The fuel pump symbol points to the side of the vehicle
where the fuel door is located. The pointer shows the
level of fuel in the fuel tank when the ignition switch is in
the ON/RUN position.
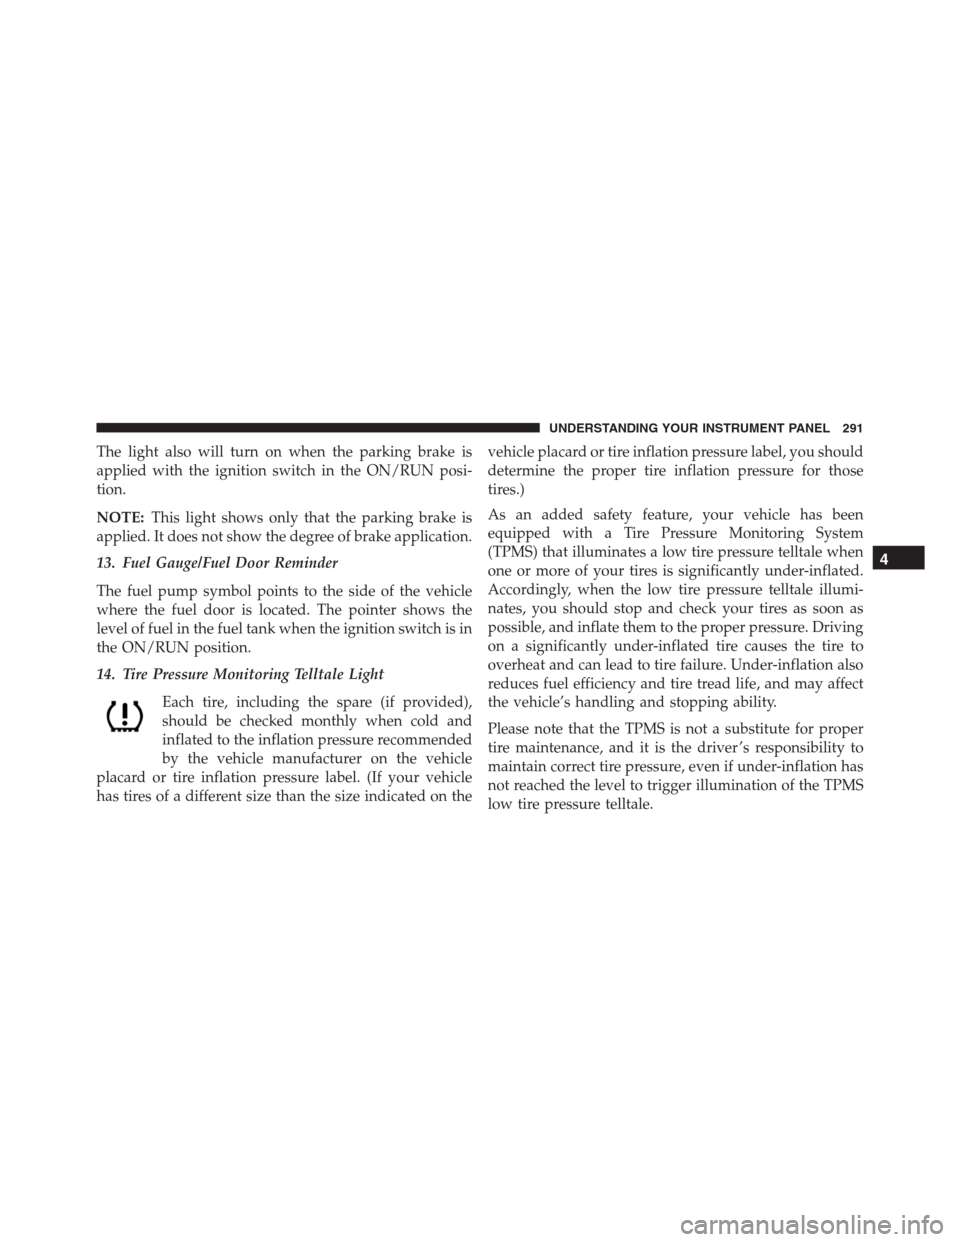
14. Tire Pressure Monitoring Telltale Light
Each tire, including the spare (if provided),
should be checked monthly when cold and
inflated to the inflation pressure recommended
by the vehicle manufacturer on the vehicle
placard or tire inflation pressure label. (If your vehicle
has tires of a different size than the size indicated on thevehicle placard or tire inflation pressure label, you should
determine the proper tire inflation pressure for those
tires.)
As an added safety feature, your vehicle has been
equipped with a Tire Pressure Monitoring System
(TPMS) that illuminates a low tire pressure telltale when
one or more of your tires is significantly under-inflated.
Accordingly, when the low tire pressure telltale illumi-
nates, you should stop and check your tires as soon as
possible, and inflate them to the proper pressure. Driving
on a significantly under-inflated tire causes the tire to
overheat and can lead to tire failure. Under-inflation also
reduces fuel efficiency and tire tread life, and may affect
the vehicle’s handling and stopping ability.
Please note that the TPMS is not a substitute for proper
tire maintenance, and it is the driver ’s responsibility to
maintain correct tire pressure, even if under-inflation has
not reached the level to trigger illumination of the TPMS
low tire pressure telltale.
4
UNDERSTANDING YOUR INSTRUMENT PANEL 291
Page 301 of 636

seconds and then returns to the previous screen. An
example of this message type is “Automatic High Beams
On.”
Engine Oil Life Reset
Oil Change Required
Your vehicle is equipped with an engine oil change
indicator system. The “Oil Change Required” message
will display in the DID for five seconds after a single
chime has sounded, to indicate the next scheduled oil
change interval. The engine oil change indicator system
is duty cycle based, which means the engine oil change
interval may fluctuate, dependent upon your personal
driving style.
Unless reset, this message will continue to display each
time you cycle the ignition to the ON/RUN position. To
turn off the message temporarily, push and release theOK button. To reset the oil change indicator system (after
performing the scheduled maintenance), refer to the
following procedure.
Oil Change Reset Procedure
1. Without pushing the brake pedal, push and release the
ENGINE START/STOP button and place the ignition
to the ON/RUN position (do not start the engine).
2. Fully push the accelerator pedal, slowly, three times
within 10 seconds.
3. Without pushing the brake pedal, push and release the
ENGINE START/STOP button once to return the
ignition to the OFF/LOCK position.
NOTE:If the indicator message illuminates when you
start the vehicle, the oil change indicator system did not
reset. If necessary, repeat this procedure.4
UNDERSTANDING YOUR INSTRUMENT PANEL 299
Page 304 of 636
•Shift to Neutral then Drive or Reverse
•Autostick Unavailable Service Required
•Automatic Unavailable Use Autostick Service Req.
•Transmission Getting Hot Press Brake
•Trans. Hot Stop Safely Shift To Park Wait to Cool
•Transmission Cool Ready to Drive
•Service Transmission
•Service Shifter
•Engage Park Brake To Prevent Rolling
•Transmission Too Cold Idle With Engine On
•Washer Fluid Low
•Service Air Suspension System
•Normal Ride Height Achieved•Aerodynamic Ride Height Achieved
•Off Road 1 Ride Height Achieved
•Off Road 2 Ride Height Achieved
•Entry/Exit Ride Height Achieved
•Selected Ride Height Not Permitted
•Service Air Suspension System Immediately
•Reduce Speed To Maintain Selected Ride Height
•Air Suspension System Cooling Down Please Wait
•Vehicle Cannot Be Lowered Door Open
•Off Road 2 Watch For Clearance
•Entry/Exit Watch For Clearance
302 UNDERSTANDING YOUR INSTRUMENT PANEL
Page 365 of 636

The right-hand control is a rocker-type switch with a
push-button in the center and controls the volume and
mode of the sound system. Pushing the top of the rocker
switch will increase the volume, and pushing the bottom
of the rocker switch will decrease the volume.
Pushing the center button will make the radio switch
between the various modes available (AM/FM/SXM/
CD/AUX/VES, etc.).
The left-hand control is a rocker-type switch with a
push-button in the center. The function of the left-hand
control is different depending on which mode you are in.
The following describes the left-hand control operation in
each mode.
Radio Operation
Pushing the top of the switch will “Seek” up for the next
listenable station and pushing the bottom of the switch
will “Seek” down for the next listenable station.The button located in the center of the left-hand control
will tune to the next preset station that you have pro-
grammed in the radio preset button.
CD Player
Pushing the top of the switch once will go to the next
track on the CD. Pushing the bottom of the switch once
will go to the beginning of the current track, or to the
beginning of the previous track if it is within one second
after the current track begins to play.
If you push the switch up or down twice, it plays the
second track; three times, it will play the third, etc.
CD/DVD DISC MAINTENANCE
To keep a CD/DVD in good condition, take the following
precautions:
1. Handle the disc by its edge; avoid touching the
surface.
4
UNDERSTANDING YOUR INSTRUMENT PANEL 363
Page 376 of 636

NOTE:In cold weather, use of Recirculation mode may
lead to excessive window fogging. The recirculation
feature may be unavailable (button on the touchscreen
greyed out) if conditions exist that could create fogging
on the inside of the windshield. On systems with Manual
Climate Controls, the Recirculation mode is not allowed
in Defrost mode to improve window clearing operation.
Recirculation will be disabled automatically if this mode
is selected. Attempting to use Recirculation while in this
mode will cause the LED in the control button to blink
and then turn off.
Automatic Temperature Control (ATC)
Automatic Operation
1. Push the AUTO button on the faceplate or press the
“AUTO” button on the touchscreen.2. Next, adjust the temperature you would like the
system to maintain by adjusting the driver and pas-
senger temperature buttons on the faceplate or but-
tons on the touchscreen. Once the desired temperature
is displayed, the system will achieve and automati-
cally maintain that comfort level.
3. When the system is set up for your comfort level, it is
not necessary to change the temperature. You will
experience the greatest efficiency by simply allowing
the system to function automatically.
NOTE:
•It is not necessary to move the temperature settings.
The system automatically adjusts the temperature,
mode, and blower speed to provide comfort as quickly
as possible.
374 UNDERSTANDING YOUR INSTRUMENT PANEL
Page 378 of 636

coolant that meets the requirements of FCA Material
Standard MS.90032 and 50% water is recommended.
Refer to “Maintenance Procedures” in “Maintaining Your
Vehicle” for proper coolant selection.
Winter Operation
Use of the air Recirculation mode during winter months
is not recommended because it may cause window
fogging.
Vacation Storage
Any time you store your vehicle or keep it out of service
(i.e., vacation) for two weeks or more, run the air
conditioning system at idle for about five minutes in the
fresh air and high blower setting. This will ensure
adequate system lubrication to minimize the possibility
of compressor damage when the system is started again.
Window Fogging
Interior fogging on the windshield can be quickly re-
moved by turning the mode selector to Defrost. The
Defrost/Floor mode can be used to maintain a clear
windshield and provide sufficient heating. If side win-
dow fogging becomes objectionable, increase blower
speed to improve airflow and clearing of the side win-
dows. Vehicle windows tend to fog on the inside in mild
but rainy or humid weather.
NOTE:
•Recirculate without A/C should not be used for long
periods, as fogging may occur.
•Automatic Temperature Controls (ATC) will automati-
cally adjust the climate control settings to reduce or
eliminate window fogging on the front windshield.
When this occurs, recirculation will be unavailable.
376 UNDERSTANDING YOUR INSTRUMENT PANEL
Page 379 of 636
Outside Air Intake
Make sure the air intake, located directly in front of the
windshield, is free of obstructions such as leaves. Leaves
collected in the air intake may reduce airflow, and if they
enter the plenum, they could plug the water drains. In
winter months, make sure the air intake is clear of ice,
slush, and snow.
A/C Air Filter
The climate control system filters outside air containing
dust, pollen and some odors. Strong odors cannot be
totally filtered out. Refer to “Maintenance Procedures” in
“Maintaining Your Vehicle” for filter replacement instruc-
tions.
4
UNDERSTANDING YOUR INSTRUMENT PANEL 377