Page 261 of 636

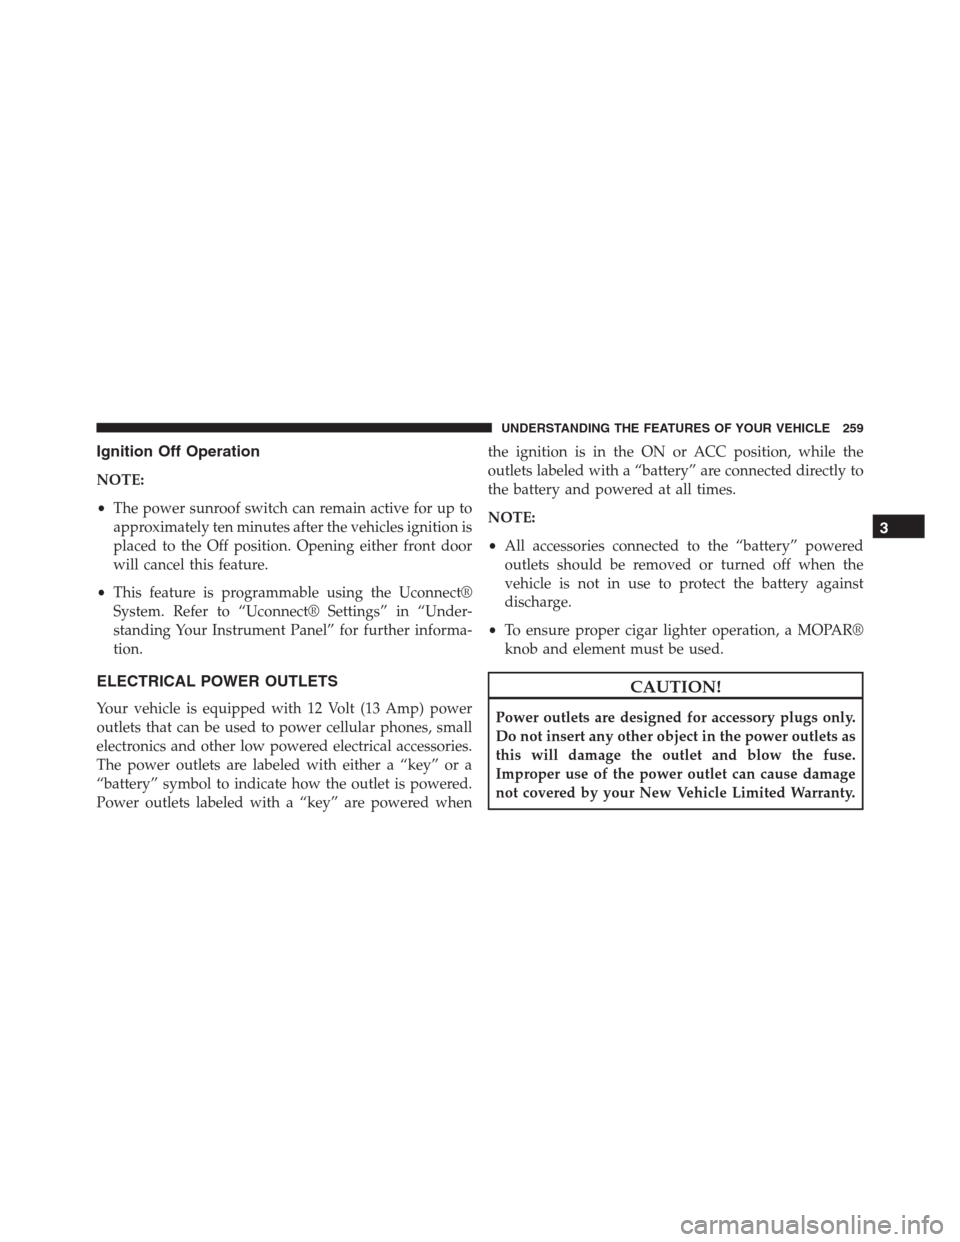
Ignition Off Operation
NOTE:
•The power sunroof switch can remain active for up to
approximately ten minutes after the vehicles ignition is
placed to the Off position. Opening either front door
will cancel this feature.
•This feature is programmable using the Uconnect®
System. Refer to “Uconnect® Settings” in “Under-
standing Your Instrument Panel” for further informa-
tion.
ELECTRICAL POWER OUTLETS
Your vehicle is equipped with 12 Volt (13 Amp) power
outlets that can be used to power cellular phones, small
electronics and other low powered electrical accessories.
The power outlets are labeled with either a “key” or a
“battery” symbol to indicate how the outlet is powered.
Power outlets labeled with a “key” are powered whenthe ignition is in the ON or ACC position, while the
outlets labeled with a “battery” are connected directly to
the battery and powered at all times.
NOTE:
•All accessories connected to the “battery” powered
outlets should be removed or turned off when the
vehicle is not in use to protect the battery against
discharge.
•To ensure proper cigar lighter operation, a MOPAR®
knob and element must be used.
CAUTION!
Power outlets are designed for accessory plugs only.
Do not insert any other object in the power outlets as
this will damage the outlet and blow the fuse.
Improper use of the power outlet can cause damage
not covered by your New Vehicle Limited Warranty.
3
UNDERSTANDING THE FEATURES OF YOUR VEHICLE 259
Page 280 of 636

CAUTION!(Continued)
•Do not use scrapers, sharp instruments, or abrasive
window cleaners on the interior surface of the
window.
•Keep all objects a safe distance from the window.
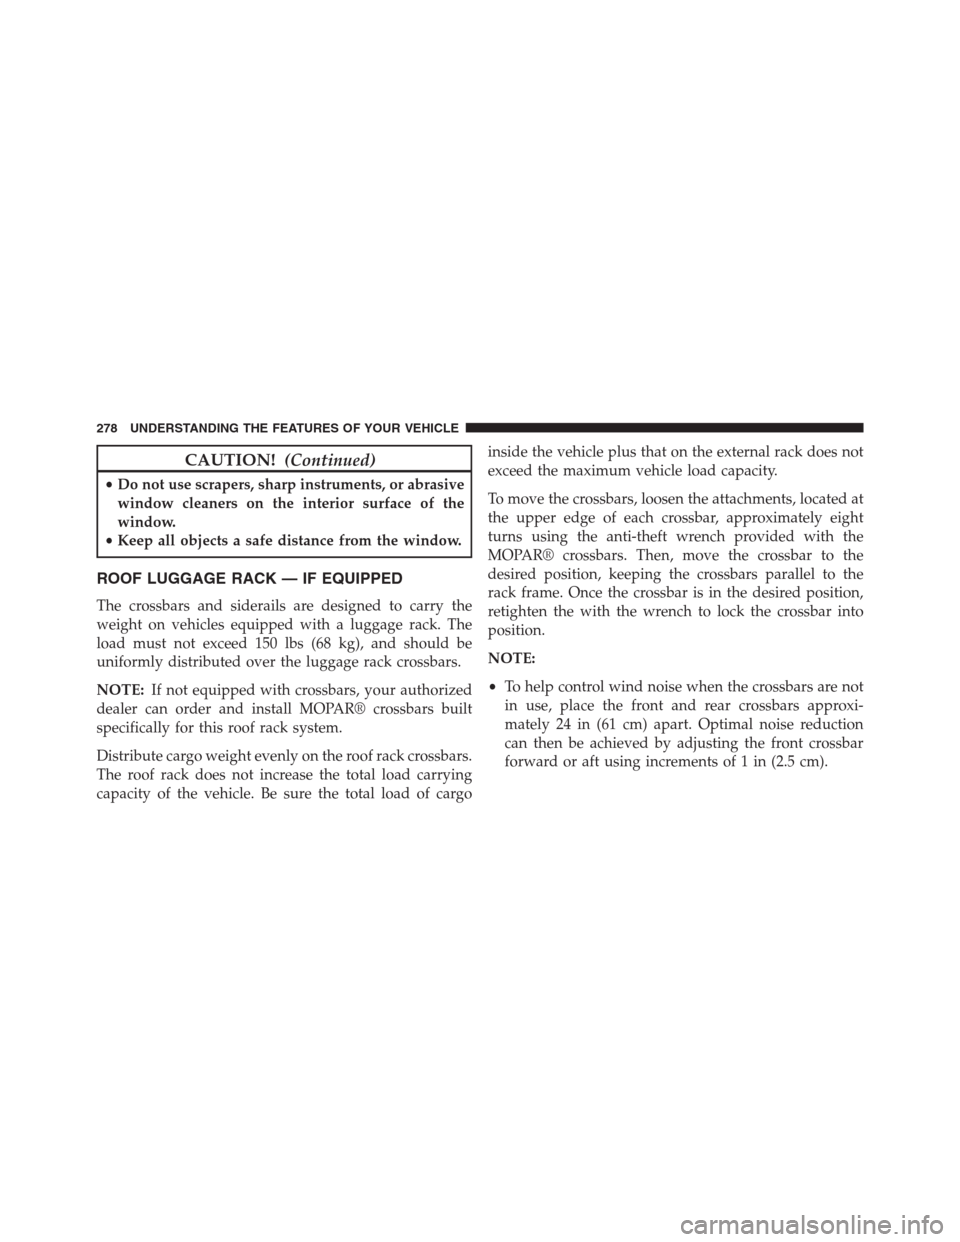
ROOF LUGGAGE RACK — IF EQUIPPED
The crossbars and siderails are designed to carry the
weight on vehicles equipped with a luggage rack. The
load must not exceed 150 lbs (68 kg), and should be
uniformly distributed over the luggage rack crossbars.
NOTE:If not equipped with crossbars, your authorized
dealer can order and install MOPAR® crossbars built
specifically for this roof rack system.
Distribute cargo weight evenly on the roof rack crossbars.
The roof rack does not increase the total load carrying
capacity of the vehicle. Be sure the total load of cargoinside the vehicle plus that on the external rack does not
exceed the maximum vehicle load capacity.
To move the crossbars, loosen the attachments, located at
the upper edge of each crossbar, approximately eight
turns using the anti-theft wrench provided with the
MOPAR® crossbars. Then, move the crossbar to the
desired position, keeping the crossbars parallel to the
rack frame. Once the crossbar is in the desired position,
retighten the with the wrench to lock the crossbar into
position.
NOTE:
•To help control wind noise when the crossbars are not
in use, place the front and rear crossbars approxi-
mately 24 in (61 cm) apart. Optimal noise reduction
can then be achieved by adjusting the front crossbar
forward or aft using increments of 1 in (2.5 cm).
278 UNDERSTANDING THE FEATURES OF YOUR VEHICLE
Page 281 of 636

•If (or any metallic object) is placed over the satellite
radio antenna (if equipped), you may experience in-
terruption of satellite radio reception. For improved
satellite radio reception, avoid placing the rear cross-
bar over the satellite radio antenna.
CAUTION!
•To prevent damage to the roof of your vehicle, do
not carry any loads on the roof rack without the
crossbars installed. The load should be secured and
placed on top of the crossbars, not directly on the
roof. If it is necessary to place the load on the roof,
place a blanket or some other protection between
the load and the roof surface.
•To avoid damage to the roof rack and vehicle, do
not exceed the maximum roof rack load capacity of
150 lb (68 kg). Always distribute heavy loads as
(Continued)
CAUTION!(Continued)
evenly as possible and secure the load appropri-
ately.
•Long loads which extend over the windshield, such
as wood panels or surfboards, or loads with large
frontal area should be secured to both the front and
rear of the vehicle.
•Travel at reduced speeds and turn corners carefully
when carrying large or heavy loads on the roof
rack. Wind forces, due to natural causes or nearby
truck traffic, can add sudden upward lift to a load.
This is especially true on large flat loads and may
result in damage to the cargo or your vehicle.
3
UNDERSTANDING THE FEATURES OF YOUR VEHICLE 279
Page 282 of 636
WARNING!
Cargo must be securely tied before driving your
vehicle. Improperly secured loads can fly off the
vehicle, particularly at high speeds, resulting in per-
sonal injury or property damage. Follow the roof rack
cautions when carrying cargo on your roof rack.
280 UNDERSTANDING THE FEATURES OF YOUR VEHICLE
Page 334 of 636

Engine Off Options
After pressing the Engine Off Options button on the
touchscreen the following settings will be available.
•Easy Exit Seat — If Equipped
This feature provides automatic driver seat positioning to
enhance driver mobility when entering and exiting the
vehicle. To make your selection, press the “Easy Exit
Seat” button on the touchscreen until a check-mark
appears next to setting, showing that setting has been
selected. Press the back arrow button on the touchscreen
to return to the previous menu.
•Engine Off Power Delay
When this feature is selected, the power window
switches, radio, Uconnect® phone system (if equipped),
DVD video system (if equipped), power sunroof (if
equipped), and power outlets will remain active for up to
10 minutes after the ignition is cycled to OFF. Openingeither front door will cancel this feature. To change the
Engine Off Power Delay status press the press the “+” or
“-” button to choose from “0 seconds,” “45 seconds,” “5
minutes,” or “10 minutes.” Press the back arrow button
on the touchscreen to return to the previous menu.
•Headlight Off Delay
When this feature is selected, the driver can choose to
have the headlights remain on for 0, 30, 60, or 90 seconds
when exiting the vehicle. To change the Headlight Off
Delay status press the “+” or “-” button on the touch-
screen to select your desired time interval. Press the back
arrow button on the touchscreen to return to the previous
menu.
Audio
After pressing the “Audio” button on the touchscreen the
following settings will be available.
332 UNDERSTANDING YOUR INSTRUMENT PANEL
Page 579 of 636
Cavity Cartridge Fuse Micro Fuse Description
F26 30 Amp Pink – Anti-lock Brakes/Stability Control Module/
Valves
F28 20 Amp Blue – Trailer Tow Backup Lights - If Equipped
F29 20 Amp Blue – Trailer Tow Parking Lights - If Equipped
F30 30 Amp Pink – Trailer Tow Receptacle - If Equipped
F32 30 Amp Pink – Drive Train Control Module
F34 30 Amp Pink – Slip Differential Control
F35 30 Amp Pink – Sunroof - If Equipped
F36 30 Amp Pink – Rear Defroster
F37 25 Amp Clear – Rear Blower Motor - If Equipped
F38 30 Amp Pink – Power Inverter 115V AC - If Equipped
F39 30 Amp Pink – Power Liftgate - If Equipped
F40 – 10 Amp Red Daytime Running Lights/Headlamp Level-
ing
F42 – 20 Amp Yellow Horn
7
MAINTAINING YOUR VEHICLE 577
Page 581 of 636
Cavity Cartridge Fuse Micro Fuse Description
F61 – 10 Amp Red Transmission Control Module/PM Sensor
(Diesel engine only)
F62 – 10 Amp Red Air Conditioning Clutch
F63 – 20 Amp Yellow Ignition Coils (Gas), Urea Heater (Diesel)
F64 – 25 Amp Clear Fuel Injectors / Powertrain
F66 – 10 Amp Red Sunroof / Passenger Window Switches /
Rain Sensor
F67 – 15 Amp Blue CD / DVD / Bluetooth Hands-free Module -
If Equipped
F68 – 20 Amp Yellow Rear Wiper Motor
F69 – 15 Amp Blue Spotlight Feed - If Equipped
F70 – 20 Amp Yellow Fuel Pump Motor
F71 – 30 Amp Green Audio Amplifier
F73 – 15 Amp Blue HID Headlamp RH - If Equipped
F74 – 20 Amp Yellow Brake Vacuum Pump - If Equipped
7
MAINTAINING YOUR VEHICLE 579
Page 627 of 636

Oil Filter, Selection........................535
Onboard Diagnostic System..................528
Opener, Garage Door (HomeLink®)............242
Operating Precautions......................528
Operator Manual (Owner’s Manual).............6
Outside Rearview Mirrors...................128
Overhead Console.........................240
Overheating, Engine.......................500
Owner’s Manual (Operator Manual)..........6,610
Paint Care..............................568
Panic Alarm..............................25
Parking Brake............................423
ParkSense® System, Rear................218, 227
Passing Light............................175
Passive Entry.............................36
Pets...................................106
Placard, Tire And Loading Information..........444Power
Brakes...............................425
Distribution Center (Fuses)................575
Door Locks............................33
Inverter..............................263
Lift Gate..............................47
Mirrors..............................129
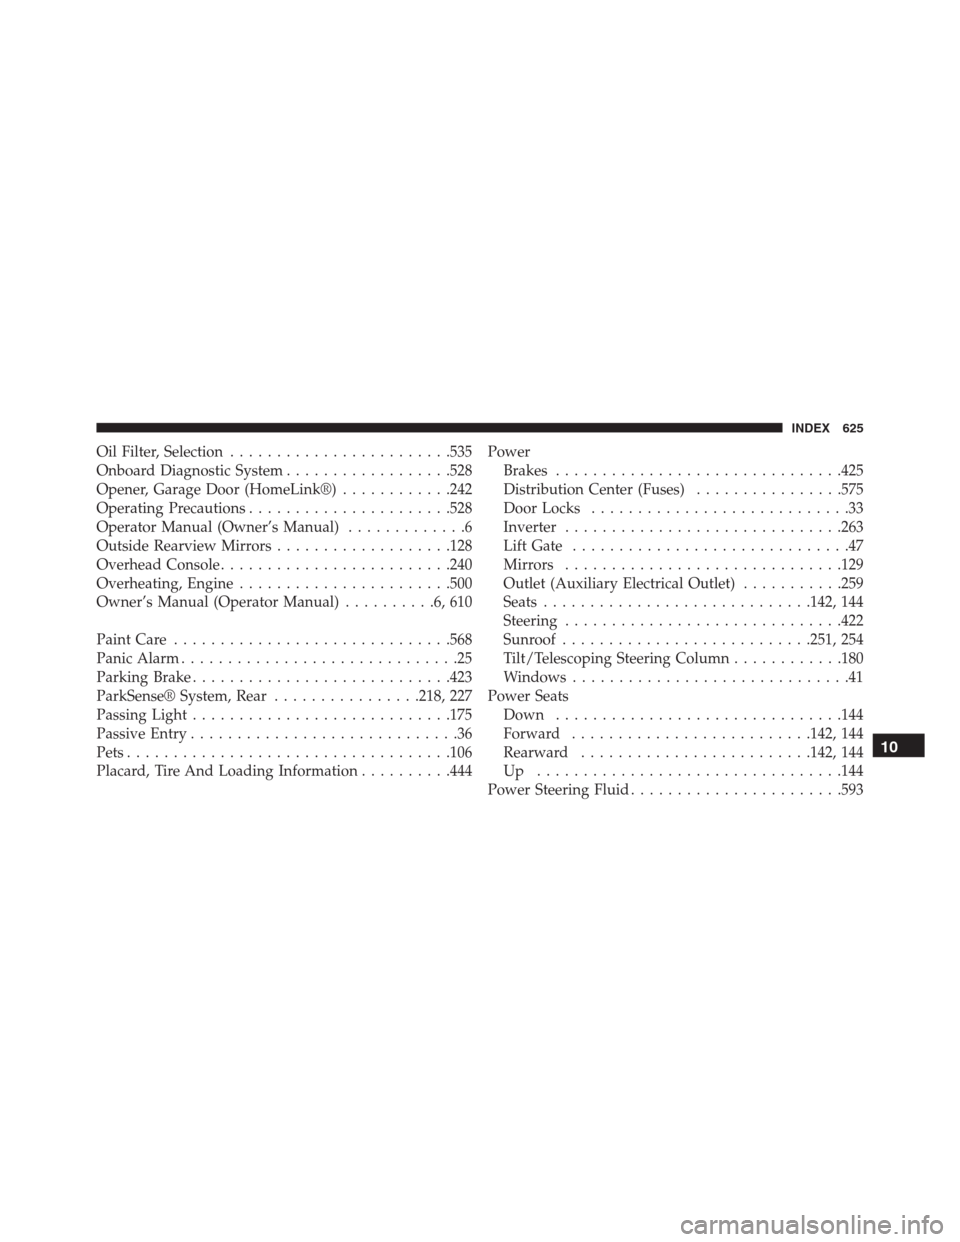
Outlet (Auxiliary Electrical Outlet)...........259
Seats.............................142, 144
Steering..............................422
Sunroof...........................251, 254
Tilt/Telescoping Steering Column............180
Windows..............................41
Power Seats
Down...............................144
Forward..........................142, 144
Rearward.........................142, 144
Up .................................144
Power Steering Fluid.......................593
10
INDEX 625