Page 234 of 636
The vehicle is close to the obstacle when the DID display
shows one flashing arc and sounds a continuous tone.
The following chart shows the warning alert operation
when the system is detecting an obstacle:
WARNING ALERTS
Rear Distance
(in/cm)Greater than
79 in (200 cm)79-39 in
(200-100 cm)39-25 in
(100-65 cm)25-12 in
(65-30 cm)Less than 12 in
(30 cm)
Front Distance
(in/cm)Greater than
47 in (120 cm)47-39 in
(120-100 cm)39-25 in
(100-65 cm)25-12 in
(65-30 cm)Less than 12 in
(30 cm)
Audible Alert
(Chime)None Single 1/2
Second Tone
(for rear only)Slow (for rear
only)Fast Continuous
Arcs None 4th Solid 3rd Solid 2nd Flashing 1st Flashing
Radio Volume
ReducedNo Yes Yes Yes Yes
NOTE:ParkSense® will reduce the volume of the radio,
if on, when the system is sounding an audio tone.
232 UNDERSTANDING THE FEATURES OF YOUR VEHICLE
Page 237 of 636

clear of snow, ice, mud, dirt or other obstruction and then
cycle the ignition. If the message continues to appear see
an authorized dealer.
If the�PARKSENSE UNAVAILABLE SERVICE RE-
QUIRED�message appears in the DID, see an authorized
dealer.
Cleaning The ParkSense® System
Clean the ParkSense® sensors with water, car wash soap
and a soft cloth. Do not use rough or hard cloths. Do not
scratch or poke the sensors. Otherwise, you could dam-
age the sensors.
ParkSense® System Usage Precautions
NOTE:
•Ensure that the front and rear bumper are free of snow,
ice, mud, dirt and debris to keep the ParkSense®
system operating properly.•Jackhammers, large trucks, and other vibrations could
affect the performance of ParkSense®.
•When you turn ParkSense® off, the instrument cluster
will display “PARKSENSE OFF.” Furthermore, once
you turn ParkSense® off, it remains off until you turn
it on again, even if you cycle the ignition.
•When you move the shift lever to the REVERSE
position and ParkSense® is turned off, the instrument
cluster will display “PARKSENSE OFF” for as long as
the vehicle is in REVERSE.
•ParkSense®, when on, will reduce the volume of the
radio when it is sounding a tone.
•Clean the ParkSense® sensors regularly, taking care
not to scratch or damage them. The sensors must not
be covered with ice, snow, slush, mud, dirt or debris.
Failure to do so can result in the system not working
properly. The ParkSense® system might not detect an
3
UNDERSTANDING THE FEATURES OF YOUR VEHICLE 235
Page 239 of 636

WARNING!(Continued)
behind your vehicle, look behind you, and be sure
to check for pedestrians, animals, other vehicles,
obstructions, and blind spots before backing up.
You are responsible for safety and must continue to
pay attention to your surroundings. Failure to do so
can result in serious injury or death.
•Before using ParkSense®, it is strongly recom-
mended that the ball mount and hitch ball assem-
bly is disconnected from the vehicle when the
vehicle is not used for towing. Failure to do so can
result in injury or damage to vehicles or obstacles
because the hitch ball will be much closer to the
obstacle than the rear fascia when the loudspeaker
sounds the continuous tone. Also, the sensors
could detect the ball mount and hitch ball assem-
bly, depending on its size and shape, giving a false
indication that an obstacle is behind the vehicle.
PARKVIEW® REAR BACK UP CAMERA — IF
EQUIPPED
Your vehicle may be equipped with the ParkView® Rear
Back Up Camera that allows you to see an on-screen
image of the rear surroundings of your vehicle whenever
the shift lever/gear selector is put into REVERSE. The
image will be displayed on the Navigation/Multimedia
radio display screen along with a caution note to “check
entire surroundings” across the top of the screen. After
five seconds this note will disappear. The ParkView®
camera is located on the rear of the vehicle above the rear
License plate.
When the vehicle is shifted out of REVERSE (with camera
delay turned OFF), the rear camera mode is exited and
the navigation or audio screen appears again.
When the vehicle is shifted out of REVERSE (with camera
delay turned ON), the rear view image with dynamic
grid lines will be displayed for up to 10 seconds after
3
UNDERSTANDING THE FEATURES OF YOUR VEHICLE 237
Page 245 of 636

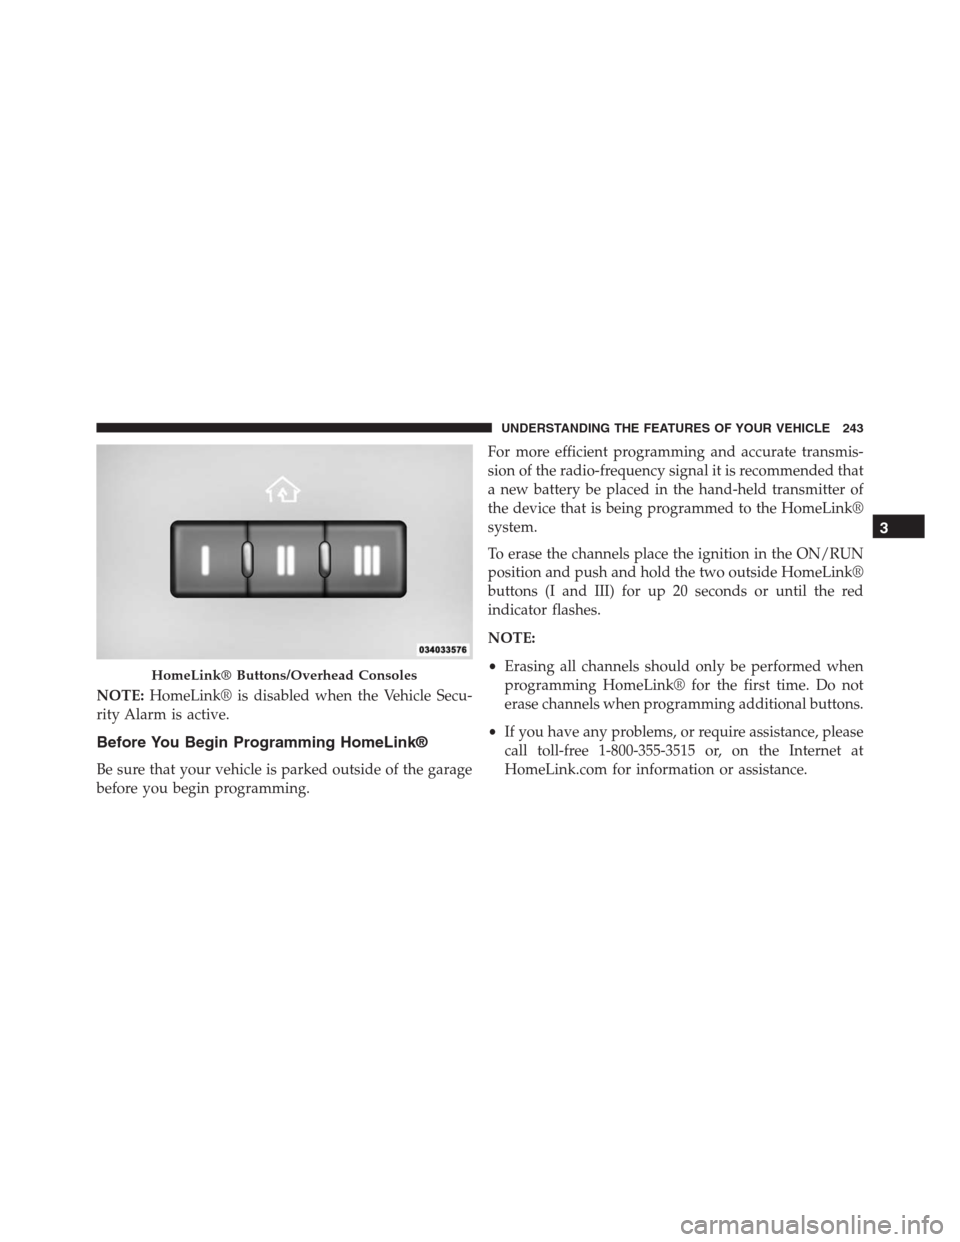
NOTE:HomeLink® is disabled when the Vehicle Secu-
rity Alarm is active.
Before You Begin Programming HomeLink®
Be sure that your vehicle is parked outside of the garage
before you begin programming.For more efficient programming and accurate transmis-
sion of the radio-frequency signal it is recommended that
a new battery be placed in the hand-held transmitter of
the device that is being programmed to the HomeLink®
system.
To erase the channels place the ignition in the ON/RUN
position and push and hold the two outside HomeLink®
buttons (I and III) for up 20 seconds or until the red
indicator flashes.
NOTE:
•Erasing all channels should only be performed when
programming HomeLink® for the first time. Do not
erase channels when programming additional buttons.
•If you have any problems, or require assistance, please
call toll-free 1-800-355-3515 or, on the Internet at
HomeLink.com for information or assistance.
HomeLink® Buttons/Overhead Consoles
3
UNDERSTANDING THE FEATURES OF YOUR VEHICLE 243
Page 249 of 636

•To program the two remaining HomeLink® buttons,
repeat each step for each remaining button. DO NOT
erase the channels.
Reprogramming A Single HomeLink® Button
(Non-Rolling Code)
To reprogram a channel that has been previously trained,
follow these steps:
1. Cycle the ignition to the ON/RUN position.
2. Push and hold the desired HomeLink® button until
the indicator light begins to flash after 20 seconds.Do
not release the button.
3.Without releasing the buttonproceed with “Program-
ming A Non-Rolling Code” step 2 and follow all
remaining steps.
Canadian/Gate Operator Programming
For programming transmitters in Canada/United States
that require the transmitter signals to “time-out” after
several seconds of transmission.
Canadian radio frequency laws require transmitter sig-
nals to time-out (or quit) after several seconds of trans-
mission – which may not be long enough for HomeLink®
to pick up the signal during programming. Similar to this
Canadian law, some U.S. gate operators are designed to
time-out in the same manner.
It may be helpful to unplug the device during the cycling
process to prevent possible overheating of the garage
door or gate motor.
1. Cycle the ignition to the ON/RUN position.
3
UNDERSTANDING THE FEATURES OF YOUR VEHICLE 247
Page 281 of 636

•If (or any metallic object) is placed over the satellite
radio antenna (if equipped), you may experience in-
terruption of satellite radio reception. For improved
satellite radio reception, avoid placing the rear cross-
bar over the satellite radio antenna.
CAUTION!
•To prevent damage to the roof of your vehicle, do
not carry any loads on the roof rack without the
crossbars installed. The load should be secured and
placed on top of the crossbars, not directly on the
roof. If it is necessary to place the load on the roof,
place a blanket or some other protection between
the load and the roof surface.
•To avoid damage to the roof rack and vehicle, do
not exceed the maximum roof rack load capacity of
150 lb (68 kg). Always distribute heavy loads as
(Continued)
CAUTION!(Continued)
evenly as possible and secure the load appropri-
ately.
•Long loads which extend over the windshield, such
as wood panels or surfboards, or loads with large
frontal area should be secured to both the front and
rear of the vehicle.
•Travel at reduced speeds and turn corners carefully
when carrying large or heavy loads on the roof
rack. Wind forces, due to natural causes or nearby
truck traffic, can add sudden upward lift to a load.
This is especially true on large flat loads and may
result in damage to the cargo or your vehicle.
3
UNDERSTANDING THE FEATURES OF YOUR VEHICLE 279
Page 283 of 636
UNDERSTANDING YOUR INSTRUMENT PANEL
CONTENTS
�INSTRUMENT PANEL FEATURES..........284
�INSTRUMENT CLUSTER — PREMIUM.......285
�INSTRUMENT CLUSTER DESCRIPTIONS.....286
�DRIVER INFORMATION DISPLAY (DID)......295
▫DID Displays........................297
▫Engine Oil Life Reset..................299
▫DID Messages.......................300
▫DID White Telltales....................303
▫DID Amber Telltales...................303
▫DID Red Telltales......................304▫DID Green Telltales....................307
▫DID Selectable Menu Items..............307
�Uconnect® SETTINGS....................315
▫Buttons On The Faceplate................316
▫Buttons On The Touchscreen..............317
▫Customer Programmable Features — Uconnect®
8.4 Personal Settings...................317
▫SRT Performance Pages.................336
�Uconnect® RADIOS — IF EQUIPPED........340
�
iPod®/USB/MP3 CONTROL — IF EQUIPPED . . .340
4
Page 284 of 636

�Uconnect® REAR SEAT ENTERTAINMENT (RSE)
SYSTEM — IF EQUIPPED................341
▫Getting Started.......................341
▫Dual Video Screen.....................343
▫Blu-ray™ Disc Player...................343
▫Play Video Games.....................346
▫Play A DVD/Blu-ray™ Disc Using The
Touchscreen Radio.....................347
▫Important Notes For Dual Video Screen
System.............................350
▫Blu-ray™ Disc Player Remote Control — If
Equipped...........................351
▫Replacing The Remote Control Batteries......352
▫Headphones Operation.................353▫Controls............................354
▫Replacing The Headphone Batteries.........355
▫Unwired® Stereo Headphone Lifetime Limited
Warranty...........................355
�STEERING WHEEL AUDIO CONTROLS — IF
EQUIPPED...........................362
▫Radio Operation......................363
▫CD Player...........................363
�CD/DVD DISC MAINTENANCE...........363
�RADIO OPERATION AND MOBILE PHONES . .364
▫Regulatory And Safety Information.........364
�CLIMATE CONTROLS...................366
▫General Overview.....................367
▫Climate Control Functions...............372
282 UNDERSTANDING YOUR INSTRUMENT PANEL