Page 374 of 717
Controls
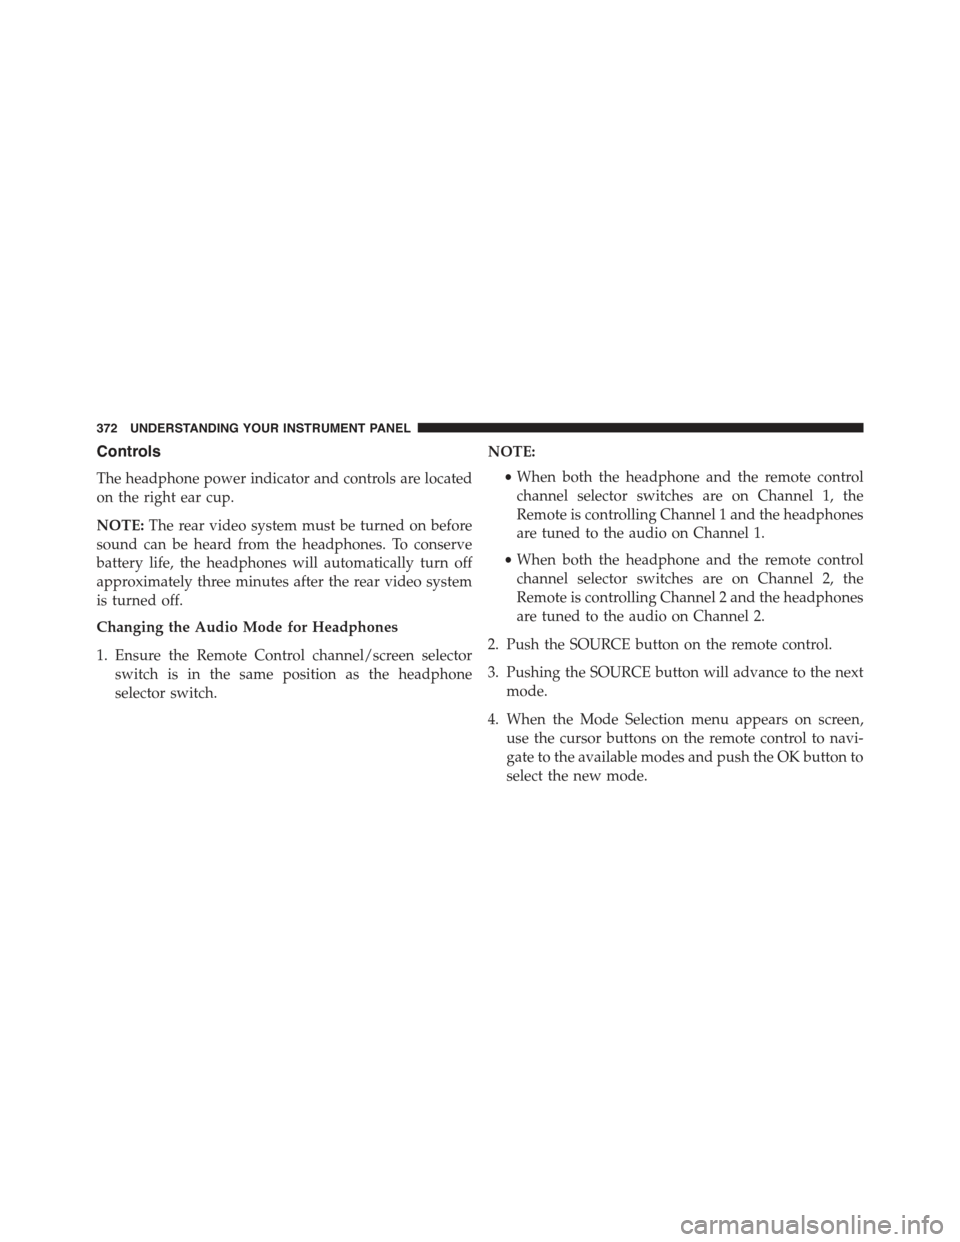
The headphone power indicator and controls are located
on the right ear cup.
NOTE:The rear video system must be turned on before
sound can be heard from the headphones. To conserve
battery life, the headphones will automatically turn off
approximately three minutes after the rear video system
is turned off.
Changing the Audio Mode for Headphones
1. Ensure the Remote Control channel/screen selector
switch is in the same position as the headphone
selector switch.
NOTE:
•When both the headphone and the remote control
channel selector switches are on Channel 1, the
Remote is controlling Channel 1 and the headphones
are tuned to the audio on Channel 1.
•When both the headphone and the remote control
channel selector switches are on Channel 2, the
Remote is controlling Channel 2 and the headphones
are tuned to the audio on Channel 2.
2. Push the SOURCE button on the remote control.
3. Pushing the SOURCE button will advance to the next
mode.
4. When the Mode Selection menu appears on screen,
use the cursor buttons on the remote control to navi-
gate to the available modes and push the OK button to
select the new mode.
372 UNDERSTANDING YOUR INSTRUMENT PANEL
Page 375 of 717
5. To cancel out of the Mode Selection menu, push the
BACK button on the remote control.
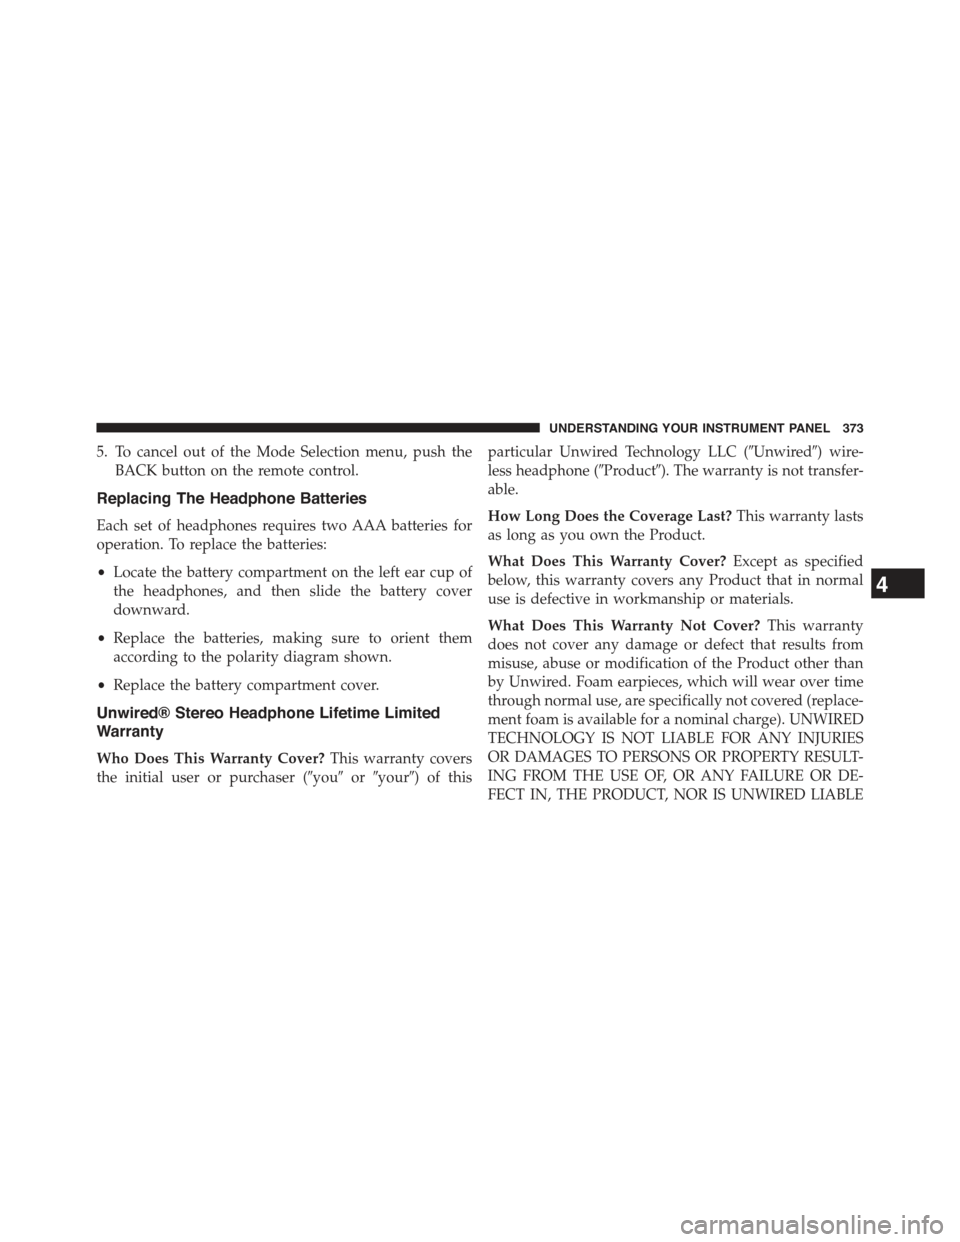
Replacing The Headphone Batteries
Each set of headphones requires two AAA batteries for
operation. To replace the batteries:
•Locate the battery compartment on the left ear cup of
the headphones, and then slide the battery cover
downward.
•Replace the batteries, making sure to orient them
according to the polarity diagram shown.
•Replace the battery compartment cover.
Unwired® Stereo Headphone Lifetime Limited
Warranty
Who Does This Warranty Cover?This warranty covers
the initial user or purchaser (#you#or#your#) of this
particular Unwired Technology LLC (#Unwired#) wire-
less headphone (#Product#). The warranty is not transfer-
able.
How Long Does the Coverage Last?This warranty lasts
as long as you own the Product.
What Does This Warranty Cover?Except as specified
below, this warranty covers any Product that in normal
use is defective in workmanship or materials.
What Does This Warranty Not Cover?This warranty
does not cover any damage or defect that results from
misuse, abuse or modification of the Product other than
by Unwired. Foam earpieces, which will wear over time
through normal use, are specifically not covered (replace-
ment foam is available for a nominal charge). UNWIRED
TECHNOLOGY IS NOT LIABLE FOR ANY INJURIES
OR DAMAGES TO PERSONS OR PROPERTY RESULT-
ING FROM THE USE OF, OR ANY FAILURE OR DE-
FECT IN, THE PRODUCT, NOR IS UNWIRED LIABLE
4
UNDERSTANDING YOUR INSTRUMENT PANEL 373
Page 376 of 717
FOR ANY GENERAL, SPECIAL, DIRECT, INDIRECT,
INCIDENTAL, CONSEQUENTIAL, EXEMPLARY, PU-
NITIVE OR OTHER DAMAGES OF ANY KIND OR
NATURE WHATSOEVER. Some states and jurisdictions
may not allow the exclusion or limitation of incidental or
consequential damages, so the above limitation may not
apply to you. This warranty gives you specific legal
rights. You may also have other rights, which vary from
jurisdiction to jurisdiction.
What Will Unwired® Do?Unwired®, at its option, will
repair or replace any defective Product. Unwired® re-
serves the right to replace any discontinued Product with
a comparable model. THIS WARRANTY IS THE SOLE
WARRANTY FOR THIS PRODUCT, SETS FORTH YOUR
EXCLUSIVE REMEDY REGARDING DEFECTIVE
PRODUCTS, AND IS IN LIEU OF ALL OTHER WAR-
RANTIES (EXPRESS OR IMPLIED), INCLUDING ANY
WARRANTY OR MERCHANTABILITY OR FITNESS
FOR A PARTICULAR PURPOSE.
If you have any questions or comments regarding your
Unwired® wireless headphones, please phone 1-888-293-
3332 or email [email protected].
You may register your Unwired® wireless headphones
online at www.unwiredtechnology.com or by phone at
1-888-293-3332.
System Information
Disc Menu
When listening to a CD Audio or CD Data disc, pushing
the remote control’s POP UP/MENU button displays a
list of all commands which control playback of the disc.
374 UNDERSTANDING YOUR INSTRUMENT PANEL
Page 378 of 717
Listening To Audio With The Screen Closed
To listen to only audio portion of the channel with the
screen closed:
•Set the audio to the desired source and channel.
•Close the video screen.
•To change the current audio mode, push the remote
control’s SOURCE button. This will automatically se-
lect the next available audio mode without using the
Mode/Source Select menu.
•When the screen is reopened, the video screen will
automatically turn back on and show the appropriate
display menu or media.
If the screen is closed and there is no audio heard, verify
that the headphones are turned on (the ON indicator is
illuminated) and the headphone selector switch is on the
desired channel. If the headphones are turned on, push
the remote control’s power button to turn audio on. If
audio is still not heard, check that fully charged batteries
are installed in the headphones.
Disc Formats
The Blu-ray™ Disc player is capable of the playing the
following types of discs (12 mm or 8 mm diameter):
•BD: BDMV (Profile 1.1), BDAV (Profile 1.1),
•DVD: DVD-Video, DVD-Audio, AVCREC, AVCHD,
DVD-VR
•CD: CD-DA, VCD, CD-TEXT
•DVD/CD: MP3, WMA, AAC, DivX (versions3–6)
profile 3.0
DVD Region Codes
The Blu-ray™ Disc player and many DVD discs are
coded by geographic region. These region codes must
376 UNDERSTANDING YOUR INSTRUMENT PANEL
Page 385 of 717
RADIO OPERATION AND MOBILE PHONES
Under certain conditions, the mobile phone being on in
your vehicle can cause erratic or noisy performance from
your radio. This condition may be lessened or eliminated
by relocating the mobile phone antenna. This condition is
not harmful to the radio. If your radio performance does
not satisfactorily “clear” by the repositioning of the
antenna, it is recommended that the radio volume be
turned down or off during mobile phone operation when
not using Uconnect® (if equipped).
Regulatory And Safety Information
USA/CANADA
Exposure to Radio Frequency Radiation
The radiated output power of the internal wireless radio
is far below the FCC radio frequency exposure limits.
Nevertheless, the wireless radio shall be used in such a
manner that the radio is 20 cm or further from the human
body.
The internal wireless radio operates within guidelines
found in radio frequency safety standards and recom-
mendations, which reflect the consensus of the scientific
community.
The radio manufacturer believes the internal wireless
radio is safe for use by consumers. The level of energy
emitted is far less than the electromagnetic energy emit-
ted by wireless devices such as mobile phones. However,
the use of wireless radios may be restricted in some
situations or environments, such as aboard airplanes. If
you are unsure of restrictions, you are encouraged to ask
for authorization before turning on the wireless radio.
4
UNDERSTANDING YOUR INSTRUMENT PANEL 383
Page 400 of 717
If you see theicon on your touchscreen, you have
the Uconnect® 8.4AN system. If not, you have a
Uconnect® 8.4A system.
Get Started
All you need to control your Uconnect® system with
your voice are the buttons on your steering wheel.
1. VisitUconnectPhone.com to check mobile device
and feature compatibility and to find phone pair-
ing instructions.
2. Reduce background noise. Wind and passenger con-
versations are examples of noise that may impact
recognition.
3. Speak clearly at a normal pace and volume while
facing straight ahead. The microphone is positioned
on the rearview mirror and aimed at the driver.
4. Each time you give a Voice Command, you must first
push either the VR or Phone button, wait untilafter
the beep, then say your Voice Command.
5. You can interrupt the help message or system prompts
by pushing the VR or Phone button and saying a Voice
Command from current category.
398 UNDERSTANDING YOUR INSTRUMENT PANEL
Page 401 of 717
Basic Voice Commands
The basic Voice Commands below can be given at any
point while using your Uconnect® system.
Push the VR button. After the beep, say&
•Cancelto stop a current voice session
•Helpto hear a list of suggested Voice Commands
•Repeatto listen to the system prompts again
Notice the visual cues that inform you of your voice
recognition system’s status. Cues appear on the touch-
screen.Uconnect® Voice Command
1—PushToInitiateOrToAnswerAPhoneCall,SendOrRe-ceive A Text2 — For all radios: Push To Begin Radio or Media functions. For8.4A/8.4AN only: Push to begin Navigation, Apps And ClimateFunctions3—PushToEndCall
4
UNDERSTANDING YOUR INSTRUMENT PANEL 399
Page 406 of 717
Phone
Making and answering hands-free phone calls is easy
with Uconnect®. When the Phonebook button is illumi-
nated on your touchscreen, your system is ready. Check
UconnectPhone.com for mobile phone compatibility
and pairing instructions.
Push the Phone button. After the beep, say one of
the following commands&
•CallJohn Smith
•Dial123-456-7890 and follow the system prompts
•Redial(call previous outgoing phone number)
•Call back(call previous incoming phone number)
TIP:When providing a Voice Command, push the
Phone buttonand say“Call,”then pronounce the
nameexactlyas it appears in your phone book. When
a contact has multiple phone numbers, you can say
“CallJohn Smithwork.”
Uconnect® 5.0 Phone
404 UNDERSTANDING YOUR INSTRUMENT PANEL